
Welcome back to Meal Prep Club, y'all!
This week, we're getting over our fear of soaking dried beans and making our own hummus!

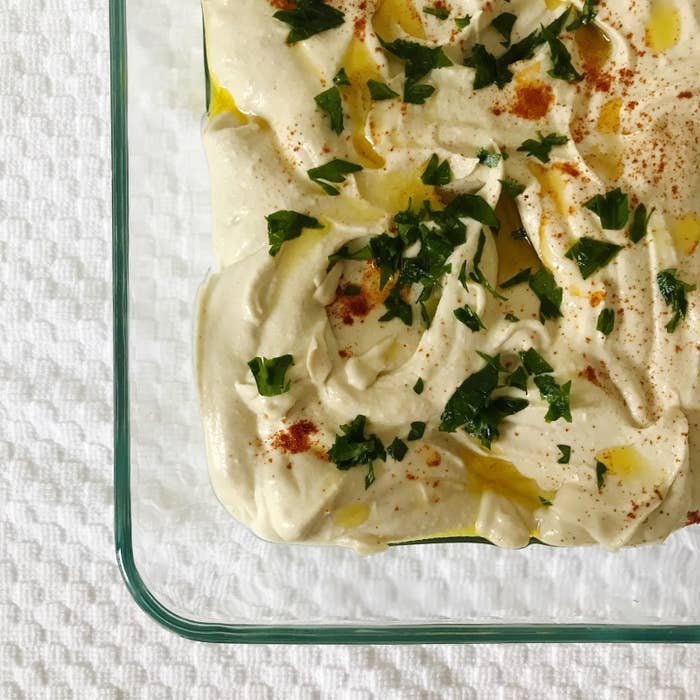
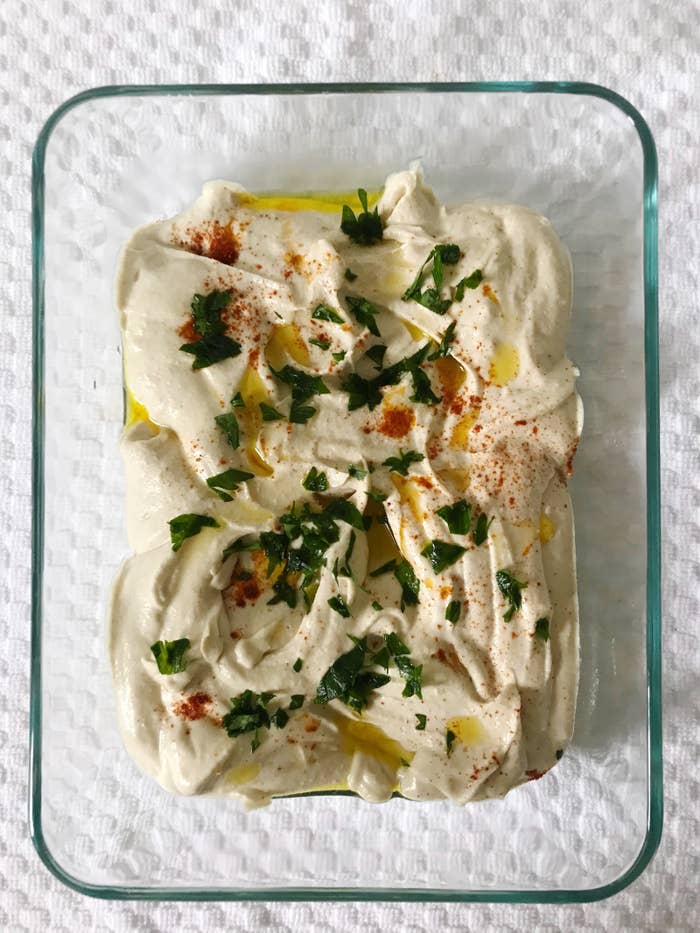
Before we go any further, I just need to take a moment to tell you that this hummus is everything.
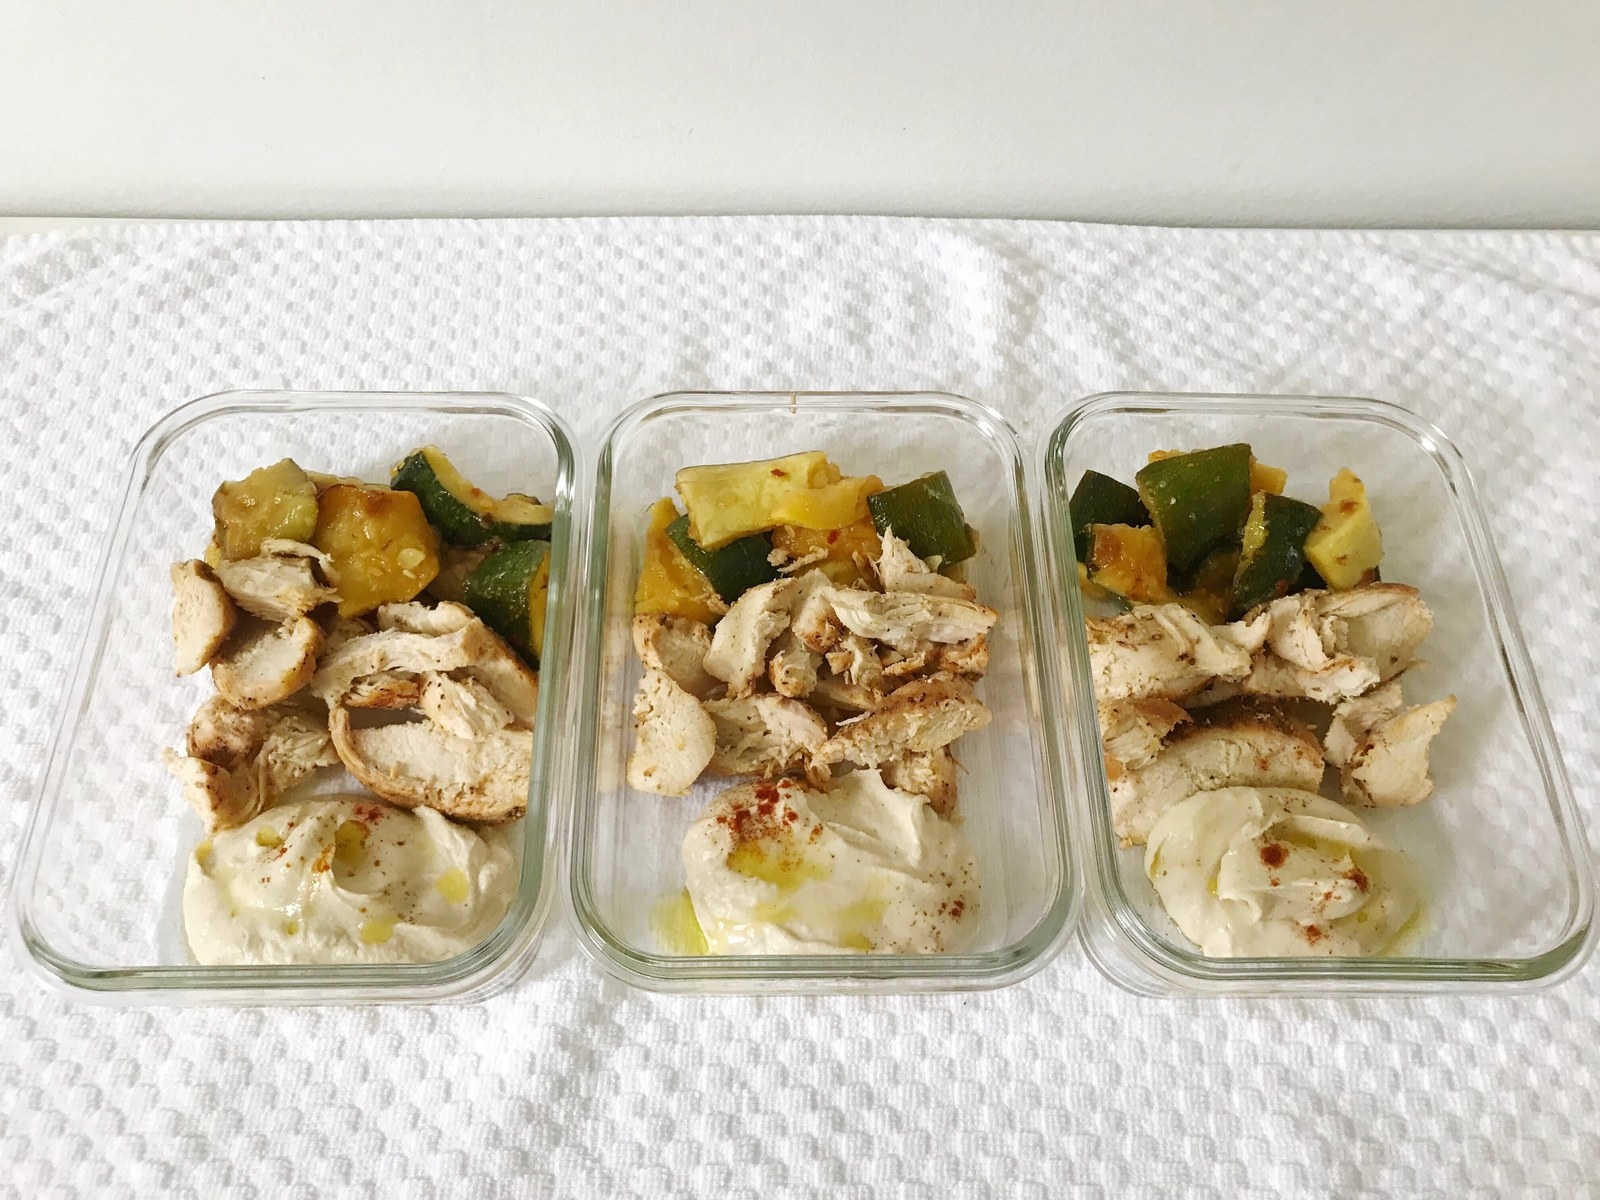
Here's everything I made this week:
• One batch perfect chicken
• One batch hummus (recipe below)
• One batch marinated zucchini and summer squash (Note: I skipped the hazelnuts and ricotta and only made the marinade and veggies)
Here's the hummus recipe:
Zahav's Hummus Tehina
MAKES 3 ½ CUPS
INGREDIENTS
1 cup dried chickpeas
2 teaspoons baking soda
1 ½ cups Basic Tehina Sauce (recipe below this one), plus a bit more for the topping
1 teaspoon kosher salt
¼ teaspoon ground cumin
Paprika
Chopped fresh parsley
Olive oil, for drizzling
PREPARATION
1. Place the chickpeas in a large bowl with 1 teaspoon of the baking soda and cover with plenty of water. (The chickpeas will double in volume, so use more water than you think you need.) Soak the chickpeas overnight at room temperature. The next day, drain the chickpeas and rinse under cold water.
2. Place the chickpeas in a large pot with the remaining 1 teaspoon baking soda and add cold water to cover by at least 4 inches. Bring the chickpeas to a boil over high heat, skimming off any scum that rises to the surface. Lower the heat to medium, cover the pot, and continue to simmer for about 1 hour, until the chickpeas are completely tender. Then simmer them a little more. (The secret to creamy hummus is overcooked chickpeas; don’t worry if they are mushy and falling apart a little.) Drain.
3. Combine the chickpeas, tehina sauce, salt, and cumin in a food processor. Puree the hummus for several minutes, until it is smooth and uber-creamy. Then puree it some more!
4. To serve, spread the hummus in a shallow bowl, dust with paprika, top with parsley and more tehina sauce if you like, and drizzle generously with oil.
From Zahav: A World of Israeli Cooking by Michael Solomonov and Steven Cook, published by Rux Martin/Houghton Mifflin Harcourt.
Zahav's Basic Tehina Sauce
MAKES ABOUT 4 CUPS
INGREDIENTS
1 head garlic
¾ cup lemon juice (from 3–5 lemons)
Salt
2 generous cups tehina (note: may also be called "tahini," and you can typically find it in the peanut butter aisle or in the "ethnic" section of the grocery store)
½ teaspoon ground cumin
PREPARATION
1. Break up the head of garlic with your hands, letting the unpeeled cloves fall into a blender. Add the lemon juice and ½ teaspoon of the salt. Blend on high for a few seconds until you have a coarse puree. Let the mixture stand for 10 minutes to let the garlic mellow.
2. Pour the mixture through a fine-mesh strainer set over a large mixing bowl, pressing on the solids to extract as much liquid as possible. Discard the solids. Add the tehina to the strained lemon juice in the bowl, along with the cumin and 1 teaspoon of the salt.
3. Whisk the mixture together until smooth (or use a food processor), adding ice water, a few tablespoons at a time, to thin it out. The sauce will lighten in color as you whisk. When the tehina seizes up or tightens, keep adding ice water, bit by bit (about 1½ cups in total), whisking energetically until you have a perfectly smooth, creamy, thick sauce.
4. Taste and add up to 1 ½ teaspoons more salt and cumin if you like. If you’re not using the sauce immediately, whisk in a few extra tablespoons of ice water to loosen it before refrigerating. The tehina sauce will keep a week refrigerated, or it can be frozen for up to a month.
From Zahav: A World of Israeli Cooking by Michael Solomonov and Steven Cook, published by Rux Martin/Houghton Mifflin Harcourt.
A few notes about this week's meal prep:
• I ate the meals cold and it was delicious that way!
• It's not shown in the photos, but I also packed bread to dip in the hummus.
• I followed the recipe to the letter and ended up with six cups of the tahina sauce — and since it keeps well, and because you only need 1 ½ cups for the main hummus recipe, I'll actually get to make the hummus two more times using the extra tahina sauce. I made the second batch yesterday to take on my beach vacation with friends this weekend and I could not be more excited about it.
• The marinated veggies were very good but I'm not sure if the marinade is worth the work when you're already making such flavorful hummus. I could go either way!
• I brought some of the hummus into work so my coworkers could try it too, and everyone agreed: this stuff is the best.
• My meal prep containers are Prep Naturals — $26 for the set of five on Amazon.

Annnd some quick housekeeping:
• Reminder that you can see everything from Meal Prep Club so far in this master Google Doc!
• Since I'm going out of town this weekend, Week #4 of Meal Prep Club will be posted on Thursday, July 12.
That's all I got for this week! Happy meal prepping! 🍋✨
Related links:
• My Friends Won't Stop Texting Me For This Outrageously Good Hummus Recipe
• Meal Prep Club Kickoff & Week 1 Recipes