We hope you love our recommendations! Some may have been sent as samples, but all were independently selected by our editors. Just FYI, BuzzFeed and its publishing partners may collect a share of sales and/or other compensation from the links on this page.

1. Make sure you have (and know how to use) all the right tools before you get started.
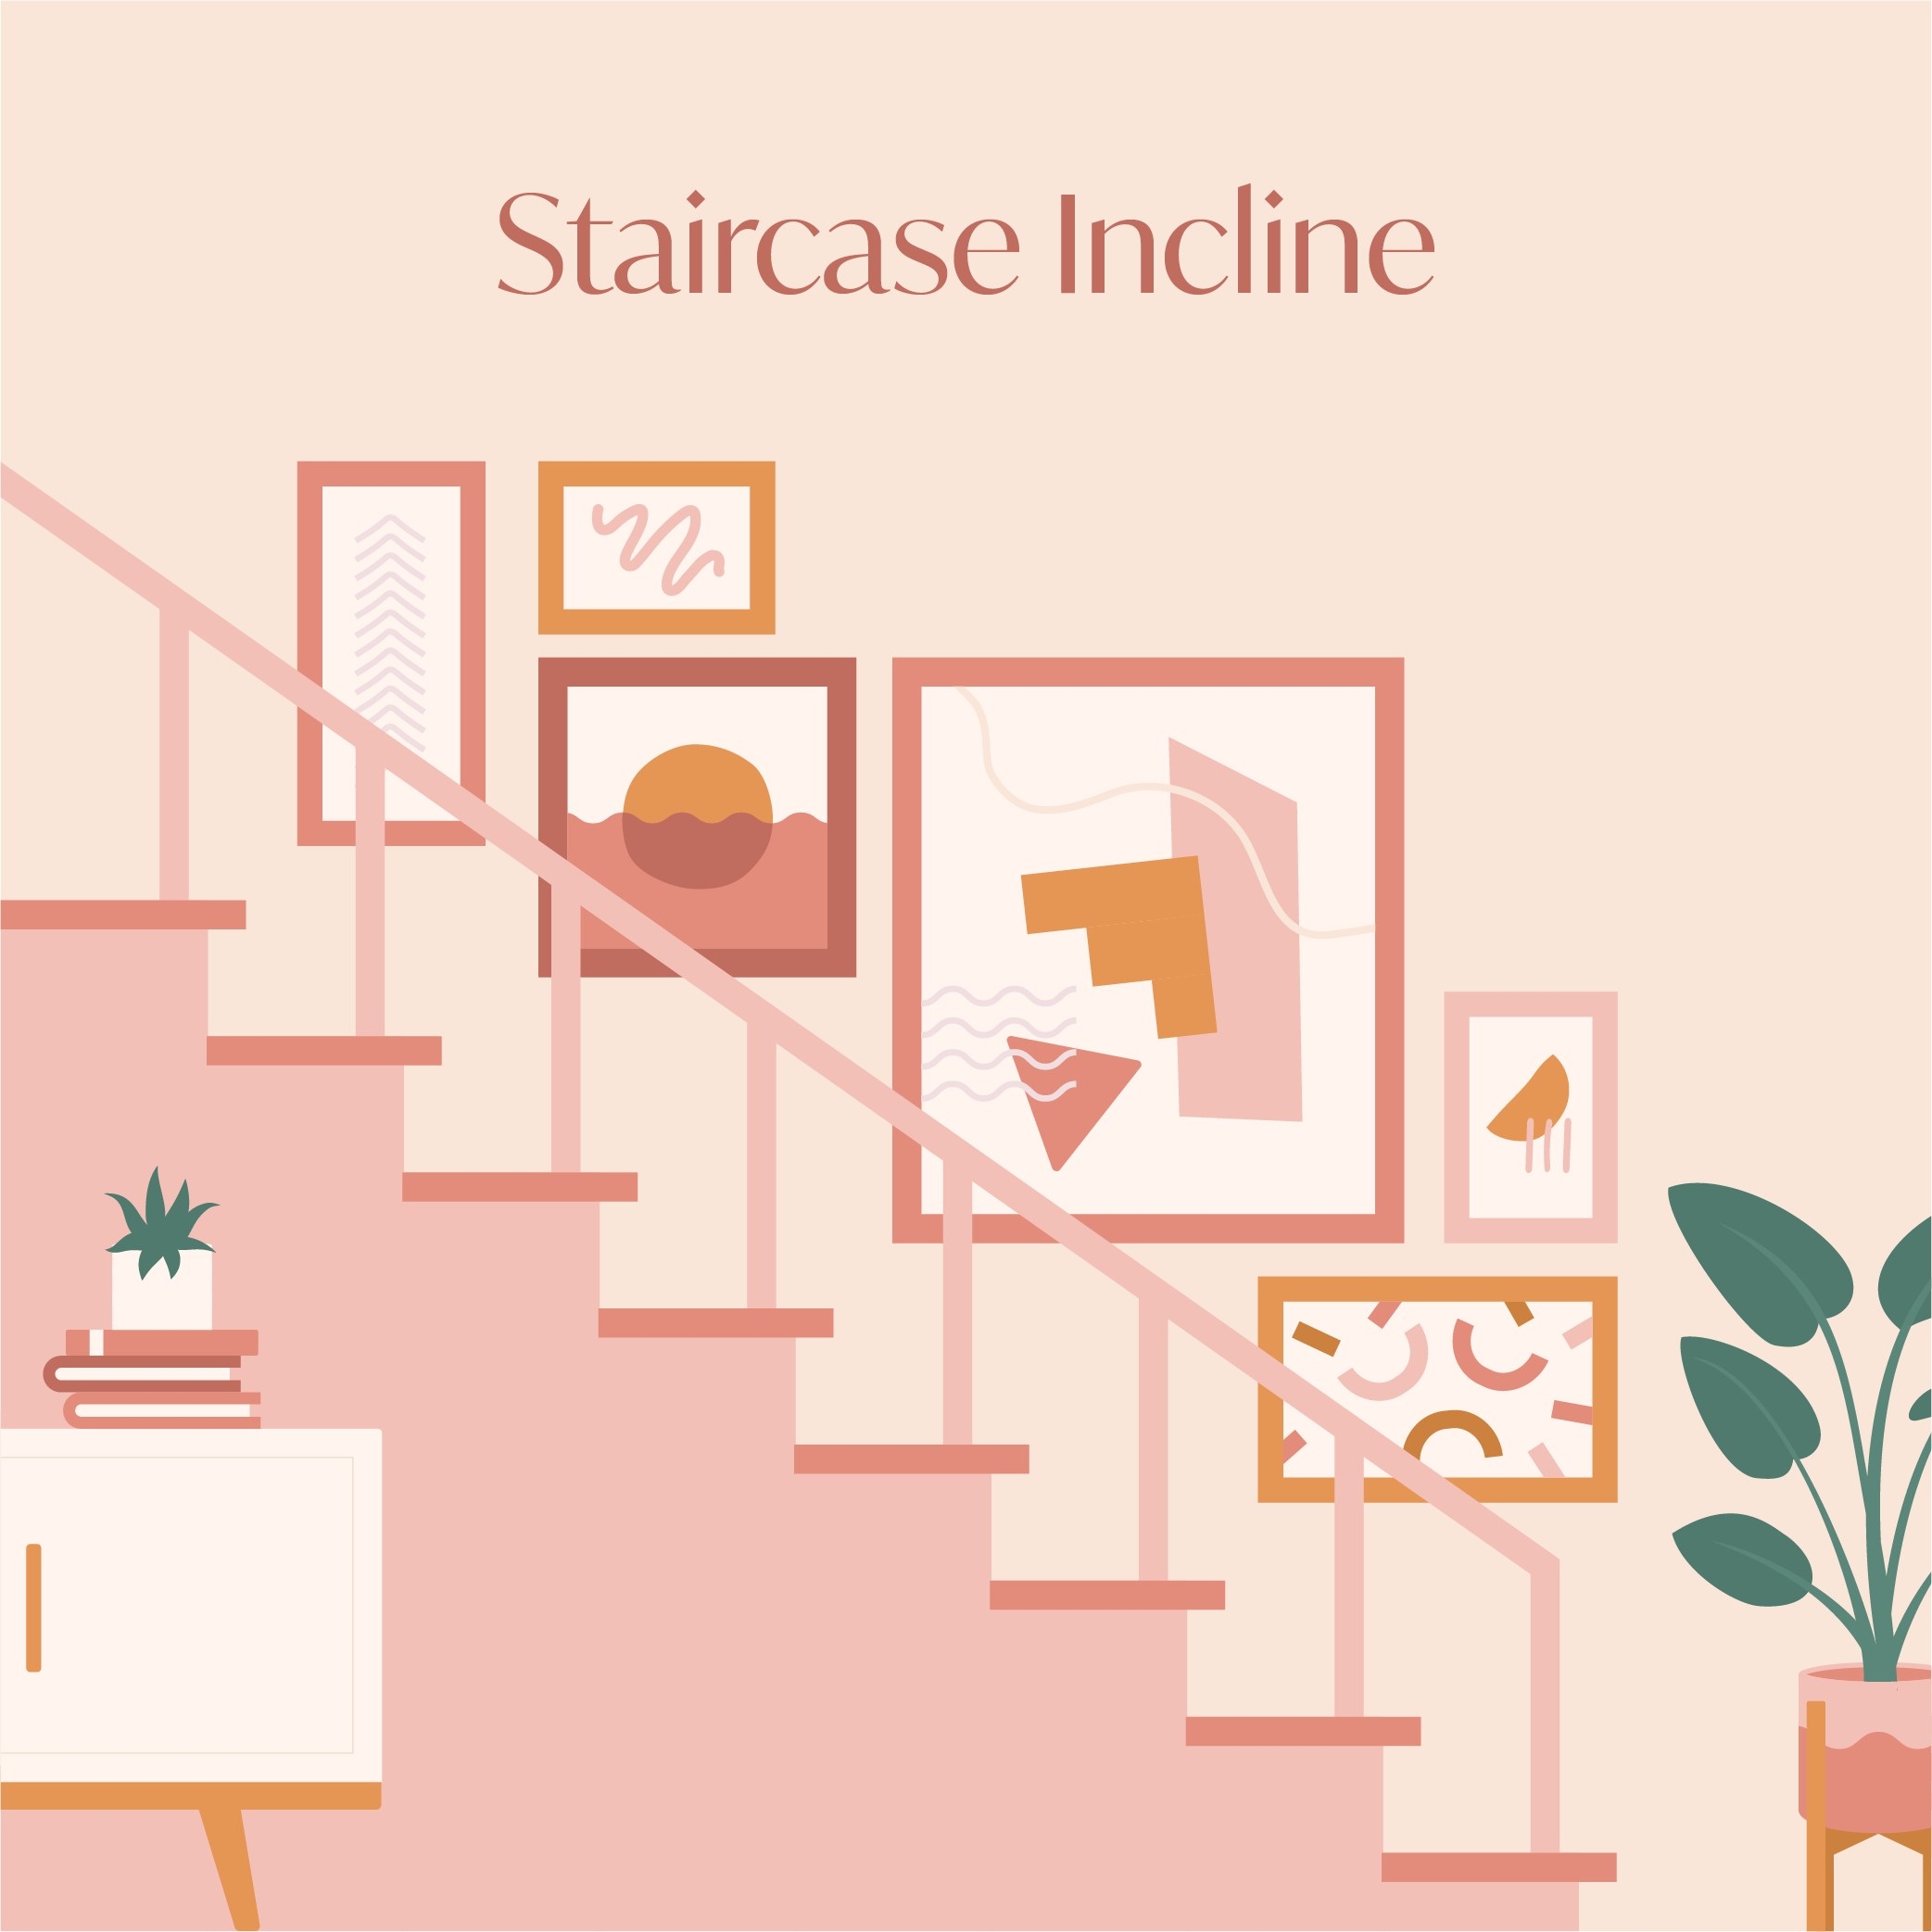
2. Hang art so that the midpoint of the compilation is about 60 to 65 inches from the floor.
3. Or hang it so the bottom of the lowest frame is 6 to 12 inches above the furniture.

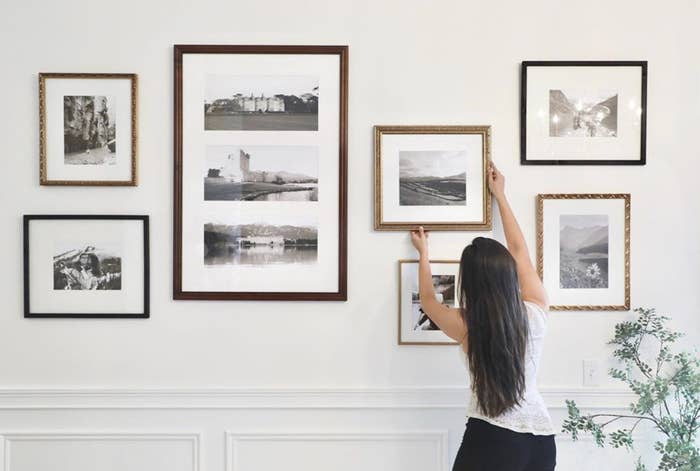
4. Keep the spacing between each piece of art consistent.

5. Paint cheap frames to make them look more expensive than they are.
6. Or attach some hardware to the frames if your style is on the glitzier side.

7. Mix in sculptural pieces to make a mismatched frame collection look intentional.

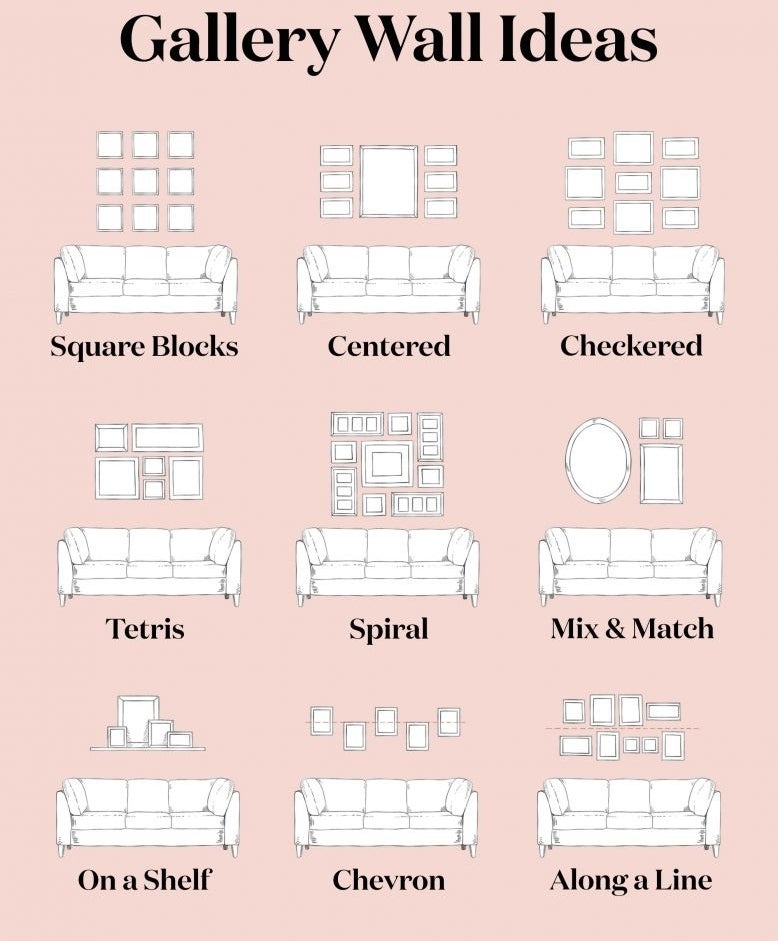
8. Sketch a few layouts if you can't even visualize where to start.
9. Hang heavy items with special adhesive strips if you don't want to make holes in the wall.
10. Or cut paper templates into the shapes of your art so you can plan out your gallery wall before putting nails in the wall.
11. Or! Just tape up the inserts that came with the frame.
12. Use tape to map out the area that you think the art would fit best.
13. Or map out unconventional layouts using push pins and string.
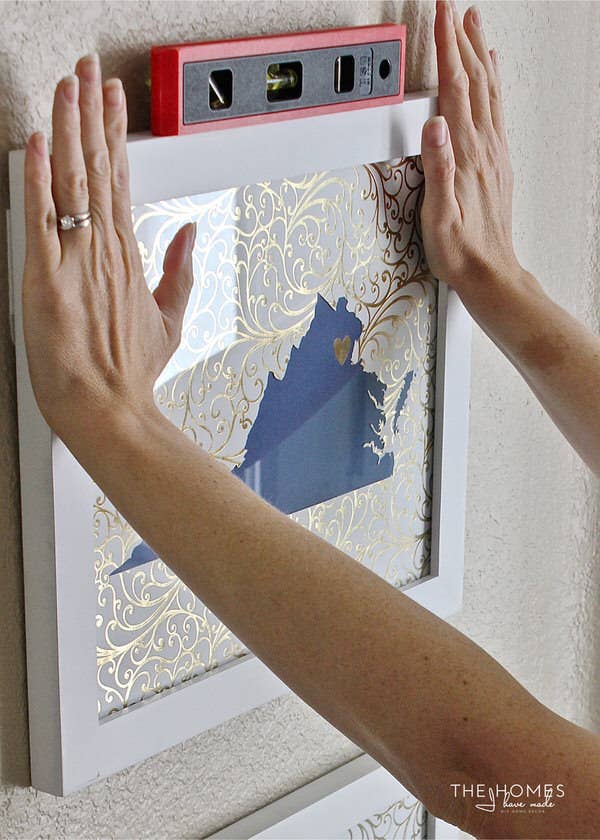
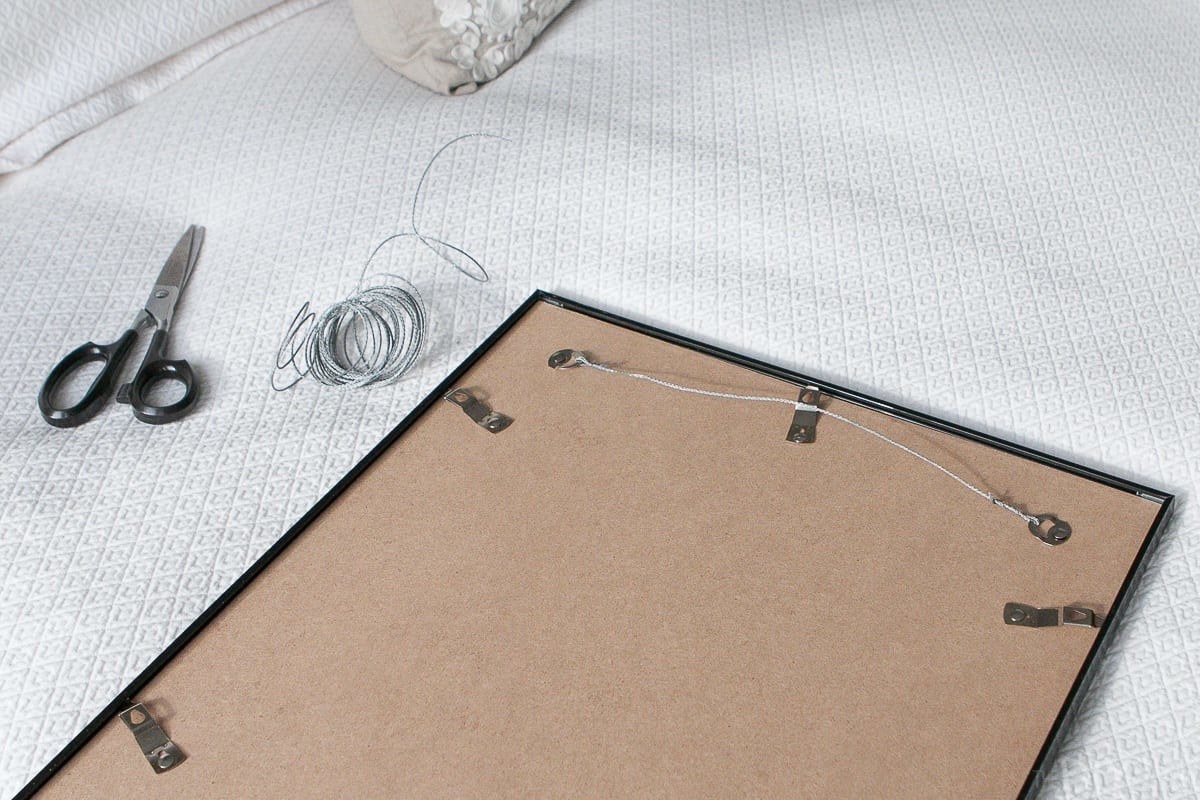
14. Attach hanging wire to the frame so you can level out the frame after you've hung it on the wall.
15. Make a picture-hanging tool using a paint stirrer and a screw.
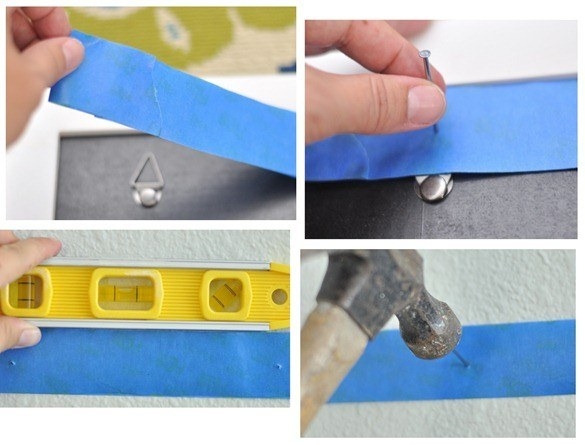
16. Poke holes in a piece of tape so you know where to put the nails.
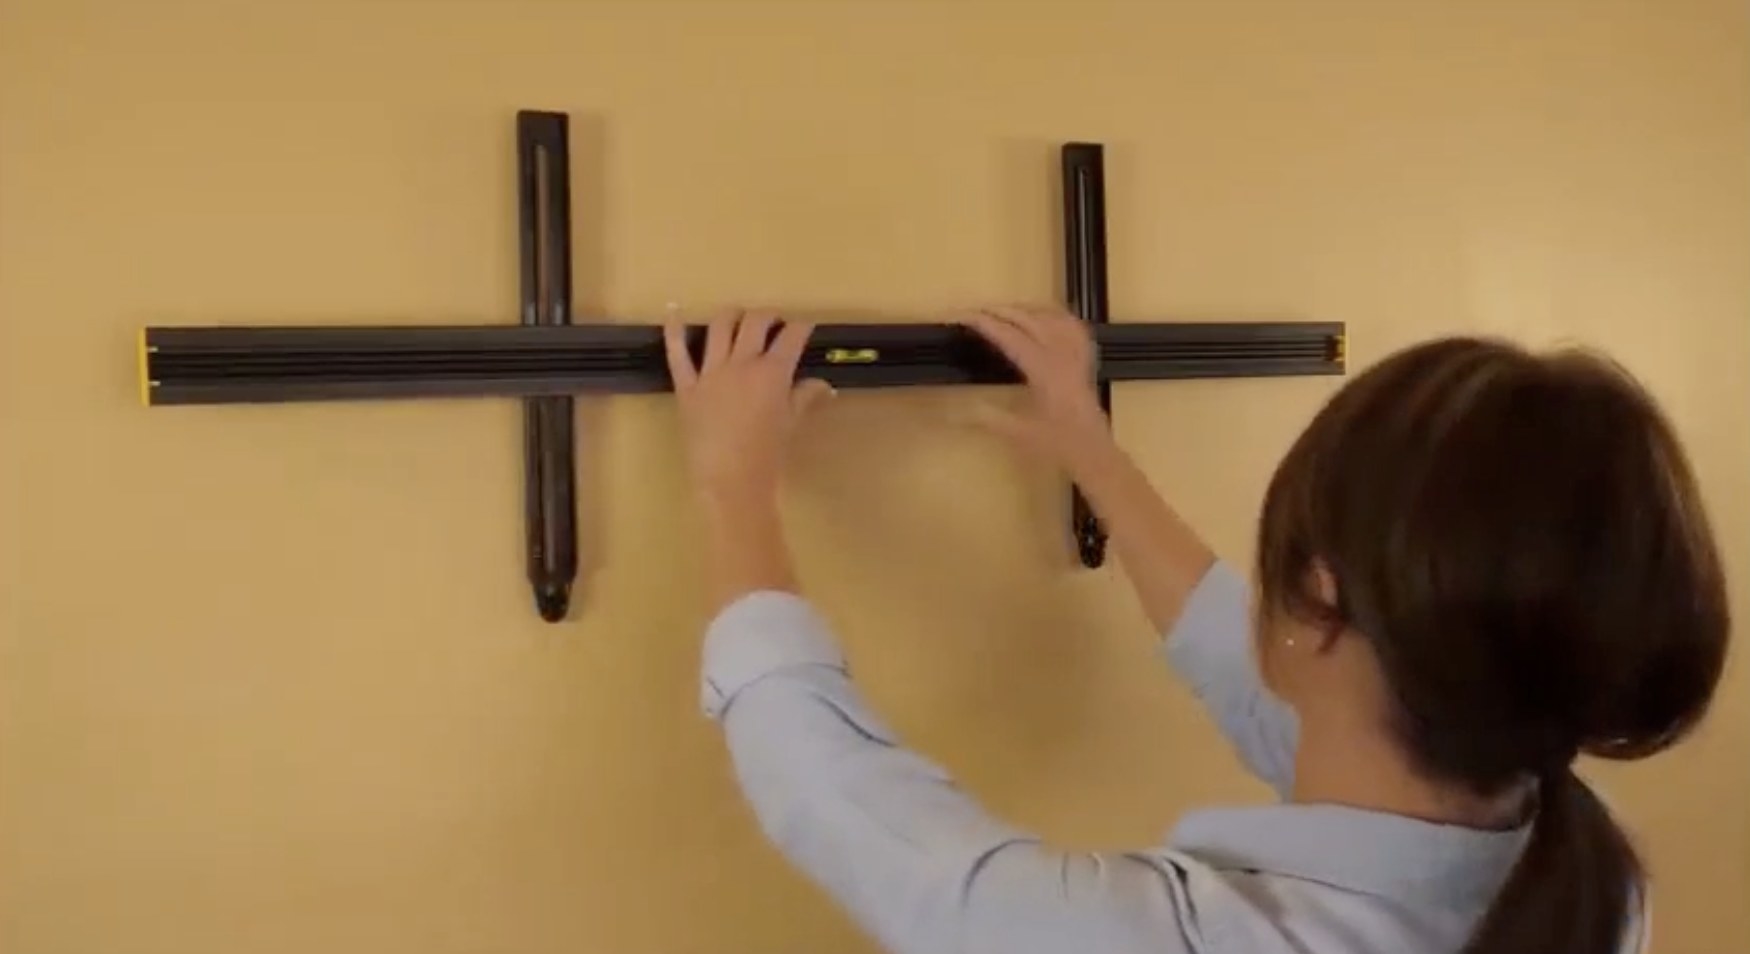
17. Or just order a specialized tool with built-in rulers and levels to take the headache out of hanging frames.
18. Dab a bit of toothpaste onto the frame hooks and press the frame onto the wall so you know where the nail goes.
19. Hold the nail with a clothespin so you don't end up hammering your finger.

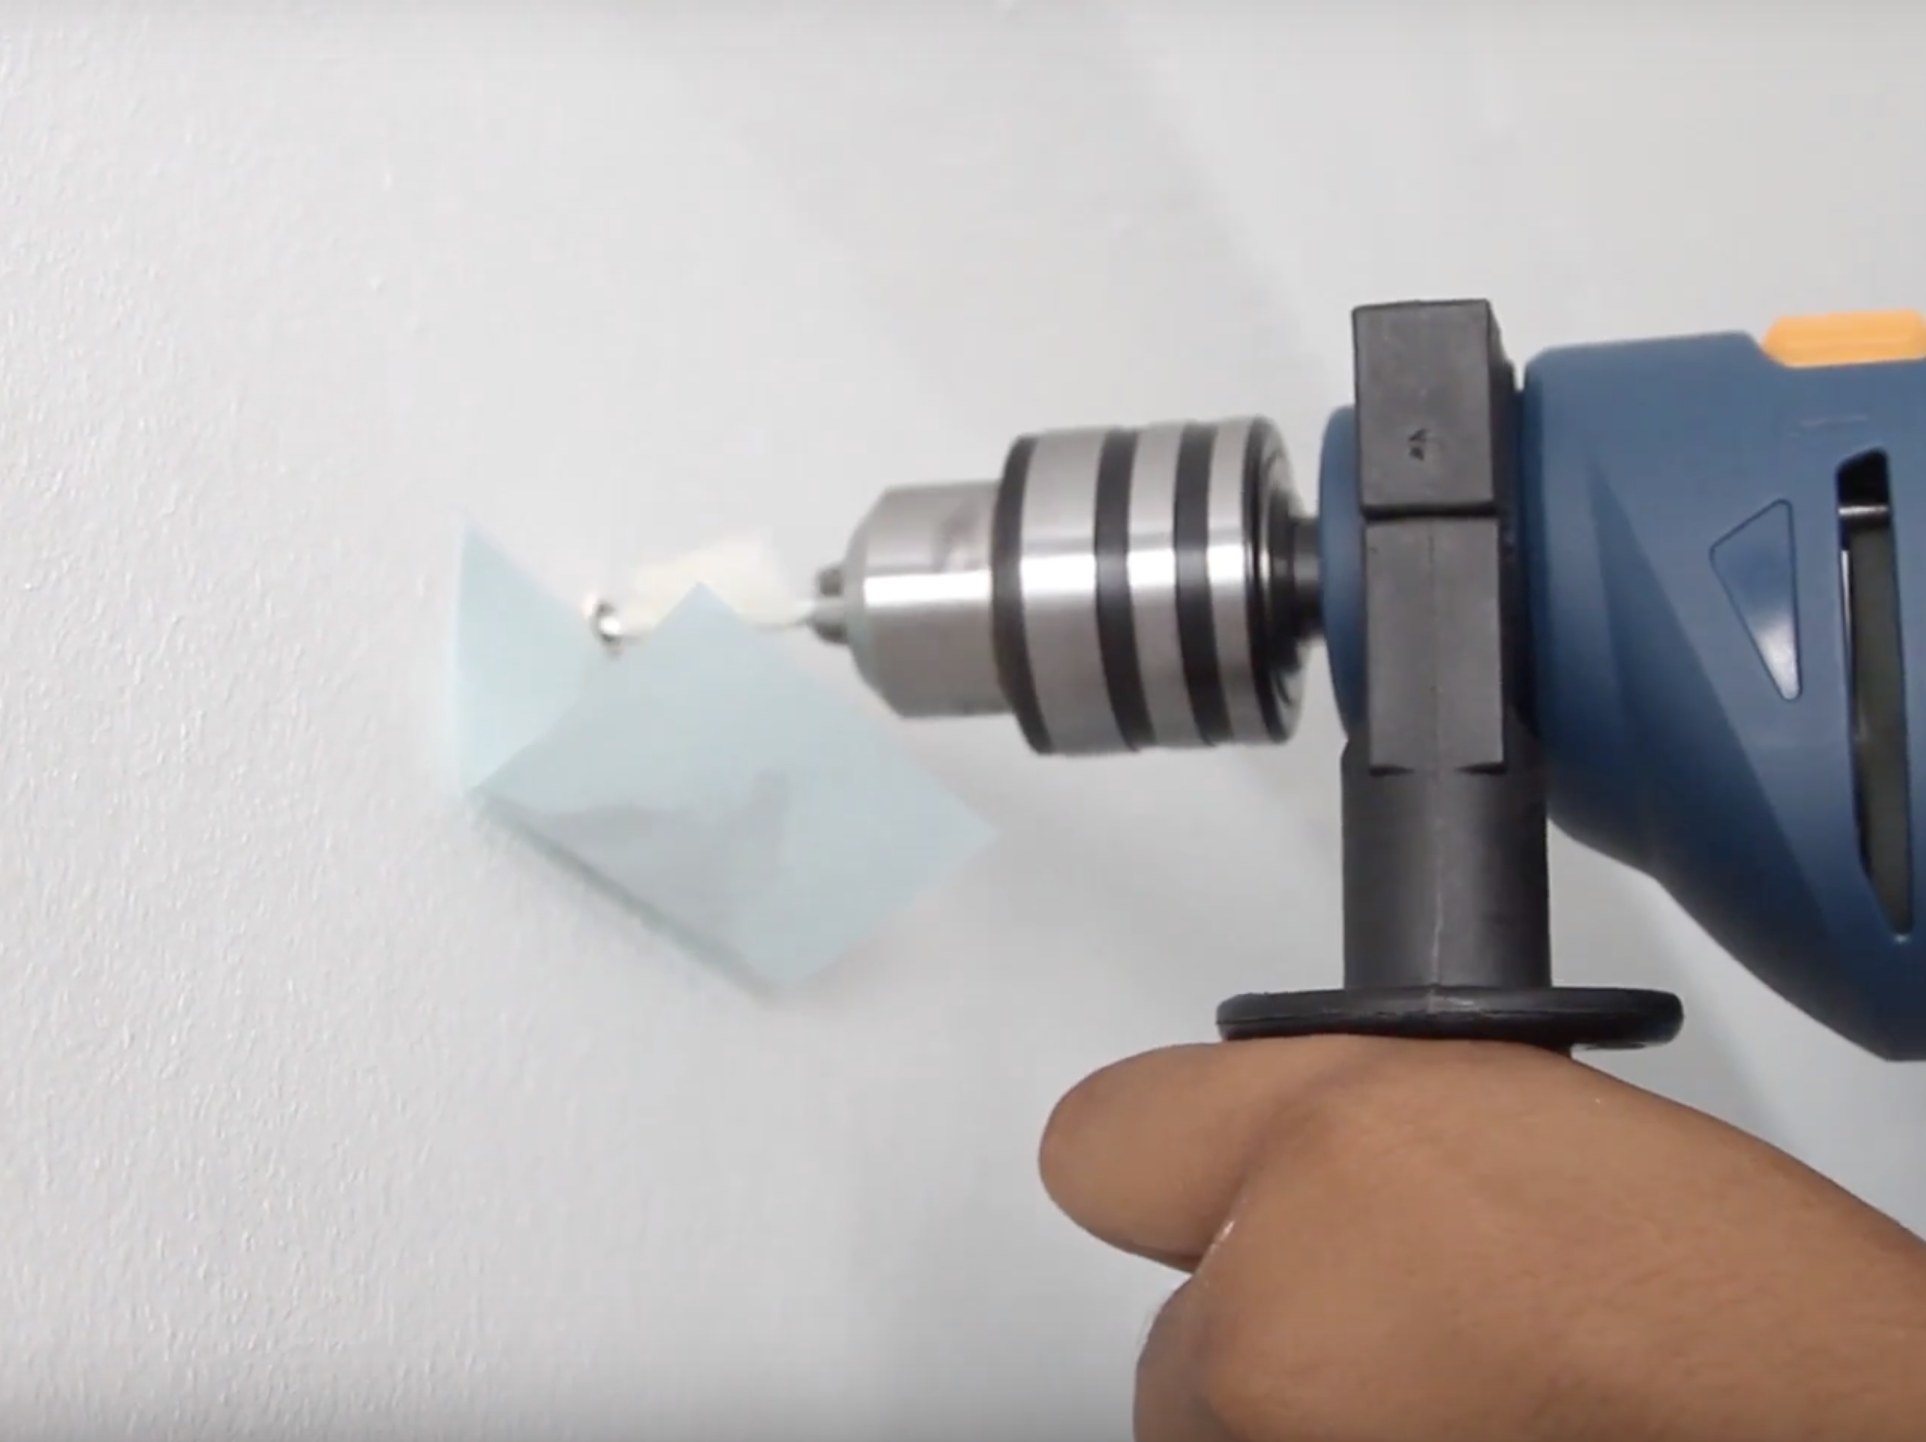
20. Catch drywall dust with a sticky note so you don't make a mess hanging heavier items.