We hope you love our recommendations! Some may have been sent as samples, but all were independently selected by our editors. Just FYI, BuzzFeed and its publishing partners may collect a share of sales and/or other compensation from the links on this page.

I get it, gallery wall planning and installation can seem entirely and completely overwhelming. There are seemingly a million options and arrangements available. But you know what's worse than that temporary feeling of being overwhelmed? Completely bare walls that do NOT enhance your home or showcase your style.
So where do you start? It all really boils down to what wall you want to use and how large that wall is. That'll be your beginning guide to how big your art pieces can be and how many you can fit.
Once you have a good idea of wall size, you can start thinking about arrangement. Now bear with me because sometimes arrangement comes after art collection. The two are essentially interchangeable and it really depends on which you are dedicated to more.
What arrangements am I speaking of? Glad you asked! Below are some templates that have been tested by many and will consistently deliver gorgeous, Insta-worthy results:
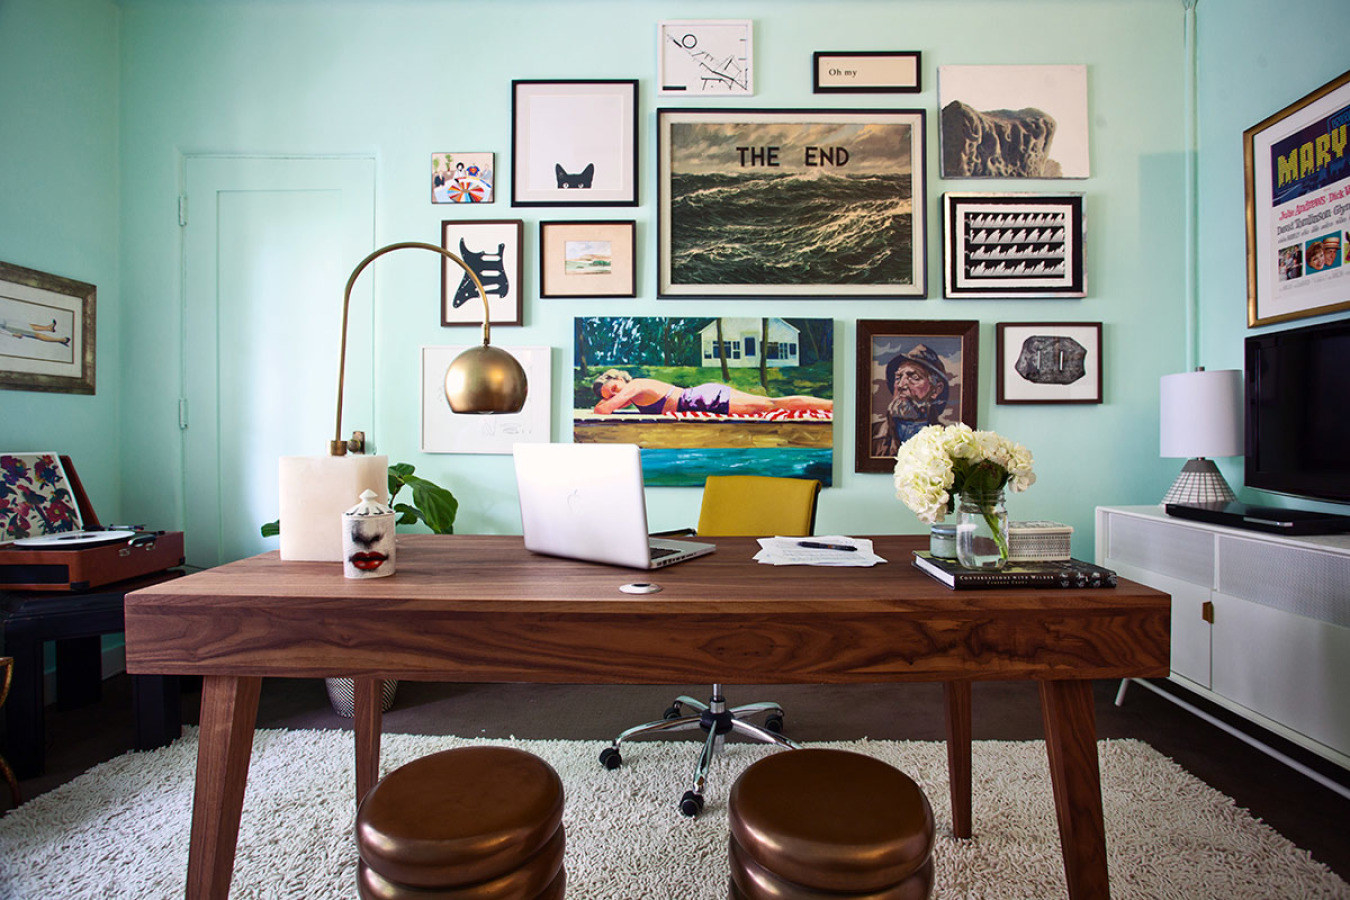
1. A grid that's a beautiful mix of unconfined organization. Pieces are clustered together, but not necessarily in perfect alignment.
2. An incline gallery wall to bring a bit of coziness to an otherwise overlooked space.
3. A clean-lined, perfectionist positioning, because we sure do adore some A+ symmetry. Here, the majority of (or all) pieces will be the same size.
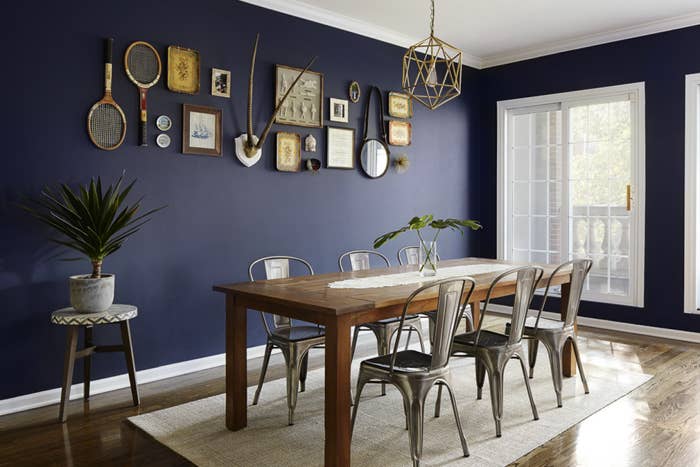
4. An eclectic mix of prints with the inclusion of mirrors, juju hats, macrame, pennants, or literally whatever else your heart desires.
5. A casual leaning setup for anyone who doesn't want to commit to a hammer and nails. We get it! This method is rather low lift, but can still produce stunning results.
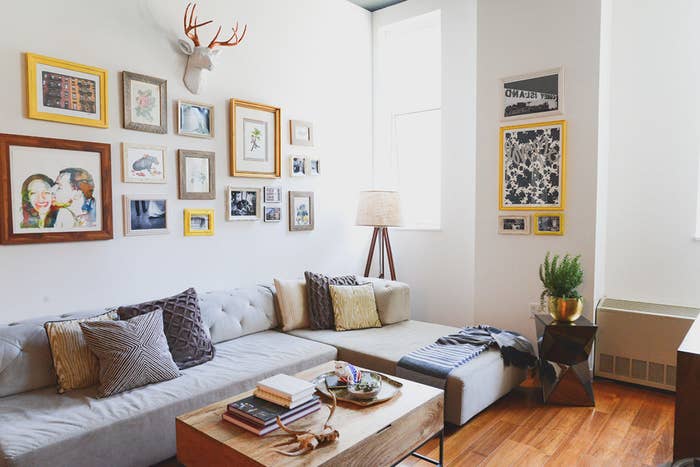
6. A floor-to-ceiling arrangement if you've got an ever-growing art collection just begging to be showcased.
7. A caddy-corner gallery wall that is equal parts cozy and cool. If you've got a bare bedroom corner, you now know what to do with it.
If you're still a bit hesitant to get started, here are some helpful tips and tricks of the trade to build your confidence:
Before you get to hammering (or drilling), arrange your pieces on the floor so you can see how they look together. This way you can move pieces around freely.
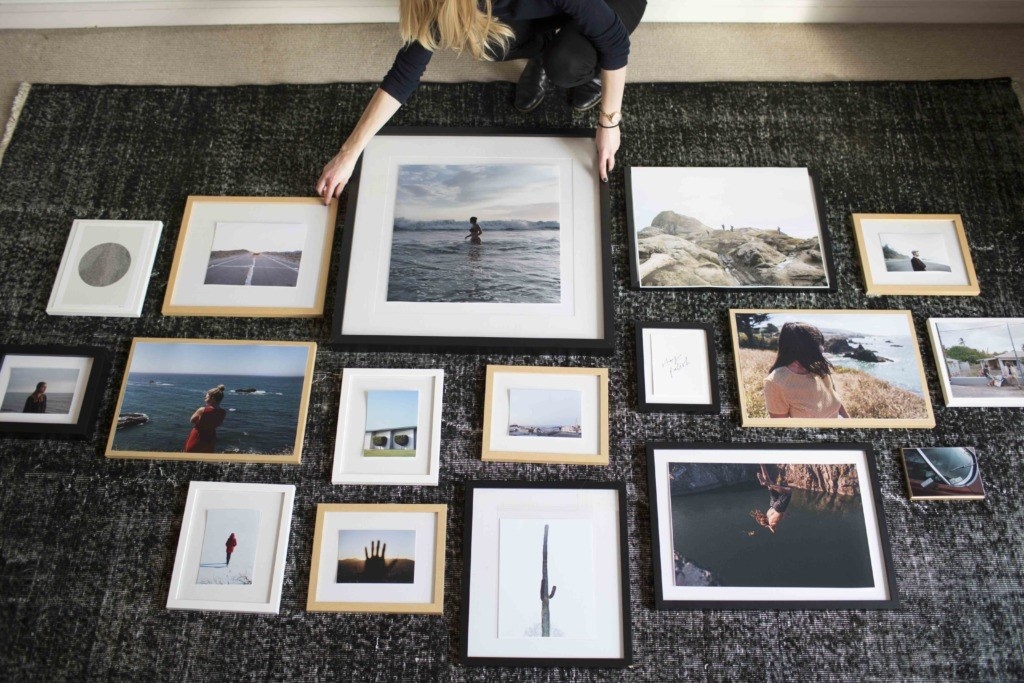
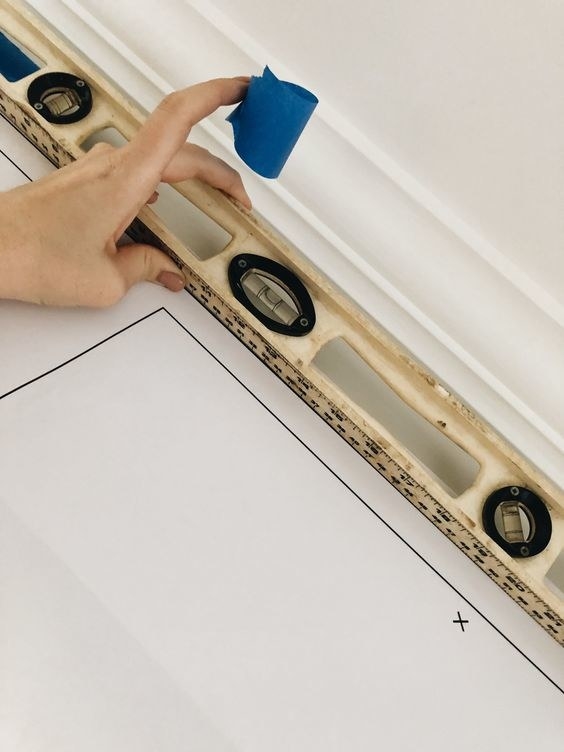
Use painter's tape and paper to outline the pieces on your wall to get an idea of sizing and spacing. Sometimes what looks like enough space between pieces on the floor isn't actually enough space on the wall.

Once you're ready to hang, use a level and anchors to ensure that your pictures are straight and sturdily placed.
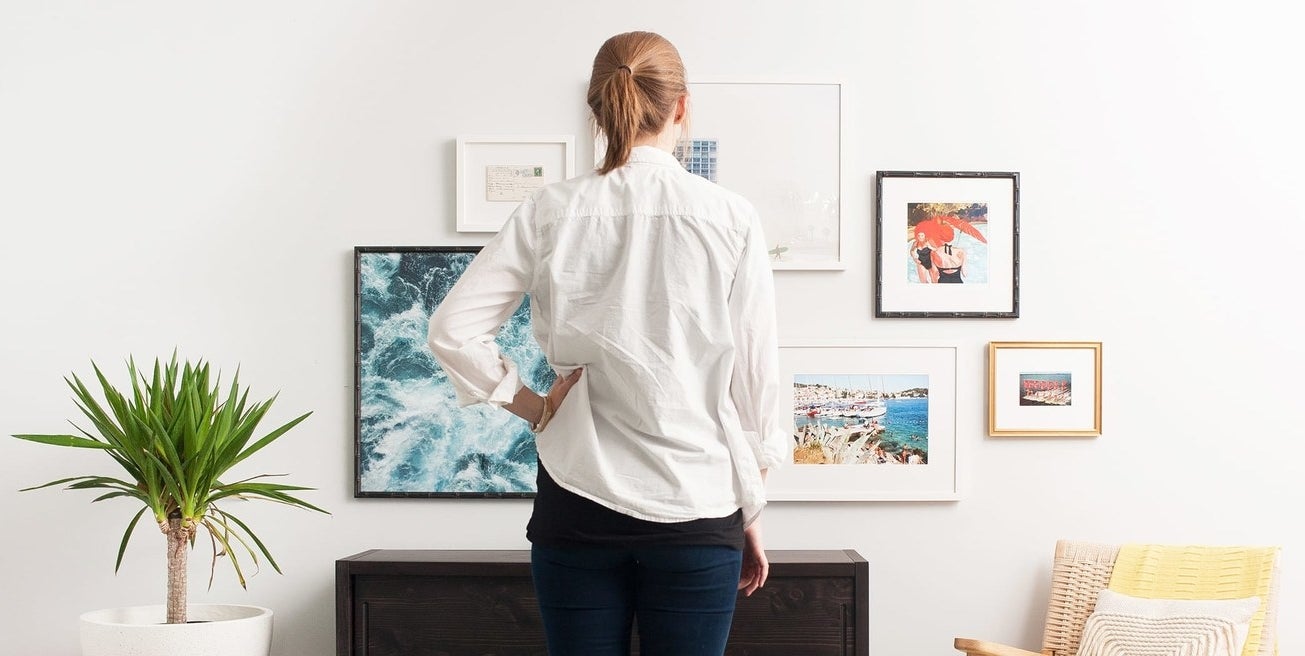
Take your time! Step back. Look at the wall as a whole and make adjustments as you see fit.
Mistakes are okay! Nothing has to be permanent, so keep that in mind. You can always fill unwanted holes with toothpaste (temporary solution) or use a wall repair kit.
Now go forth and conquer! The world is your art oyster.