
Supplies:
· Wood stain
· Wood glue
· Spray glue
· Wood scraps
· Washers & nuts
· Permanent marker
· Wheels
Tools:
· Stain brush
· Drill
Instructions:
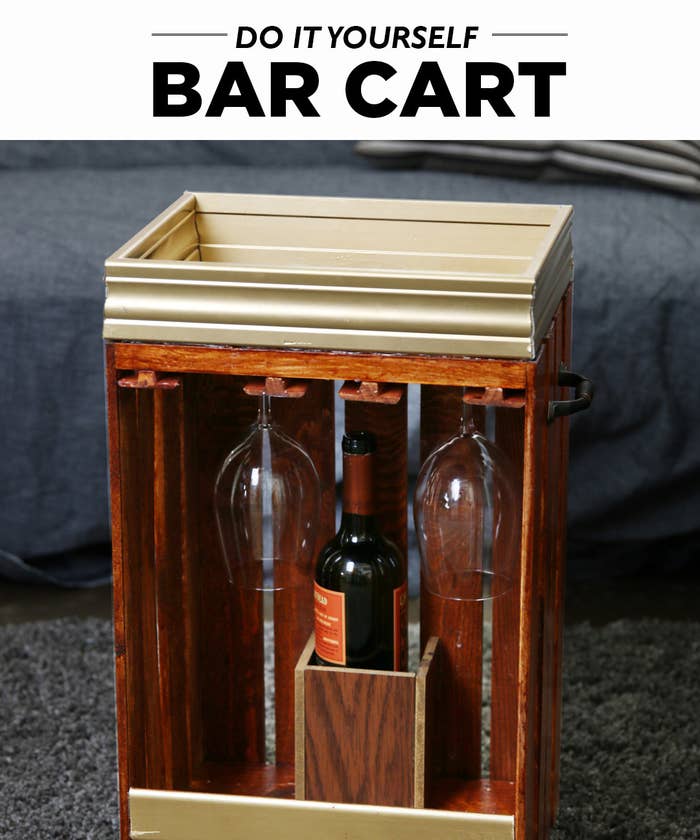
1. Stain a 12 1/2 x 9 5/8 x 17 7/8-inch wooden crate with wood stain. Stand the crate vertically. Use spray glue to attach the felt sheet to the top.
2. Cut 4 pieces of moulding to fit the length (12.25 inches) and width (9.75 inches) of the top of the crate. Sand down the edges at a 45 degree angle to fit the pieces together in a frame. Use wood glue to glue the frame together.
3. When set, use wood glue to glue the frame onto the top of the crate.
4. Spray paint one side of wood scraps (3.5in x 5in). Glue the wood scraps onto the inner back of the crate, forming a U-shape. Let dry.
5. Flip the crate upside down. Measure T-moulding (9.25 inches) to fit wine your desired wine glass base. Glue the moulding to what will be the top of the rack and let it set.
6. Flip crate right side up. Glue another piece of T-moulding (11.75in) to the bottom front of the crate.
7. Mark out the position of the handle holes with a marker. Drill in pilot holes, then screw handle in place.
8. Flip the crate over. Position wheels onto the corners of the crates, then add a washer to the screw before drilling them into the crate.