

As your summer grilling correspondent, I am sworn to tell you nothing but the grilling truth. So here it is: You already have all the information you need to grill shellfish, because it is ridiculously easy. Take shellfish, put on grill, remove from grill, eat. That's it.
But no one does it! You rarely see grilled shellfish at barbecues. So you've probably been missing out. We are going to remedy that.
For this post, I grilled oysters and mussels, probably my two favorite mollusks to eat in any form. For the mussels, you need nothing extra. Maybe a squeeze of lime. But that's it! Clams can also be prepared just as easily in exactly the same way.
For the oysters, we're going to add a few things to make them even tastier. Namely: butter. More specifically: an amazing garlic chili butter used at New Orleans restaurant Cochon, a spot that knows how to cook an oyster. Cochon chef Donald Link shared the recipe with New Orleans radio station WWOZ last year, and for that I am thankful, because it is delicious. Save the leftovers if you have any — this butter is great on just about everything.
That said, if you are pressed for time or ingredients, just slap a pat of butter and a squirt of Sriracha on each oyster and you're in business.
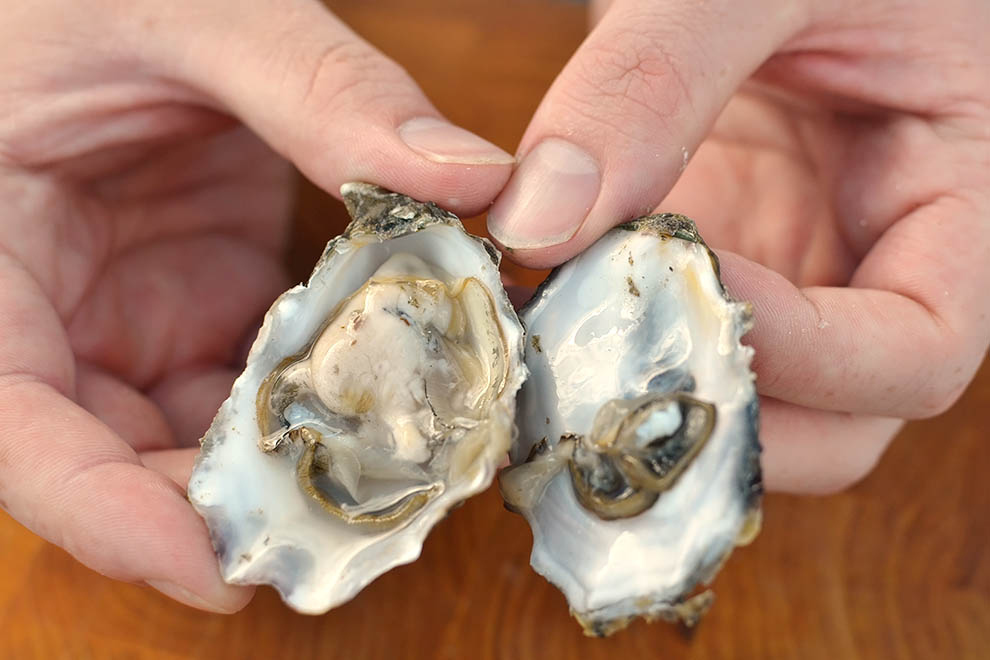
To ensure maximum deliciousness for your oysters, you should shuck them just a few minutes before grilling. Shucking is much easier than you think, and it's also a lot of fun. Get yourself a shucking knife and be bold.
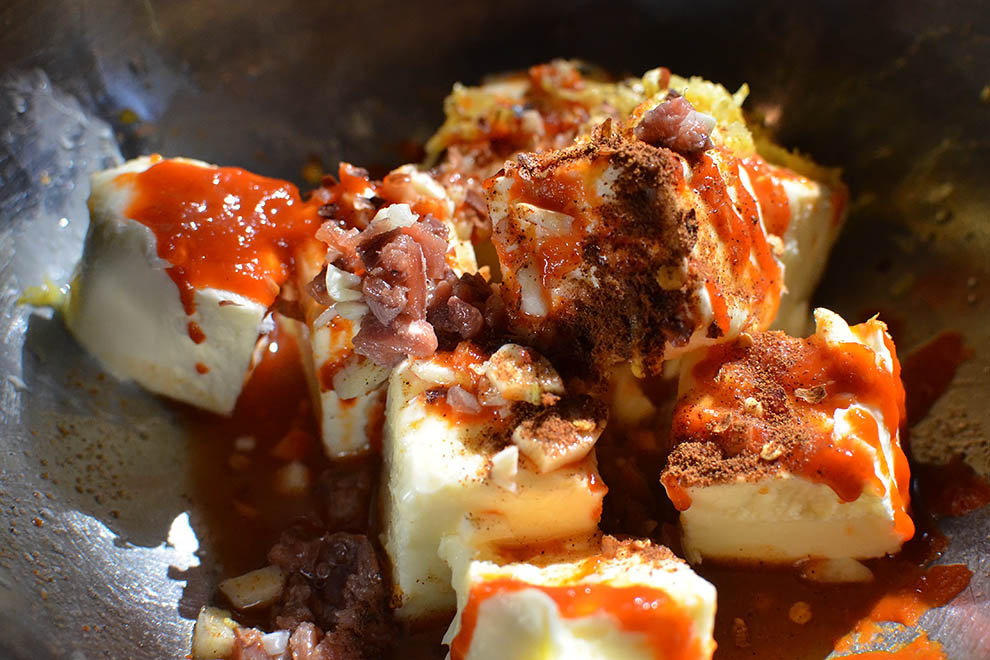
STEP 1 (optional but delicious): Make a flavored butter for the oysters.

You will need:

Once the butter is soft, mix it and all the other ingredients together.
Next, roll it into a log and refrigerate.

You can refrigerate this now for several days, or freeze it for a couple of months. Either way, chill it a bit before it's time to grill, because it's easier to slice when it's harder.
There's a much more professional way to do this involving parchment paper and a straight edge. I didn't care to bother with it. But maybe you do:
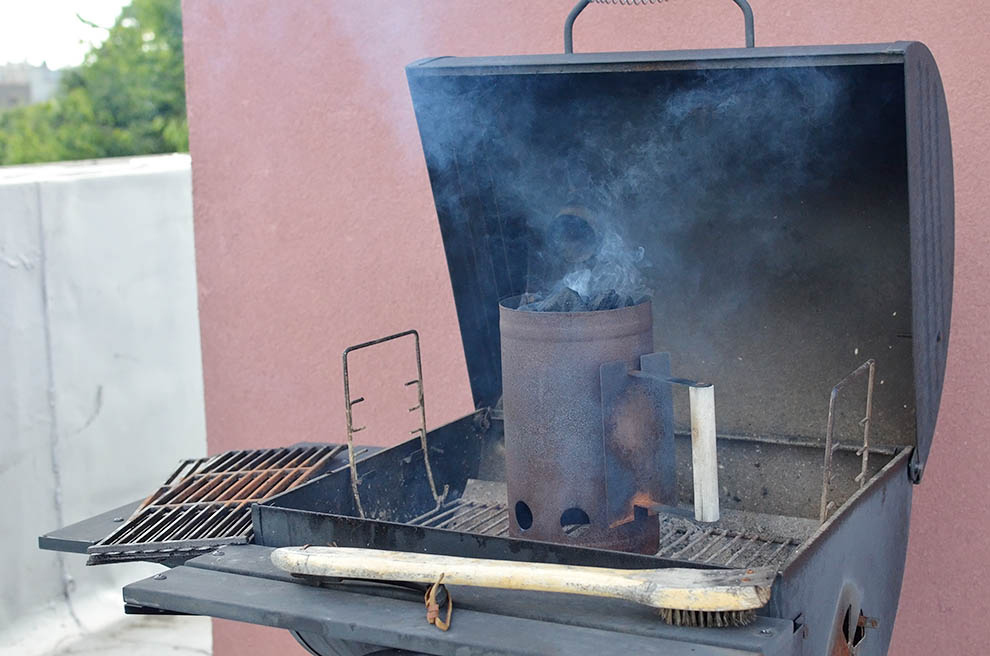
STEP 2: Get your grill going.
STEP 3: Clean the shellfish.

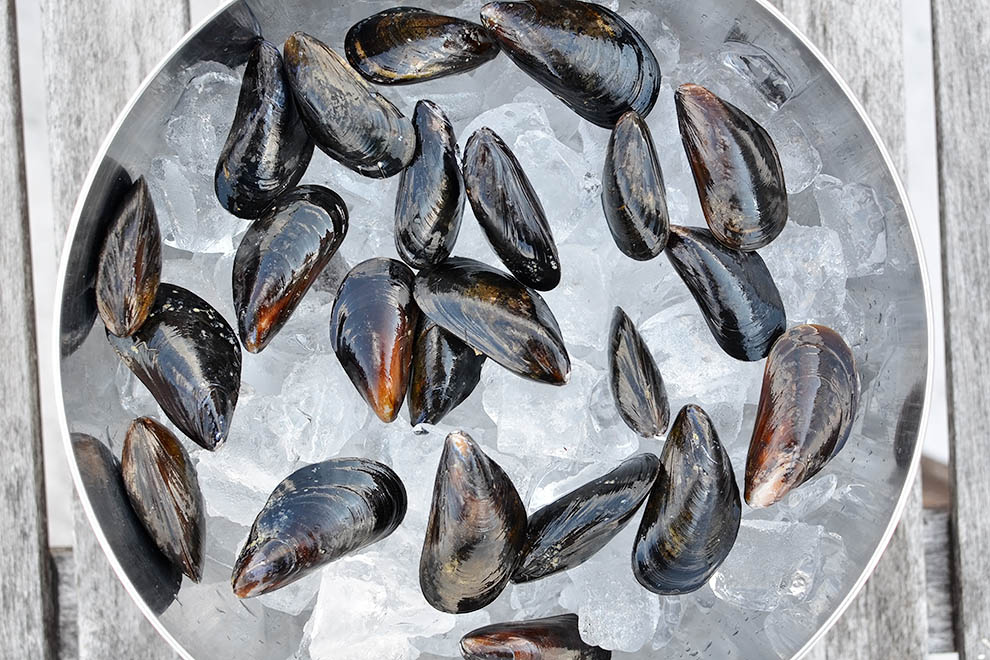
You'll want to scrub and debeard the mussels. To debeard means to get rid of that little bit of seaweed-looking stuff hanging from between the shells. Just grab it and yank it out. It's not terrible to eat, so don't worry if you don't get it.
Head over to The Kitchn for a more detailed debearding how-to.
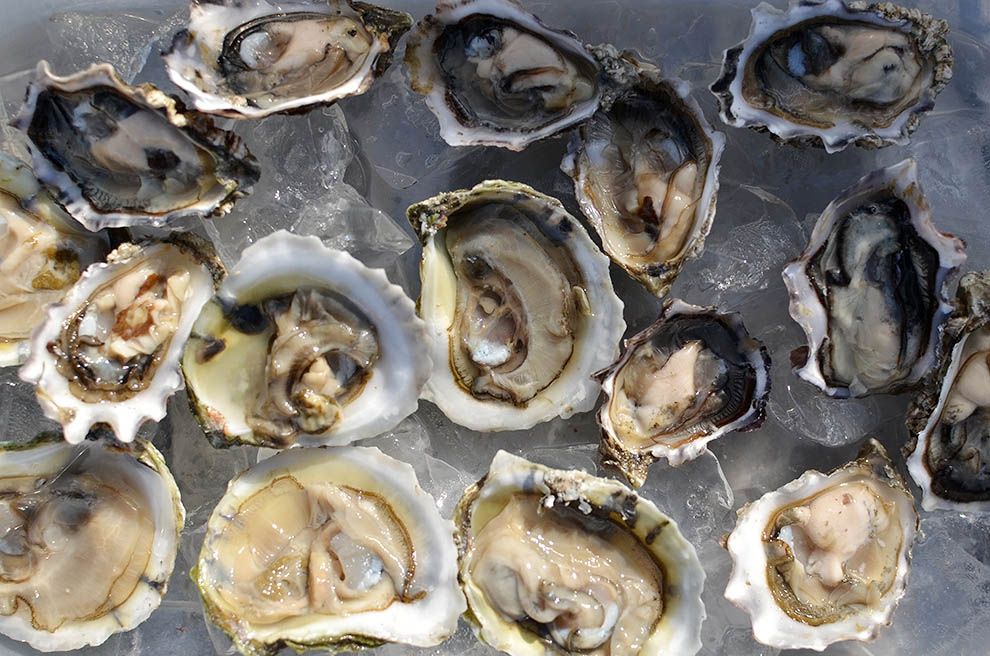
The oysters just need to be rinsed under cold running water.
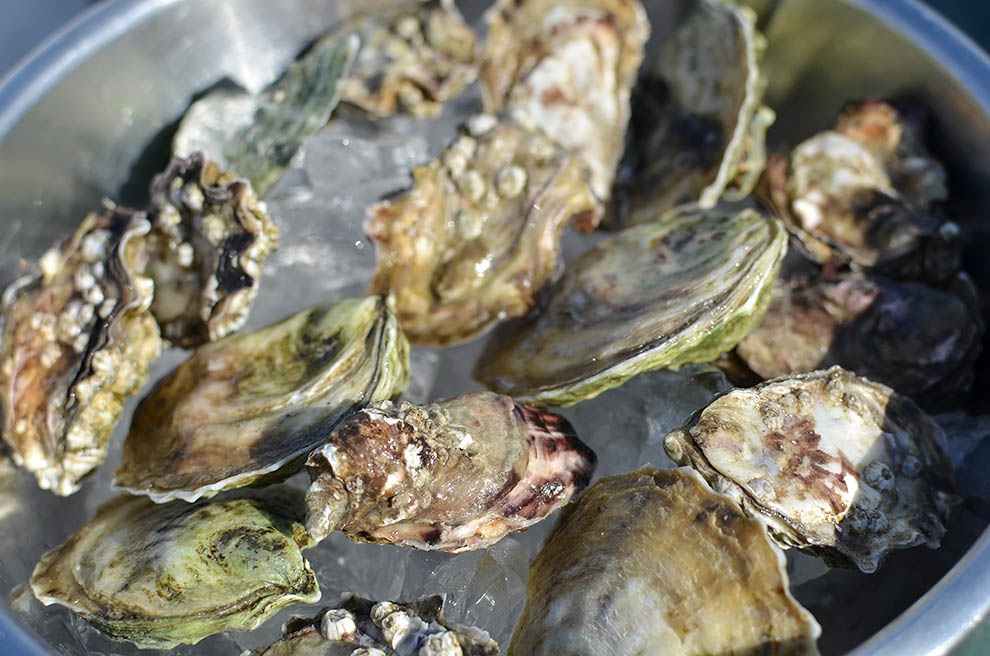
Put both over ice while the grill is heating up.
STEP 4: Shuck the oysters.

Oyster shucking is one of those skills that comes in handy when you least expect it, like driving a stick-shift or opening a beer bottle with a lighter. And it's really easy.
Put the oysters back over ice, being careful to retain as much of their natural juice as possible.

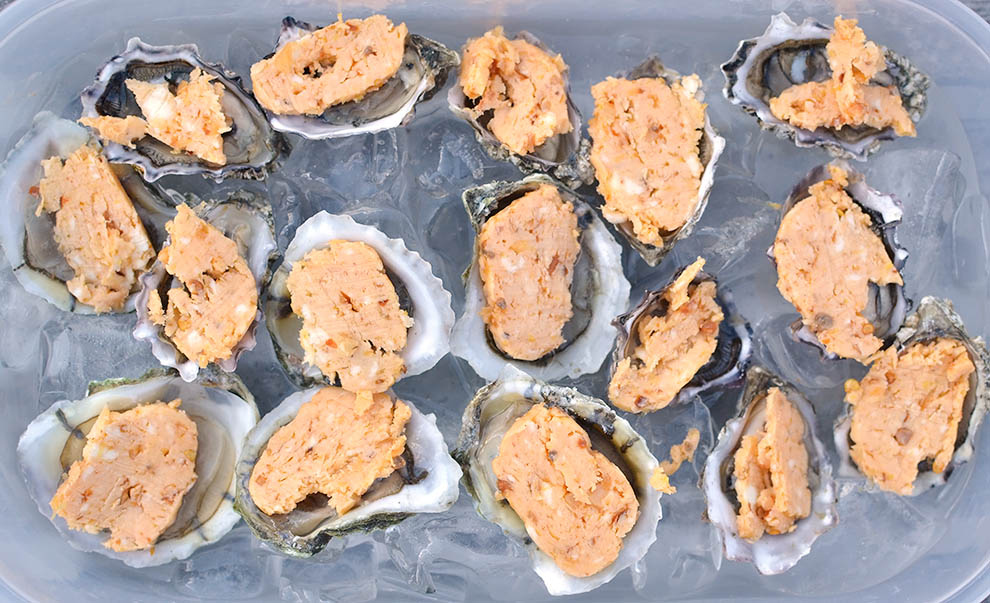
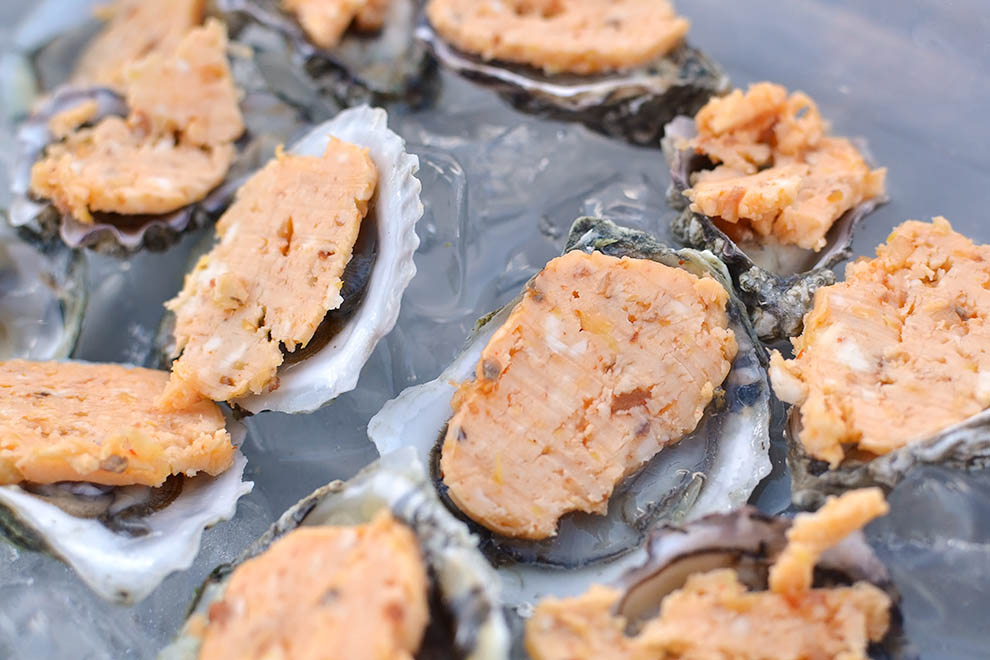
STEP 5: Adorn each oyster with a slice of butter.
STEP 6: Put everything on the grill.
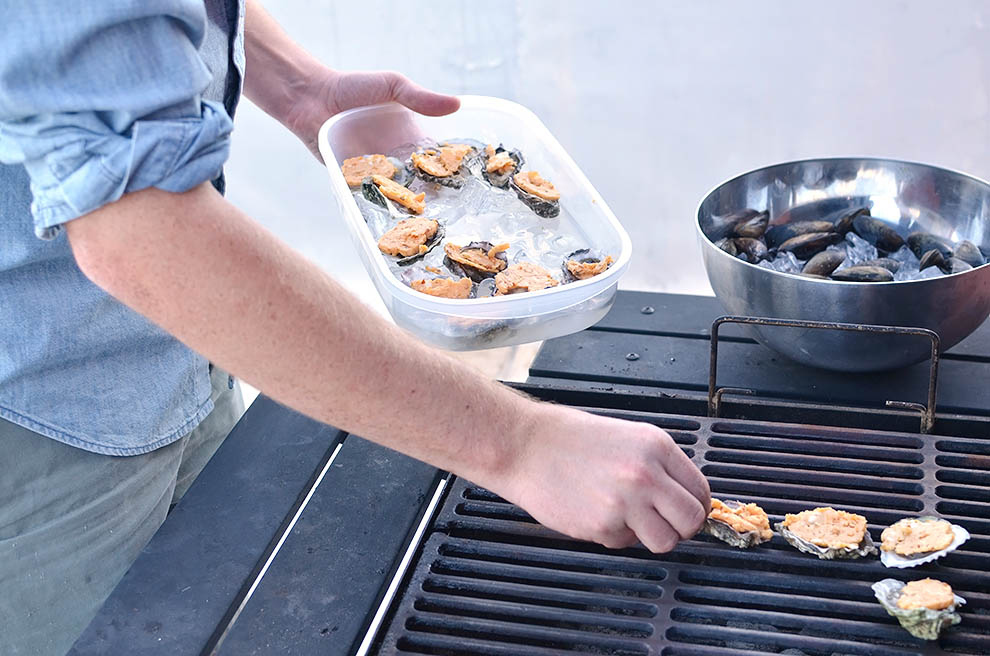
If the oysters have thin ridged bottom shells, you can wedge them in between the grill grates to keep them standing up.

STEP 7: Grill, covered, for about 5-6 minutes, until all the mussel shells have opened and the oysters have begun to shrivel around the edges and shrink a bit.
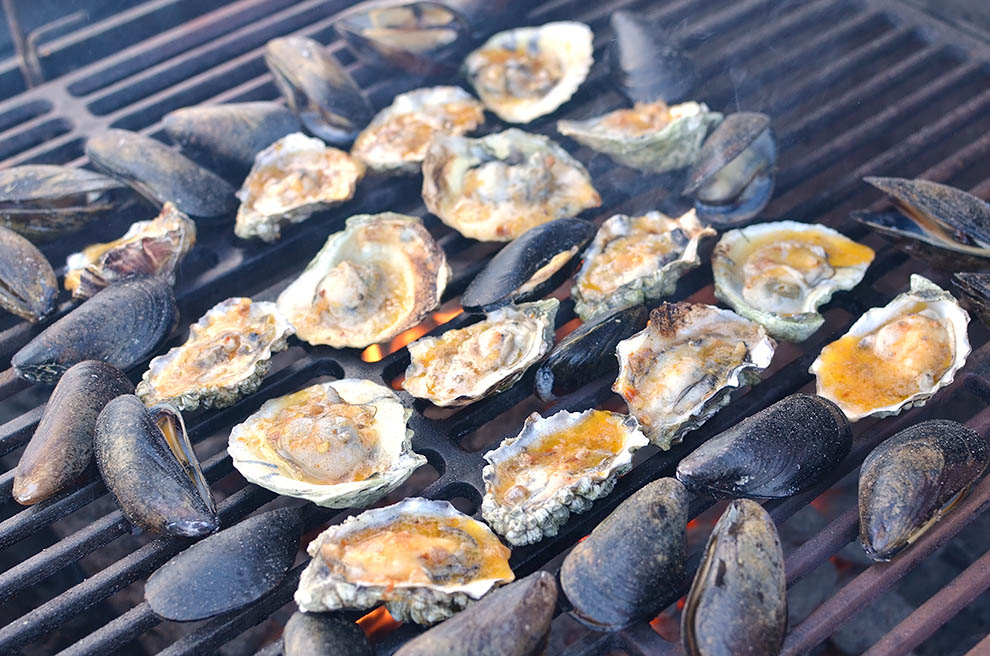
Don't let them dry all the way out—the oysters should be floating in a nice little pool of butter, and the mussels should be full of their natural juices when you pull them off.

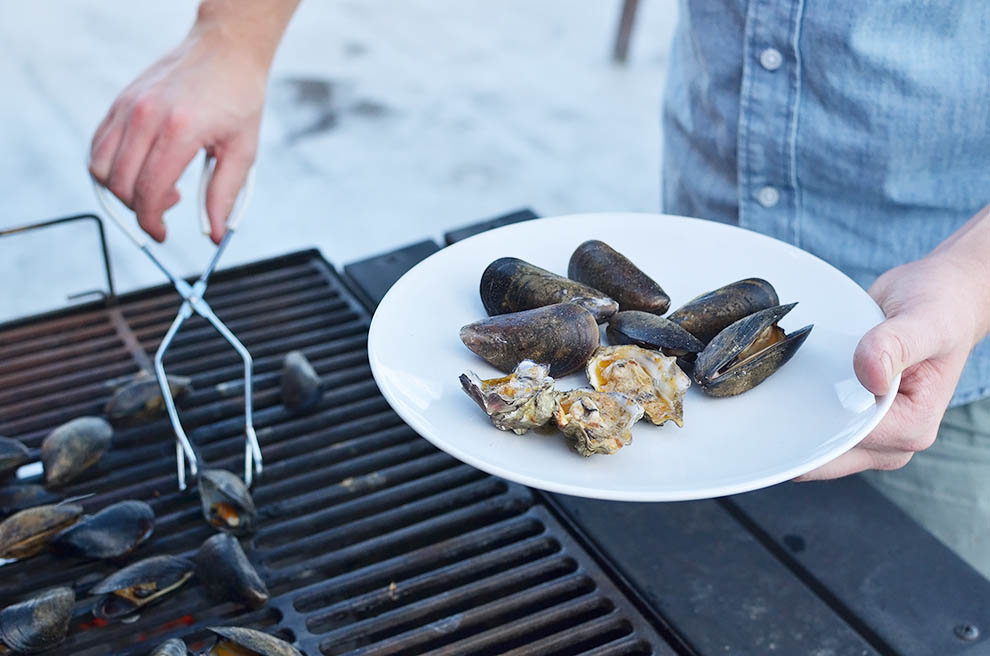
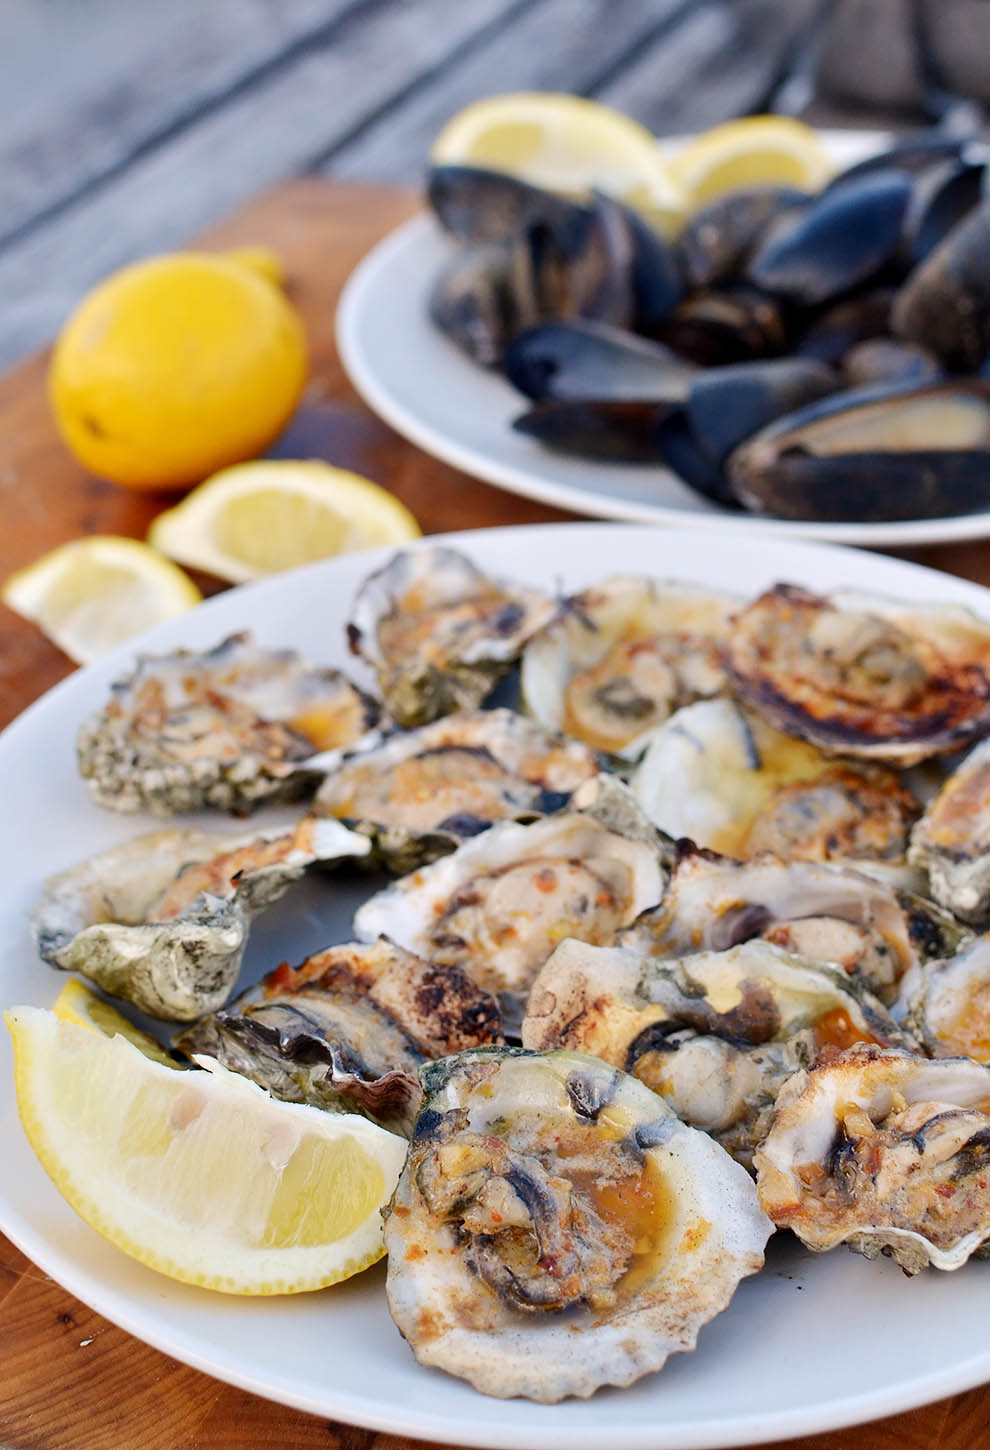
STEP 8: Squeeze everything with lemon and eat.

Grilled Shellfish with Garlic-Chile Butter
Butter recipe from Chef Donald Link, Cochon, New Orleans
INGREDIENTS
For the butter
2 sticks of butter
2 cloves garlic
2 anchovy fillets
1 lemon, juice and zest
2 tablespoons Sriracha
2 teaspoons red chili flakes
1/4 teaspoon cayenne pepper (or ancho chili powder, like I used)
Mussels, scrubbed and de-bearded (about 6-8 per person, or however many you want)
Oysters, unshucked, any kind. The fresher the better, of course (Although, note: if you're going straight from the store to the grill, you can have them shucked for you. Just ask the shucker to save the bottom shells and as much of the juice as they can for you).
Lemon wedges to squeeze the finished product
PREPARATION
For the butter
1. Cut the sticks of butter into inch-long cubes and leave it on the counter for several hours to soften. You can of course quicken this process in the microwave, but use short bursts.
2. Finely mince the garlic cloves and anchovy fillets and add them to the bowl of butter, along with all the rest of the ingredients
3. Mix well
4. Once combined, scoop the butter mixture onto a sheet of cling-wrap and roll it into a log. You can now refrigerate this for several days, or freeze indefinitely. Either way, chill it a bit before it's time to grill, because it's easier to slice when it's harder.
Grilling
1. Light a fire in your grill.
2. Scrub and debeard the mussels. If any of the mussels are open and don't seem to close most of the way after tapping them on the shell a few times or running them under water, toss 'em (they may be dead).
3. Shuck the oysters, retaining as much of their juices in the half-shell as possible. When the grill is ready, put a thin slice of the compound butter on top of each oyster and place them on the grates, keeping them as upright as possible so the butter and juices stay in the shell.
4. Place the mussels on the grill, too
5. Grill, covered, for about 5-6 minutes, until all the mussel shells have opened and the oysters have begun to shrivel around the edges and shrink a bit. Don't let them dry all the way out — the oysters should be floating in a nice little pool of butter, and the mussels should be full of their natural juices when you pull them off.
6. Squeeze everything with lemon, and eat. Just give everyone a fork and let them dive in.