
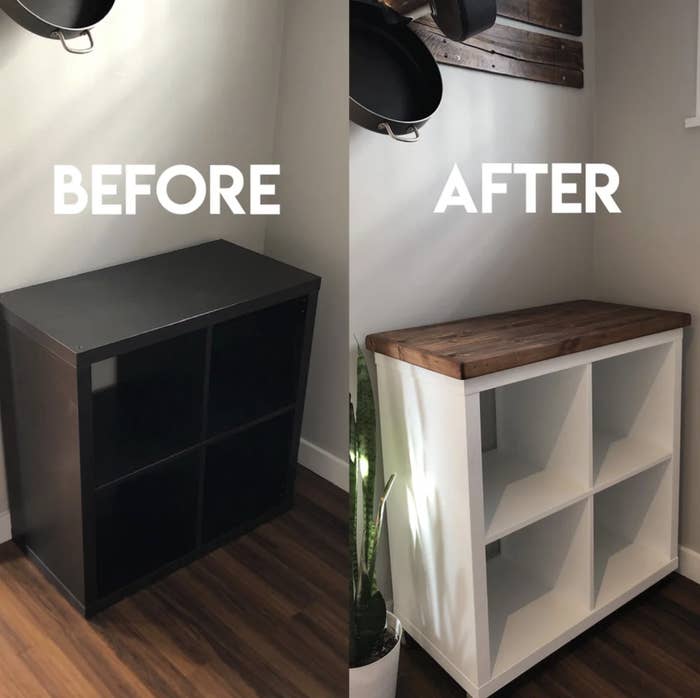
1. This updated shelf space:
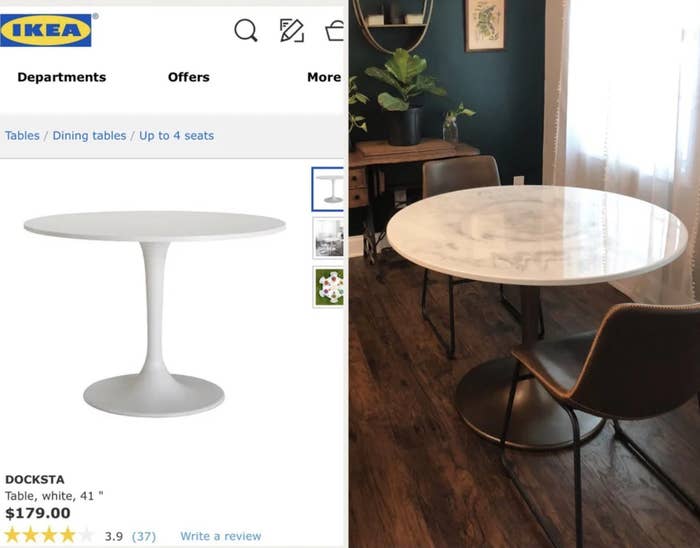
2. This expensive-looking faux marble:
3. This genius bar hack:
4. This nifty hidden litter box bench:
5. This beautiful, elevated dresser:

6. This incredible Mario-inspired storage shelf:

7. This diaper changing table with tons of storage:
