We hope you love our recommendations! Some may have been sent as samples, but all were independently selected by our editors. Just FYI, BuzzFeed and its publishing partners may collect a share of sales and/or other compensation from the links on this page.

So you're ready to get elbow deep in some orange guts? Or maybe not? Perhaps you're more into the "After" than the "During" when it comes to carving a jack-o'-lantern. Either way, I'm here to help.
First things first, make sure that you select a pumpkin with enough surface area to accommodate your desired design.

OR if you want to make that ghoulish visage last for years to come, opt for a foam pumpkin instead.

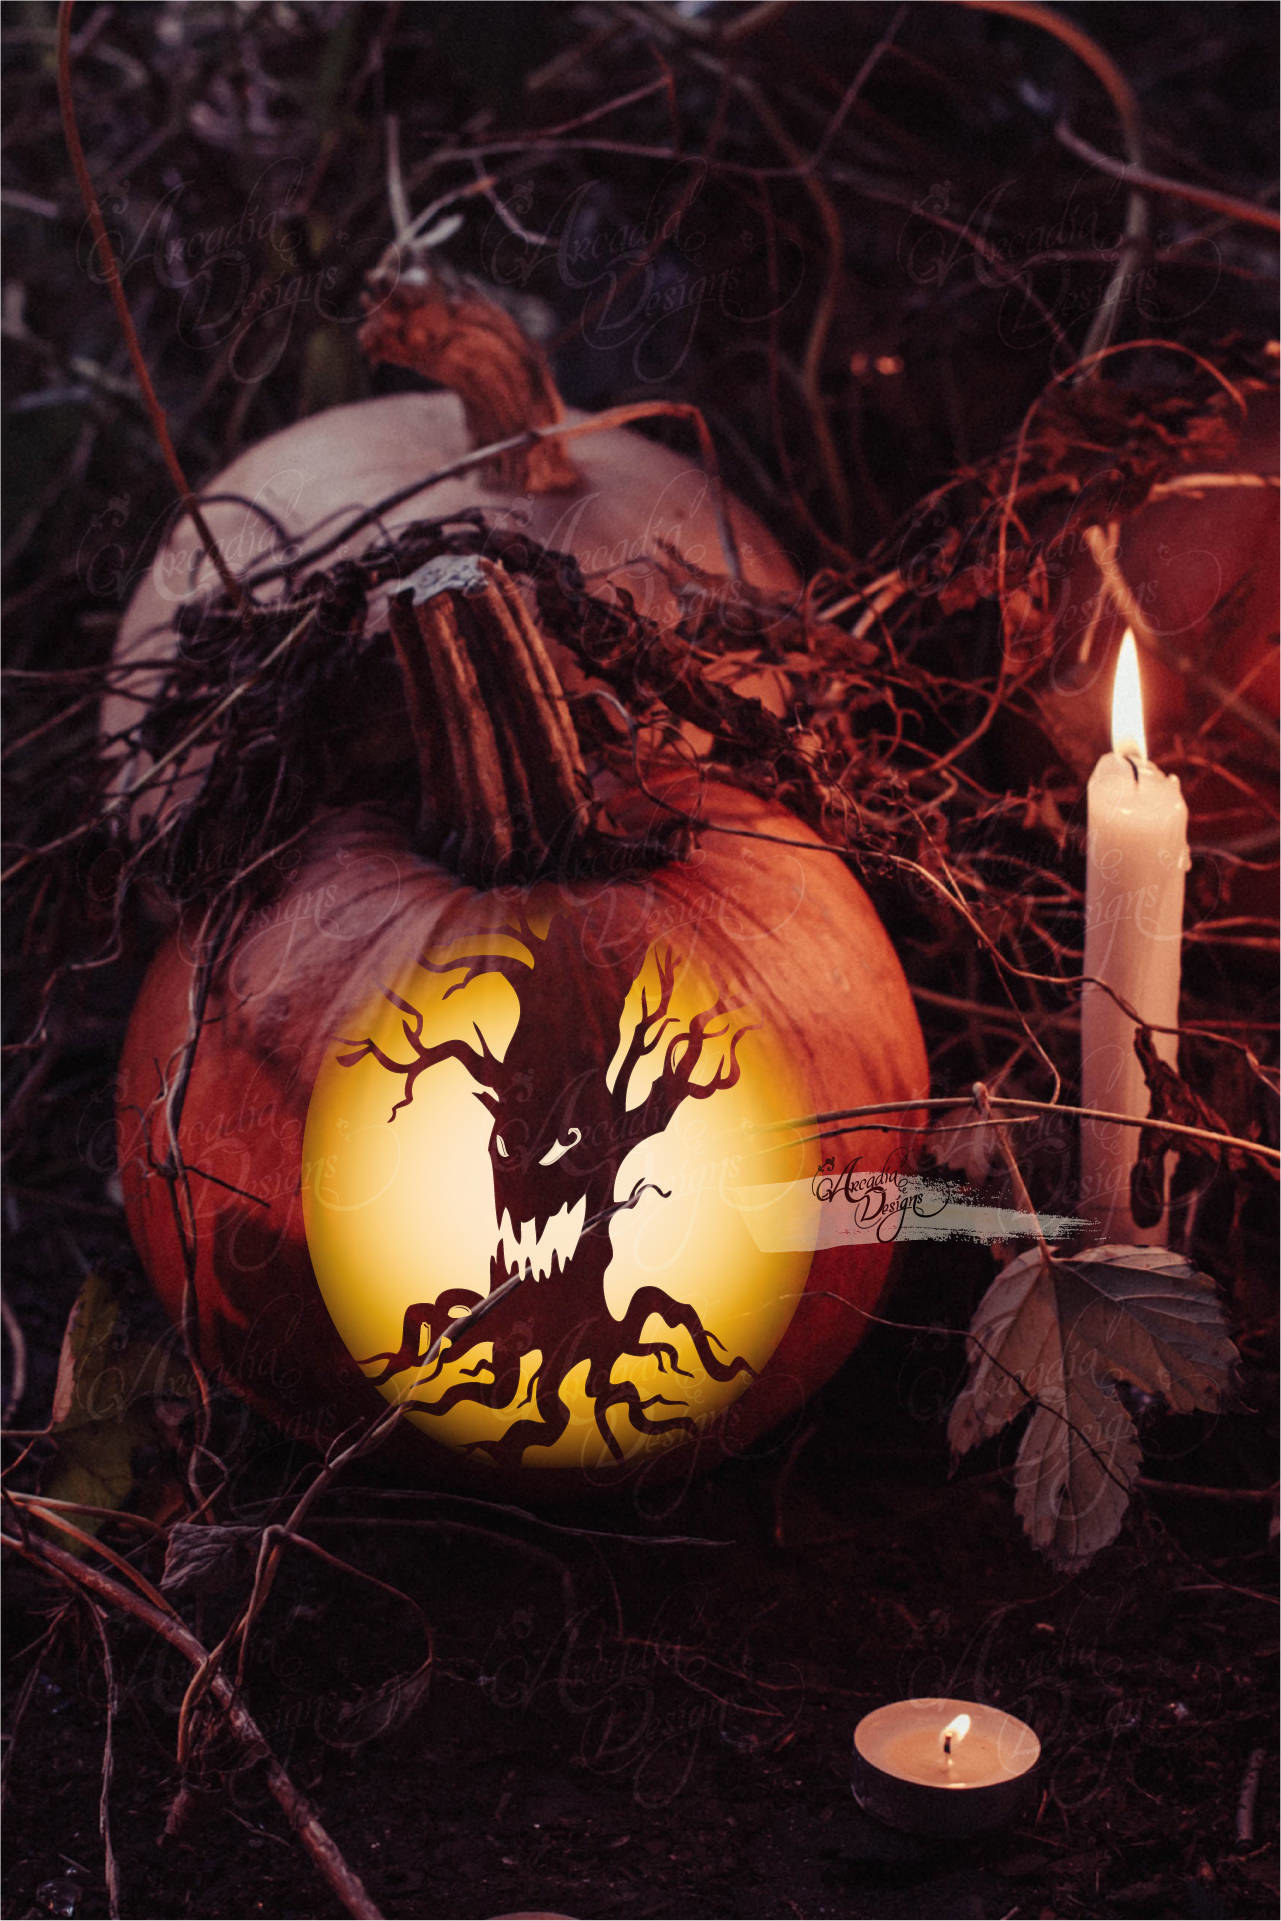
Does the thought of free-handing a design makes you tremble like Ichabod Crane? Embrace pumpkin stencils like this *printable* spooky one from Etsy.
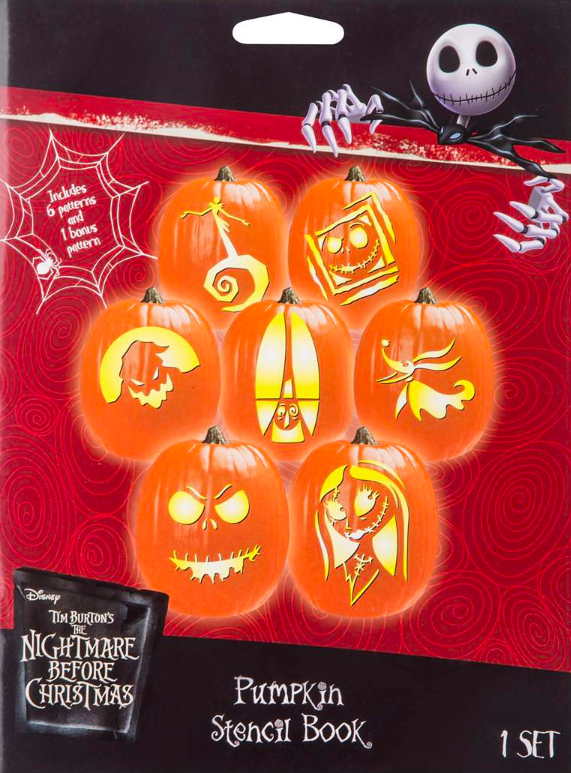
If you're carving a whole family of jack-o'-lanterns, perhaps invest in a book of The Nightmare Before Christmas stencils. Otherwise, carving stencils run the gamut from simple classics to intricate horror legends.
~Safely~ and efficiently carve a pumpkin with a sharp set of tools. Aka, don't opt for your least favorite knife or a plastic kit from the grocery store. We only want FAKE blood in this house!
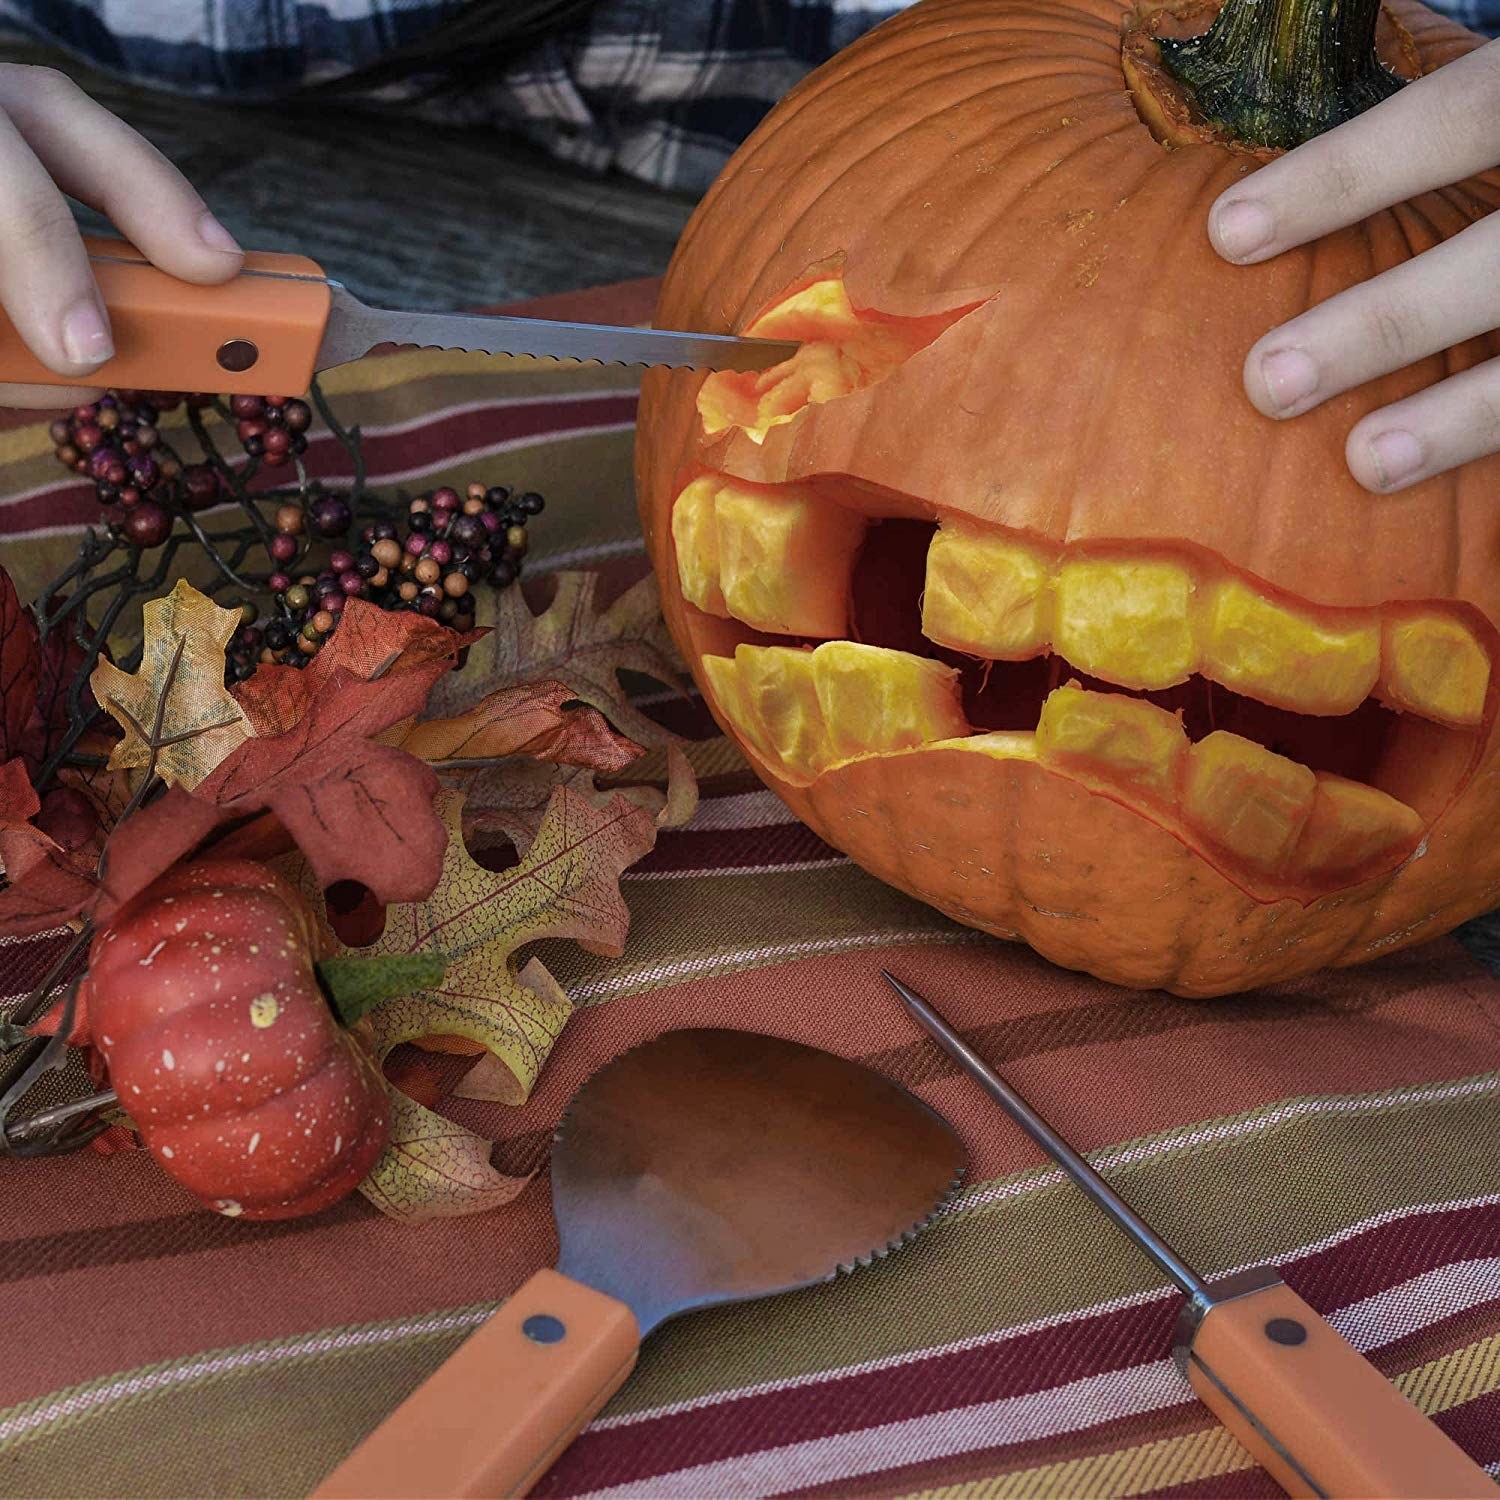
Need some scooping flexibility? Check out this carving set reviewers say is easy to hold onto when you're up to your eyeballs in pumpkin guts.
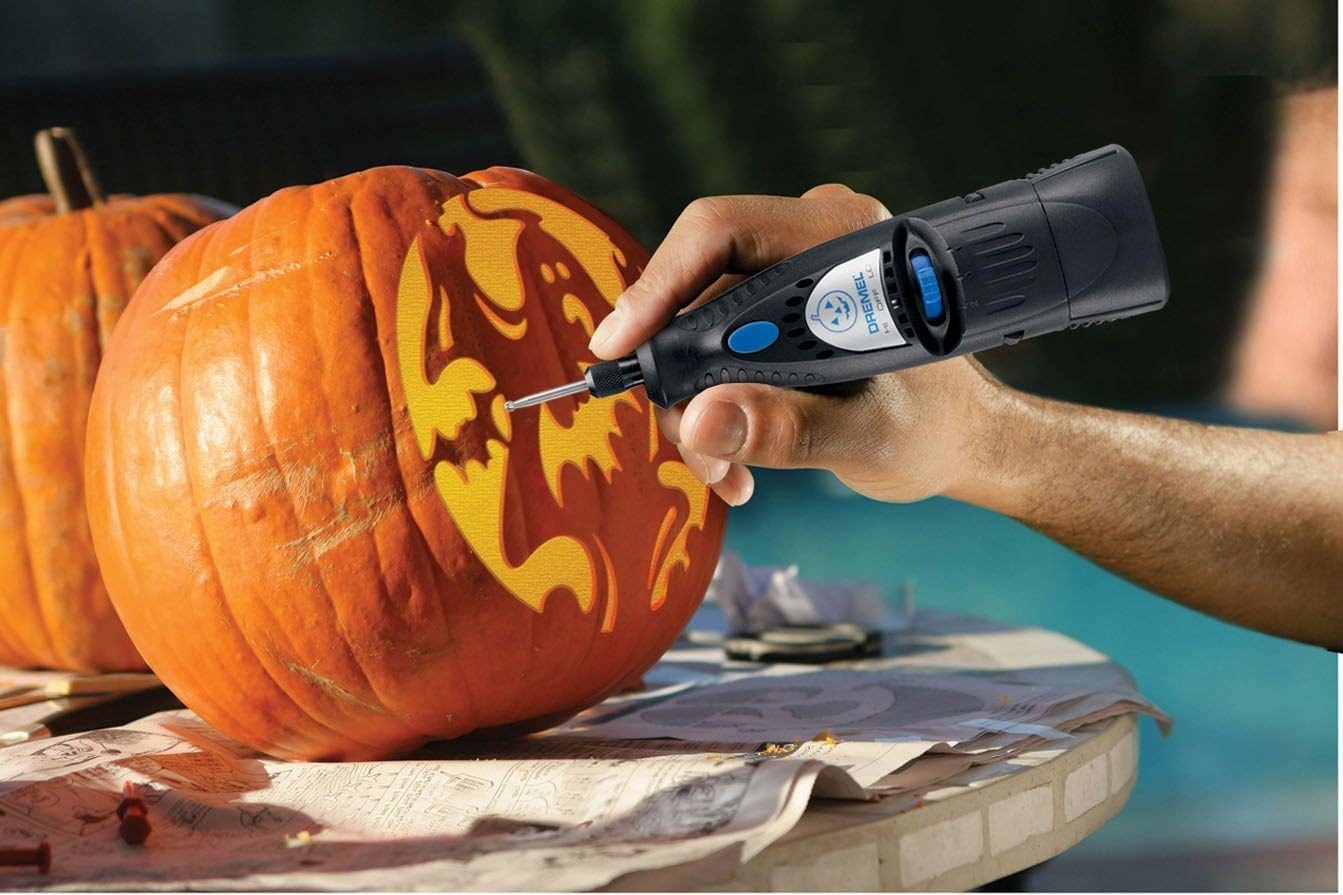
Add a rotary tool pumpkin carving kit to your arsenal if you want to carve intricate designs into the flesh of the pumpkin — though don't expect it to work like an electric knife.
Double check that your carving template and tools match up. Carving with knife and a rotary tool are very different.
Stick your template to your pumpkin with a push pin and either use a washable marker to trace the pattern or create a guide with perforated lines thanks to a skewer. If you're going the rotary tool route, check out some tips from Dremel.
Now that you have your tools, carve a lid around the stem and angle your knife so the lid will sit on top of the pumpkin without falling into your hollowed-out fruit.

Once you've scraped out the inside, (get ALL the stringy or guts-y stuff outta there), tackle the smaller parts first before moving onto the bigger ones.
You can use your tools (see above) to scrape out the inside. Some experts even suggest using a wet/dry shop vac to suck out the guts, which tbh is just a great thing to have around the house.
Also, starting with smaller cuts will help create more stability as you carve!
Preserve your newly carved visage by dunking it in a bleach solution to help prevent mold and decay.

Avoid a fire hazard for making your jack ~glow~ thanks to some battery operated votives that are so cheap, it'll be NBD if they're kaput once you bring out your turkey decor.
And if you really wanna create a ~mood~, use a kit you can hook up to a fog machine to make everything that much creepier.

Position your masterpiece in a dry, cool spot for success where it can be admired by all and also not make a mess (aka don't pull a Dwight).

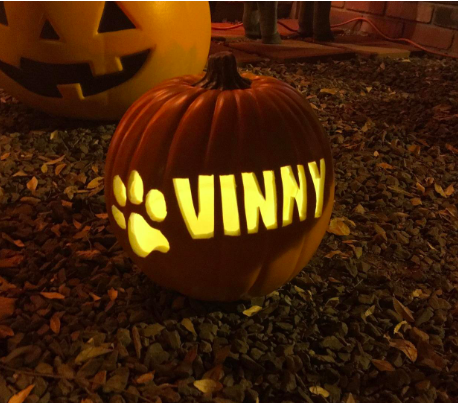
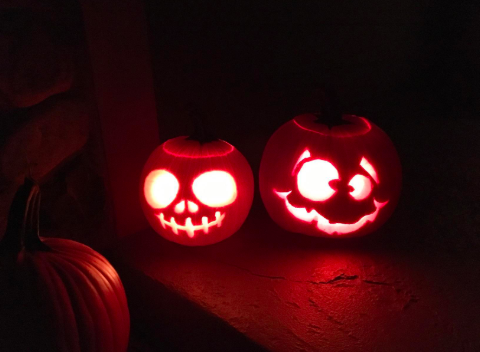
Photograph your lit creation the *right* way by eliminating any background light and opting out of a flash.
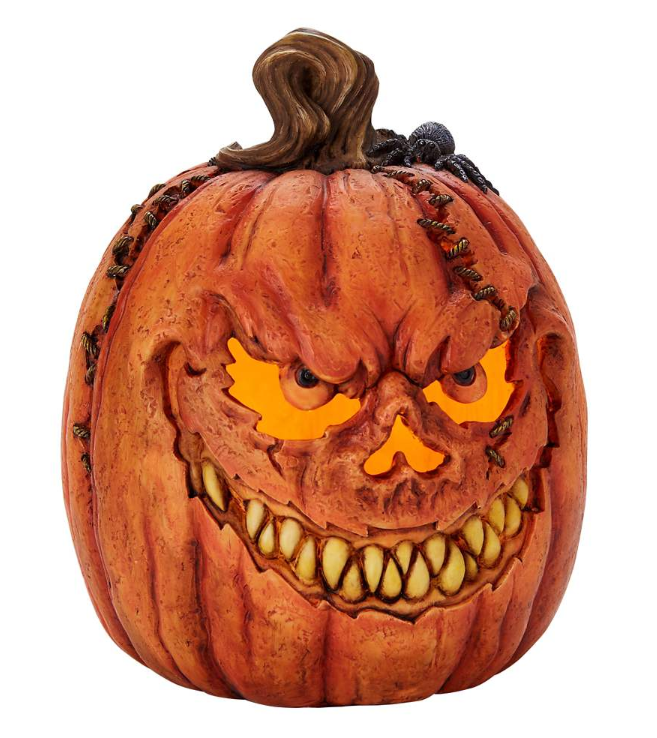
If all of this advice fails you, just get a really cool looking fake one that's good to go.
Apologies for my inability to teach you how to do this:

Looking for the perfect gift for any occasion? Check out all of BuzzFeed’s gift guides!
