We hope you love our recommendations! Some may have been sent as samples, but all were independently selected by our editors. Just FYI, BuzzFeed and its publishing partners may collect a share of sales and/or other compensation from the links on this page.

Hi, I'm Elizabeth and I've been cross-stitching (or at least trying to!) since I was ~8 years old. I get super into it, taper off for a few years, and then super into it again. When I'm full-throttling it — like I am now — it puts my busy hands to work and creates some awesome gifts for my loved ones.
Perhaps you're just starting out (check out my beginner tips!) or wanna put that horde of craft supplies to good use instead of going outside this winter. Either way, I hope these lil' hacks come in handy!
1. Hang on to every single extra thread, aida cloth scrap, and pattern from past projects because it can save you from buying a new pink thread *just* for a cute lil' kitten's nose.

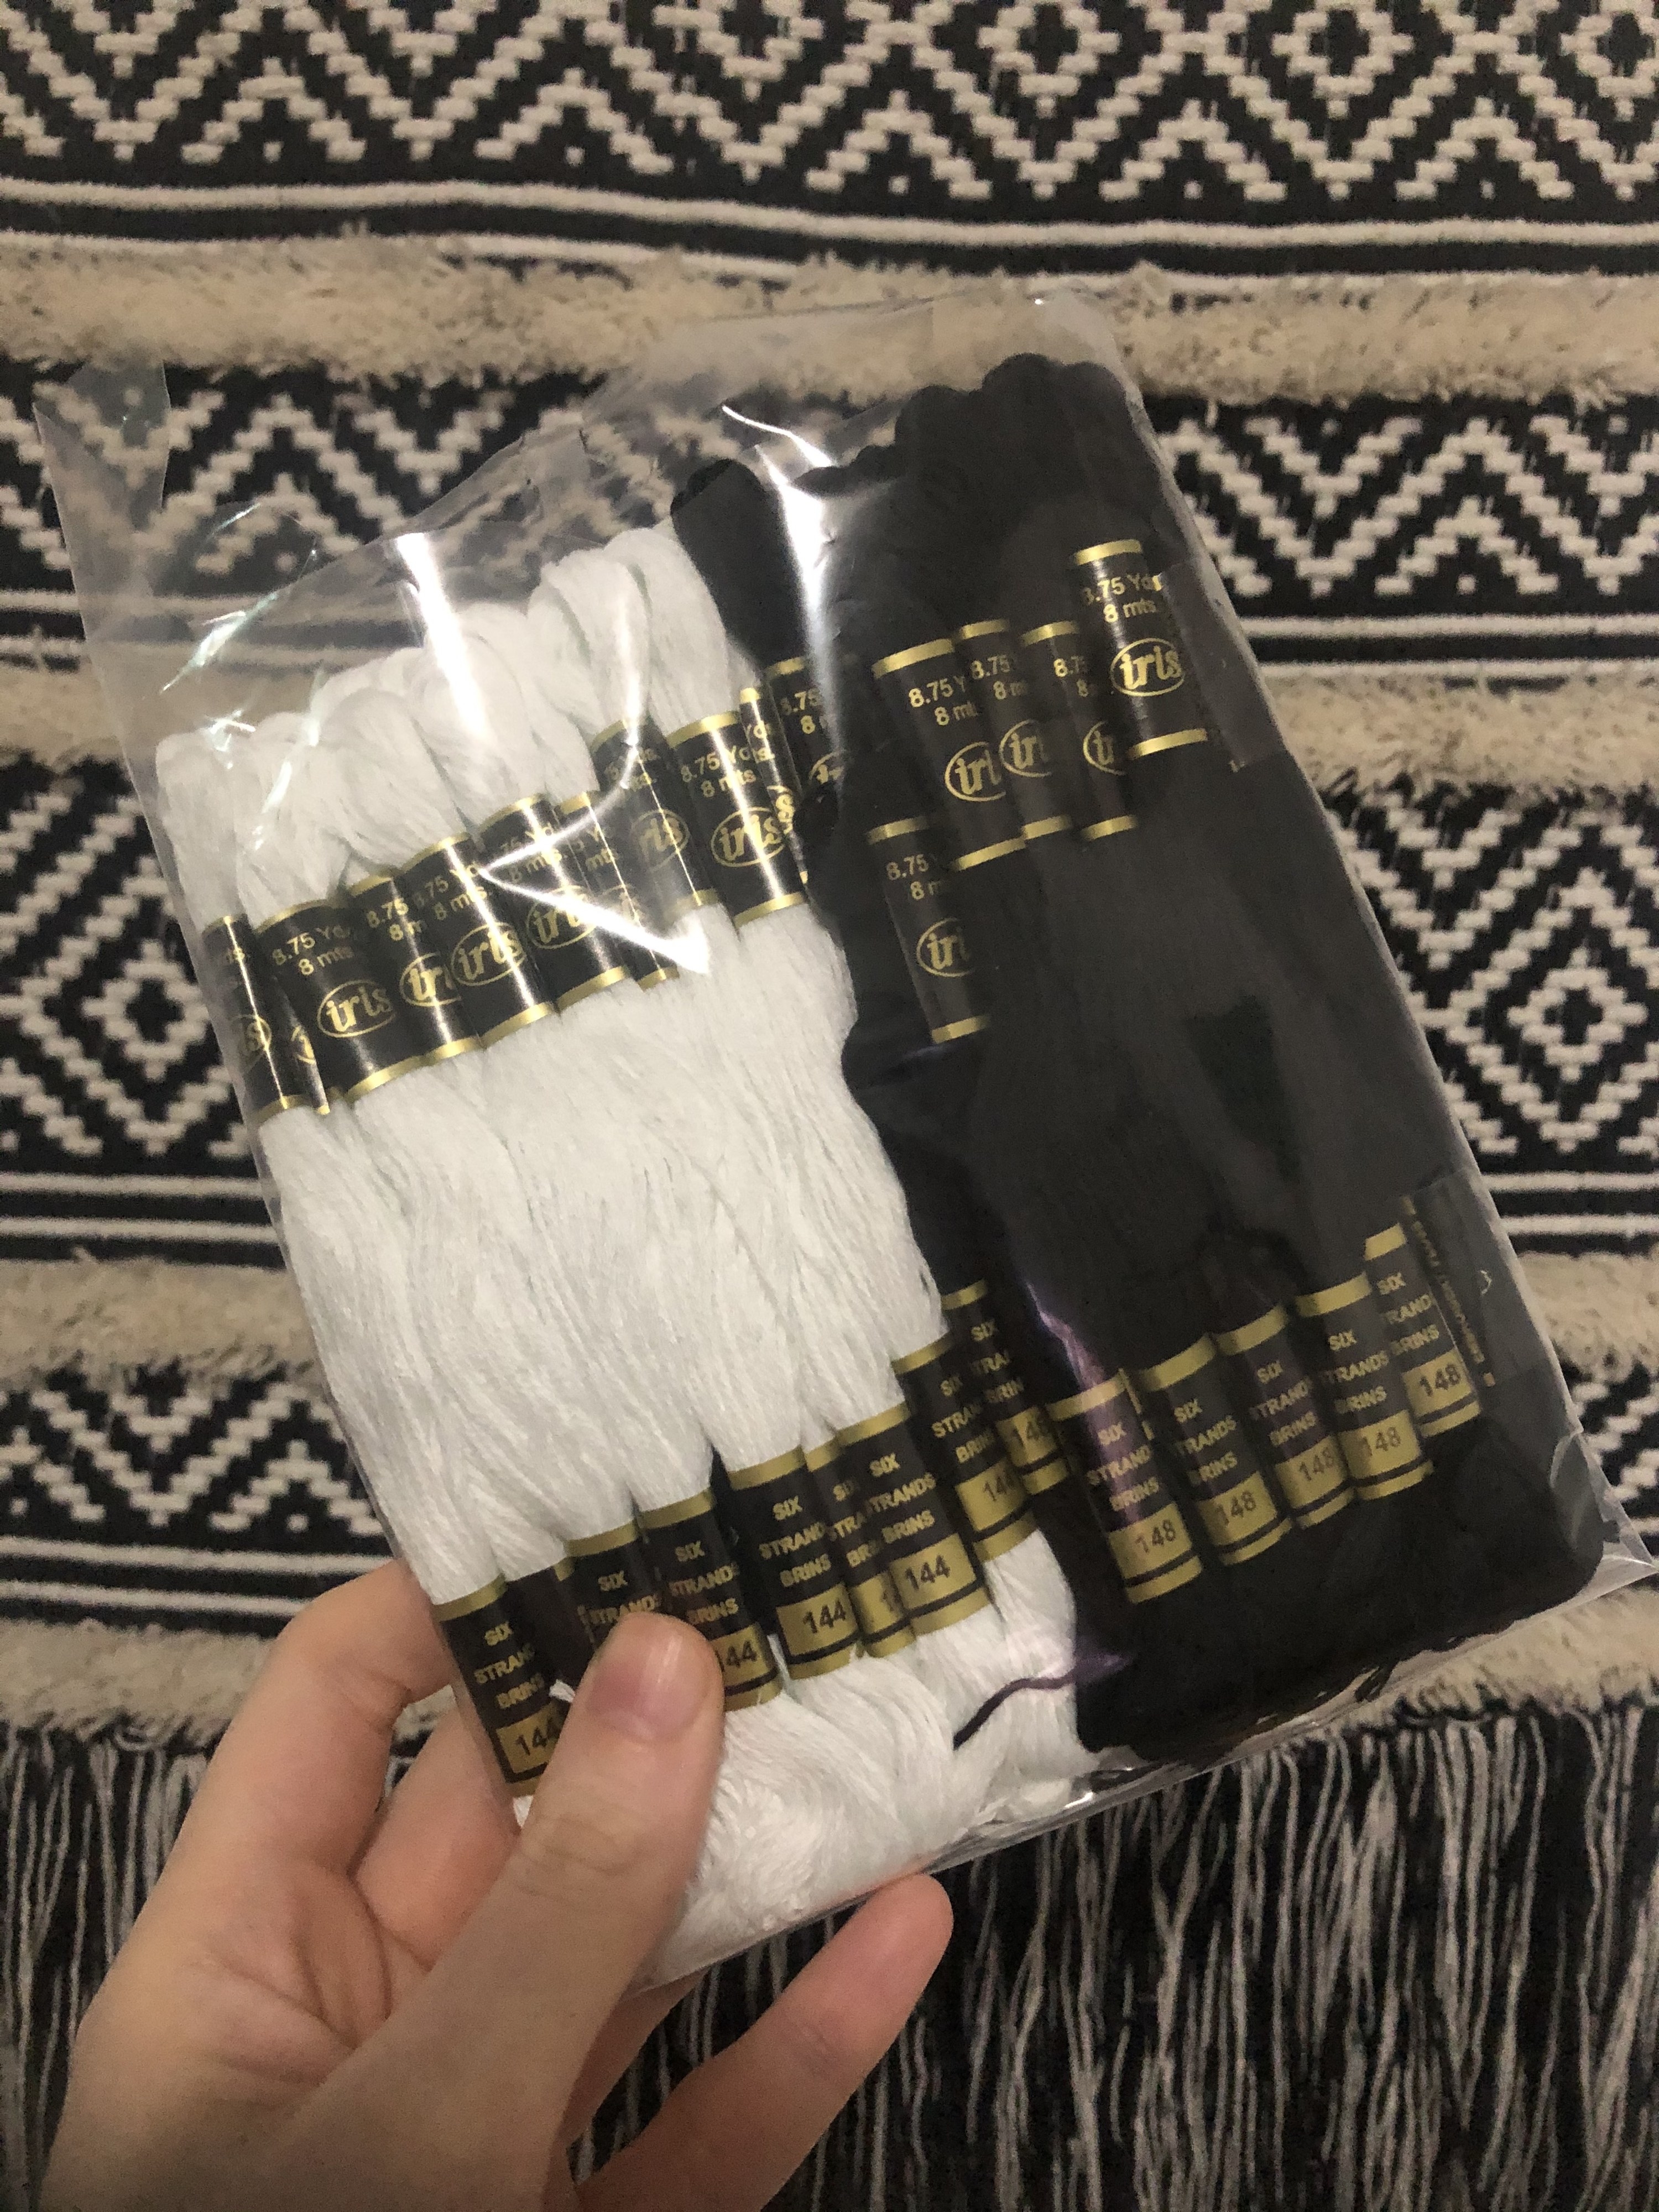
2. BUT it doesn't hurt to buy a big pack of black and white thread because those colors come up quite often in patterns.
3. You aren't beholden to thread colors in a design! Use what you have on hand that you think will still capture the ~spirit~ of the design.
4. Don't have the right color to finish off a section of your pattern? Add in one strand of a similar hue to one or two strands of your desired color thread. It's kinda like adding water to the hand soap to make it stretch...except no one will notice you did this.

5. Find affordable, quirky, instant PDF downloads on Etsy in a range of all sizes for way cheaper than kits with all the supplies (or pattern books in stores). Plus, you'll be supporting a small business!
6. This is the oldest trick in the book, but put masking tape on the edges of your cloth to prevent unraveling!
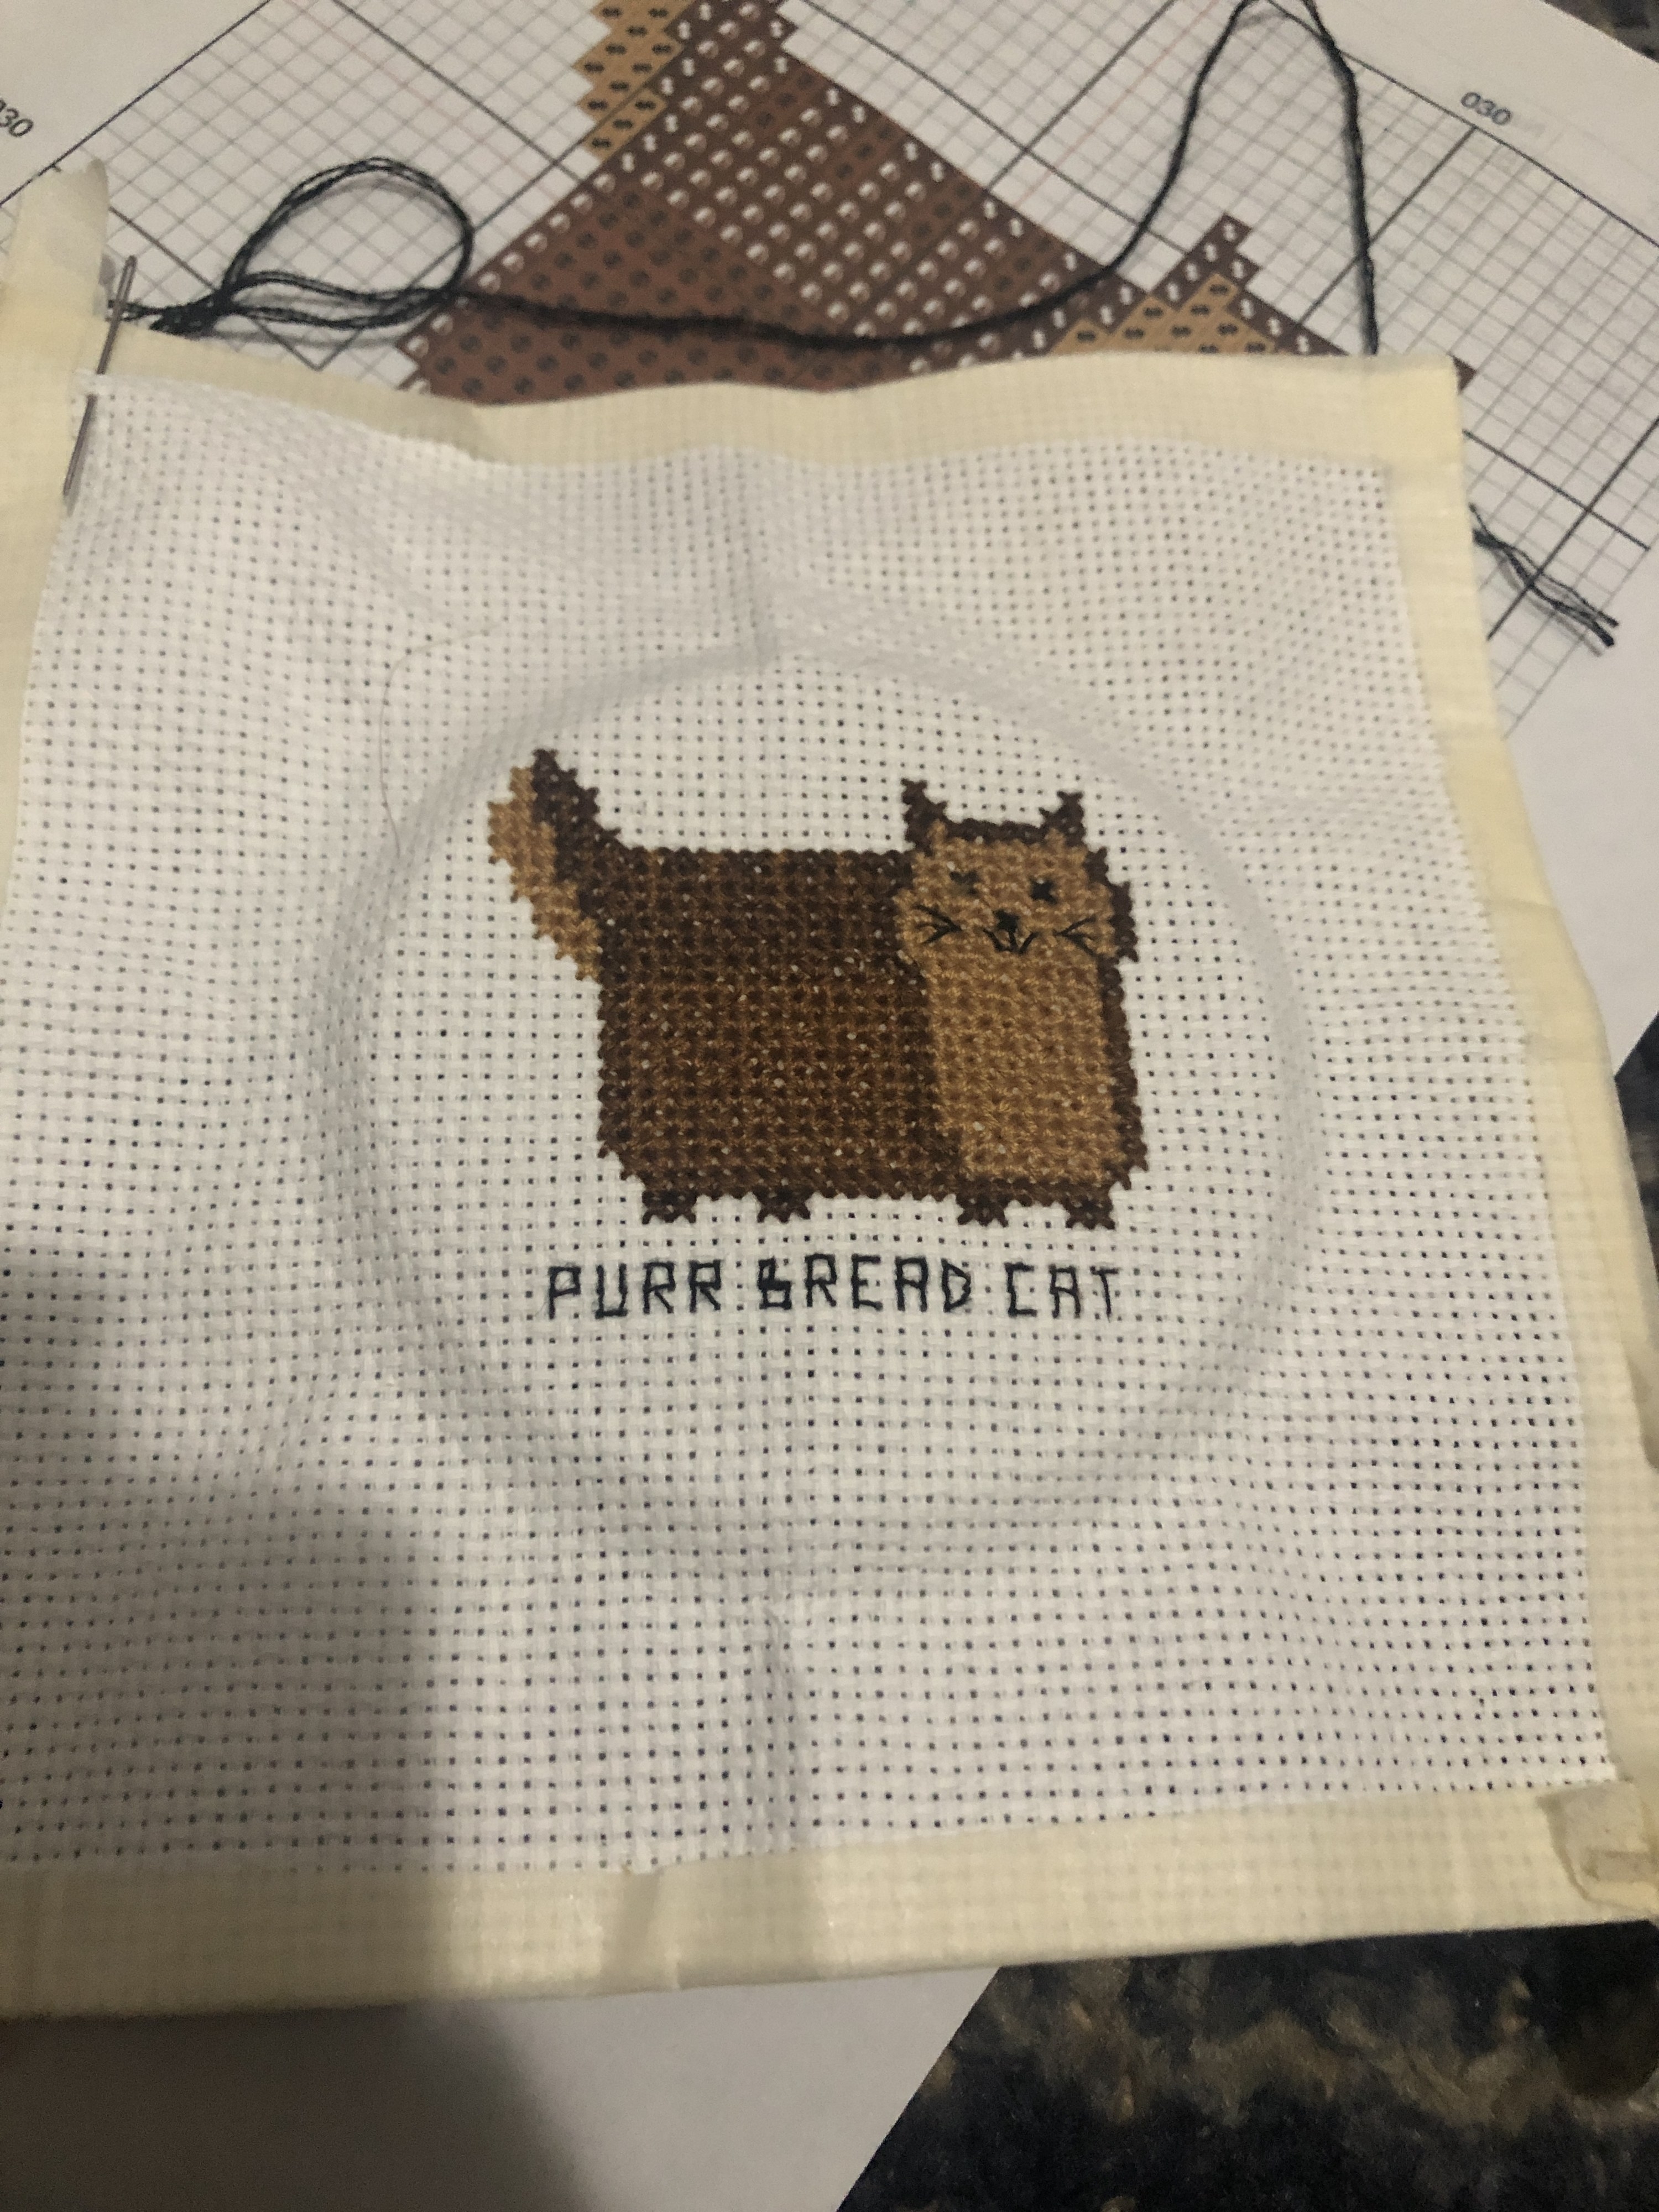
7. If you miscount stitches and *really* mess up a pattern (like I did here!), you can carefully undo the stitches and redo them instead of buying a new project kit.
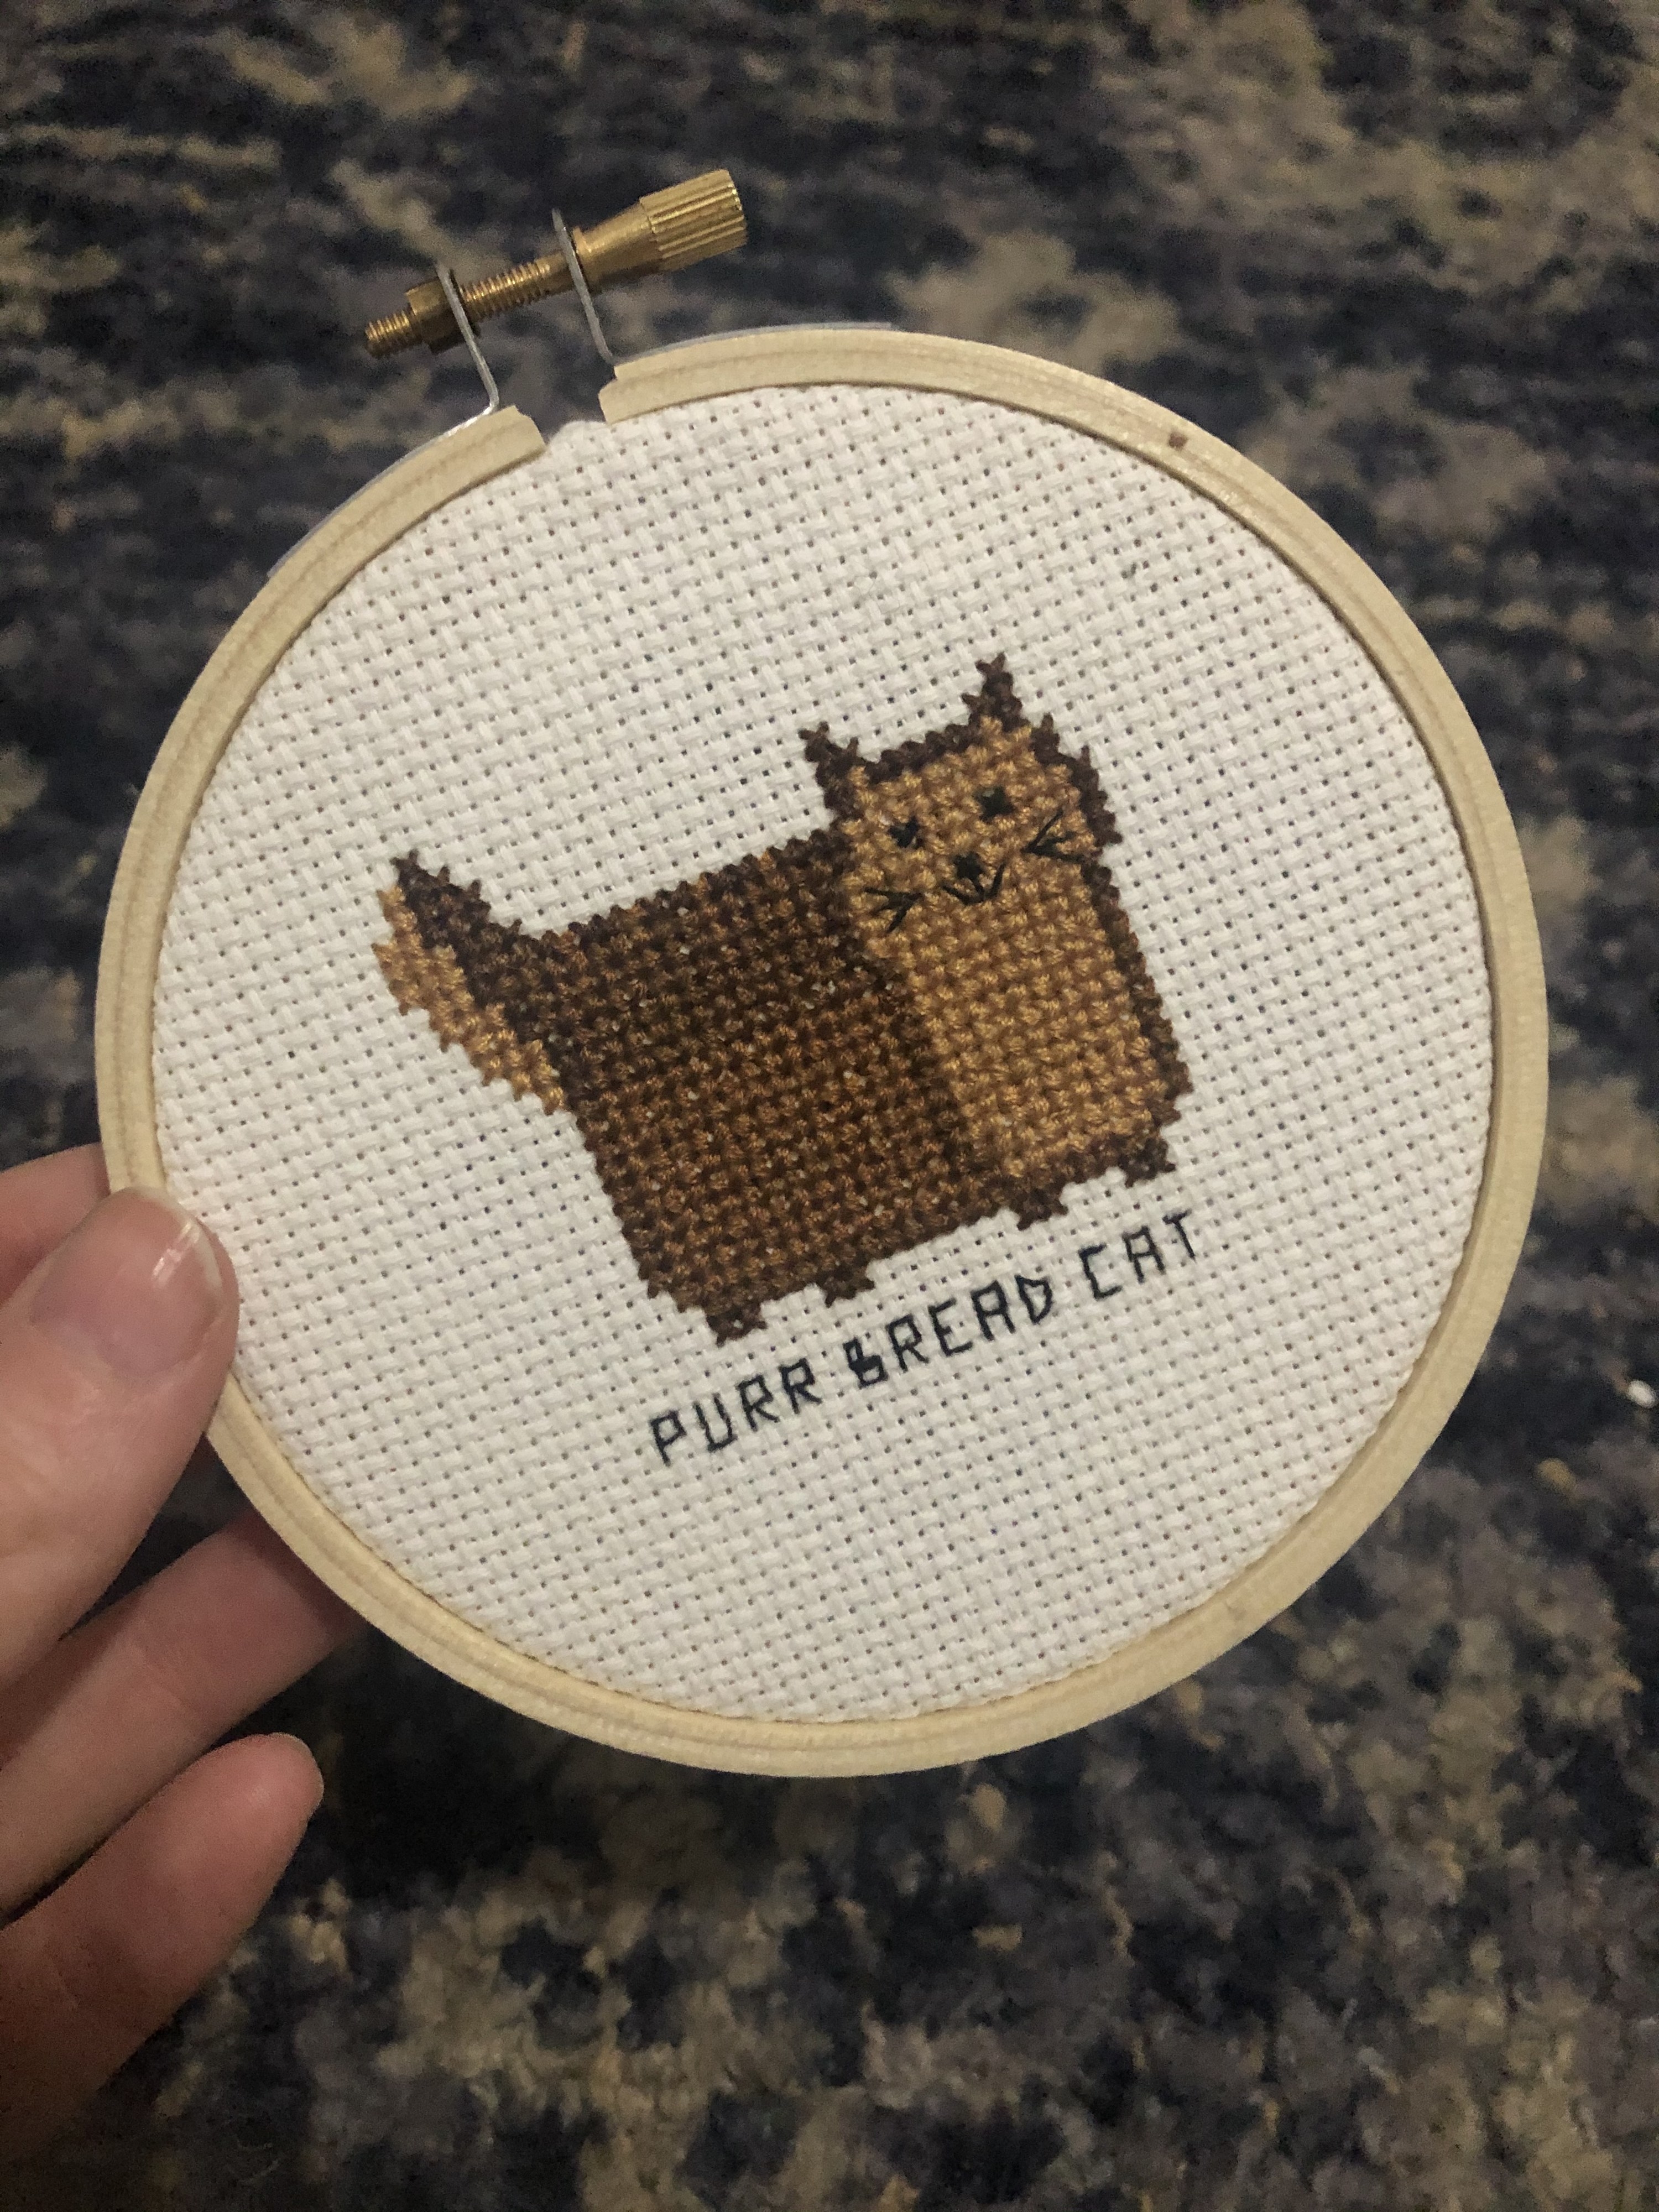
8. *Though* if the mistake is very small, often only you'll know it's there! Like, ahem, a mistake I made in the lower right corner of this beaut.

9. Gently wash your finished pieces in CLEAR shampoo to help erase traces of oil from your hands or dirt that may stain your piece over time. This video goes into all the deets:


View this video on YouTube
I've used my trusty blue Dawn dish soap multiple times, BUT if you have clear shampoo (really any clear shampoo that isn't a clarifying one, which would be too rough), you can use that. This video from Peacock & Fig will do allll the explaining for how to give your design a wash and gently squeeze out the excess water with a towel.
BTW, washing your finished pattern is an essential step, whether you're putting it in a hoop or frame.
10. If you're putting your design in a hoop, skip the layer of batting. If it's in your kit, great! Use it! But don't go buying it bc it doesn't make enough of a difference in appearance.

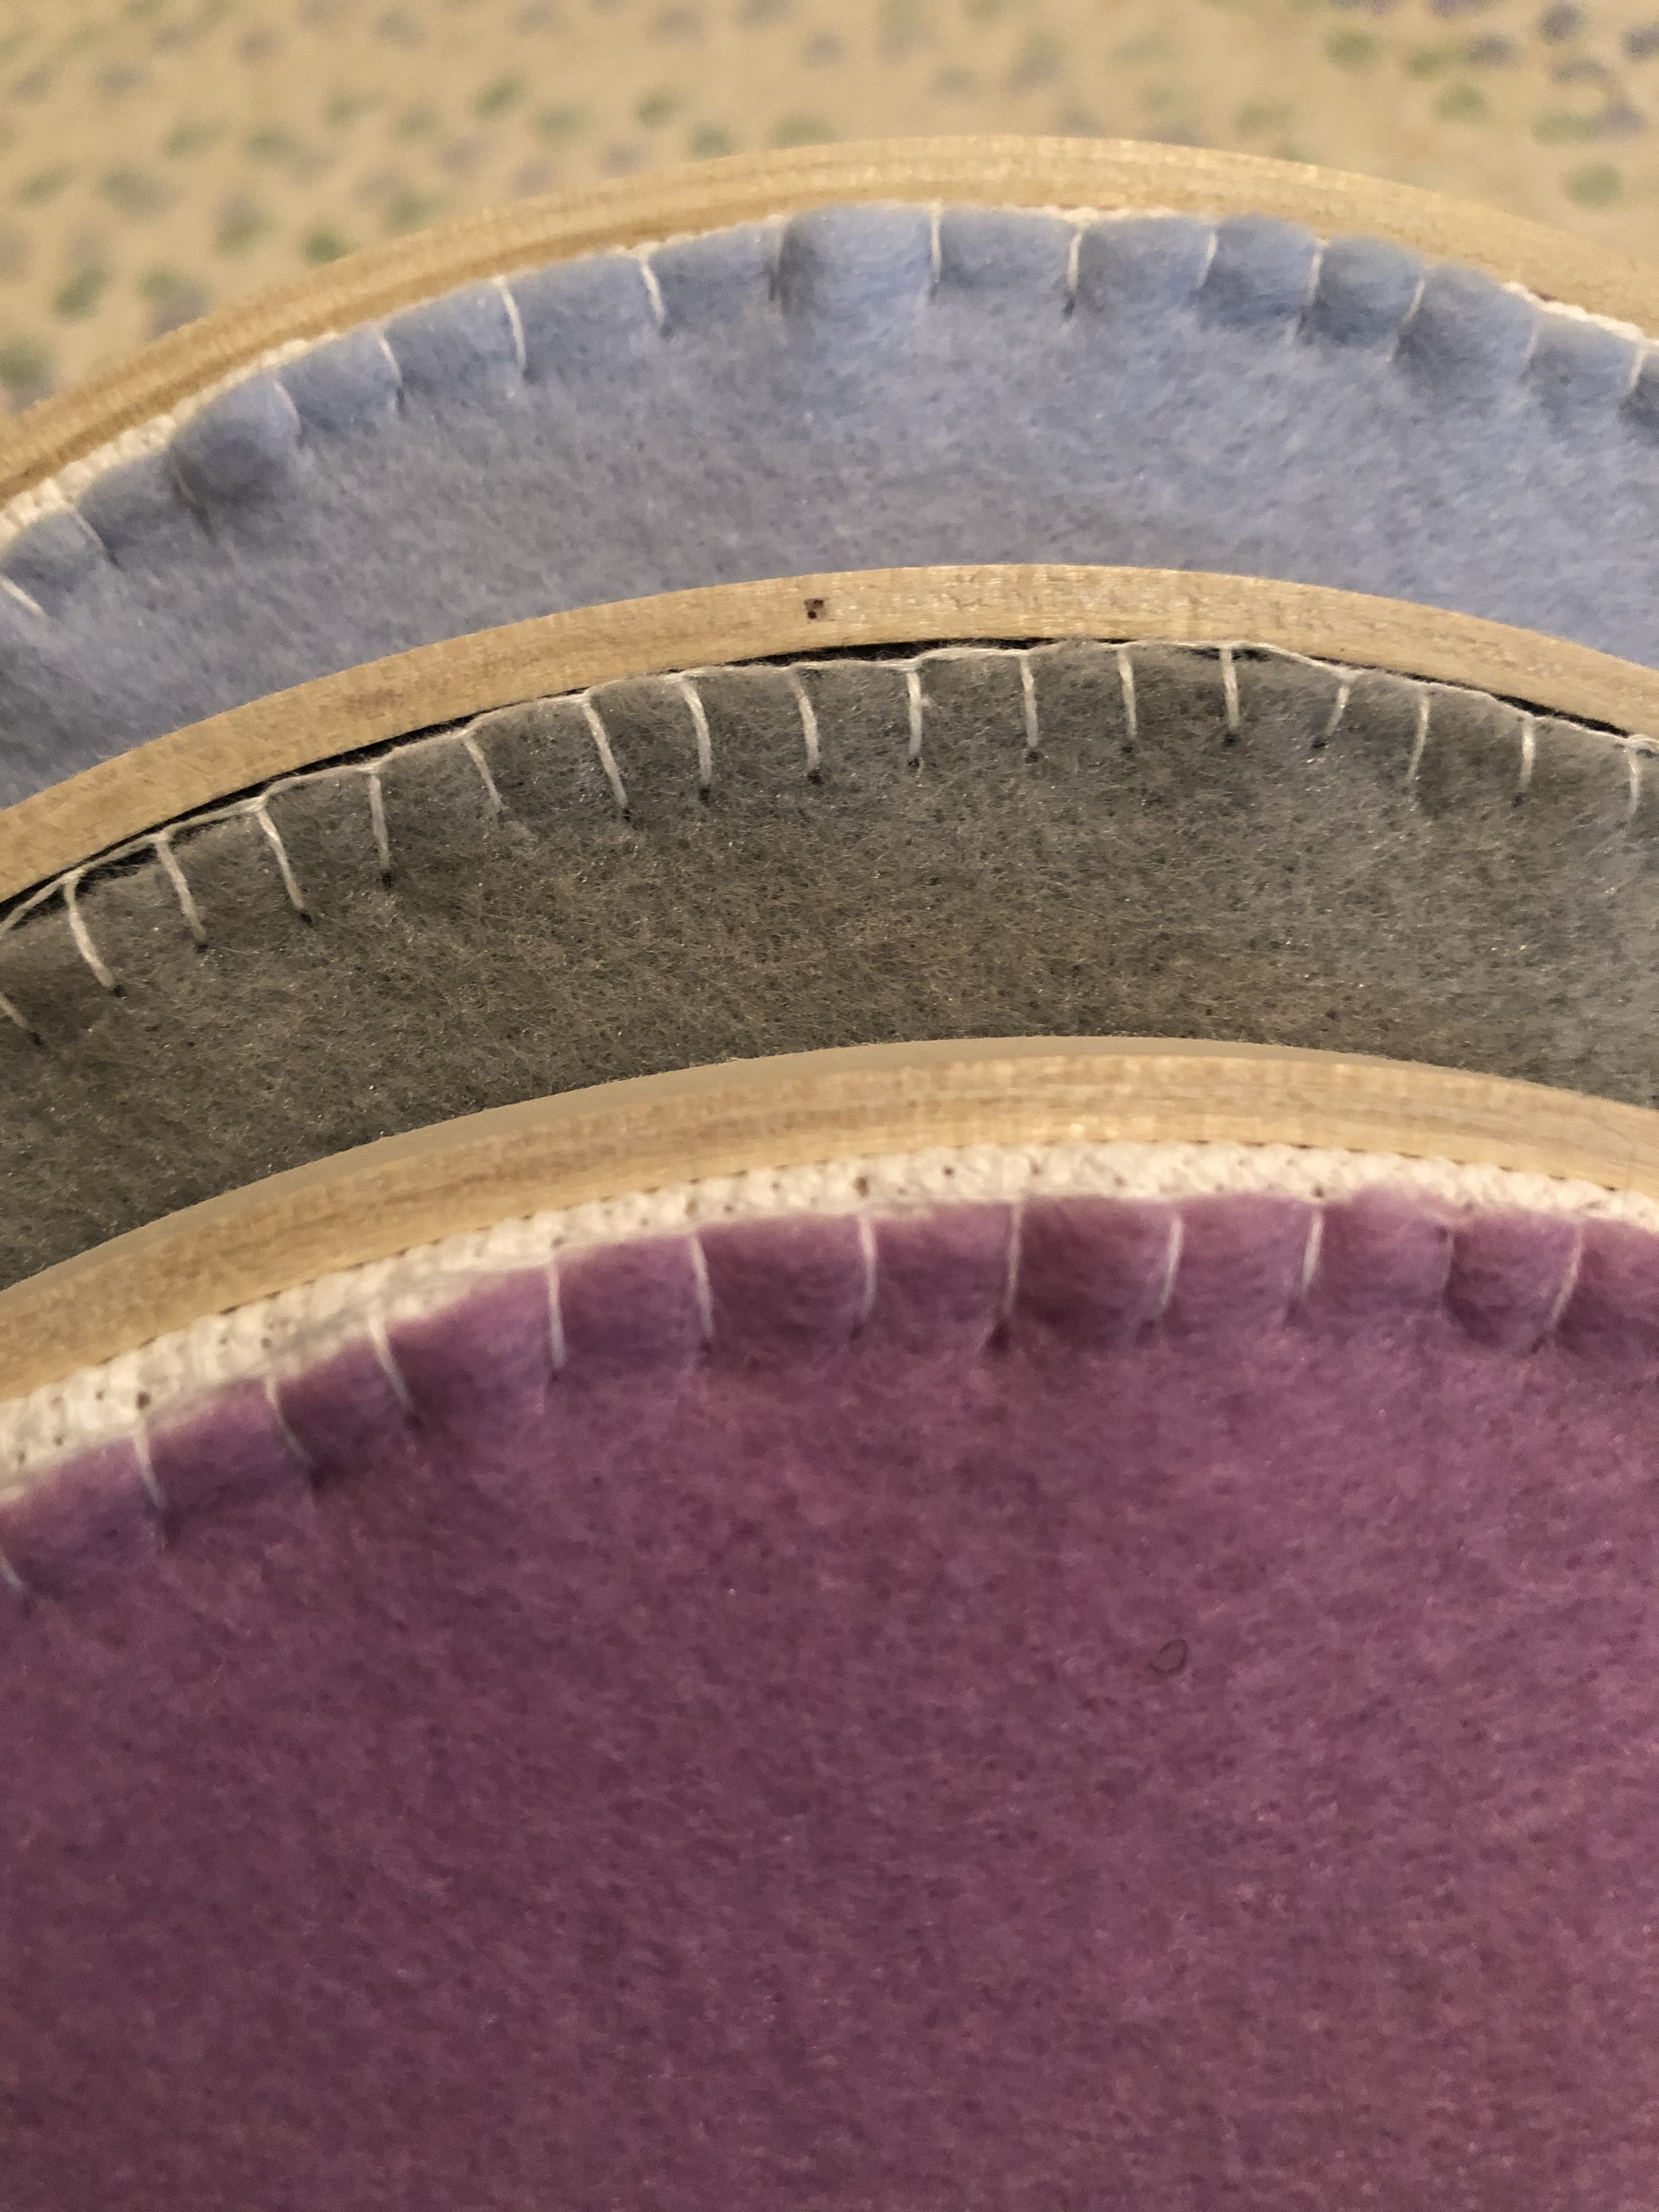
11. Don't finish a hoop cross-stitch piece with glue! Glue yellows! Instead, use a piece of felt and blanket stitch.
12. But if you're like, "NOPE! I am done being crafty" and wanna call it a day by putting your cross-stitch design in a frame, there are plenty of cheap ones at the dollar store.

And if you run into any snafus during your cross-stitching endeavors, take it from my crafting hero Amy Sedaris:
