
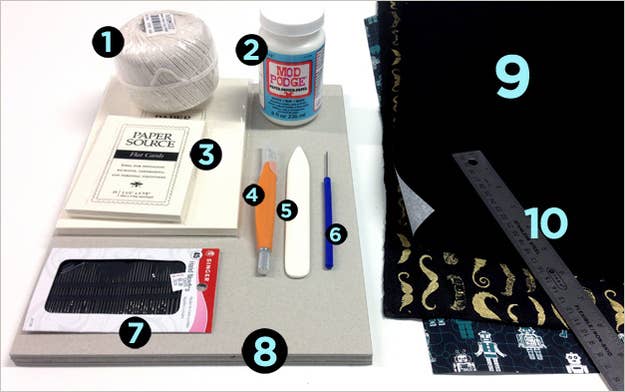
These are the supplies you'll need:
1. Make a template to poke holes through your paper:


Take a piece of paper and cut off about an inch with an X-acto knife. With your awl, poke four evenly spaced holes, and label one end as the top. This is your hole template.
Line it up on small stacks of four or five sheets of paper and use your awl again to punch holes.
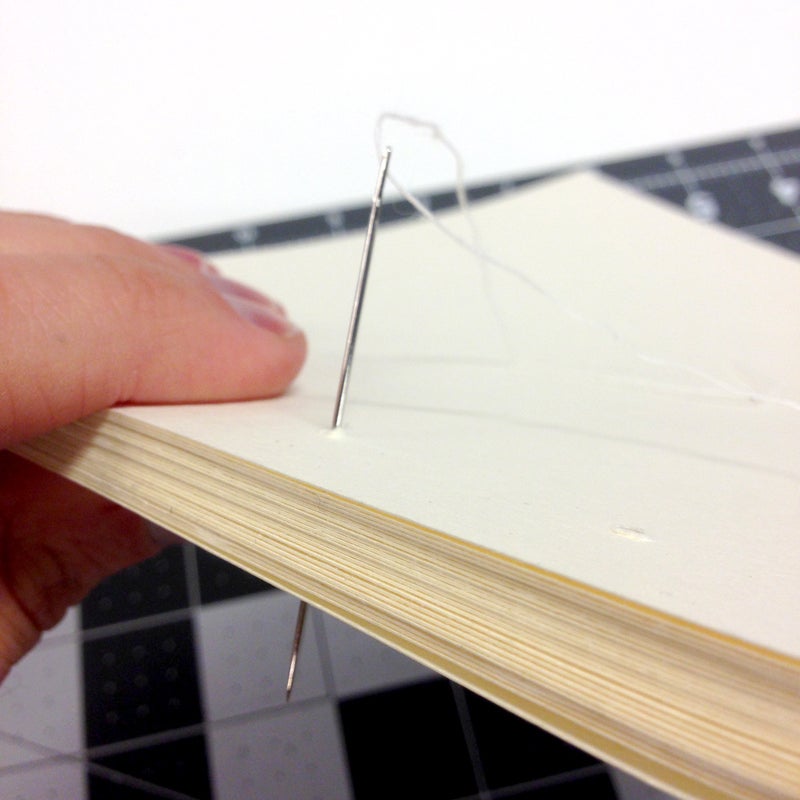
When each sheet of paper has holes, line the entire stack up and make sure your awl fits all the way through. Loosen it up a bit if it feels tight by wiggling your awl.
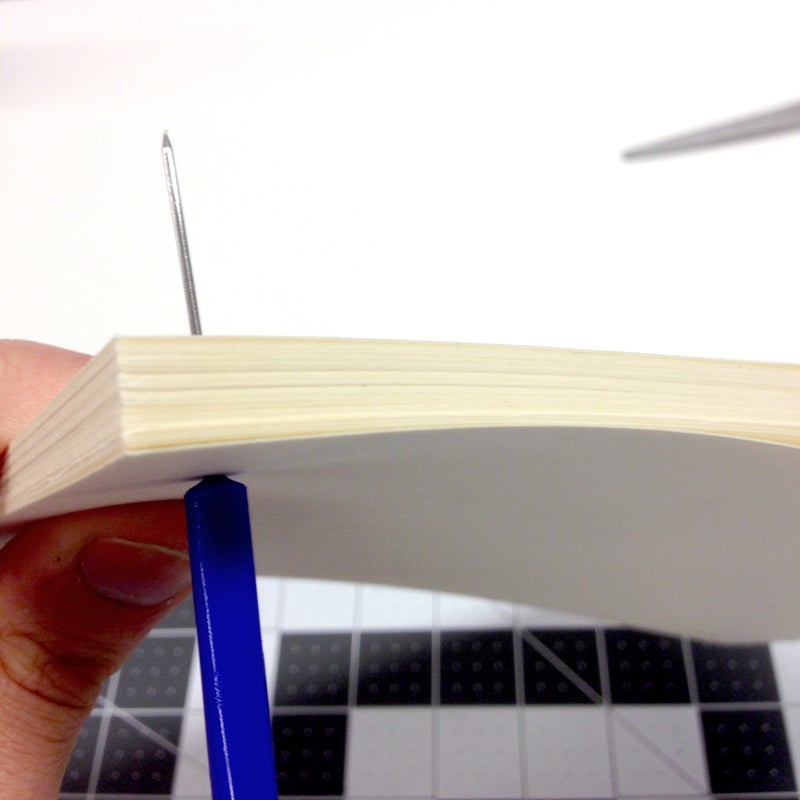
Now, load up your needle and pierce one of the middle two holes in the stack.
2. Sew the stack together with a Japanese Stitch:


View this video on YouTube
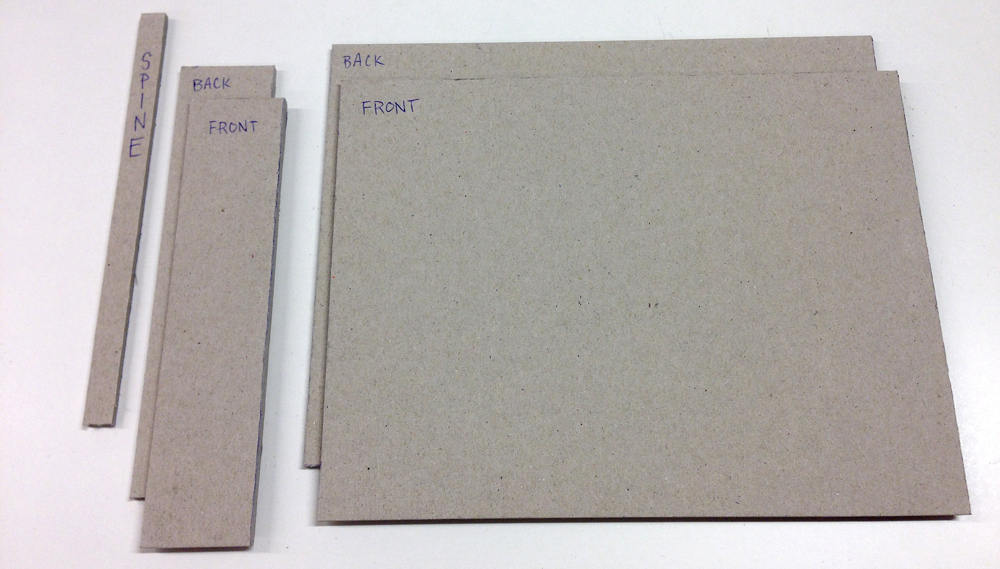
3. Cut your book covers:

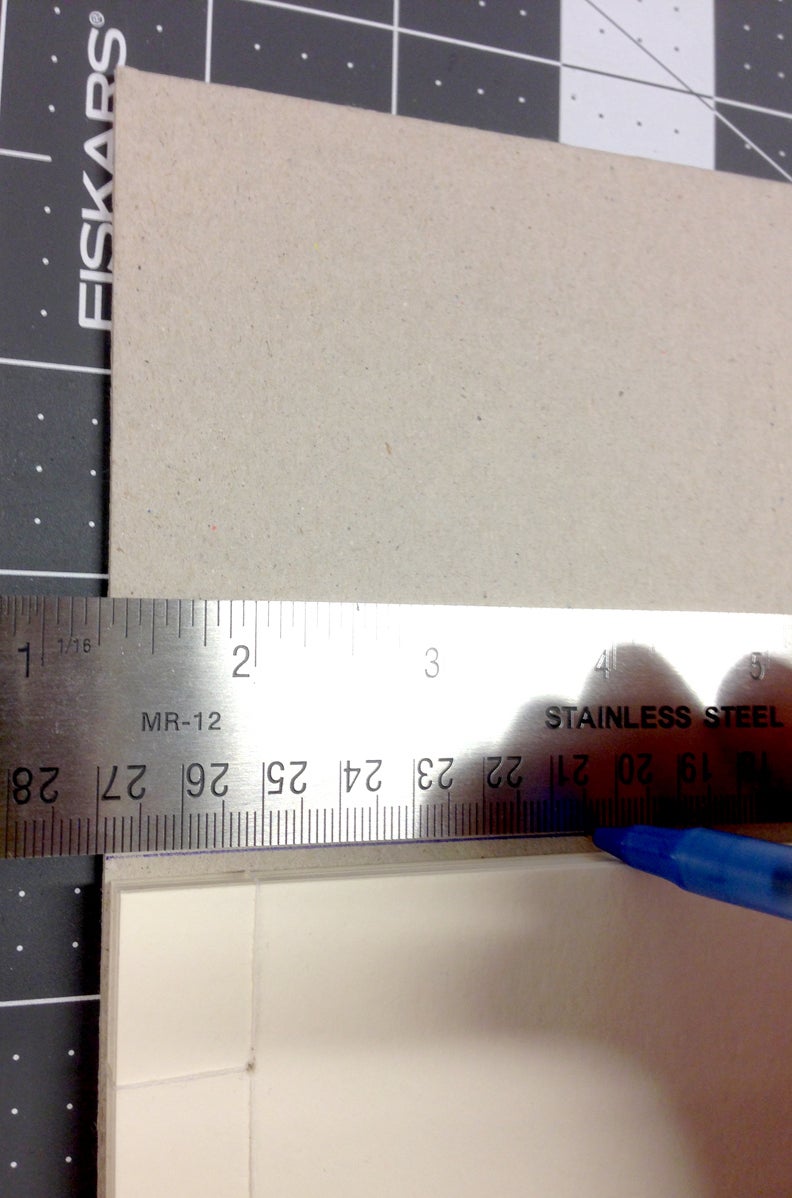

Use your stack of bound papers to measure and cut your covers. The covers should be roughly the same size as your pages. The book board should extend slightly past the top and bottom of your paper stack, but should be flush with the left side and the right side (where the spine will be).
If your book board is dense, make multiple strokes along your ruler until your X-ACTO knife cuts through. Don't try to force it through in one stroke.
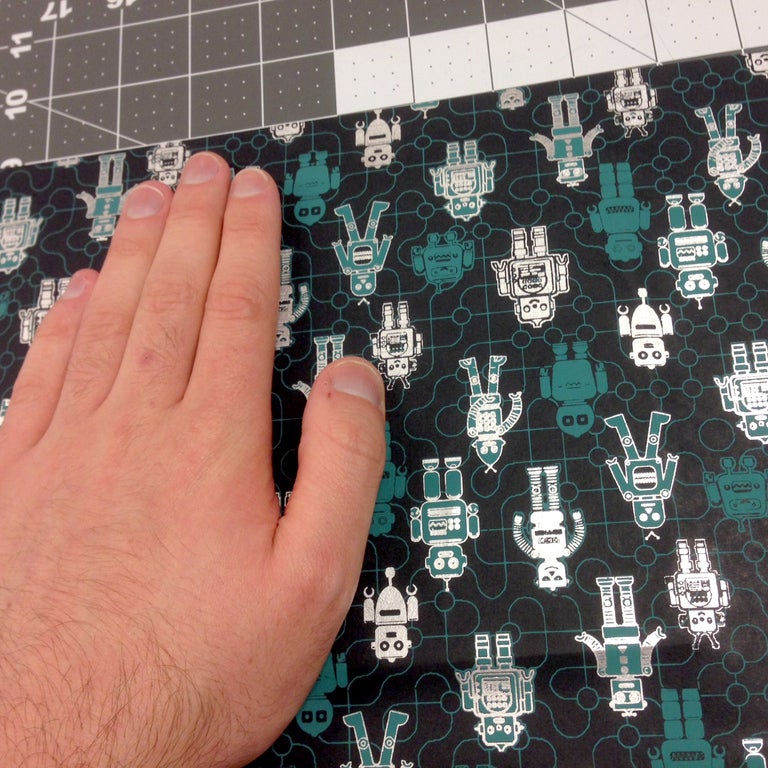
4. Cut your decorative paper for your covers:
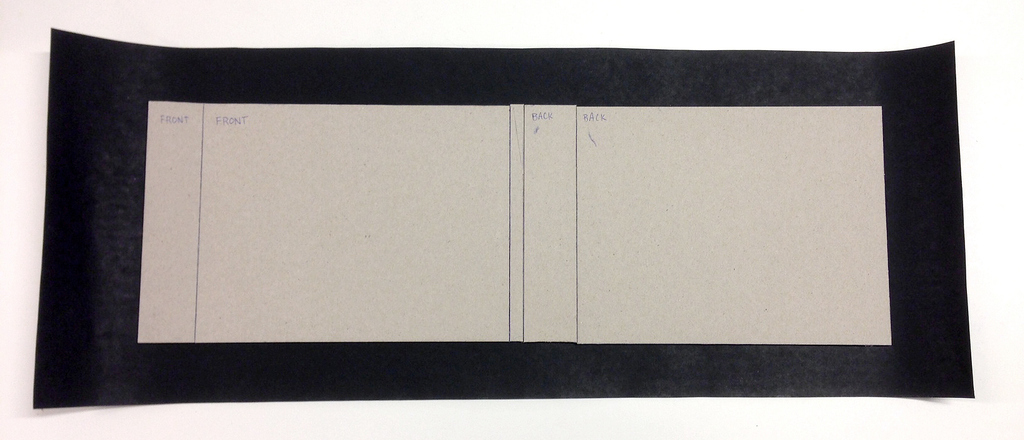
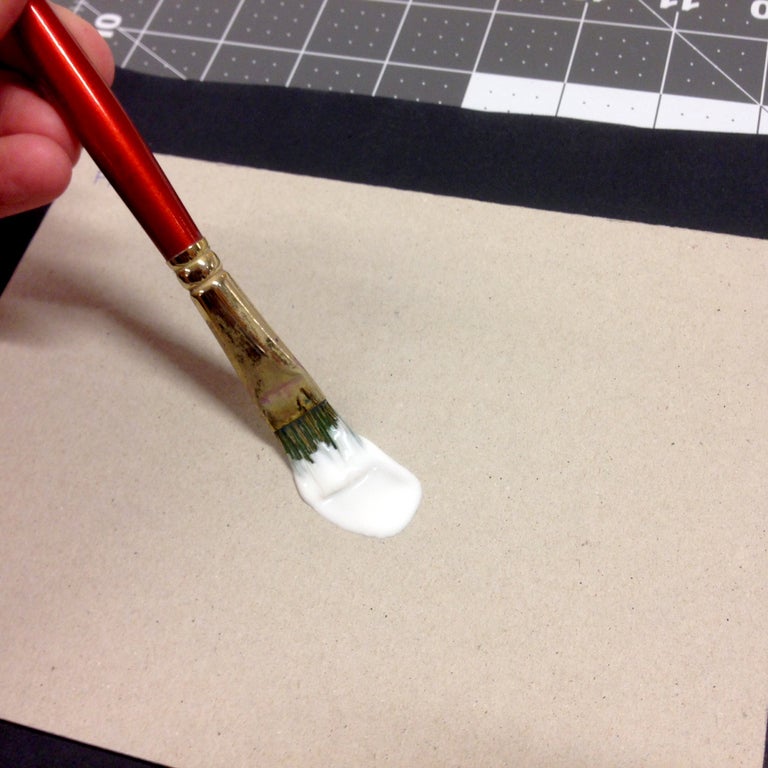
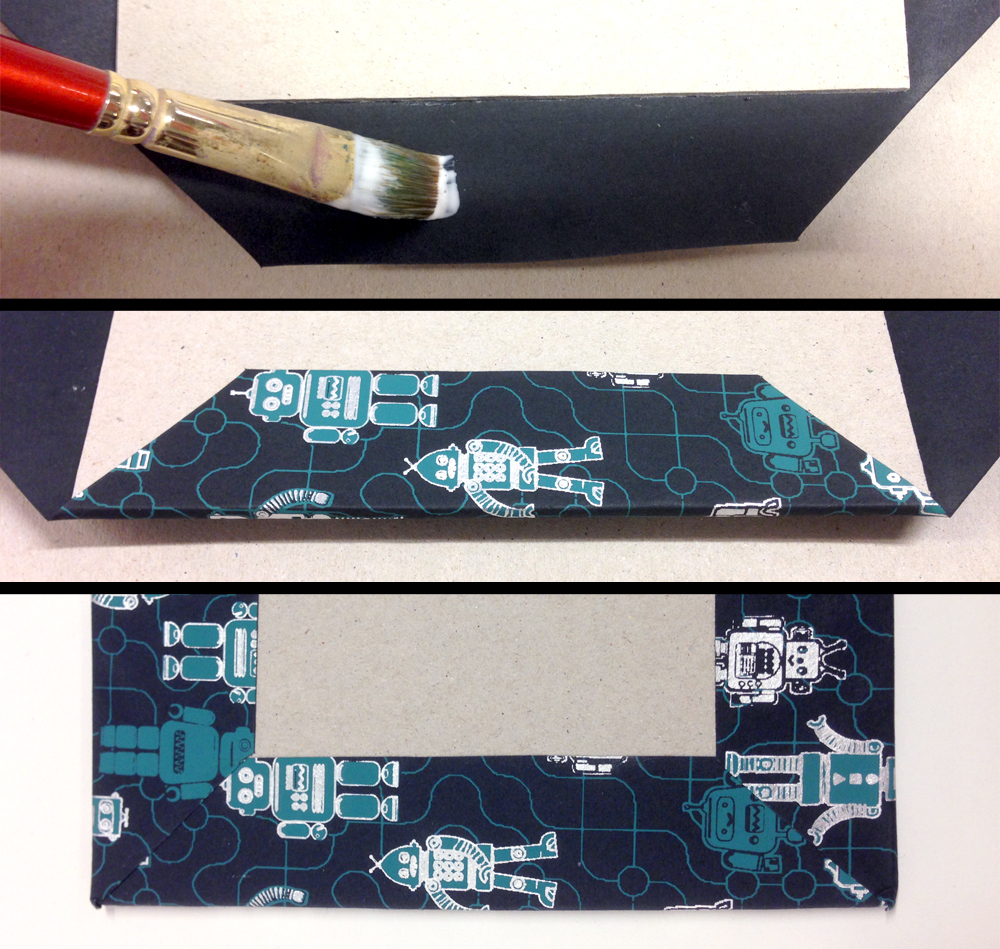
Apply Mod Podge to one side of the largest piece of book board. Glue it down to the backside of your decorative paper, then flip it over to the decorative side and smooth with your hand. If you have a bone folder, you can use it to smooth out any air bubbles.


Glue all the cover pieces down, leaving a tiny space inbetween each piece. Do your best to keep the pieces level, or else your covers won't line up neatly in the end. Then, cut the corners off your paper, making sure not to cut too close to the actual book board.
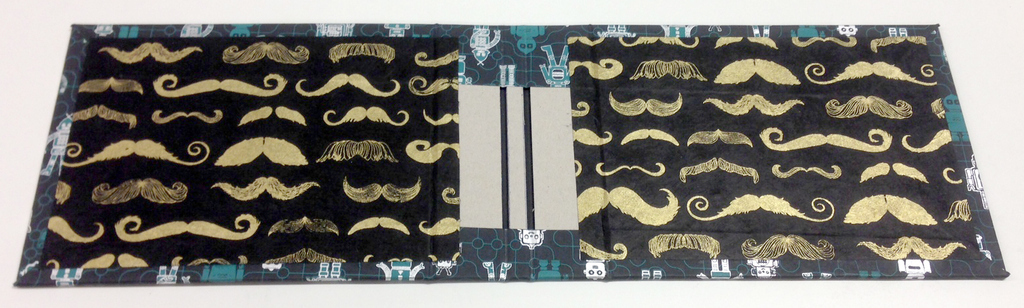
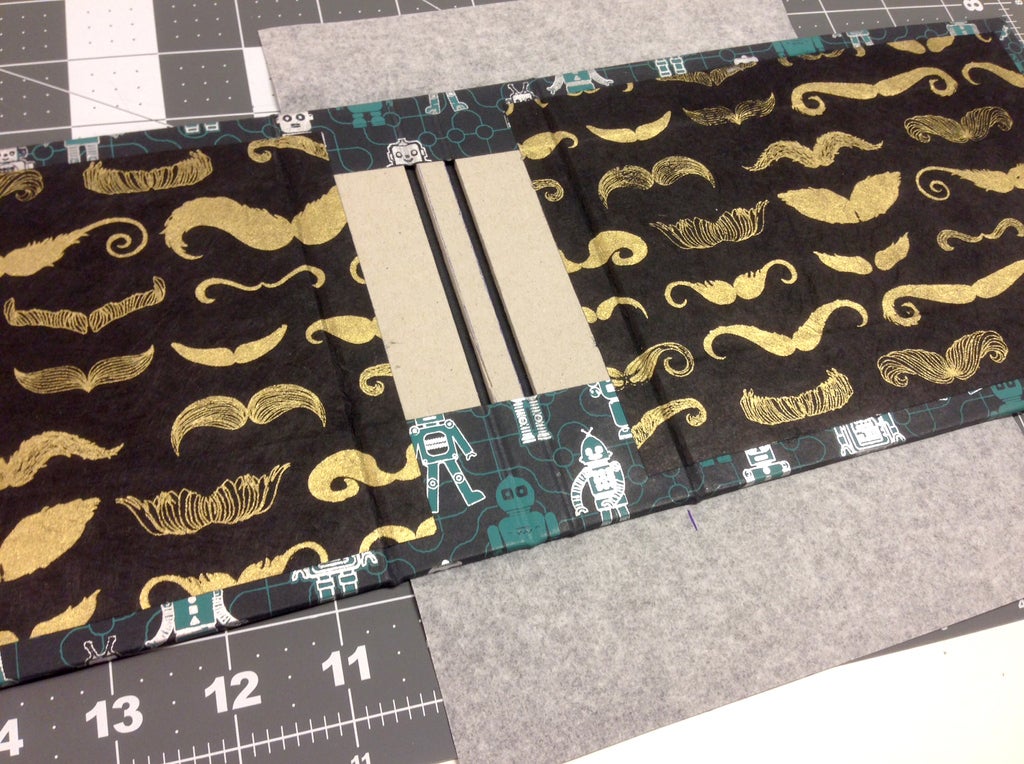
5. Cover the inside of the book as well:
6. (Optional) Cover the spine in durable book cloth:

If you like the way your cover looks at this point, feel free to skip this step.
Otherwise, measure a piece of dark book cloth the width of the three smaller pieces of book board. When turned over, the book cloth should stop just shy of the crease between the cover pieces.
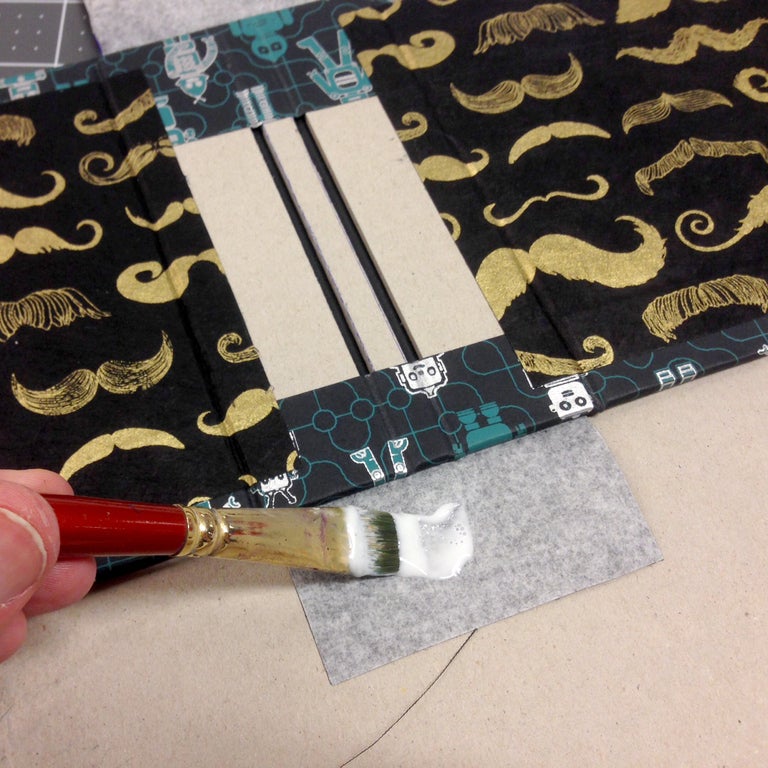
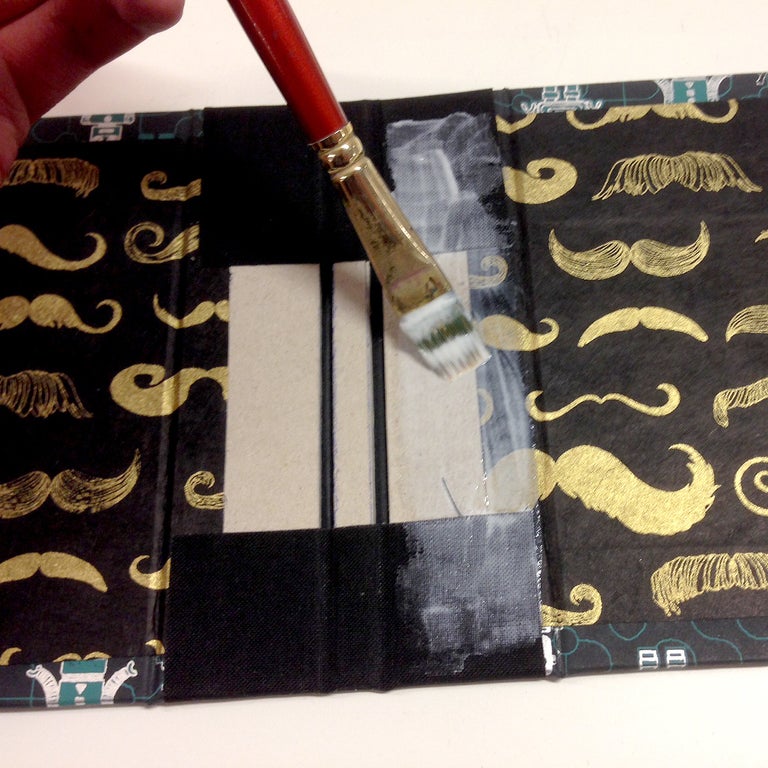
Glue the book cloth to the outside of the spine, then apply glue to the pieces extending past the book and fold them over to the inside of the spine.
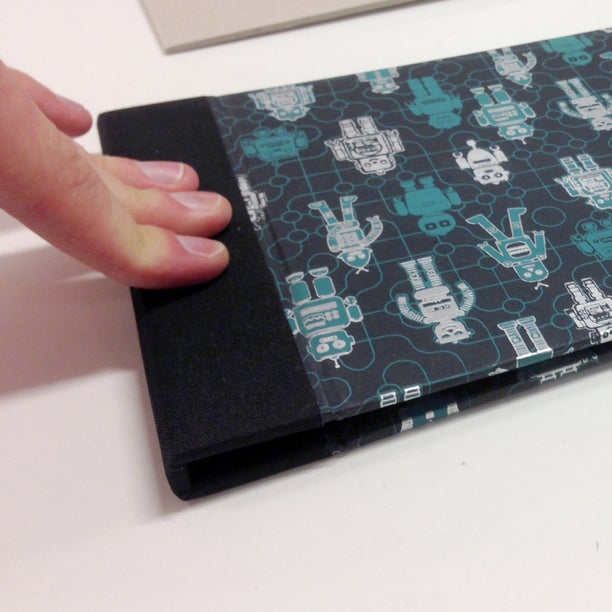
Let the book dry for a bit, then close the entire cover and press on the spine a bit to make sure everything bends. Mod Podge is pretty strong, so once it's dry, feel free to open and close the book a few times to loosen things up a bit.
7. Glue the pages into the book:
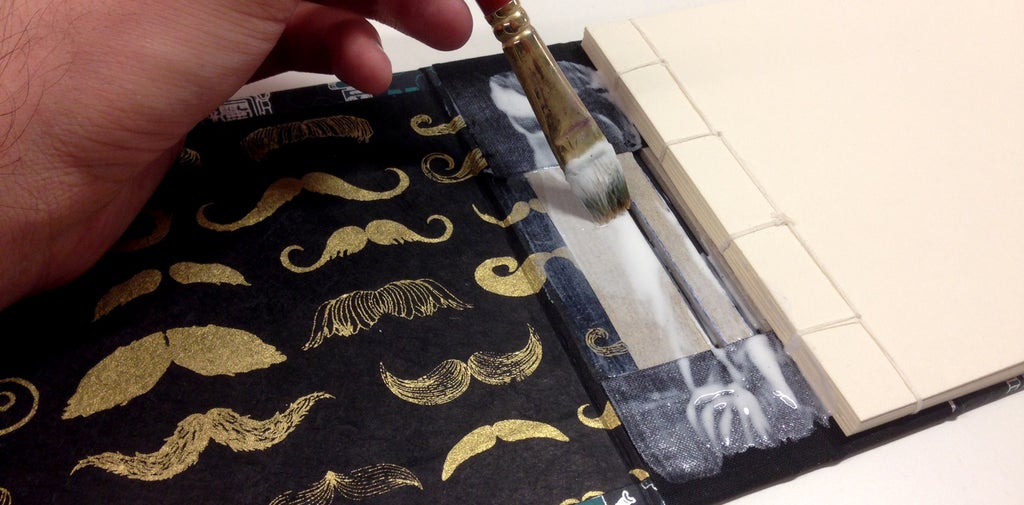
Apply a liberal amount of Mod Podge to one side of the inner spine, but not so much that it gooshes out the top and bottom.
Place the bound pages onto the section with glue, making sure the pages fit squarely on the back cover. Make sure the pages touch the back of the spine when the book is closed. Then, apply more Mod Podge to the rest of the inner spine.
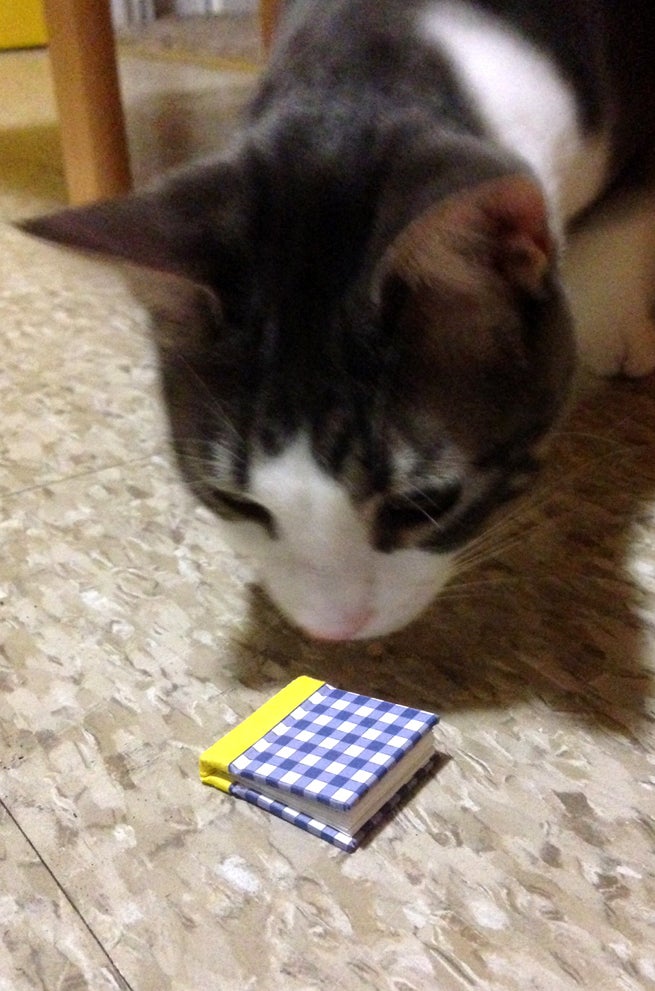
8. When dry, gift the journal to someone, or fill it with your own secrets:

You can make books in all shapes and sizes for every member of your family!