
Have you ever looked down at your bracelet and wondered what went into creating it?
Well I have, and I decided to figure out what the process of making your own jewelry entails. And I'm not talking about friendship bracelets made of yarn (though I was particularly good at those during my summer camp days).
I am particularly clumsy and the least crafty person I know — my extent of anything artsy is nailing down bubble letters and stick figures — so this was going to be a challenge.
Nicole and Amber Sutton are twins, jewelry designers, and metalsmiths with their line, Workhorse Jewelry.

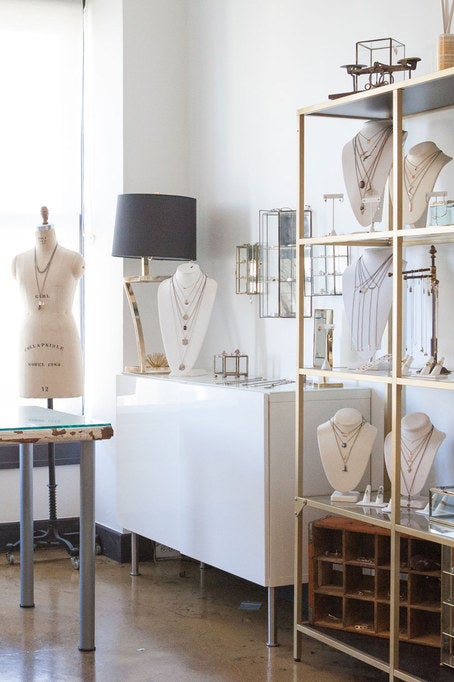
They handmake all of their jewelry in their studio in Downtown LA — everything from bracelets to necklaces to earrings and more. So who better to help guide me through the process of making a cuff?
The Suttons were thankfully very patient with me as I discovered exactly what I had gotten myself into.

Step 1: Cut wire to desired length.
Step 2: File the clipped edge.
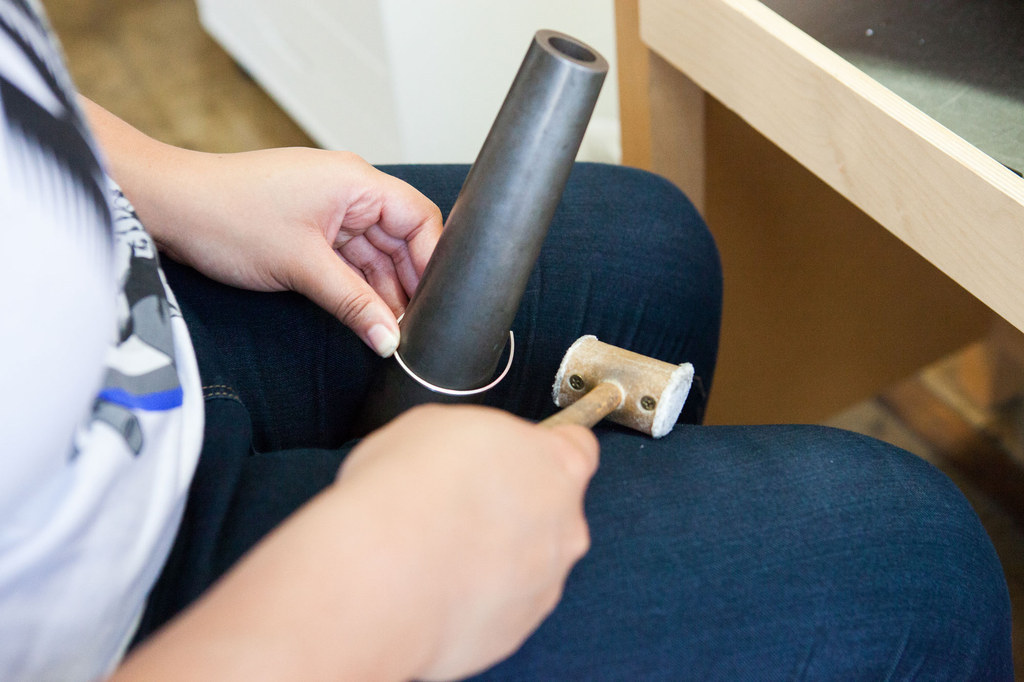
Step 3: Bend wire around mandrel (the pole-looking thing).
Step 4: Solder.


Yep, that's a flame. That's all to attach the edge of the wire to a beautiful shield pendant, and in order to do that you need heat and solder to connect the two pieces together.
Not gonna lie, this part can be difficult. You're pretty much trying to balance a small beach ball on a needle if that makes sense.
Step 5: Clean using the pickle.

Step 6: Shape the other side of the cuff.
Step 7: File again.
Step 8: Repeat steps 4 and 5 — Solder and clean!
Step 9: Sand that baby down.

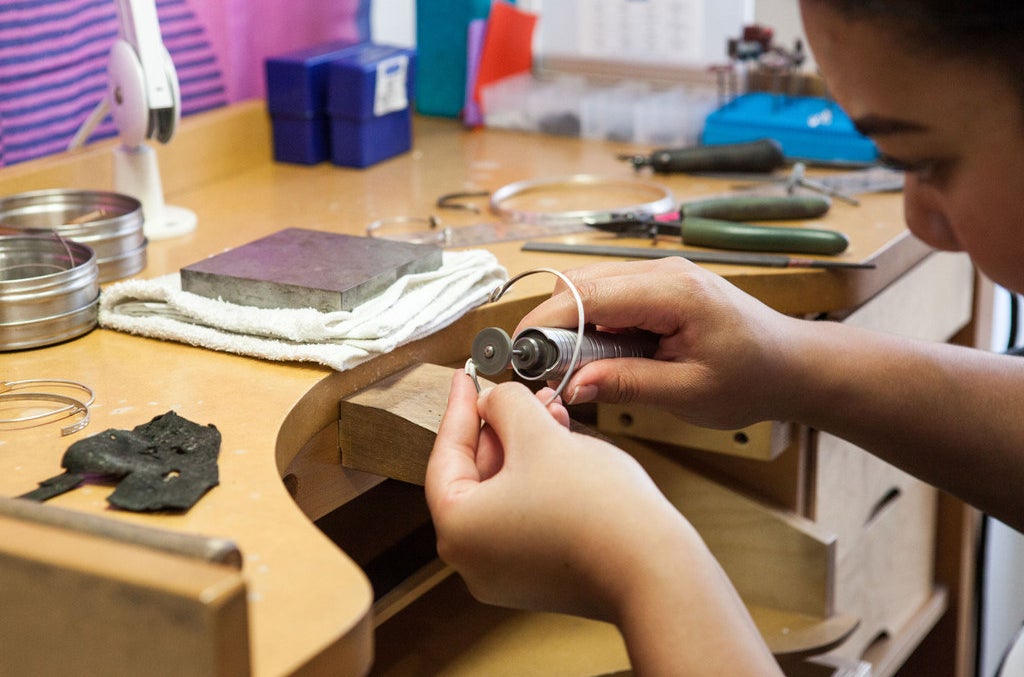
I used a tool called the flex-shaft, which polished down the edges of the cuff to a slant so that there were no pokey bits about. The silicone polishing wheel then made a nice smooth surface to make my bracelet as comfy as can be. Think about it, when you sand down a table do you want splinters sticking up? No. And when you file down a bracelet you don't want a sharp edge poking into your wrist either.
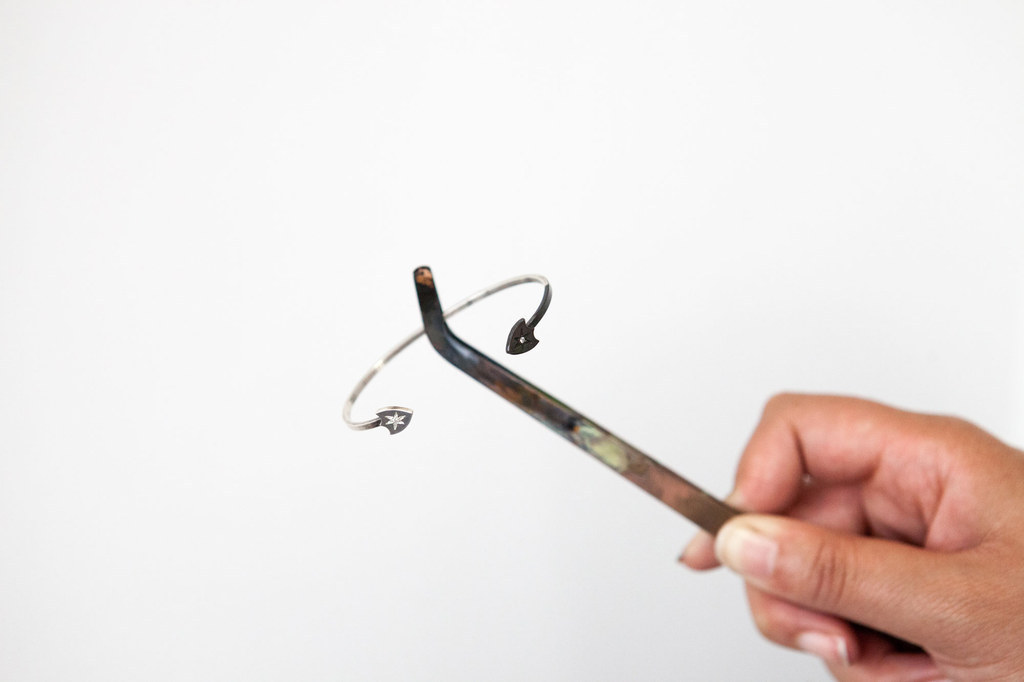
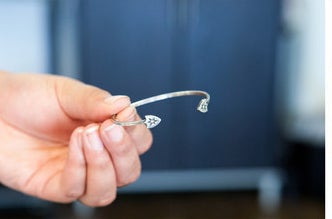
Step 10: Oxidize and clean.


The reoccurring theme here seems to be dipping stuff and scrubbing it off so why stop now? I dipped the cuff into a silver blackening solution and then made sure to place it in some water before — you guessed it — cleaning it off. This time I used steel wool.
The right side of the bracelet shows exactly what the oxidization step does to the cuff:
Step 11: Polish.
TA-DA!
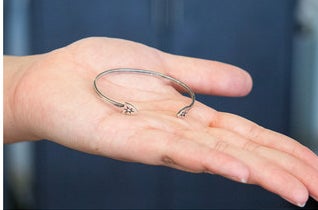
Not too shabby, right?