We hope you love our recommendations! Some may have been sent as samples, but all were independently selected by our editors. Just FYI, BuzzFeed and its publishing partners may collect a share of sales and/or other compensation from the links on this page.

Hi! I’m Valeza, and I love pampering myself with the occasional beauty treatment. In an effort to practise social distancing, I’ve been avoiding the salons and have branched out to the ~DIY~ approach instead – to varying degrees of success.
I’ve really gotten into doing my own at-home manis and pedis, and even tried cutting a fringe*! However, one thing I always avoided was anything to do with my eyes and lashes.
It’s not that I don’t trust myself exactly, I just know that it’s a particularly delicate area! I’ve had a lash lift done professionally a few times and loved the results, so when I heard there was a lash lift kit with almost 5,000 reviews and a 4.2-star average rating on Amazon, I figured I ought to give it a try.
Let's talk about my lashes – they’re quite long but they only have the *slightest* natural curl, unless I use an eyelash curler.

✨ Preparation ✨
Needless to say I was *very* excited to get started! So here’s the lash lift kit IRL:
I made sure to do a patch test of each of the liquids in the kit before going ahead and using them around my eyes.
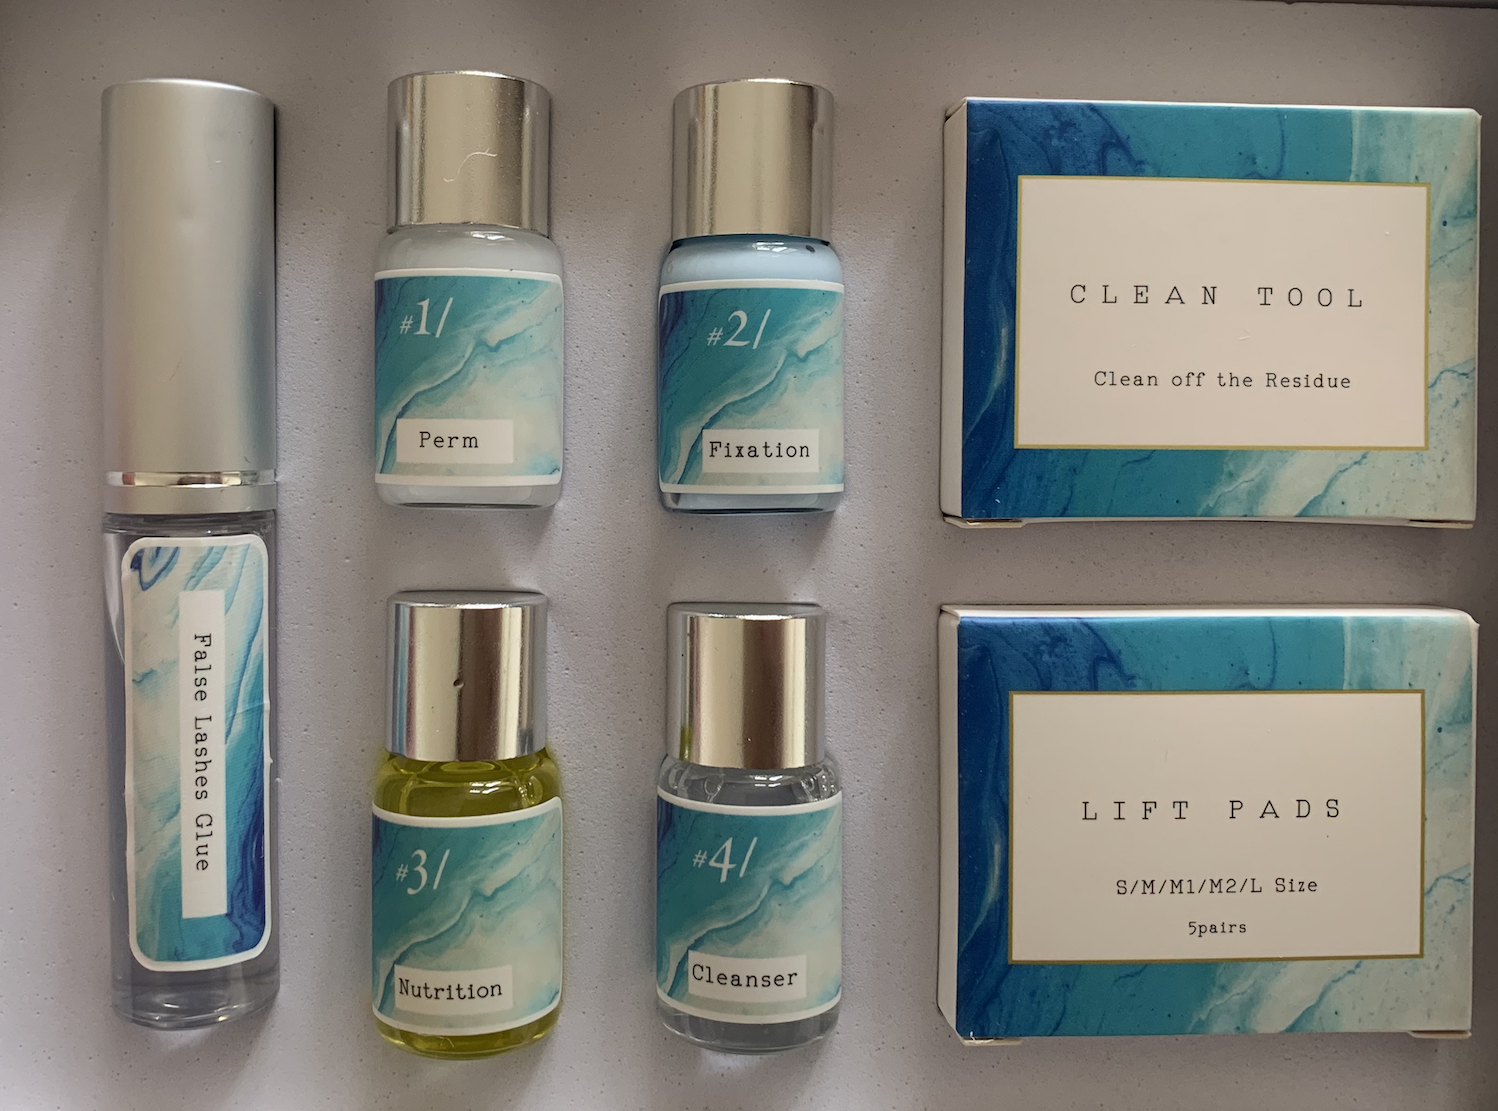
I also watched a couple of YouTube tutorials to make sure I knew what to expect before getting started – here’s a list of the extra bits you’ll need that aren’t included in the kit:
✨ Cotton buds – around five.
✨ A small amount of cling film.
✨ A clean mascara wand if you have one – this one's not totally essential (I used cotton buds myself) but customers recommended this for brushing through the product more easily.
🚨 NB: please, please, do not attempt to do both of your eyes at the same time – you will not be able to see very well, which kind of defeats the purpose.
✨ Using The Kit ✨
First thing's first, here's how my lashes looked before using any product. I dipped a cotton bud into the 'cleanser' solution and used it to wipe away any oil, dust, and makeup residue from my eyelids and lashes.
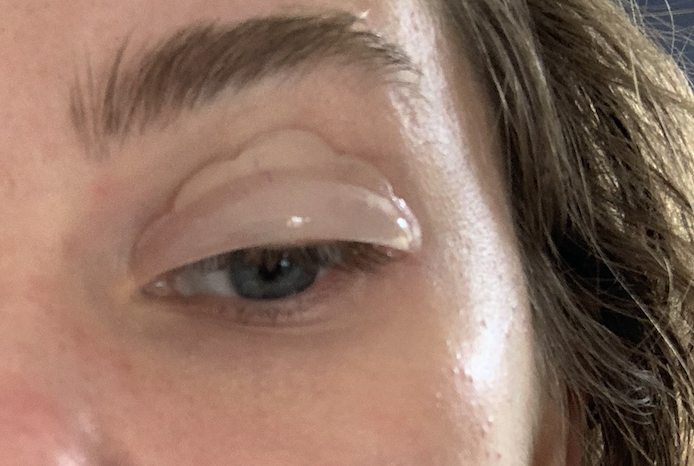
I then fixed one of the lift pads to my eyelid – I found the easiest method was to paint the glue directly onto the back of the pad, wait about 30 seconds for it go tacky, and then hold it to my eyelid until it stuck.
I painted the length of the lift pad with the same glue, waited a few seconds, and then started fixing my lashes onto the curve of the pad. I used the 'cleaning tool' to sort of scrape my lashes into the right shape, making sure they were evenly spaced out with no clumps!
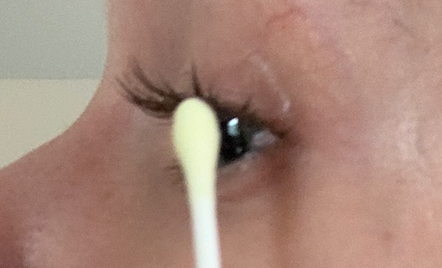
After letting the glue dry properly for one minute, I applied the 'perm' solution to my lashes using a cotton bud (you can use a clean mascara wand if you have one), then covered it with a bit of cling film to help keep everything in place for three to four minutes.
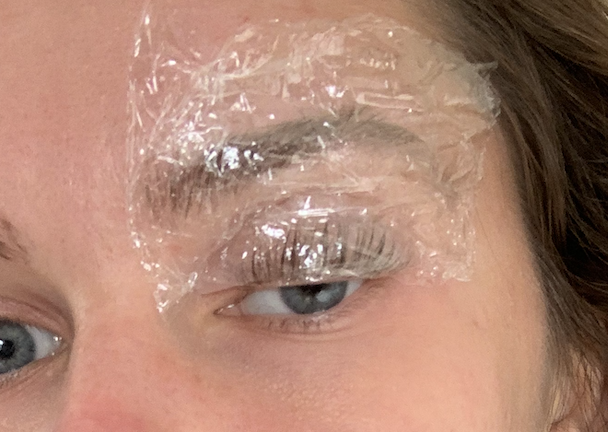
I removed the cling film, scraped off the excess 'perm' solution, and then applied the 'fixation' solution in exactly the same way, covering with cling film again for three to four minutes.
To remove the lift pad safely, I dipped a cotton bud into the 'cleanser' solution and used it to gently ease the lashes away from the pad and remove any excess solution and glue.

Finally, I dipped a cotton bud into the 'nutrition' solution (a sort of nourishing oil) and applied it to the lengths of my lashes.
✨ Results ✨
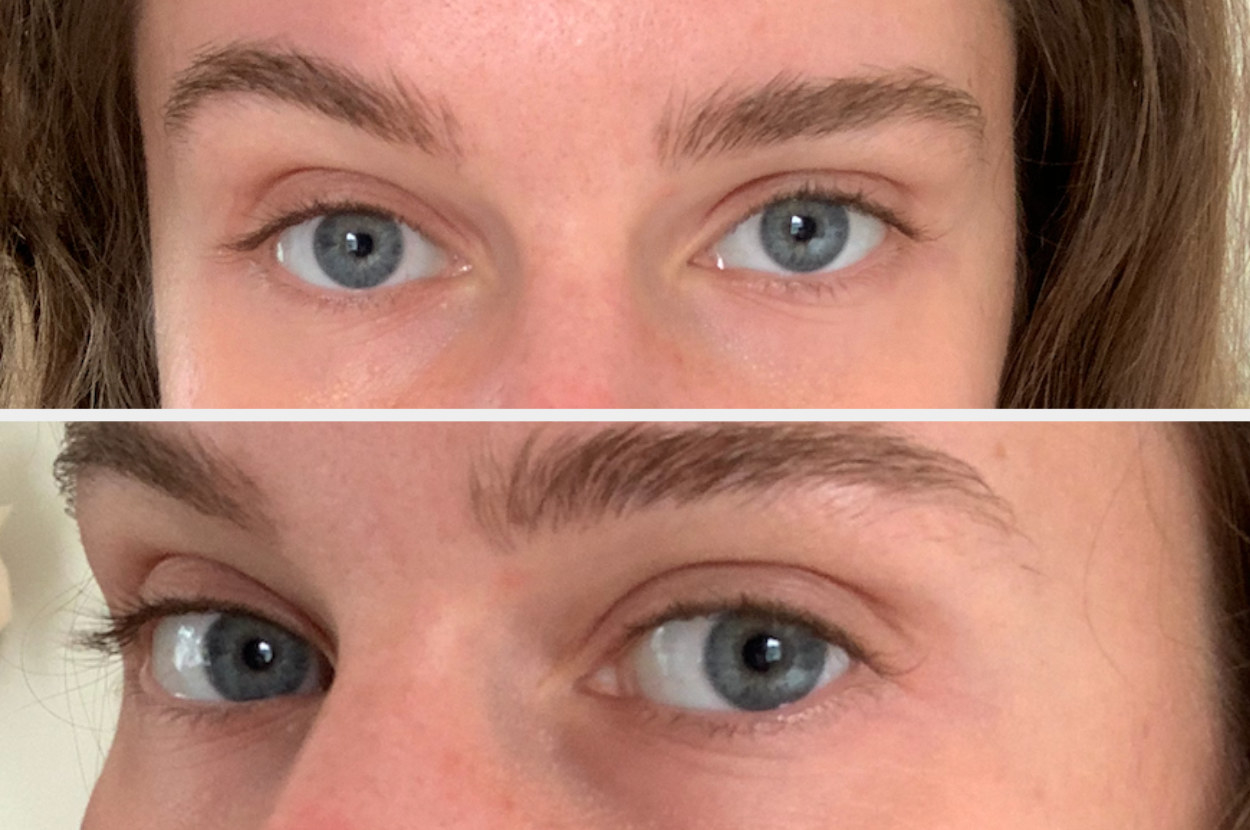
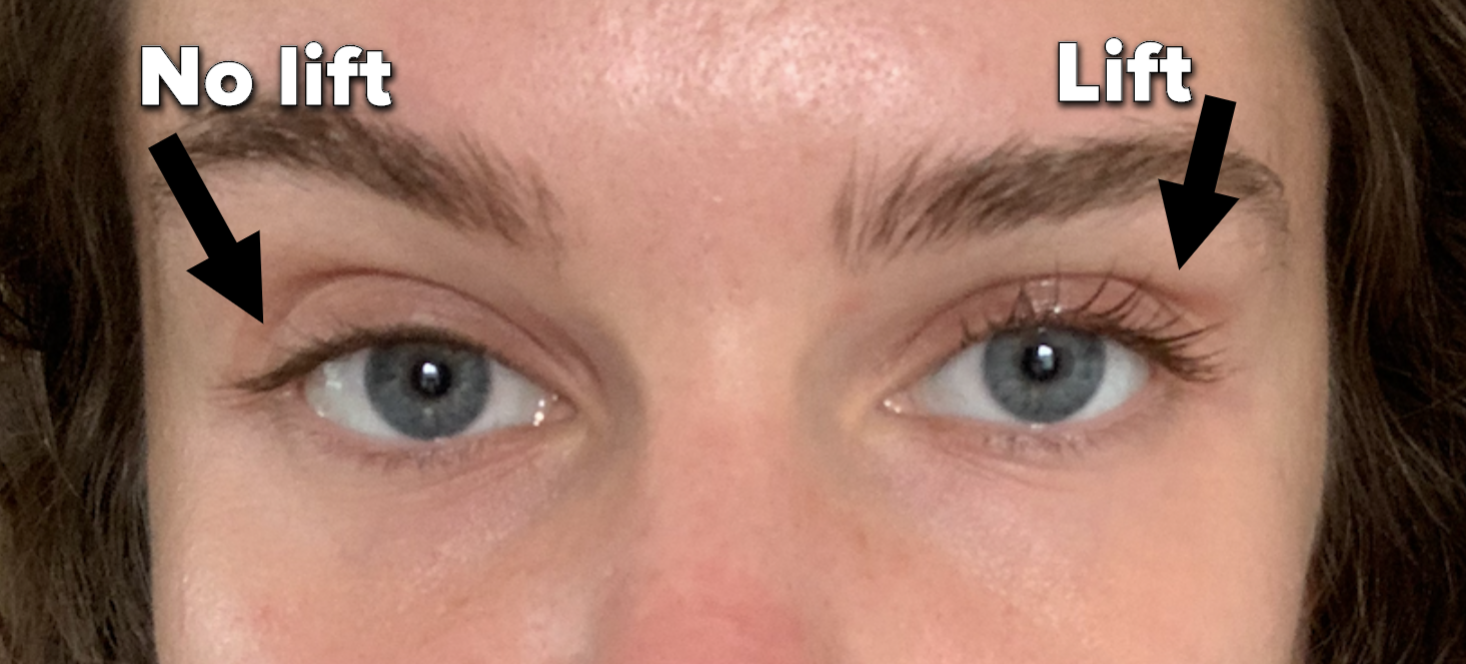
Now, as you can probably tell from the picture above, this DIY kit made a HUGE difference to the appearance of my lashes! I did one eye at a time, so here's a lil' comparison:
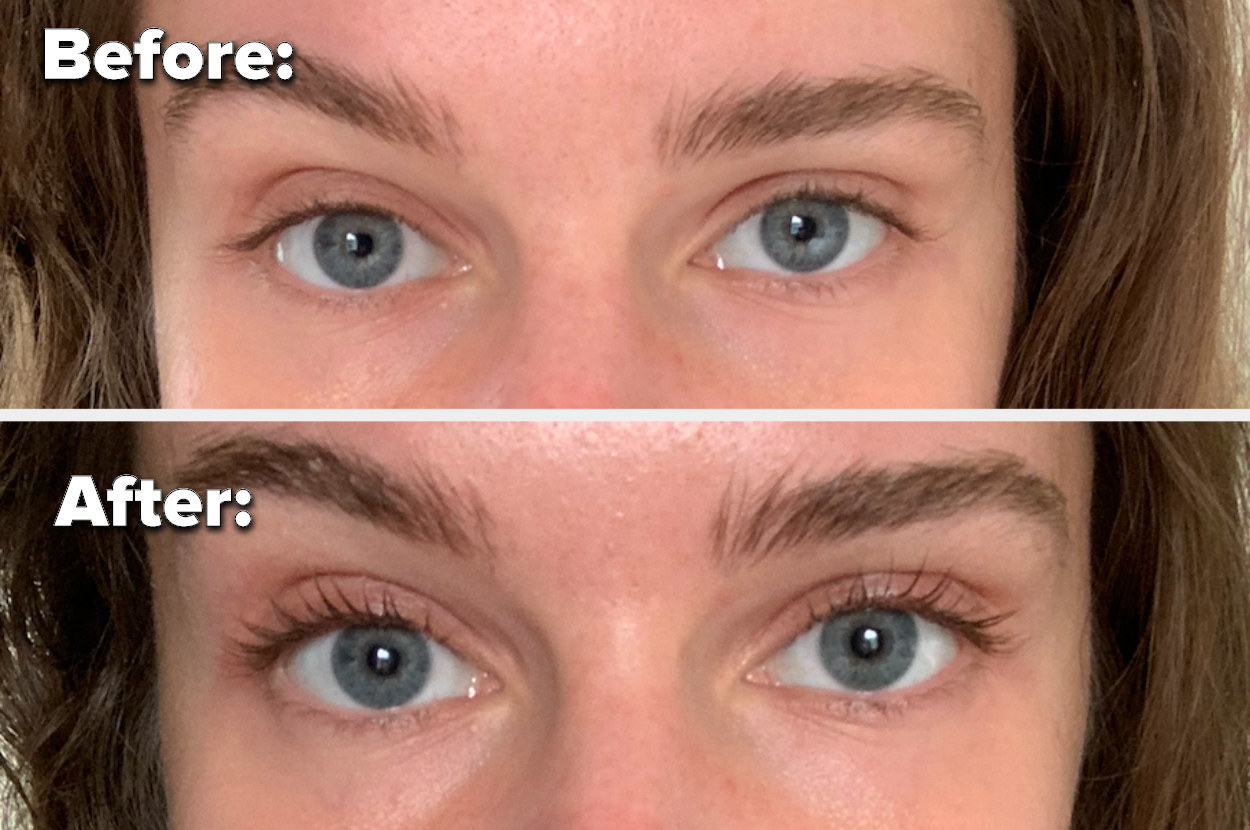
And here's a direct before and after comparison:
If you're still not convinced, just look at the effect when combined with mascara – can you say "perfectly lifted and separated"?!
FYI, it's important to note that you shouldn't wet your lashes (or apply any eye makeup) for at least 24 hours after perming them!

This lil' lash lift kit went above and beyond my expectations – it was surprisingly quick and easy to use, gave me salon-style results, and still has a good eight to ten uses left! Needless to say, my eyelash curlers will be taking an early retirement.

So why not try it out for yourself if you want to enjoy perfectly lifted lashes for up to six weeks?!