We hope you love our recommendations! Some may have been sent as samples, but all were independently selected by our editors. Just FYI, BuzzFeed and its publishing partners may collect a share of sales and/or other compensation from the links on this page.

Hi, I'm Valeza and I'm obsessed with painting my nails.

You'll be impressed to know my skills have *slightly* improved since age three, and I just don't see the point of paying for something I can do perfectly well on my own! Needless to say, I've become somewhat of an pro self-manicurist over the years.

Nevertheless, I'm always on the hunt for products that can make my at-home manicure experience quicker, easier, and more effective – so I thought I'd take you through my first experience with two nail products that I now can't live without!
They consist of a gel that painlessly dissolves your cuticles in mere seconds, and a top coat that claims to help make your manicure dry quickly, stay glossy, and last for AGES with minimal chipping and peeling.
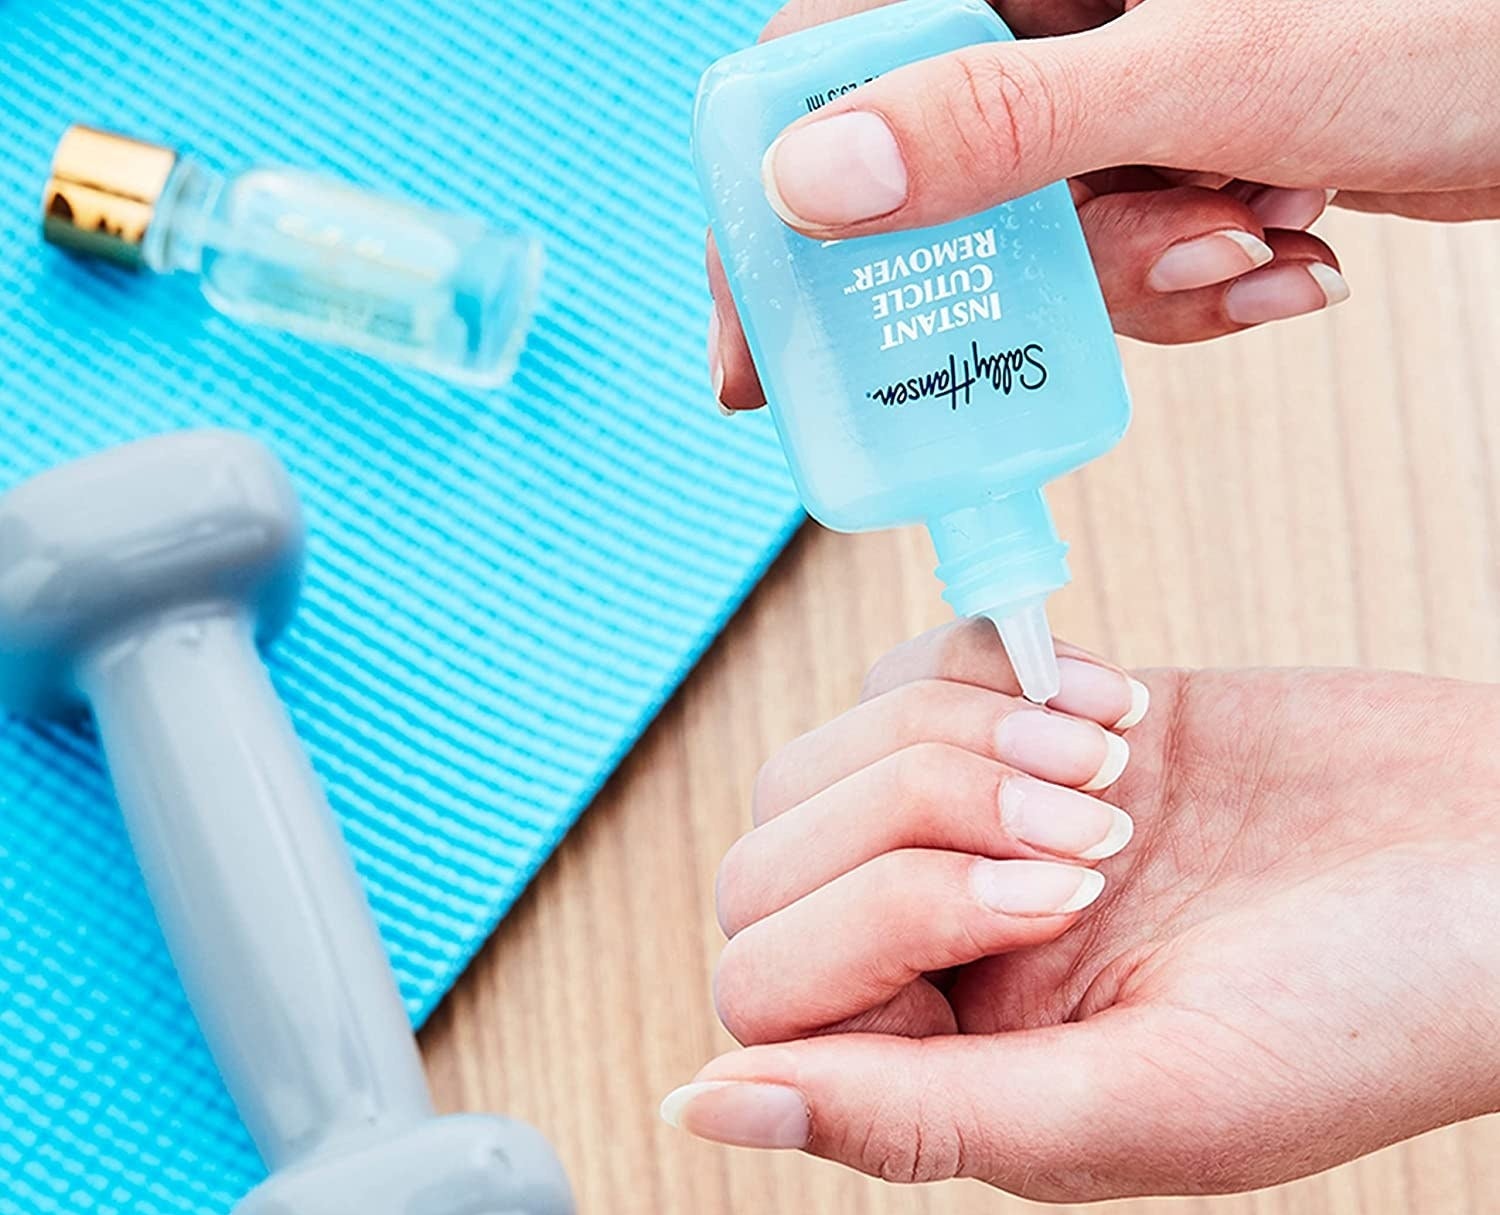
And the best part is they're both only around a fiver each!!! Let's start with my review of Sally Hansen's Instant Cuticle Remover gel, which promises to soften dry, overgrown, and messy-looking cuticles in as little as 15 seconds! You should then be able to simply rub off and wash away the excess skin, leaving behind smooth nail beds and the perfect base for your next mani! Here's what happened when I tried it out…
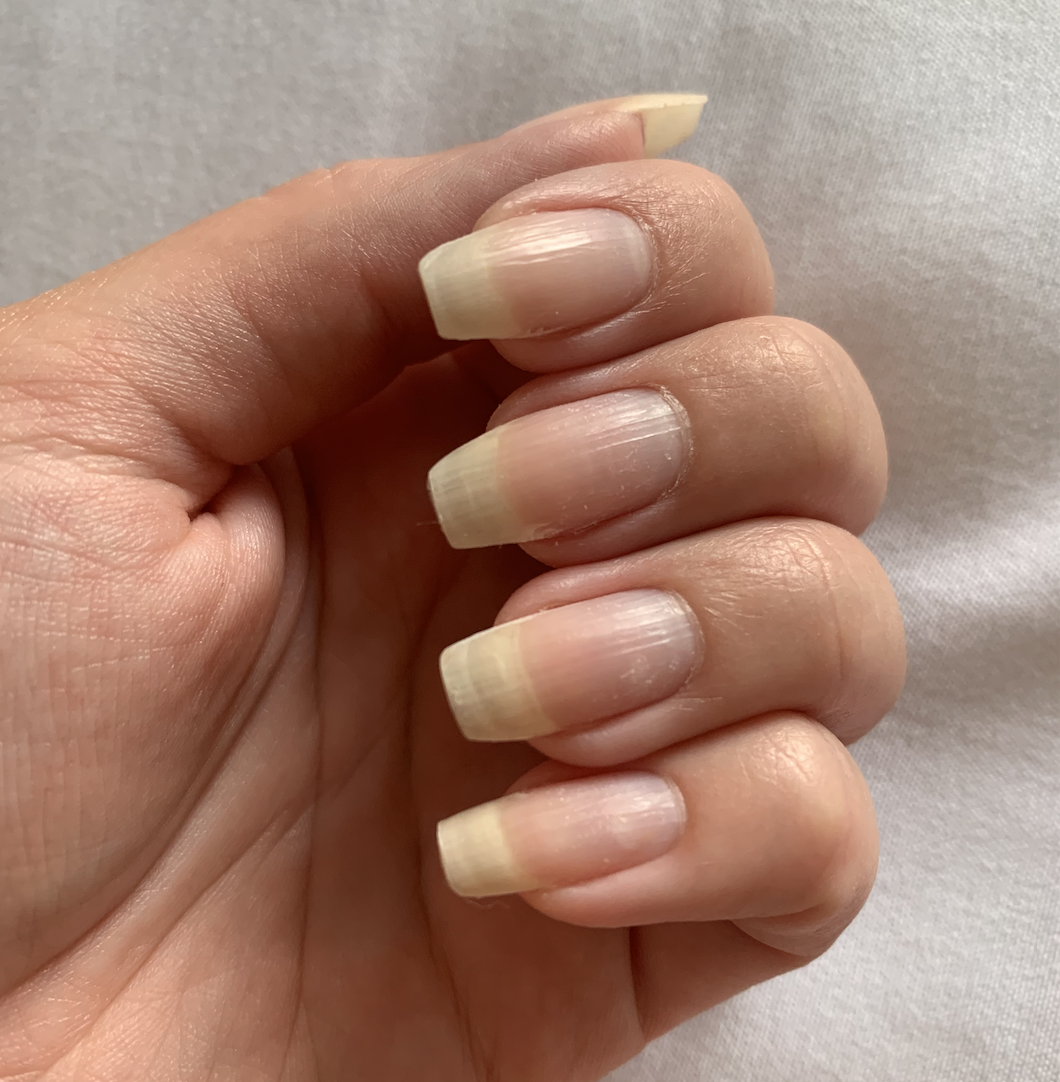
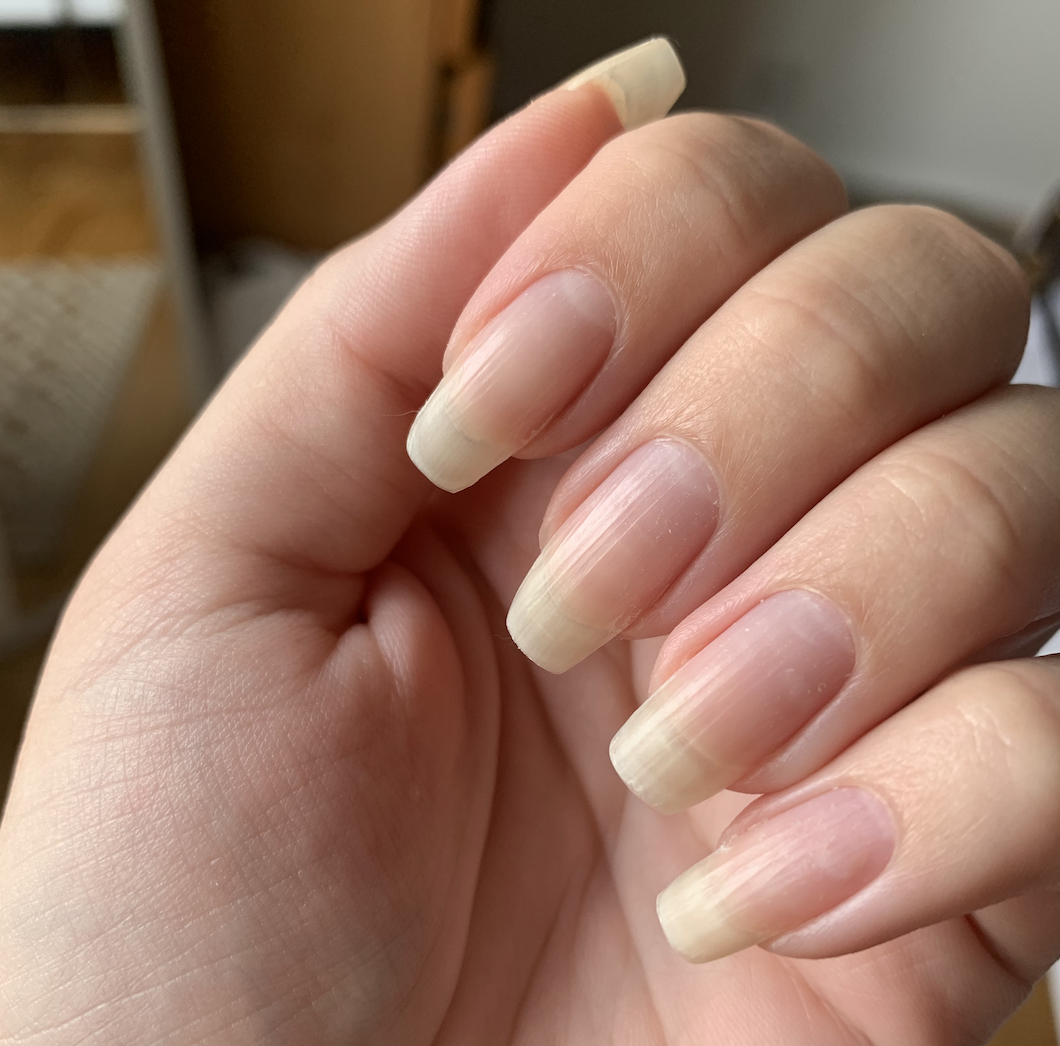
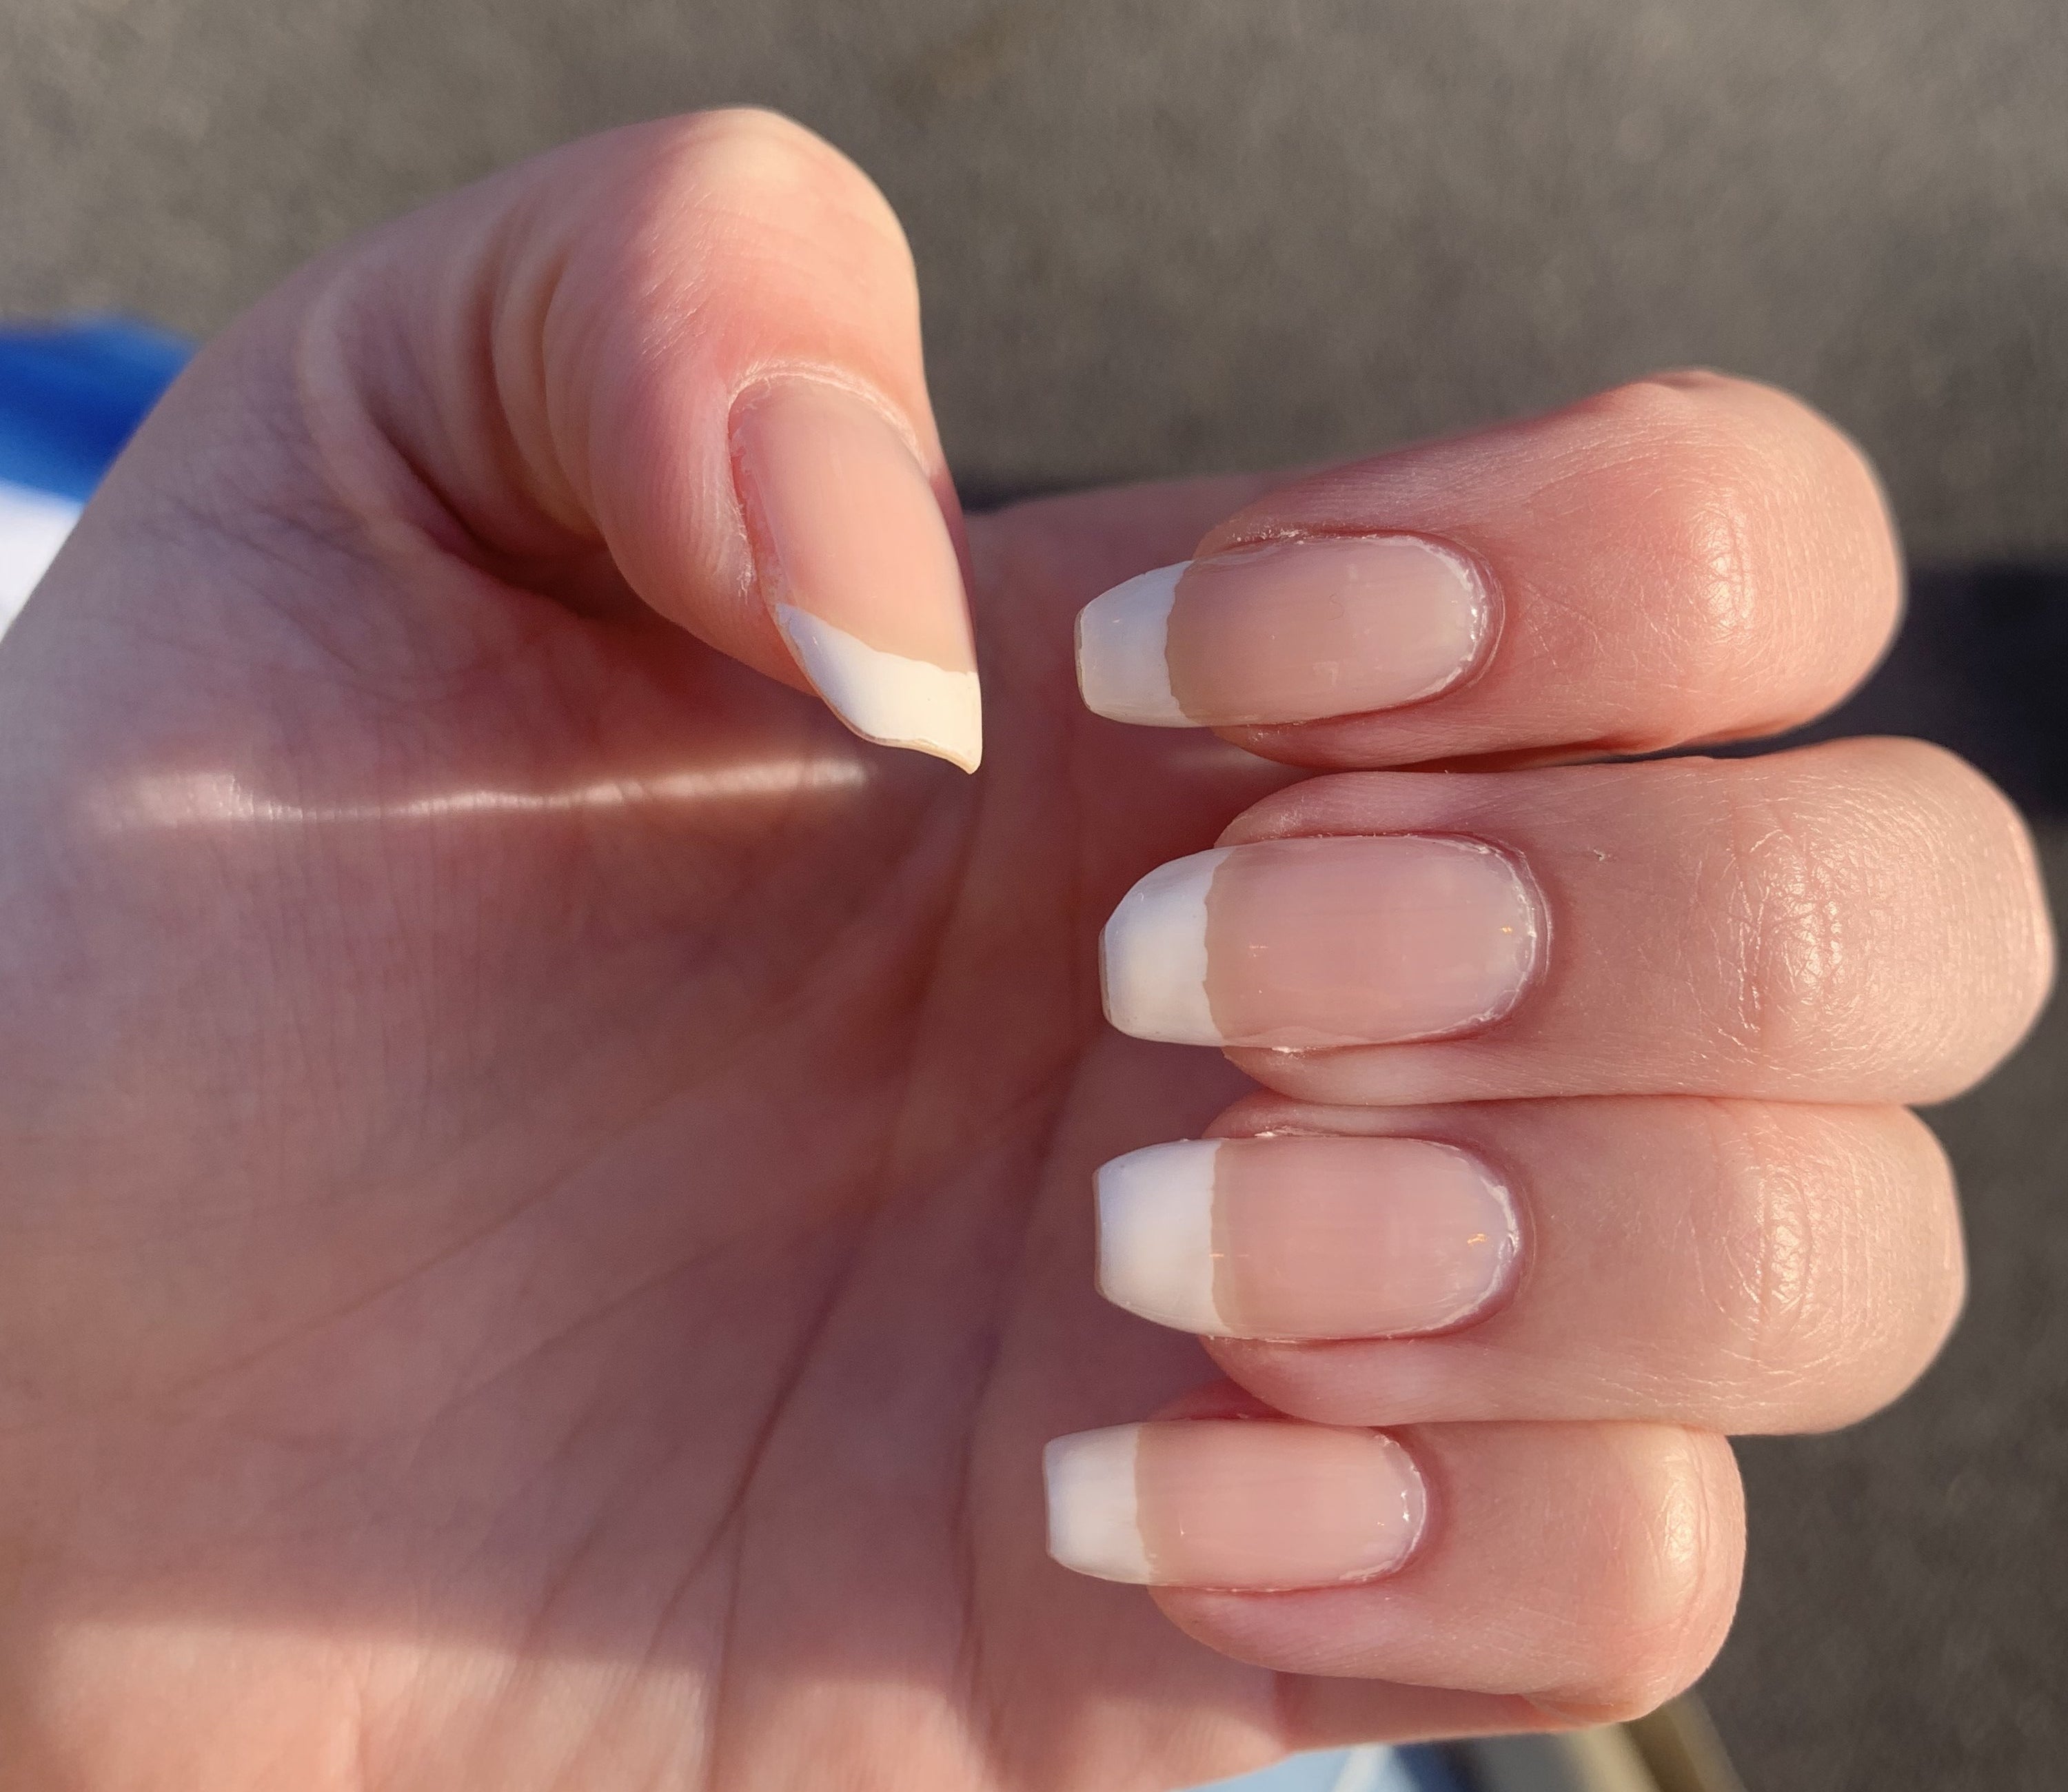
This is how my nails and cuticles looked without any nail polish and before the cuticle treatment:
I applied the gel to each of my nail beds in turn with the easy-to-use applicator.
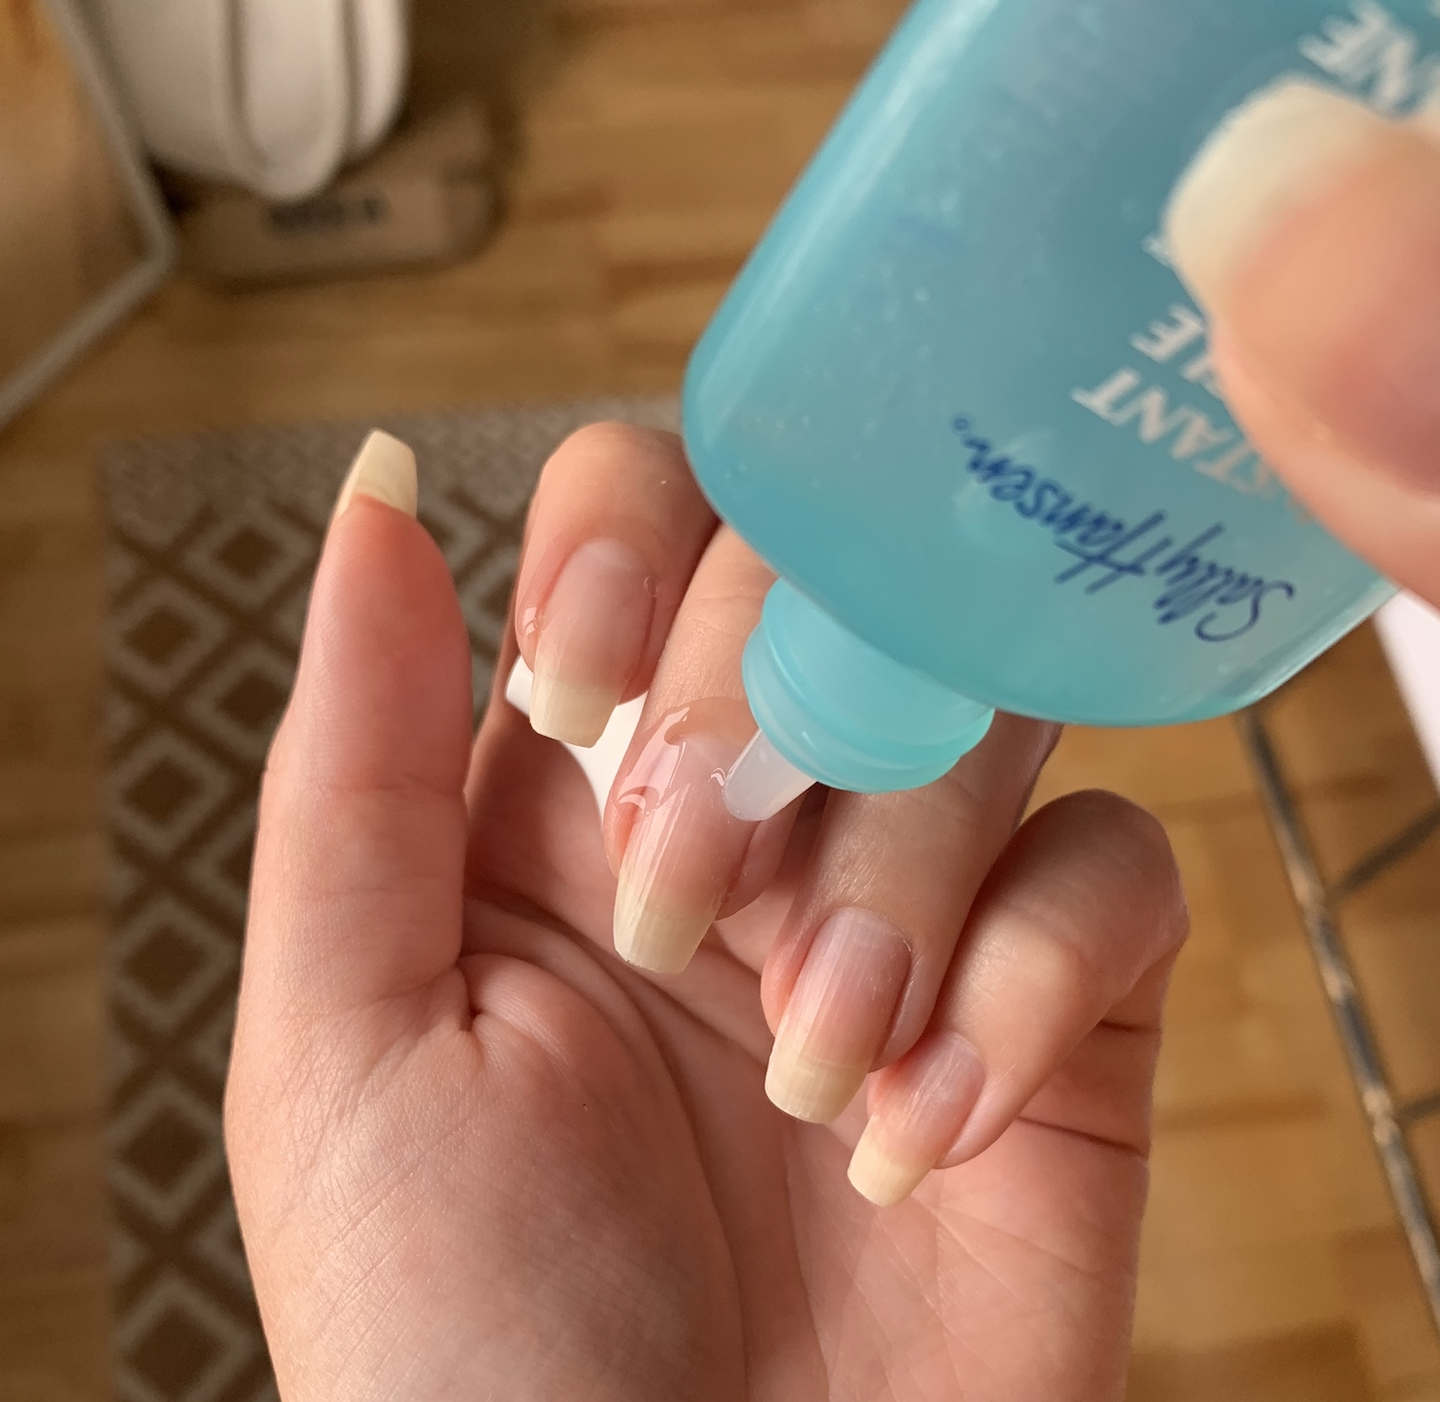
The non-sticky formula didn't hurt or sting at all – it actually had quite a nice cooling effect! I left it on for around 30 seconds rather than the advertised 15 (the instructions say you can leave the gel on for up to a minute) as I had to ask my mum to snap these snazzy pics.
I then washed the formula off with warm water, making sure to rub the nail beds properly!
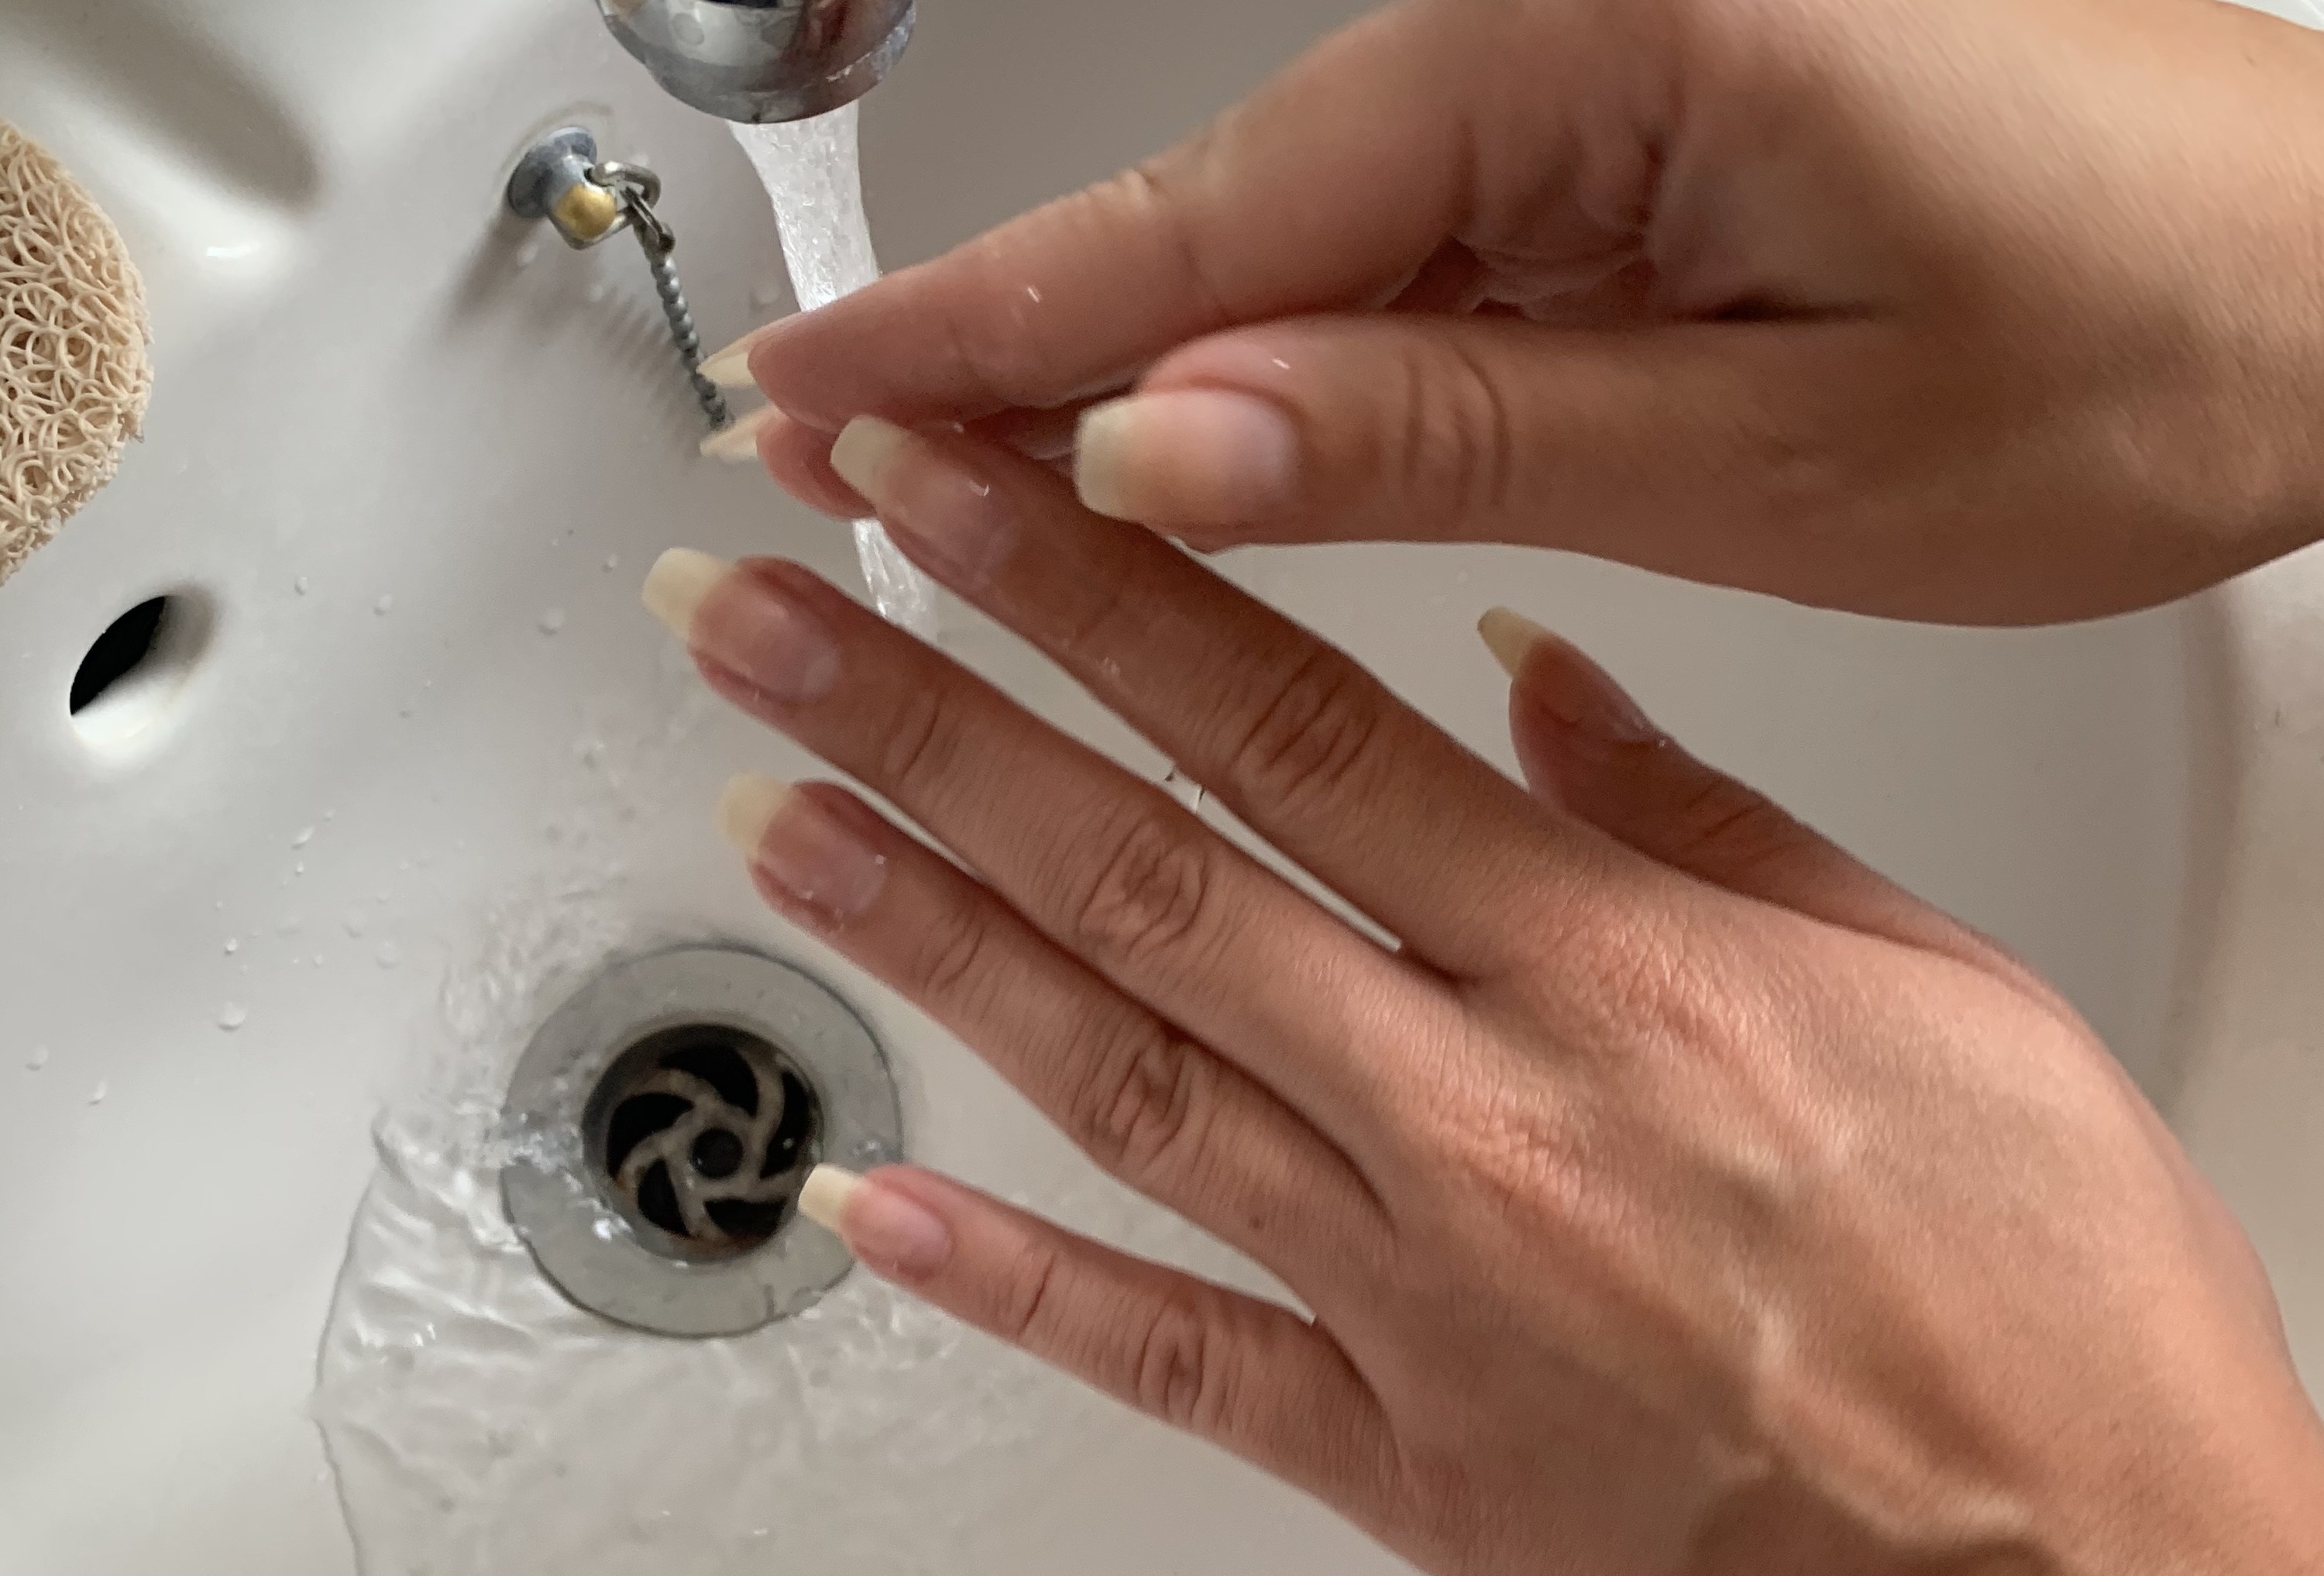
Now for the satisfying part – I used my nails to gently scrape any excess skin away and push what was left of the softened cuticles back.

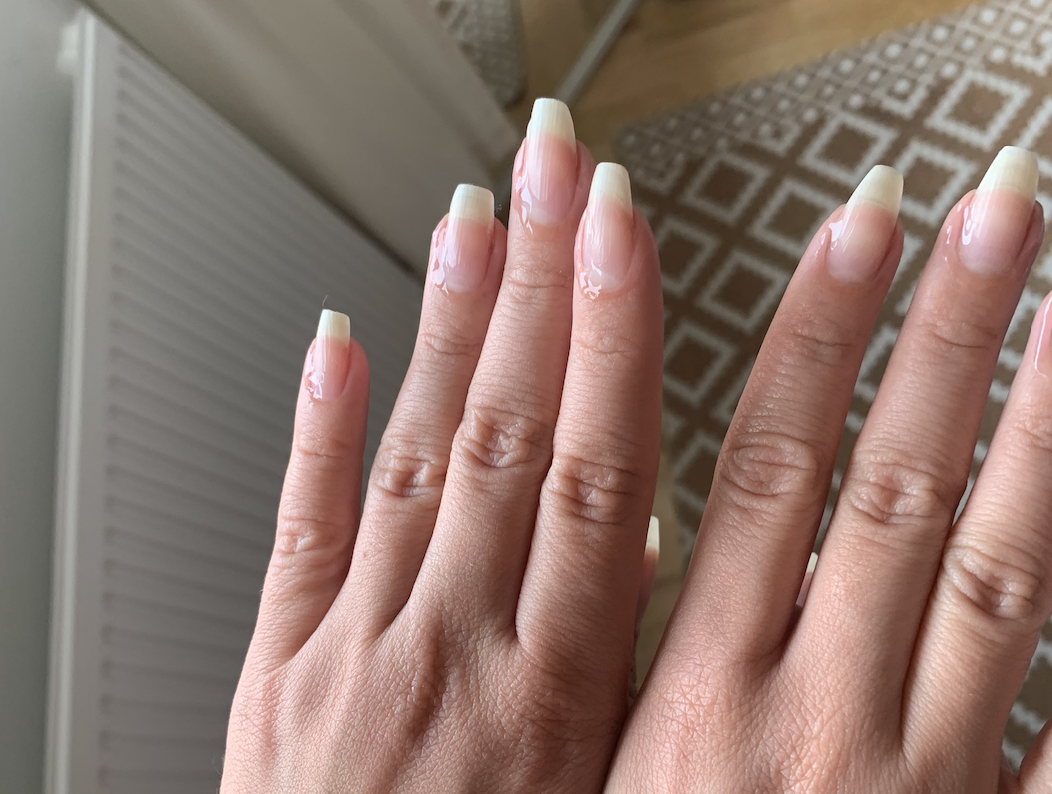
I then washed off any ~residue~ with warm water and this is how my nails looked once they had dried:
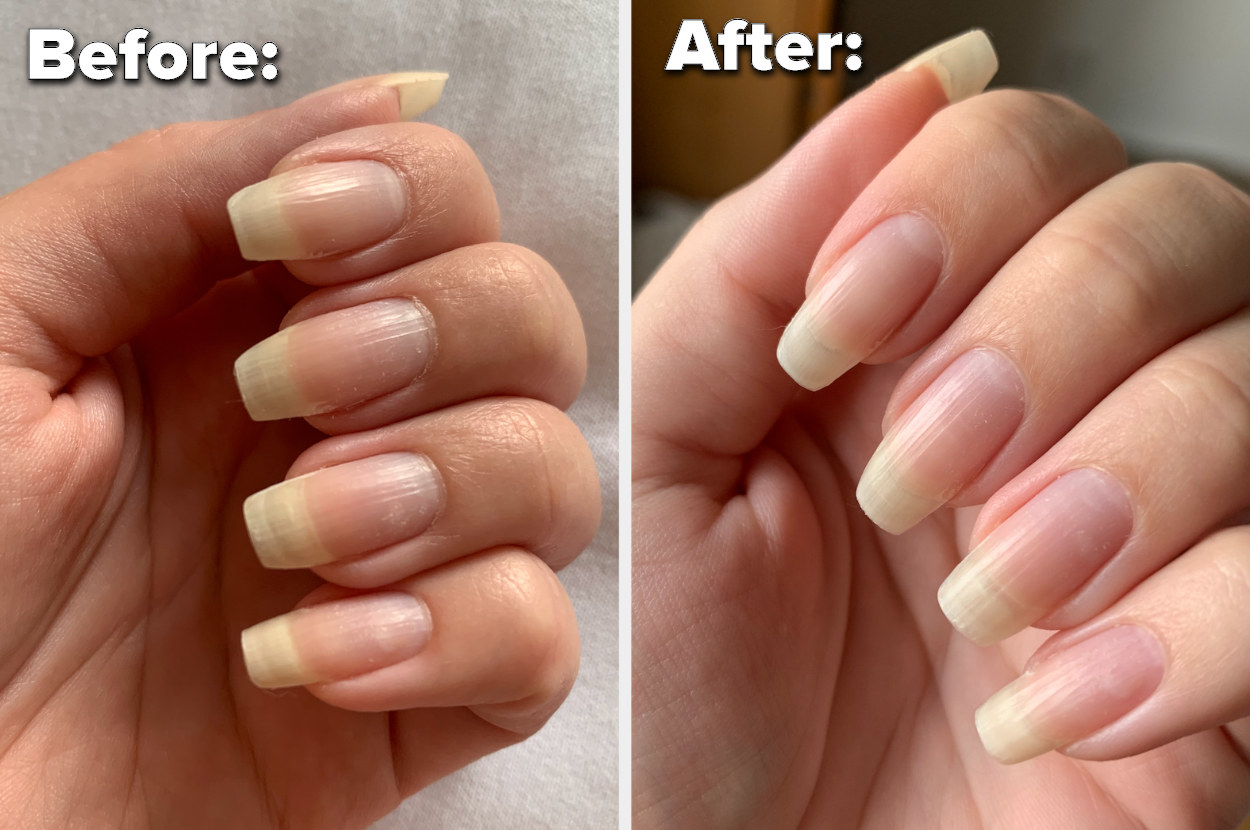
If you're not *quite* convinced just yet, then I urge you to take a look at this direct before and after comparison (bearing in mind these pictures were taken less than two minutes apart!!)
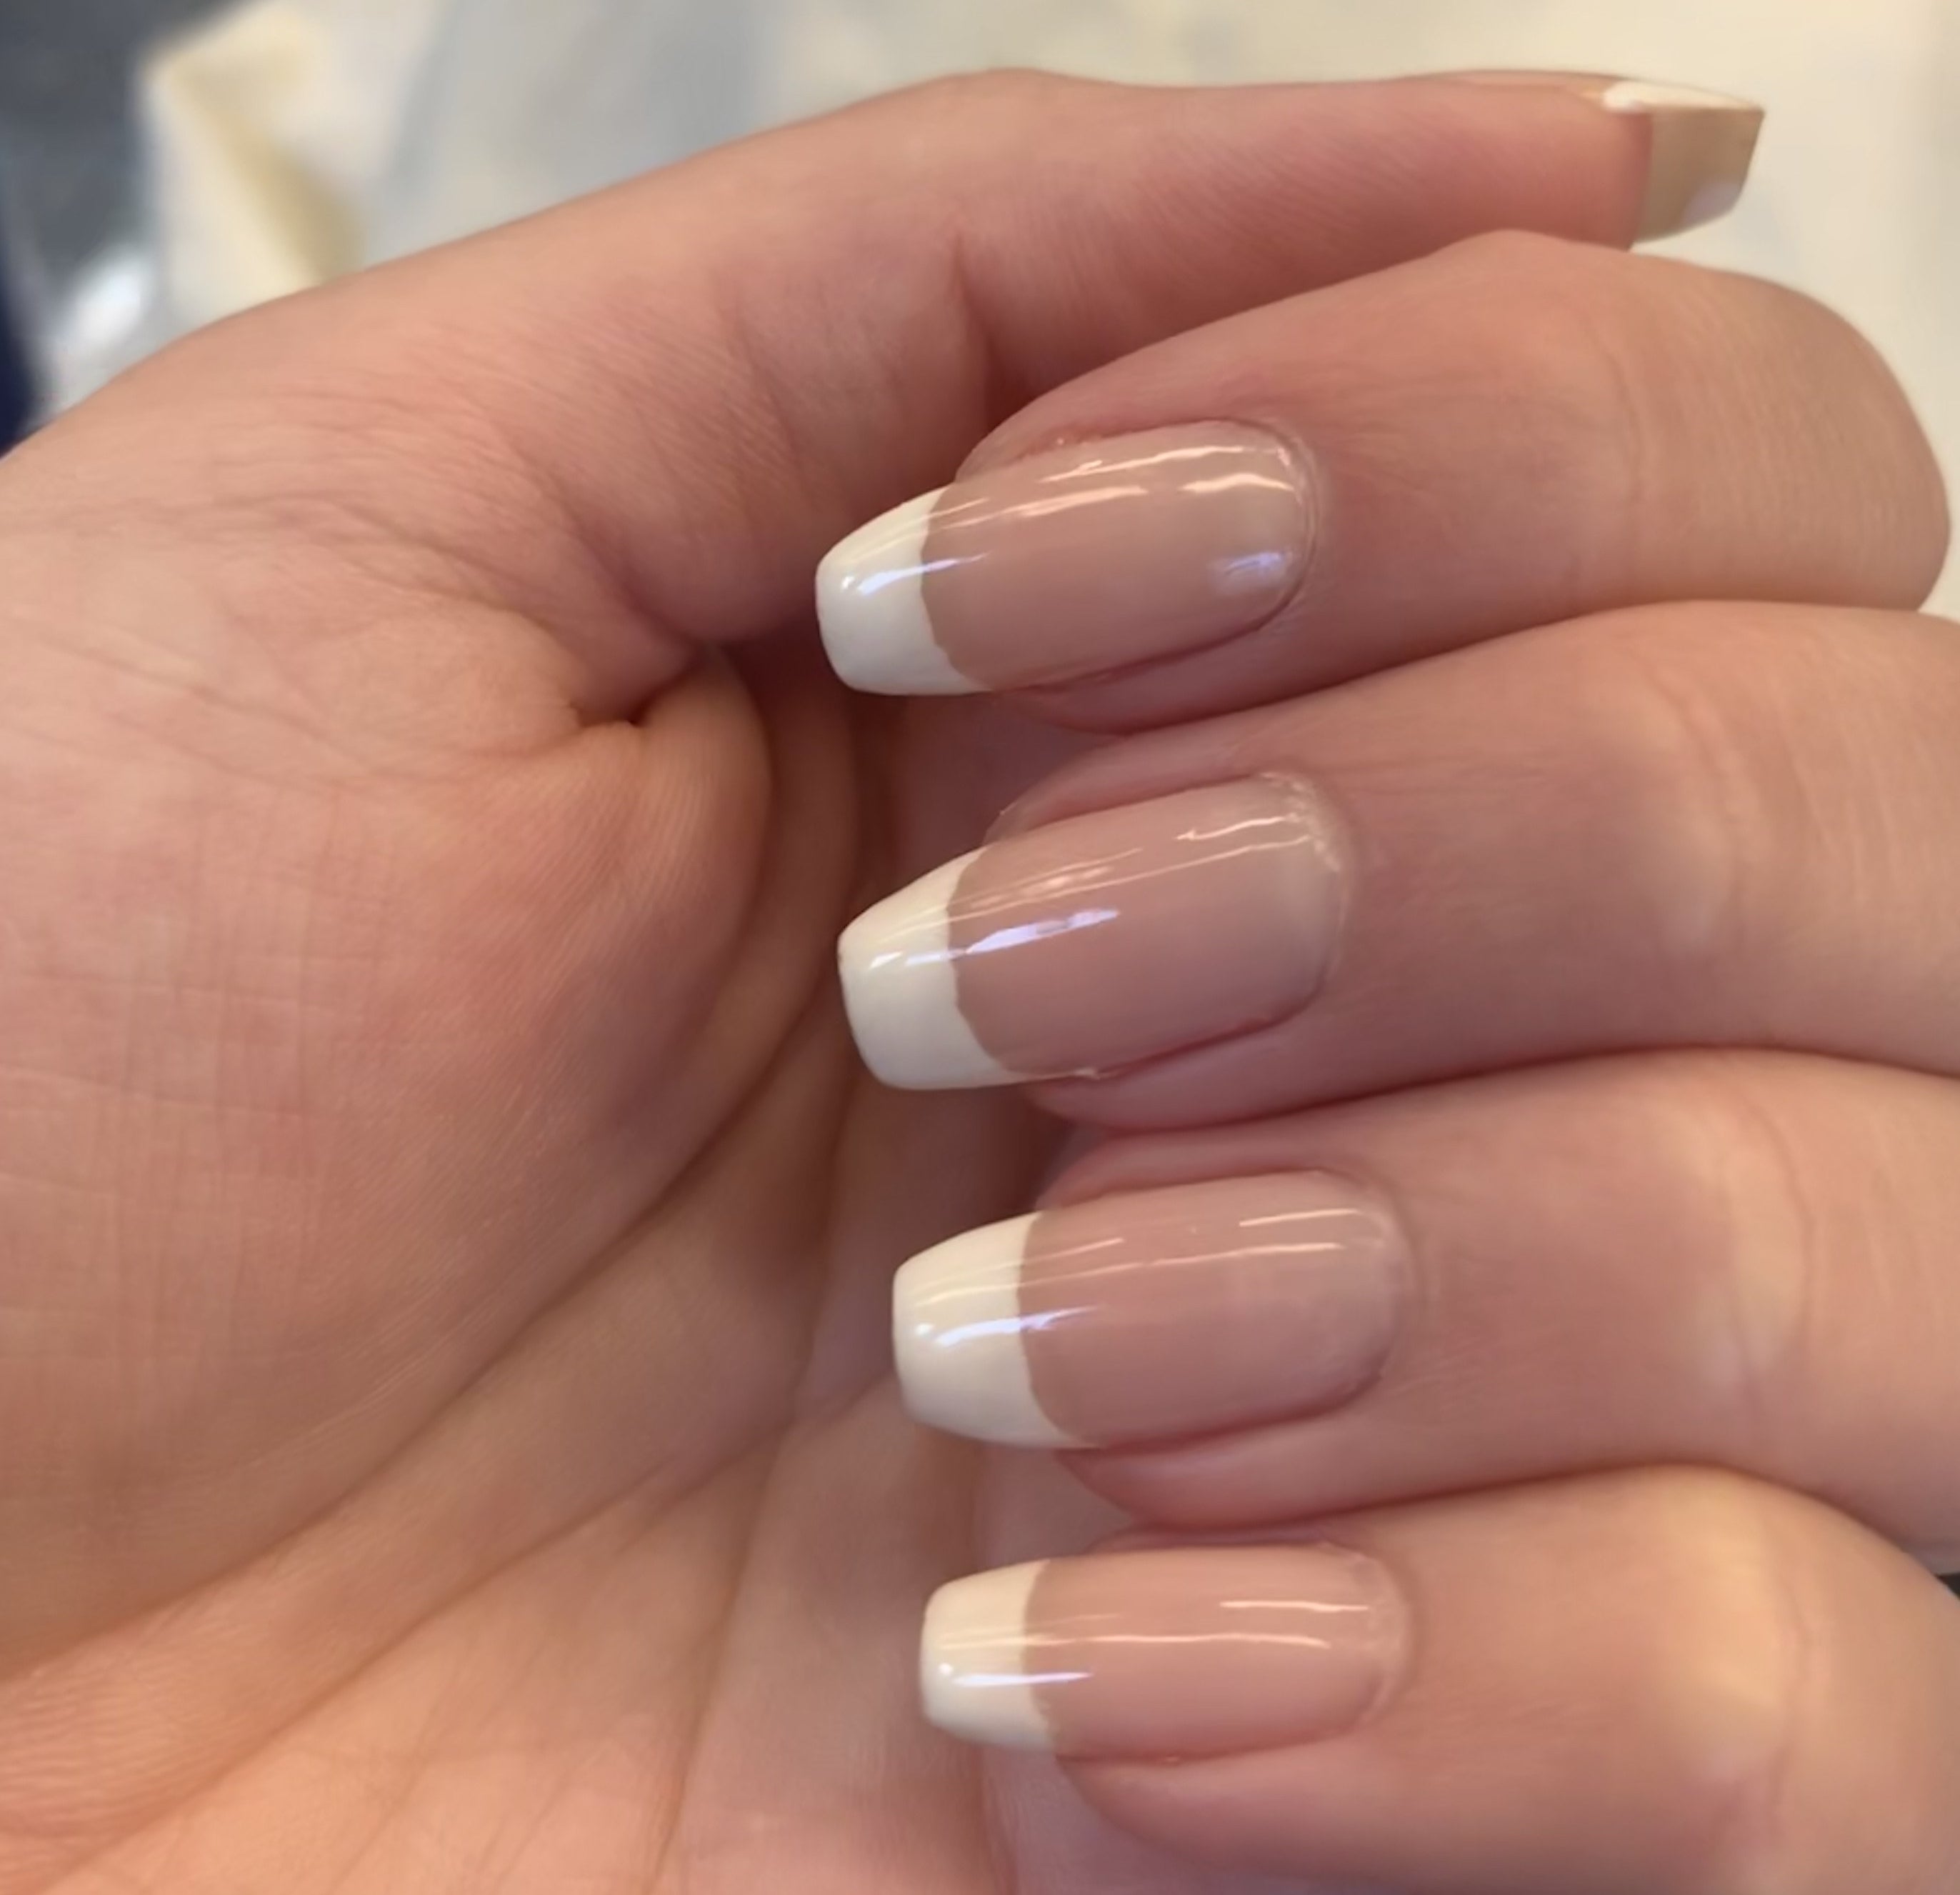
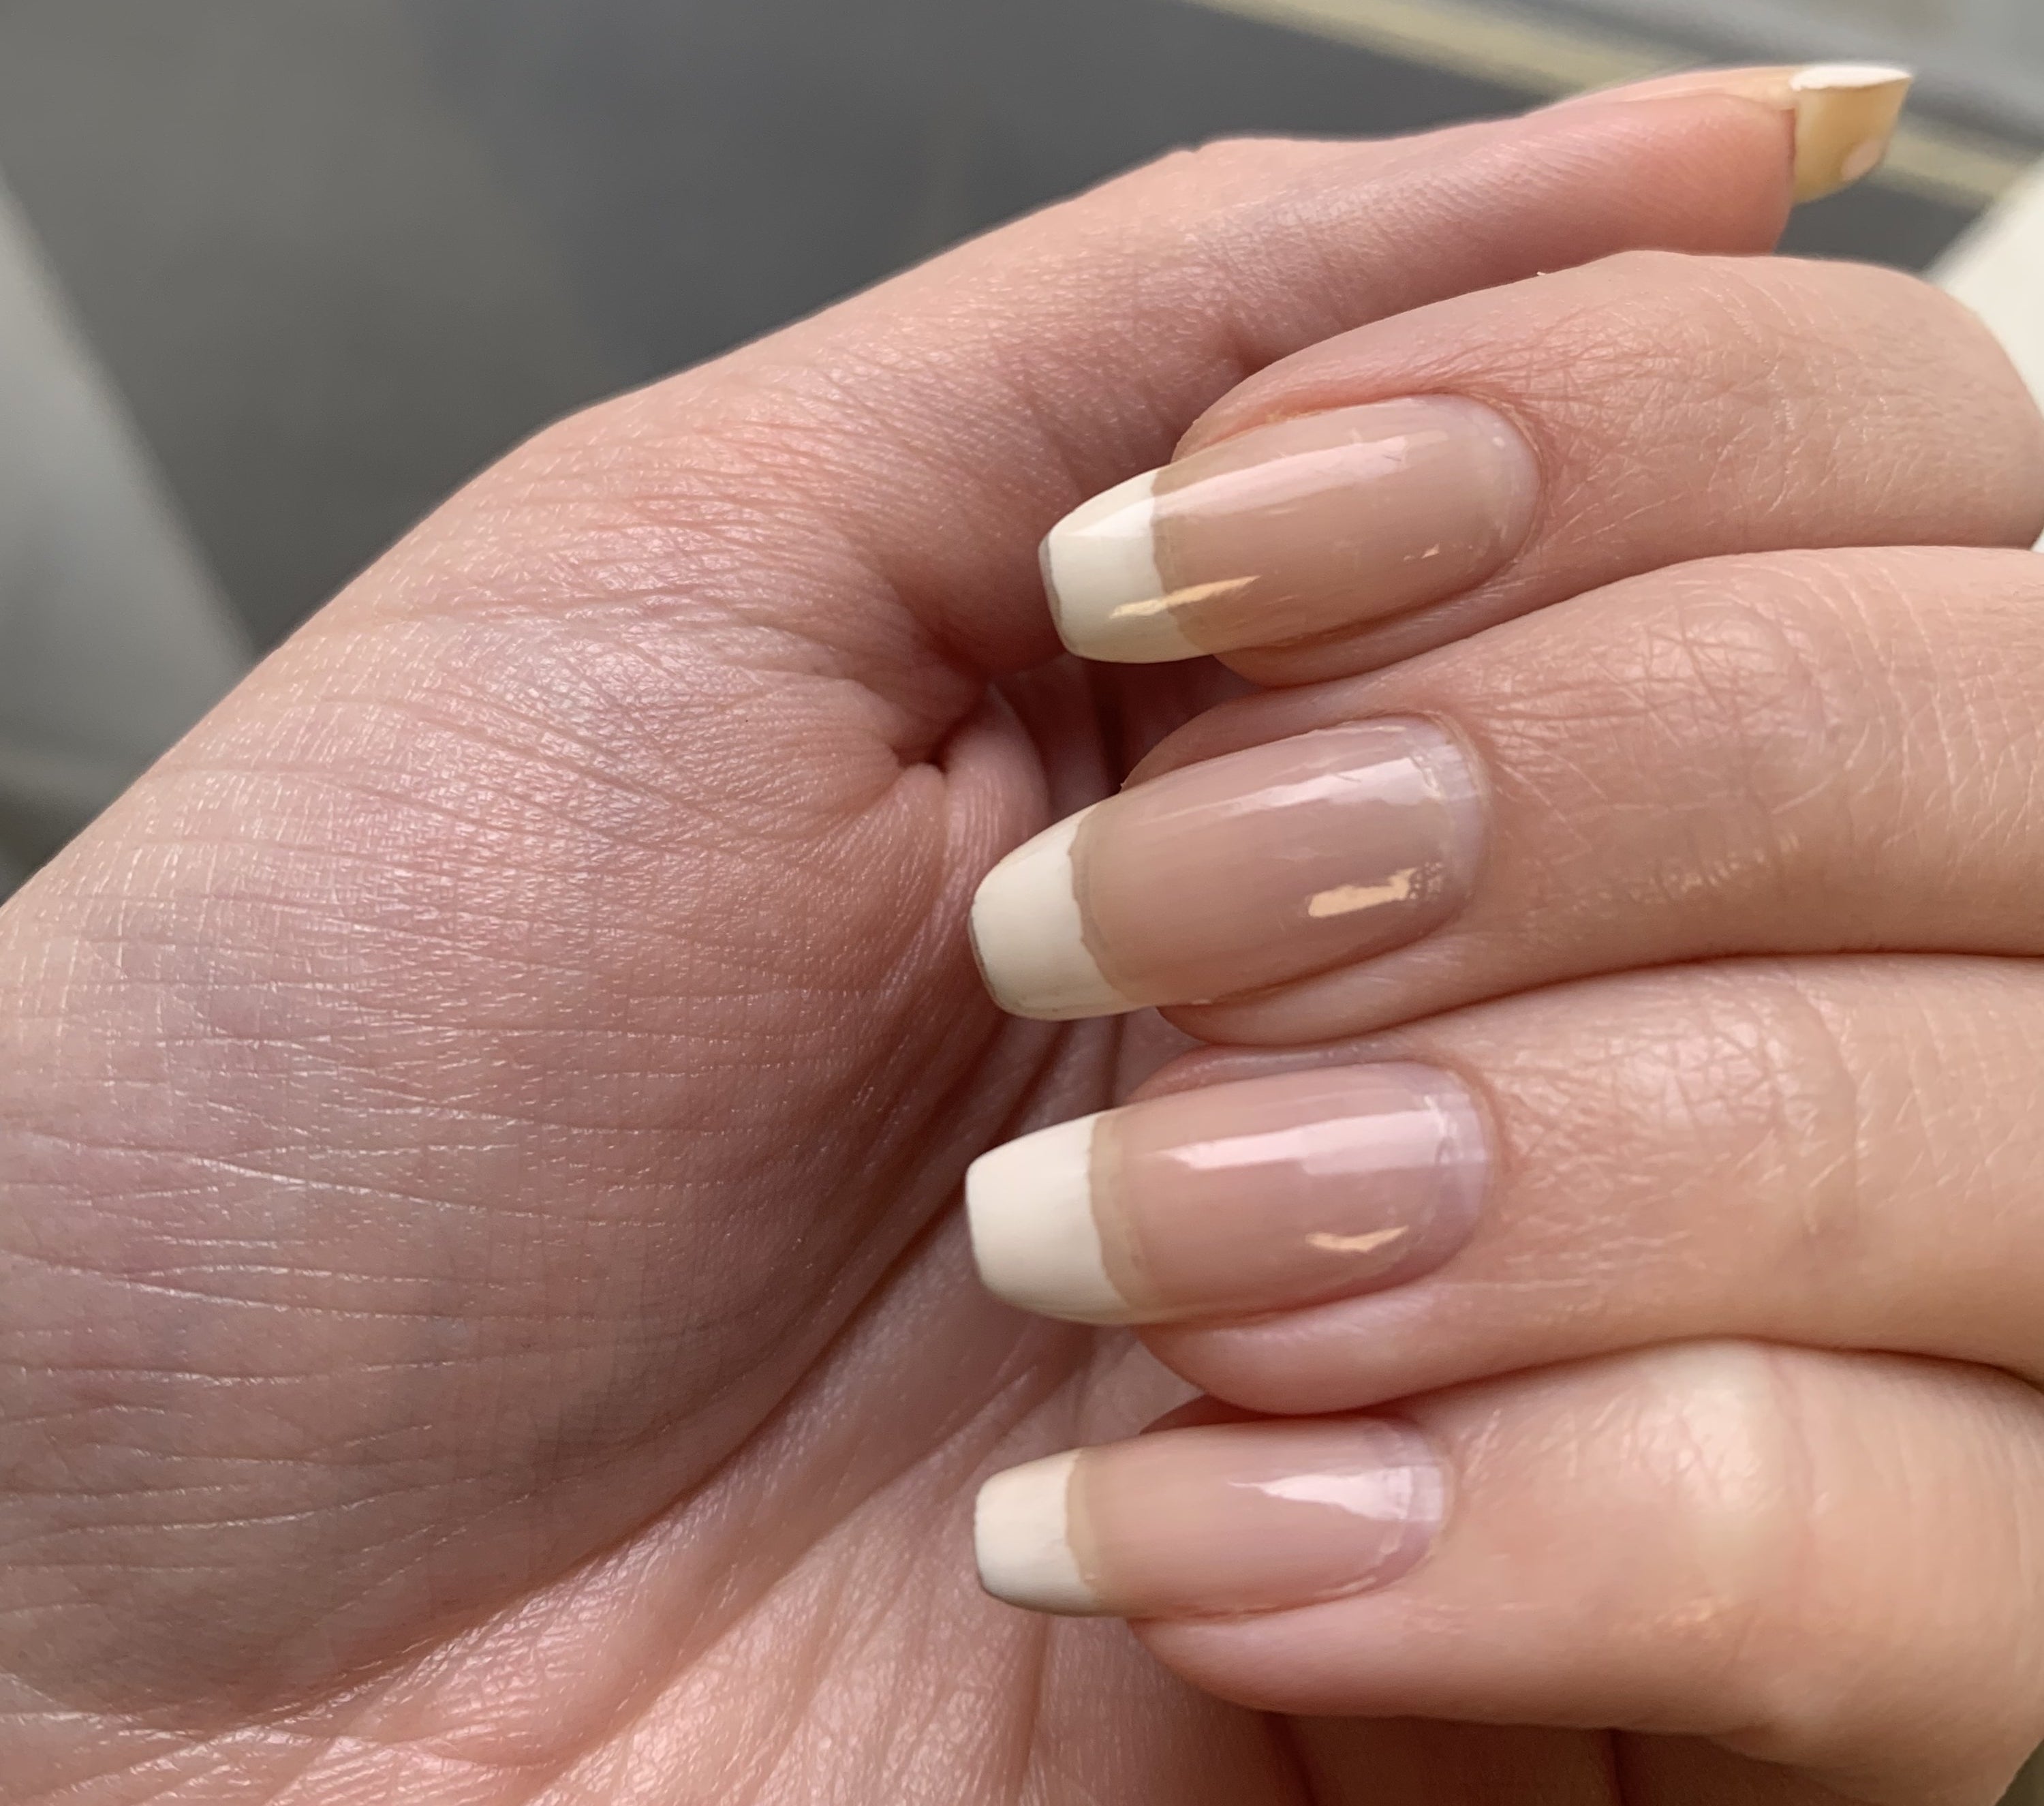
And here's how my completed manicure looked! Overall this lil' cuticle remover is surprisingly cheap, super easy to use, and genuinely reduces the excess time it usually takes to get my nails looking this smooth and tidy.
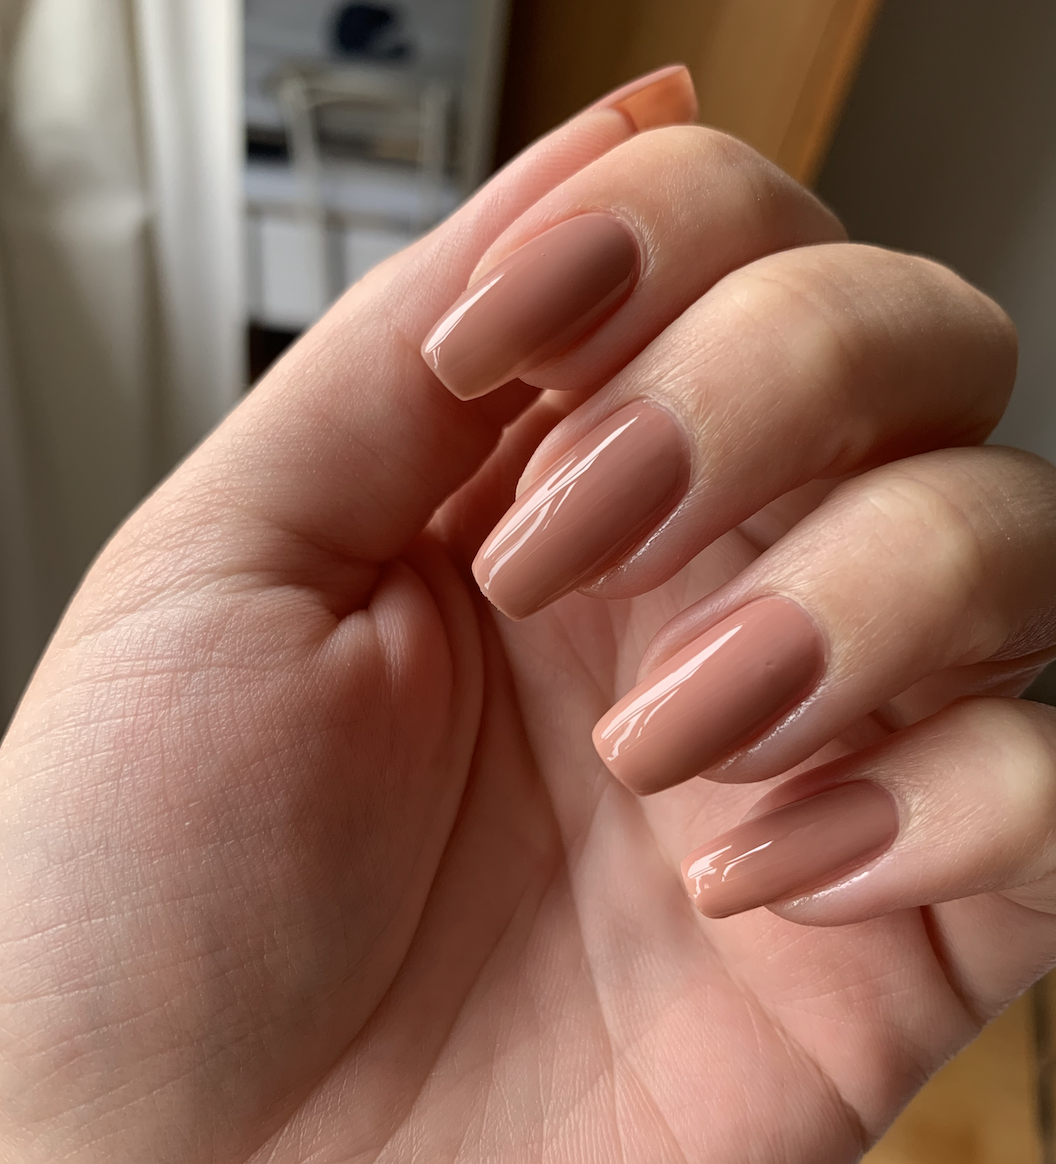
And if you're wondering how I got my manicure to look so glossy, smooth, and generally salon-worthy – read on for my review of Seche Vite's Dry Fast top coat which claims to really make your manicures last longer:
It has been getting thousands of rave reviews on Amazon, so I thought I would try it out for two weeks to see if it really works.
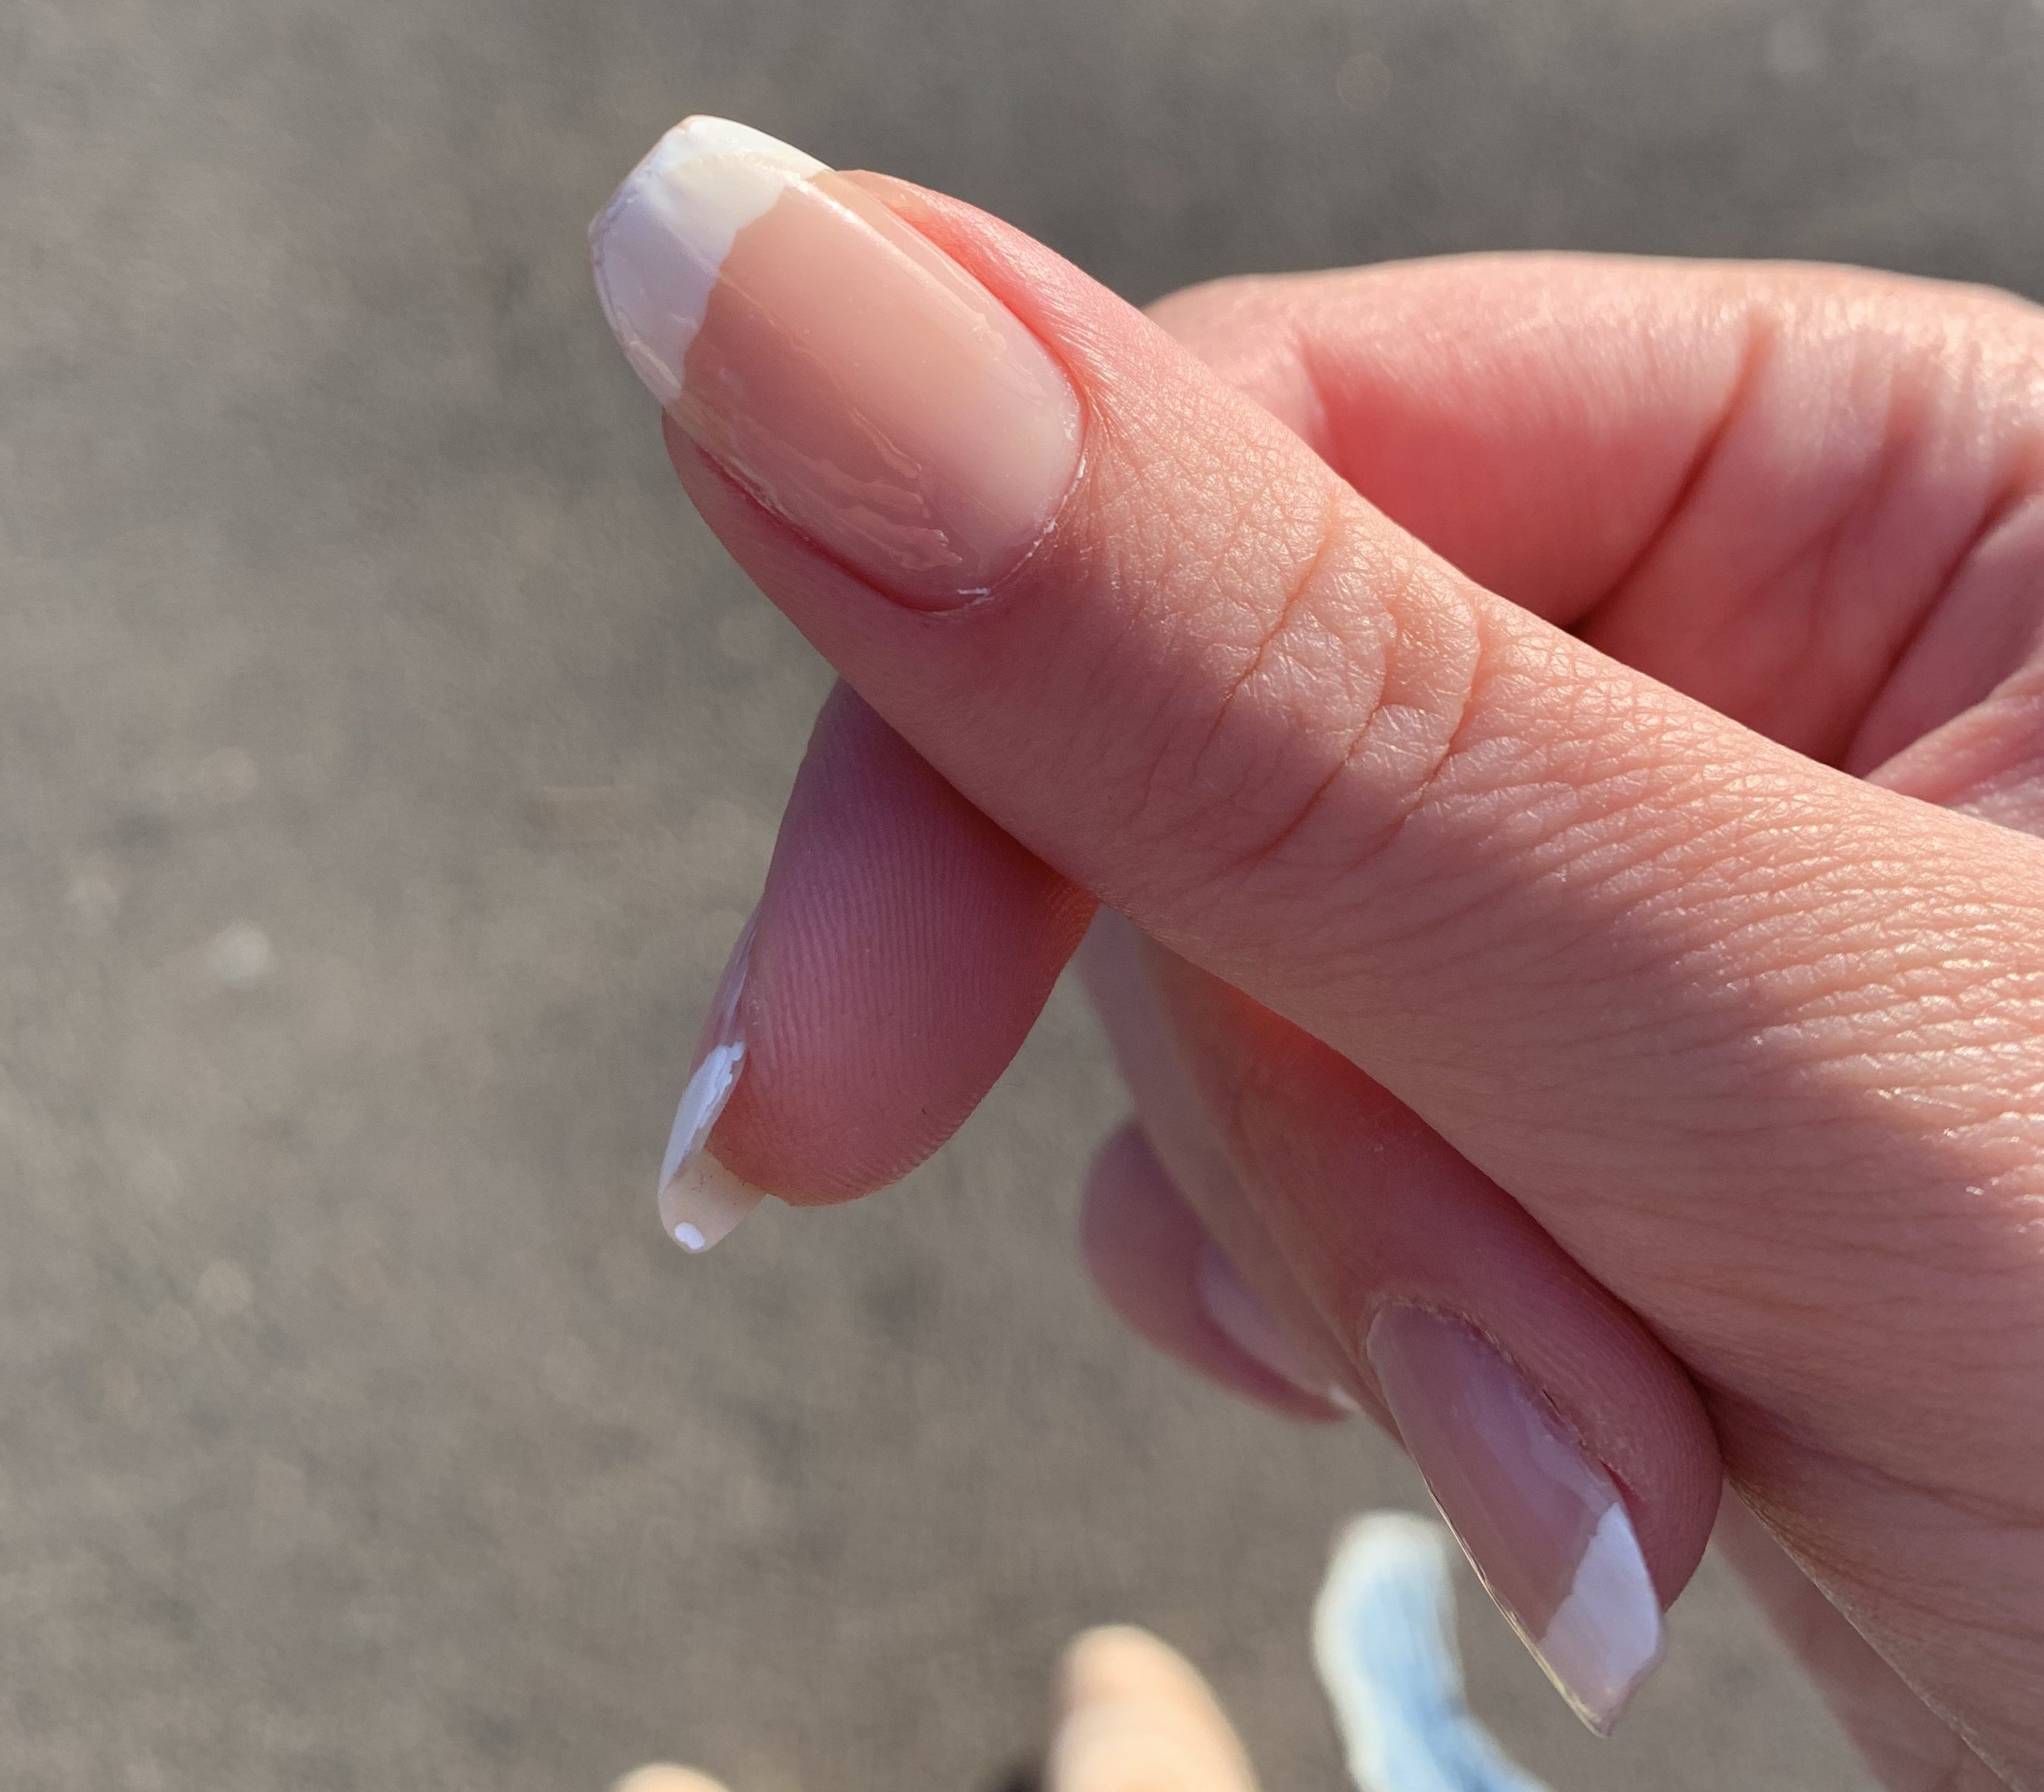
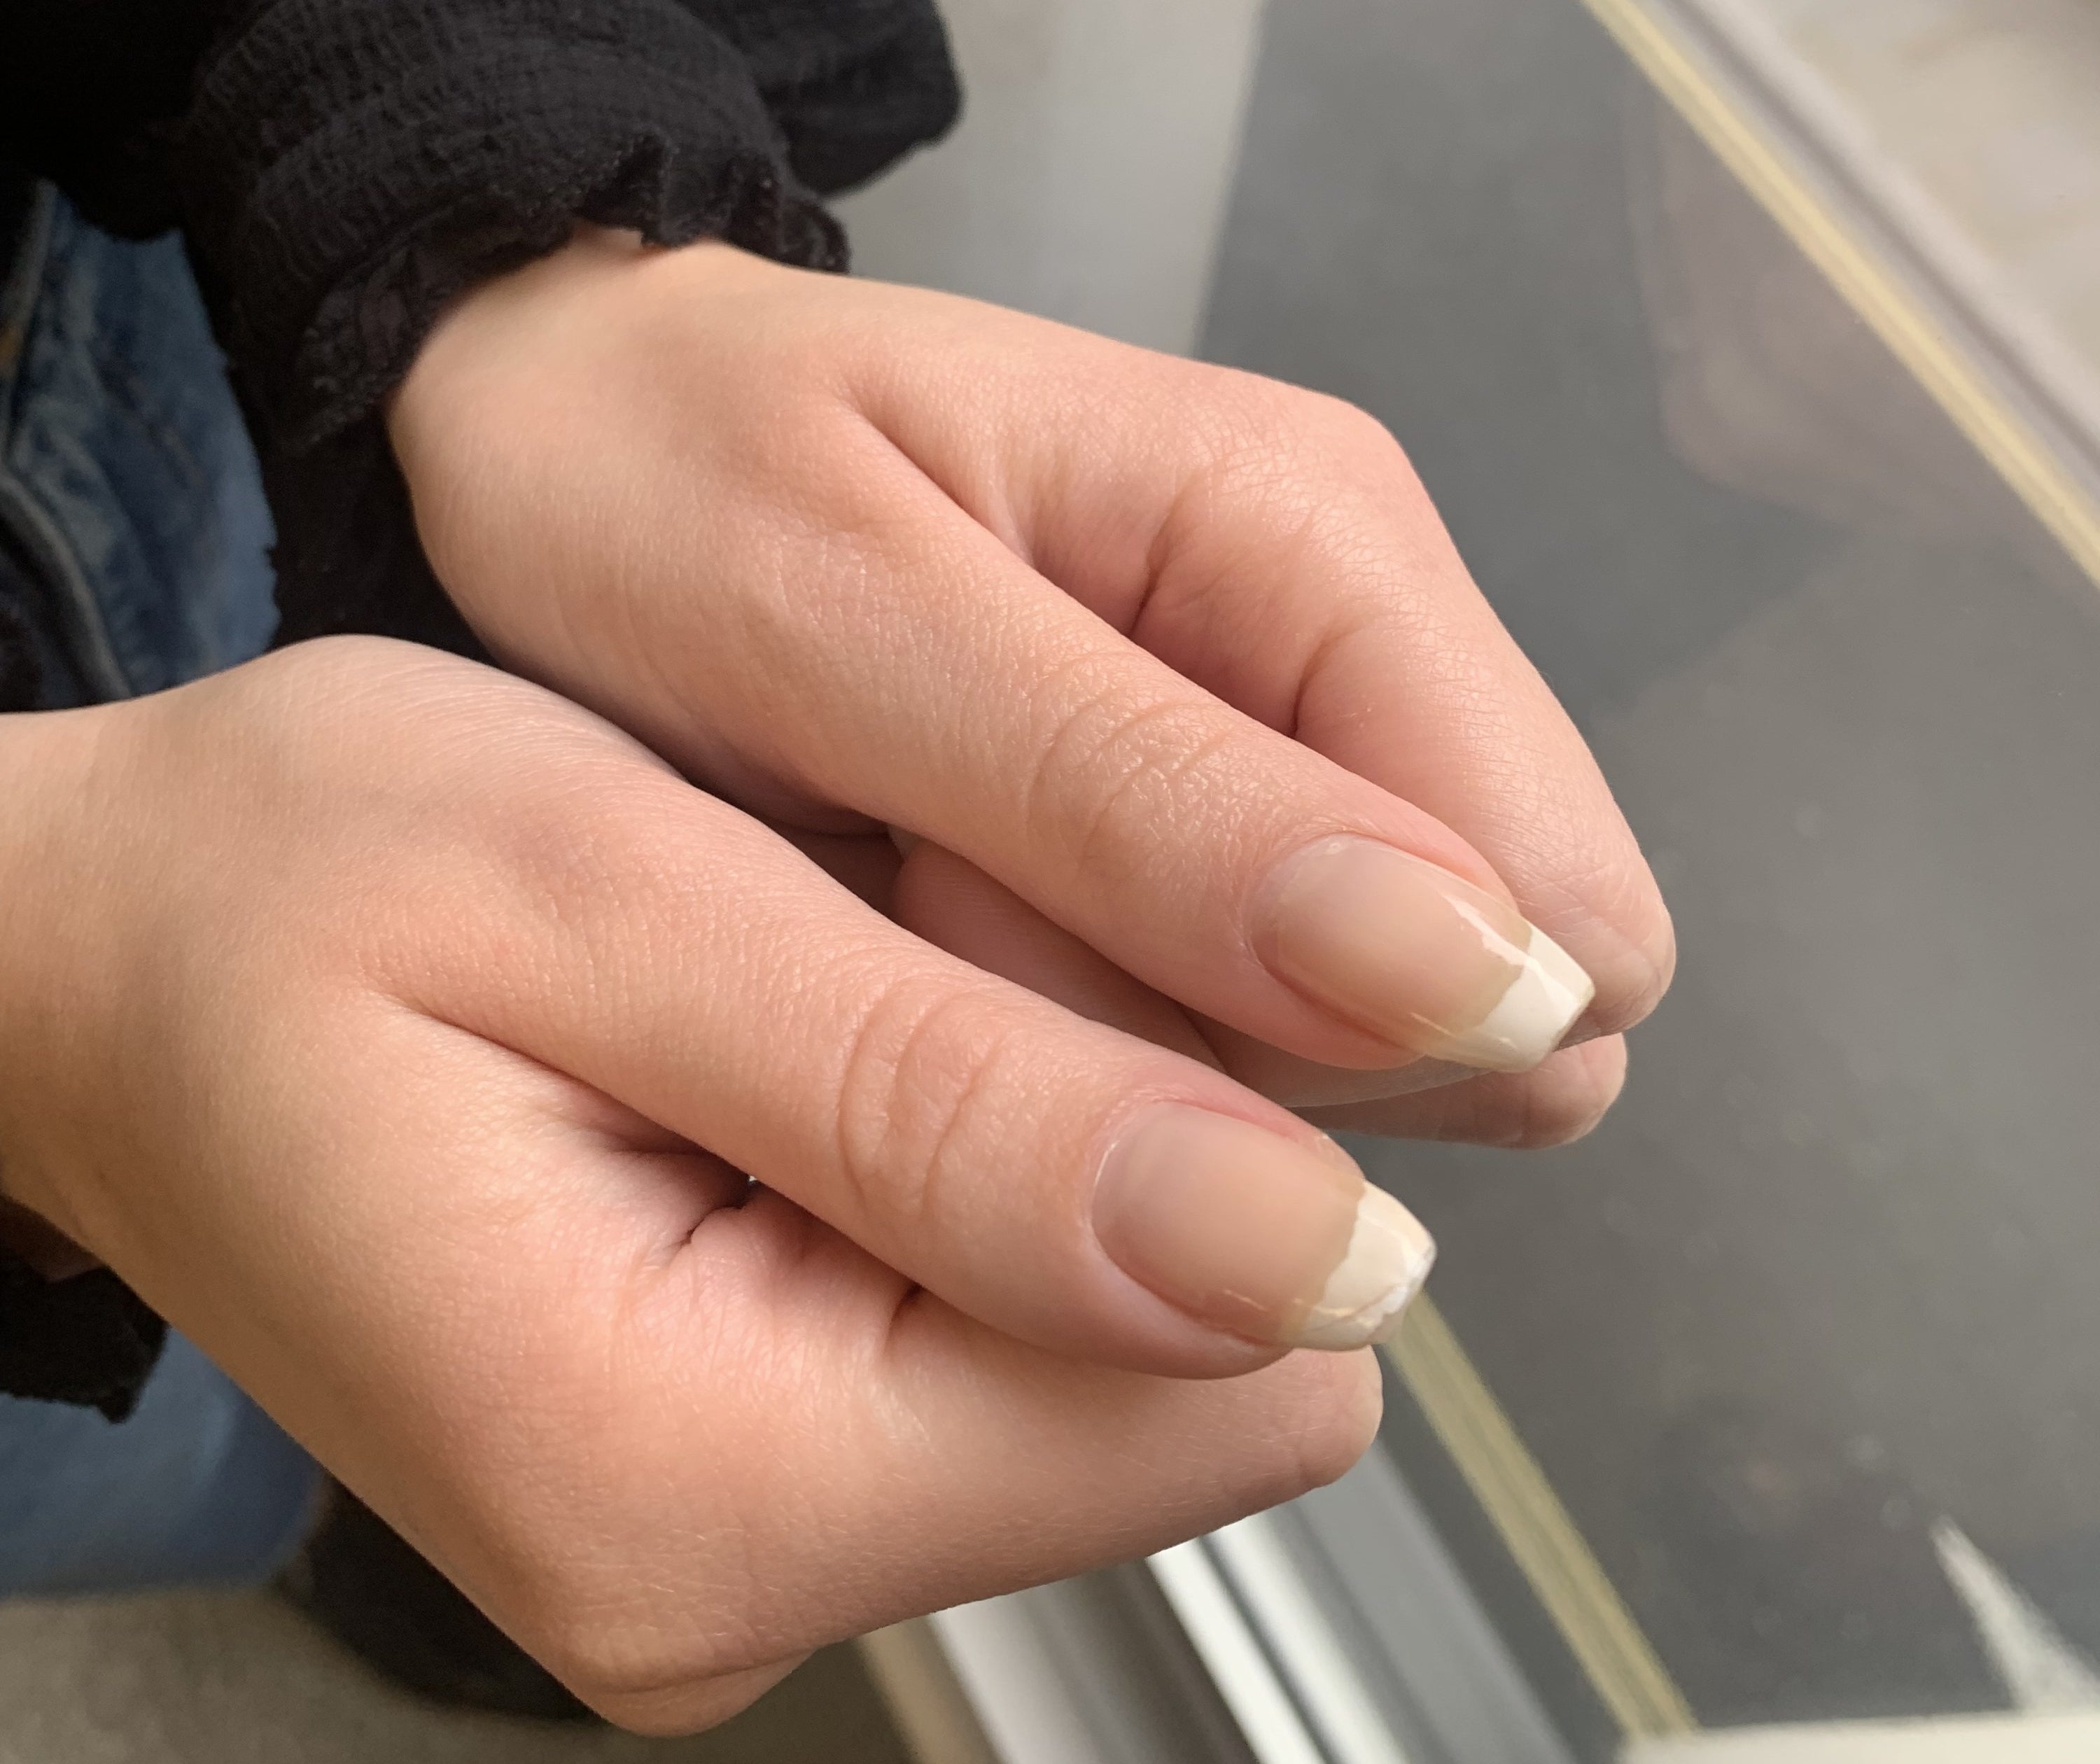
Day One.
Let’s talk about my right thumb.
Day Three.
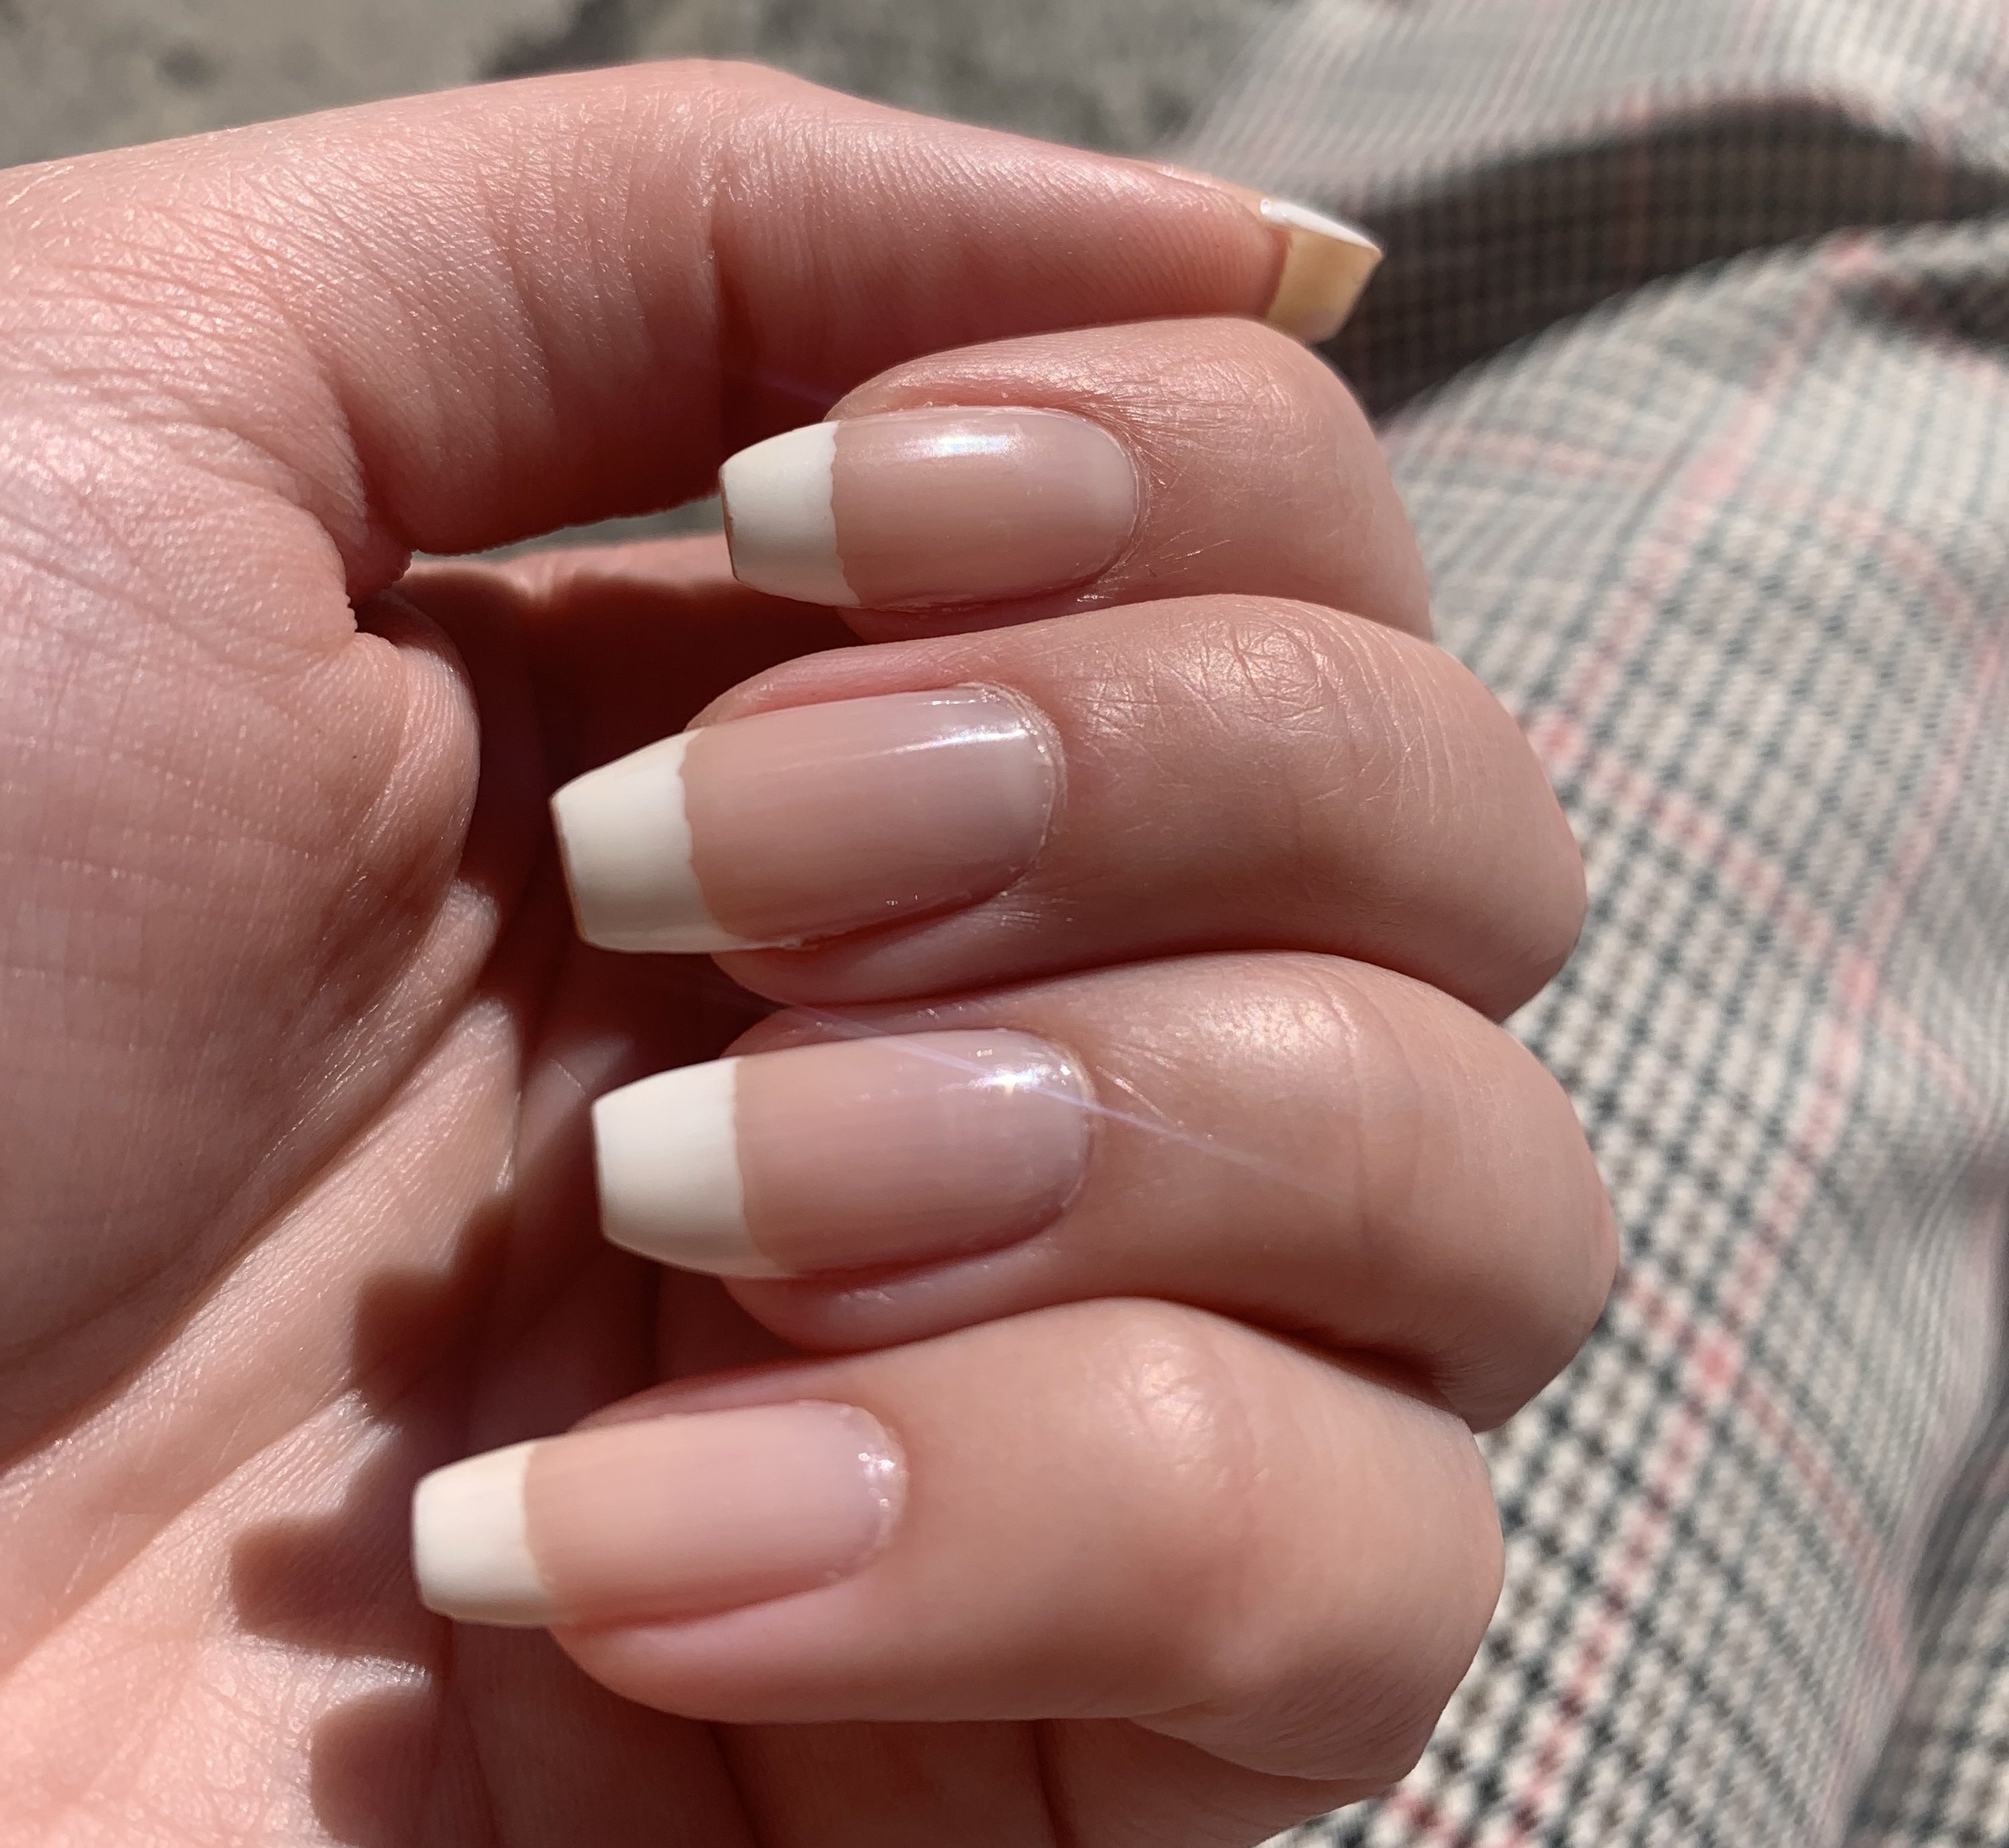
Day Seven.
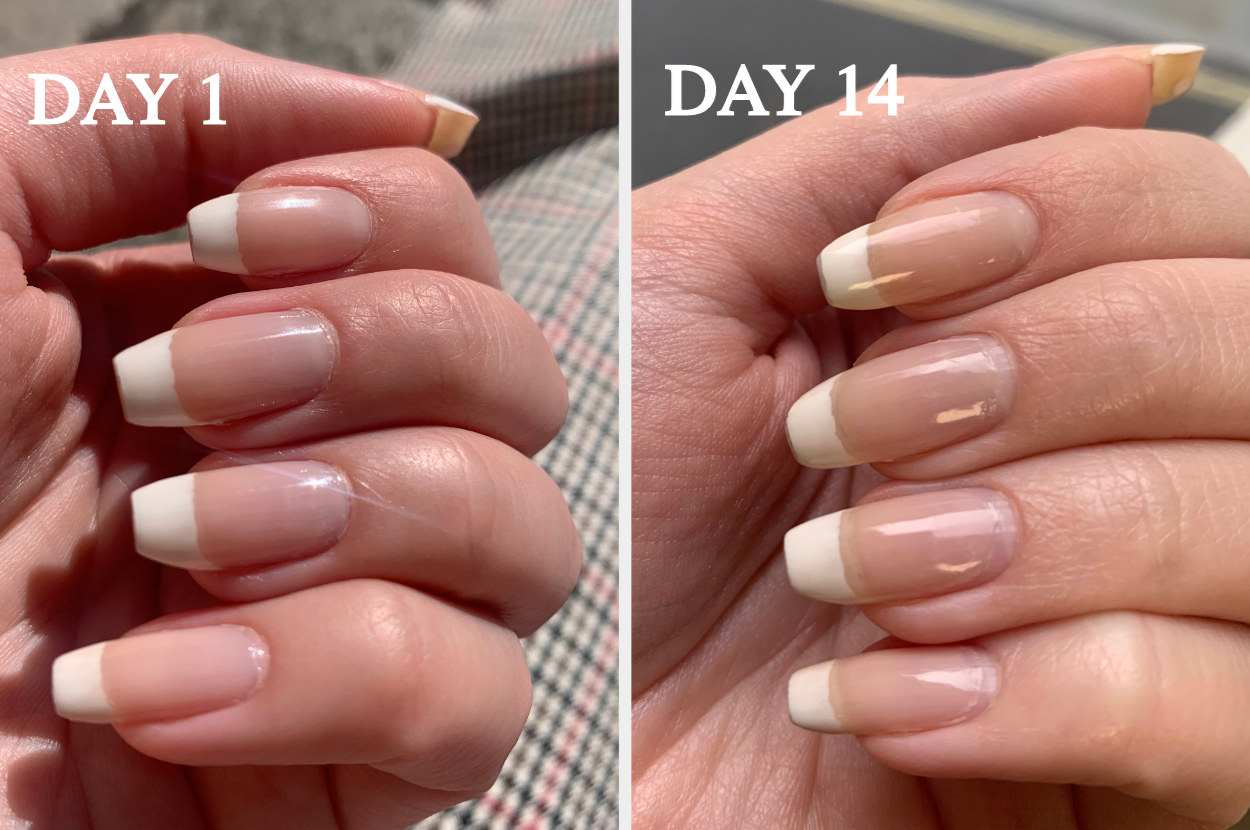
Day 14.
Now, what happened to ~that~ thumb?
Overall, this top coat is incredible! It helped to make my manicure last absolutely ages without chipping and still looks reasonably fresh after two weeks.
Top tips for using Seche Vite top coat:
1. It’s important to load up the brush with a lot of polish so you don’t have to double dip – if you try to paint another layer of top coat over the first, it will be more difficult to work with and might go lumpy.
2. You don’t have to wait for each layer to dry before you paint the next – this top coat actually works better when the layers underneath are still slightly wet, so it can kinda bond them together.
3. Don’t forget to seal the edges of the top coat with whatever’s left on your brush. Run the brush over the top edge of your nail to connect the tip with the main body of the nail and make sure that the manicure doesn’t shrink back a-la my right thumb.
4. Finally, this top coat’s name really isn’t lying: it dries fast. If your layers of polish underneath aren’t too thick, wait about five minutes and you can go about your day as normal (no more frantically flapping hands). But also make sure you work quickly, and don’t leave the brush out of the bottle for too long so it doesn’t have a chance to dry out.
Now go forth and enjoy your super-speedy, long-lasting, and salon-worthy DIY manicures!
