You know those fancy letter boards you've been seeing all over the internet? We love 'em, but we don't love the price tag. So in typical Nifty fashion, we made our own!
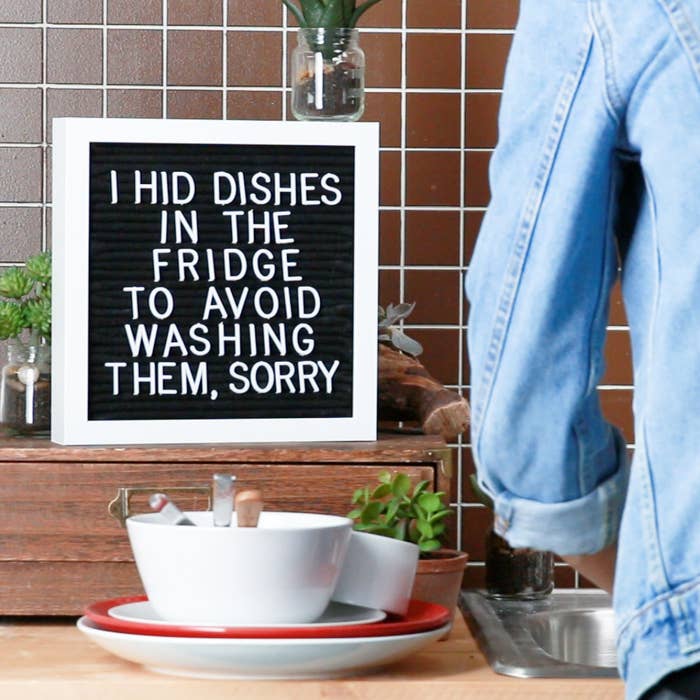
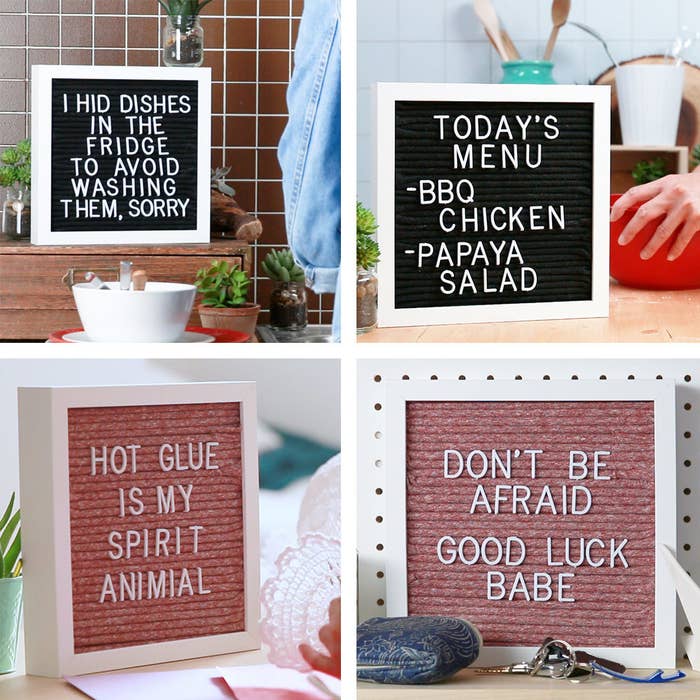
The best part? You can make them whatever size or color you want for a fraction of the price! Check out the how-to from Apartment Therapy below.
Supplies:
Picture frame with at least 1-inch depth - $10
Ruler
Wooden dowels (3/16-inch recommended) - $9
Sand paper
Scissors
Hot glue gun
Hot glue sticks
Plastic letters - $9
Felt or old T-shirt $5
Instructions:
# Remove picture frame backing. Measure the width and length inside of the picture frame.
# Cut 2 pieces of wooden dowels to match the length and enough pieces to match the width. If you're using 3/16-inch dowels, 4 pieces per inch will be required. Sand any rough edges.
# Place pieces lengthwise inside the frame. Apply hot glue at the corners. Place pieces across width on top to complete frame.
# Glue dowels in to fill frame, leaving a ⅛-inch gap between dowels. Test plastic letter on dowels to make sure the fit is appropriate.
# Felt or T-shirt fabric should be a few inches wider and three times longer than than frame. Place felt over dowels and use a ruler to tuck it in between the gaps between the dowels. Cut excess fabric.
# Cover felt with spray adhesive.
# Insert finished frame into picture frame and add letters as desired.
