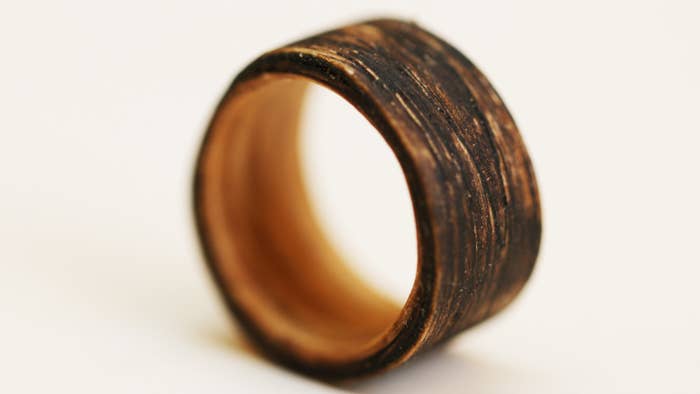
DIY Two-Tone Wooden Ring
Supplies
Two sheets of veneer in whatever colors you prefer
A bowl of water
A finger-shaped object (marker, rod, mandrel, etc.)
Superglue
Lacquer
Instructions
# Cut both sheets of veneer into 4-inch strips. Then, cut them to the width you’d like the ring to be. Leave a little wiggle room because you will be sanding off the edges slightly!
# Soak the veneer in a bowl of water for at least one hour to make it malleable.
# Wipe off any excess water and wrap the veneer around a finger-shaped object and tape it so it stays in that position. Let it dry for about 8 hours.
# Sand the edges of the veneer so that it tapers off into an extremely thin edge. For best results, start with a low-grit sandpaper and work your way up to a high grit (ex. 60, 80, 150, 220, etc.)
# Take the piece of veneer you would like to be on the inside of the ring. Wrap it around your finger-shaped object and glue it as you go. Once dry, sand away the seam until smooth.
# Take the other piece of veneer and repeat the above process by wrapping it around the inside ring.
# Once the glue is dry and the seam has been sanded, place the ring down flat on a sheet of 60 grit sandpaper to sand down the side edges. Sand both sides, then work your way up to higher grits of sandpaper until it is as smooth as you want (ex. 60, 80, 150, 220, etc.)
# Paint a coat of lacquer around the outside and inside of the ring. Once dry, your ring is finished! Feel free to be creative and carve into your ring, paint designs on it, add rhinestones, whatever!
