
Pin it for later!
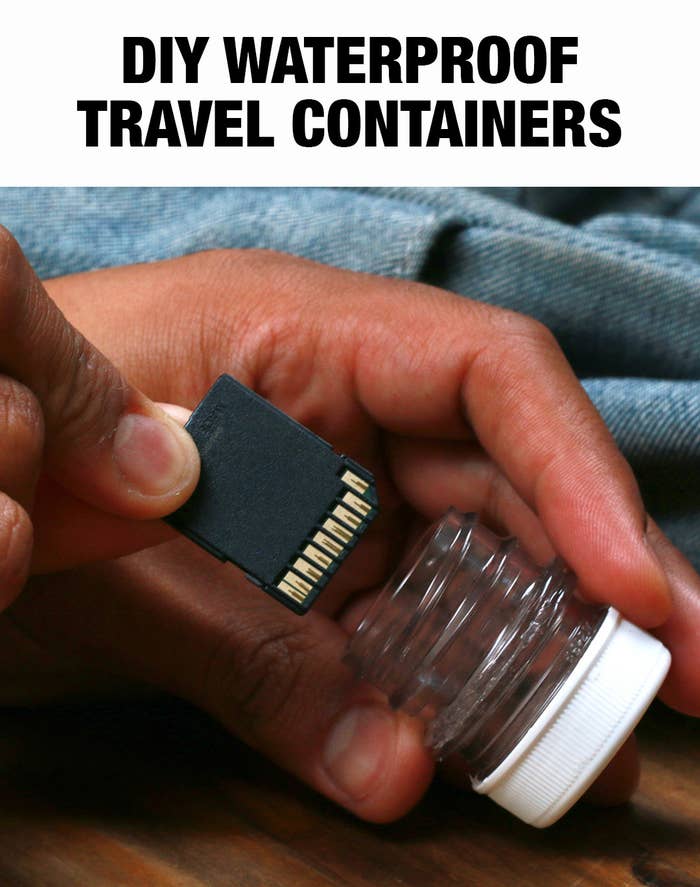
Instructions:
1. Empty and clean out two plastic bottles.
2. Using a table vise, carefully saw off the cap portions from your plastic bottles.
3. Smooth out the edges of your bottle tops with a medium grit sandpaper.
As an optional step, to create a divider for your plastic container, cut out a piece of plastic from a plastic cup. Use one of your plastic bottle caps as a guide to cut out your plastic divider.
5. Mix a small amount of 2 part resin, follow the instructions from the packaging.
6. Apply a small amount of resin the the sanded side of one of your bottle caps. Make sure enough resin has been applied to completely cover the bottle cap.
7. Place your plastic divider over the resin. Apply a ring of resin over your plastic divider and place your second divider over the resin. If you’re creating a single compartment container, place the second bottle cap directly onto the first piece.
8. Once assembled, secure your container into your vise. Let is set and dry overnight.
9. Remove when resin has fully dried and cured.