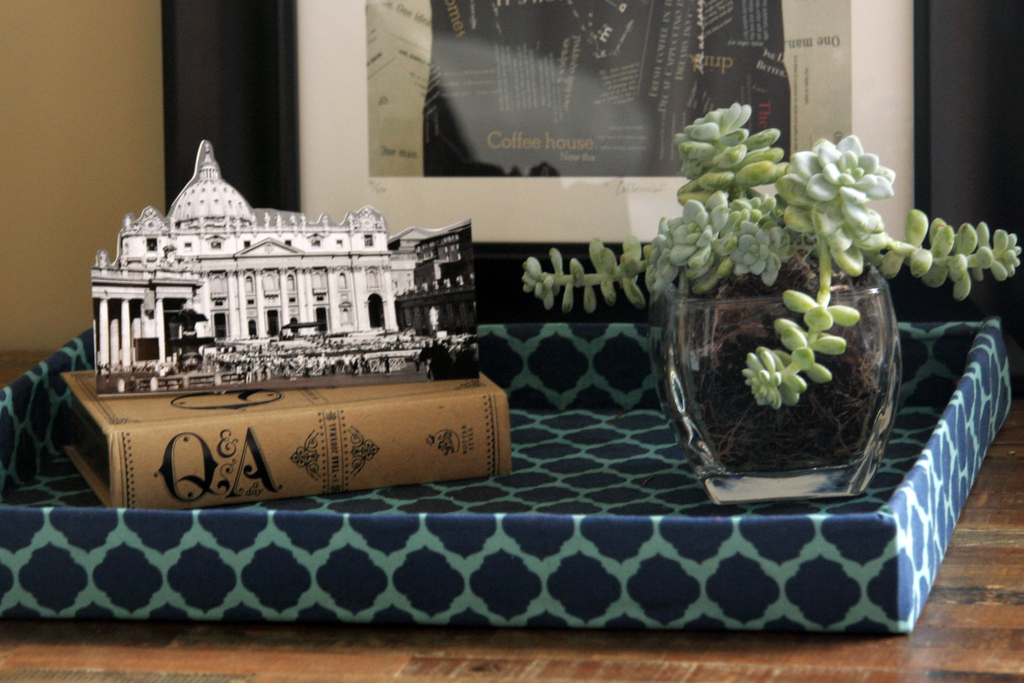
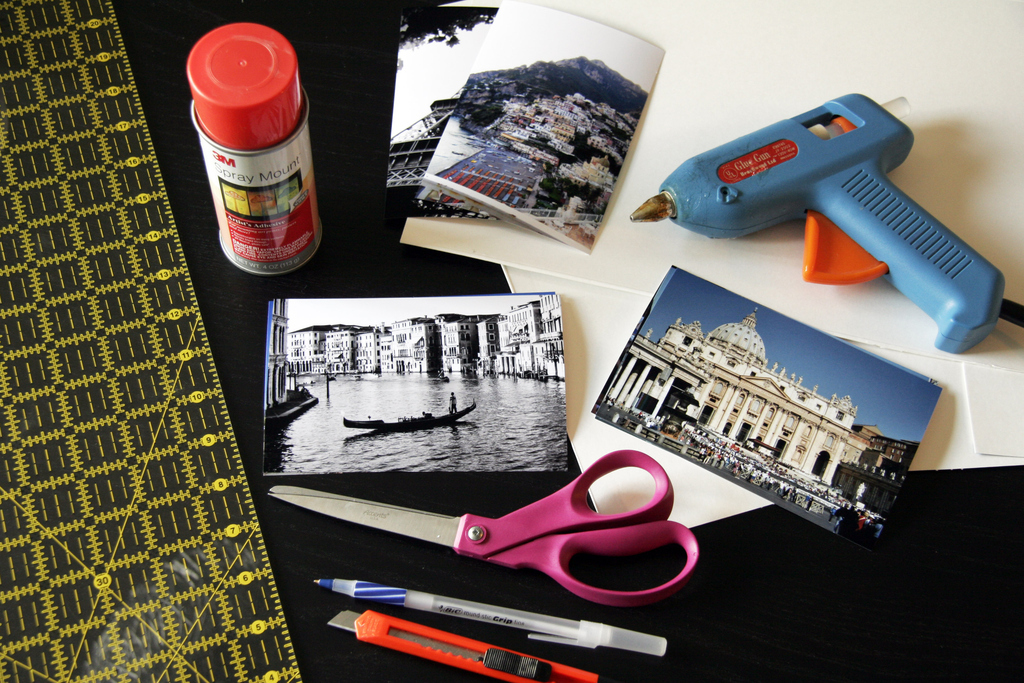
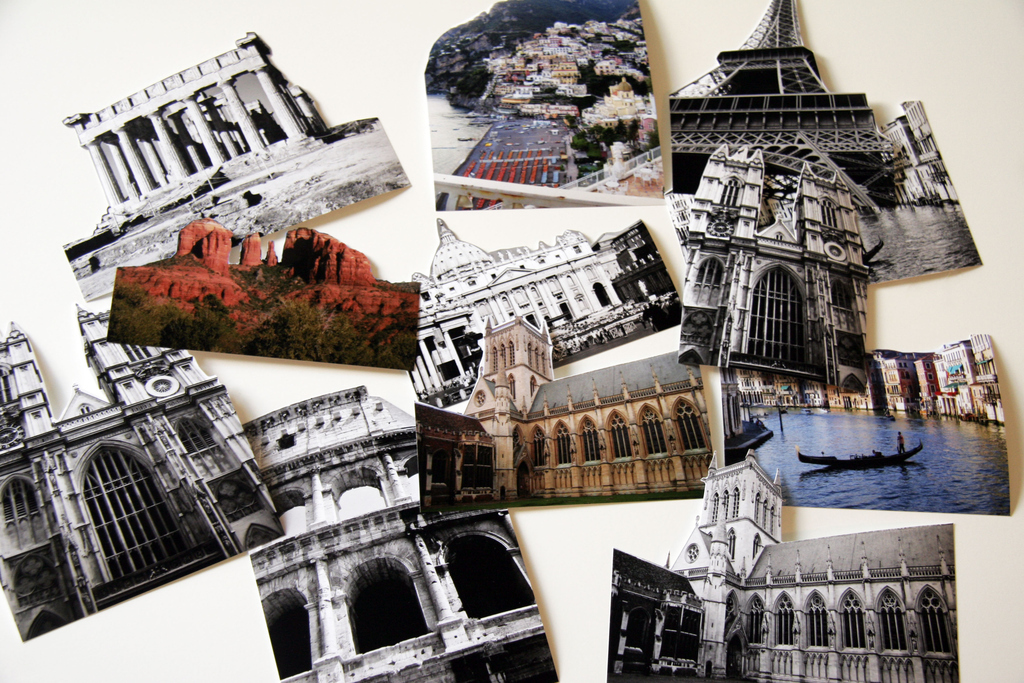
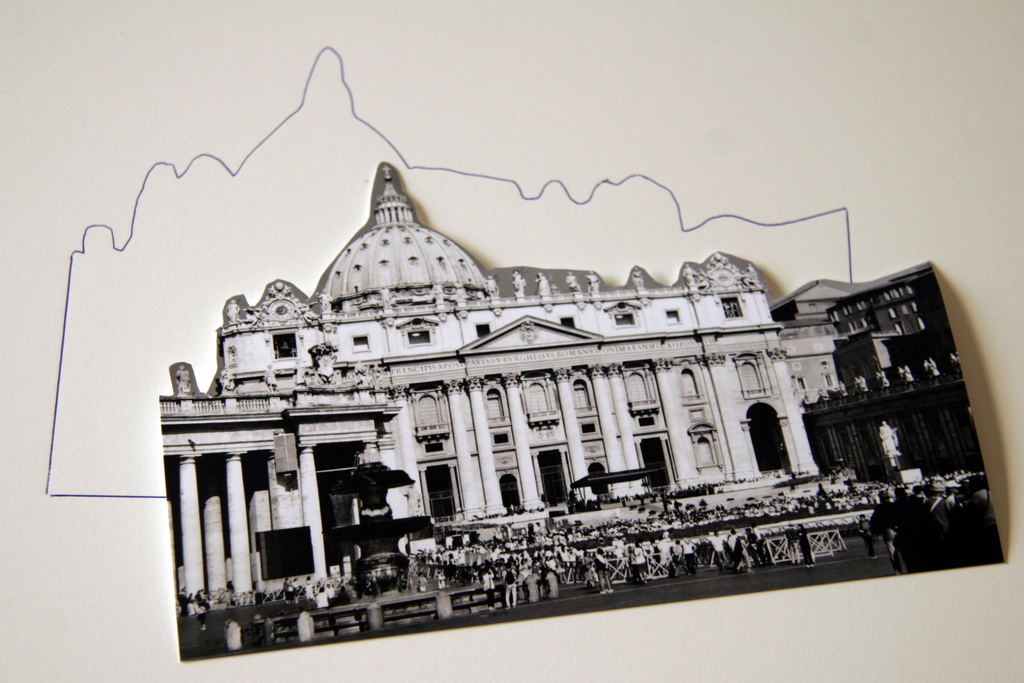
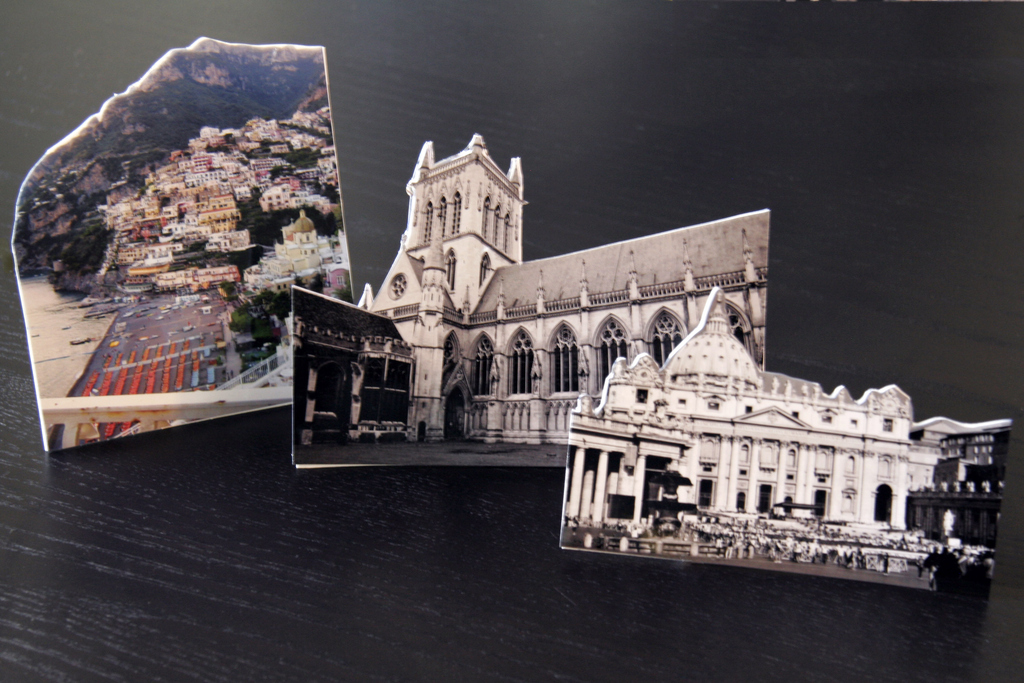
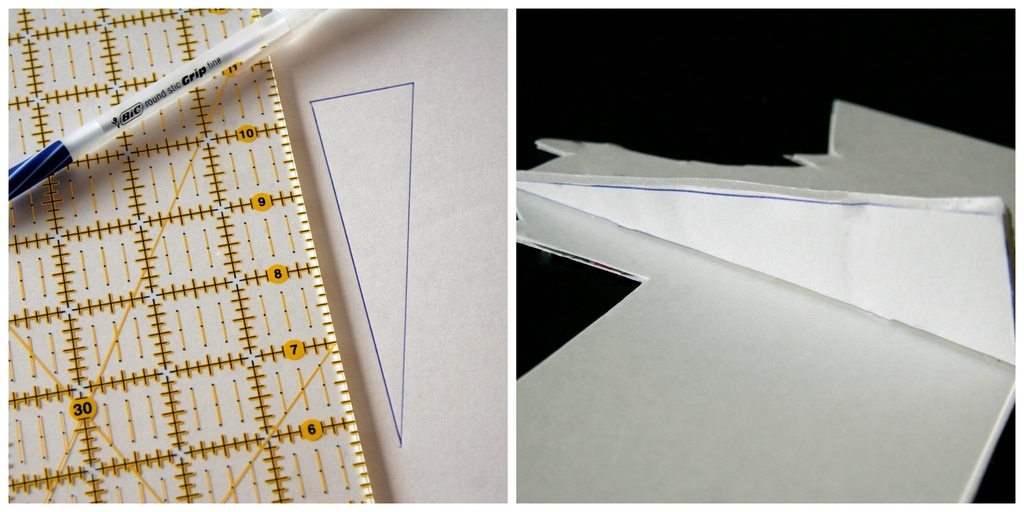
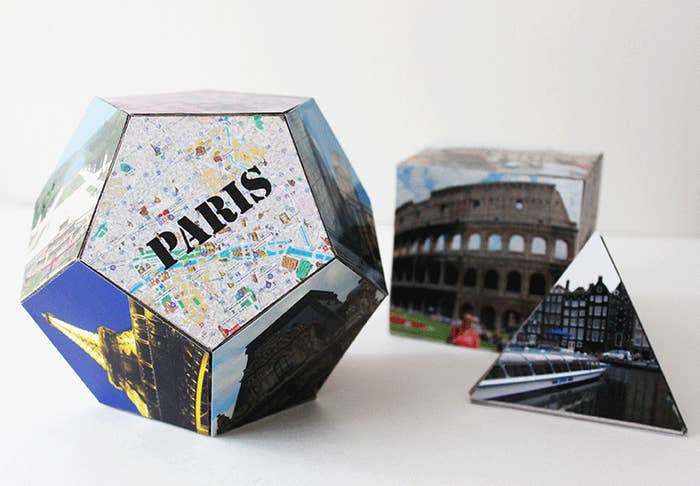
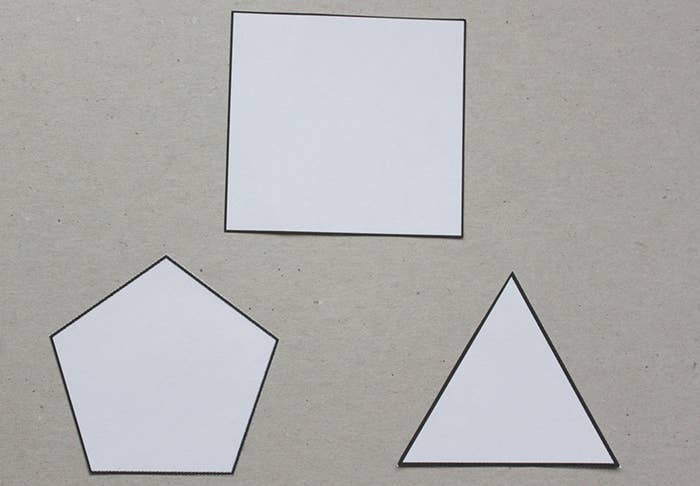
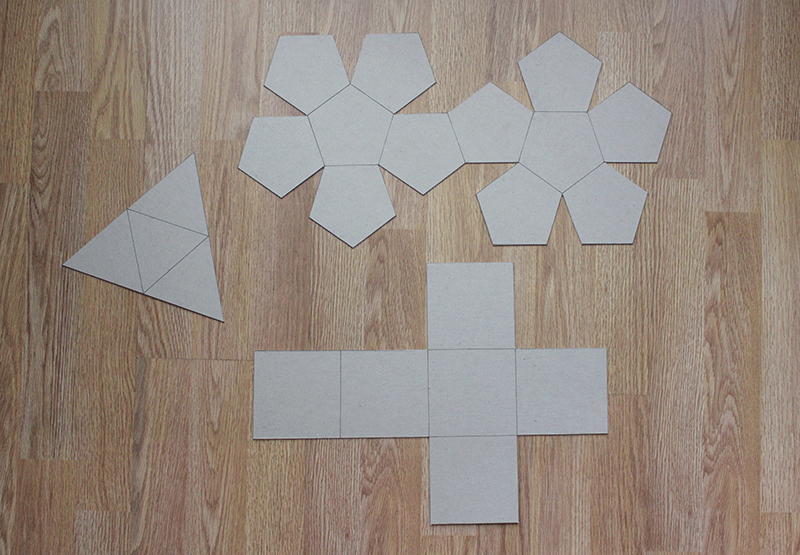
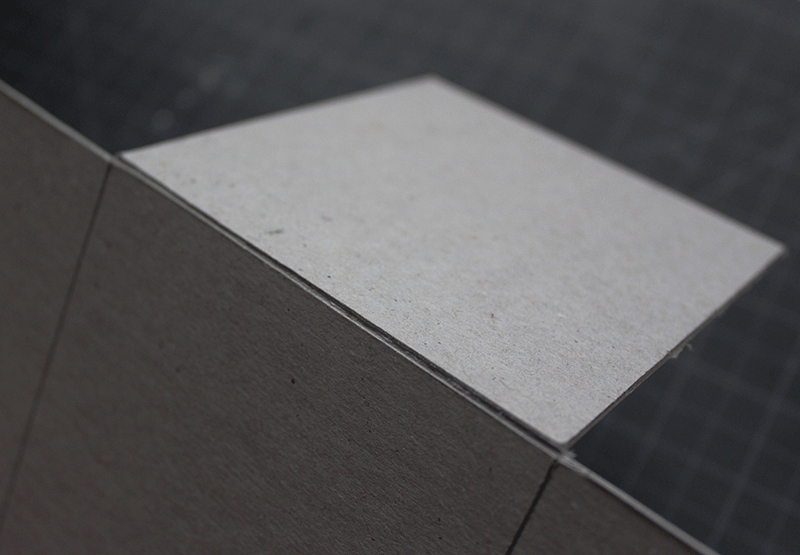
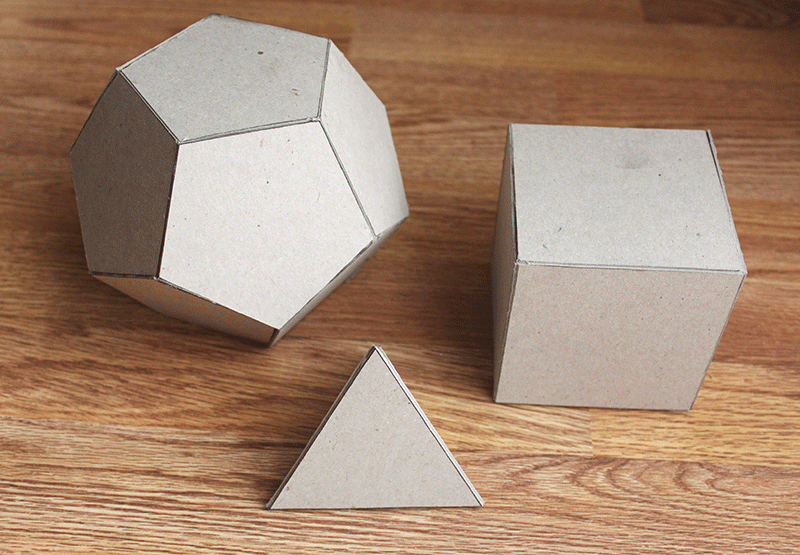
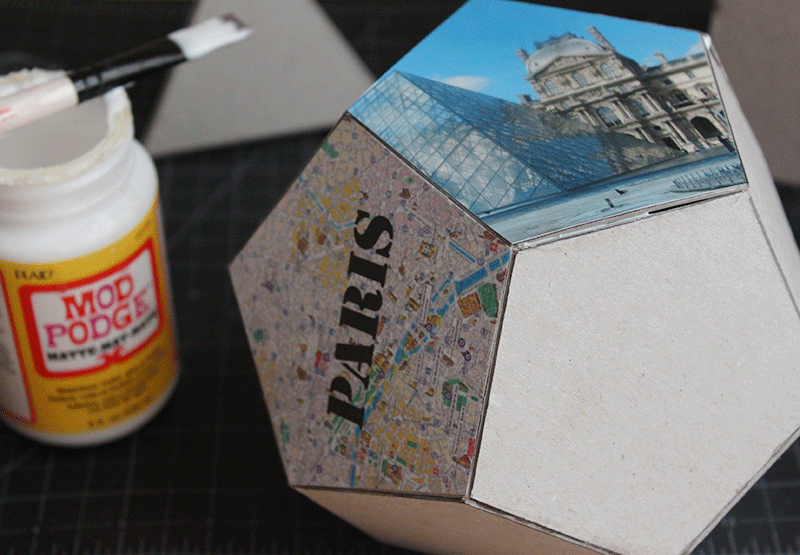
1. 3D Photo Shapes


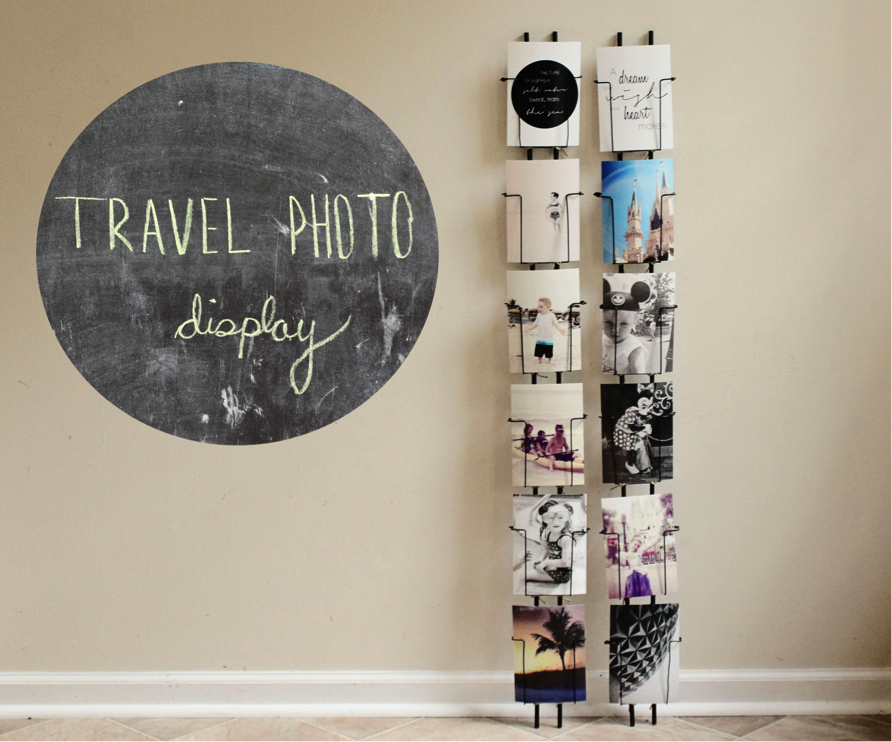
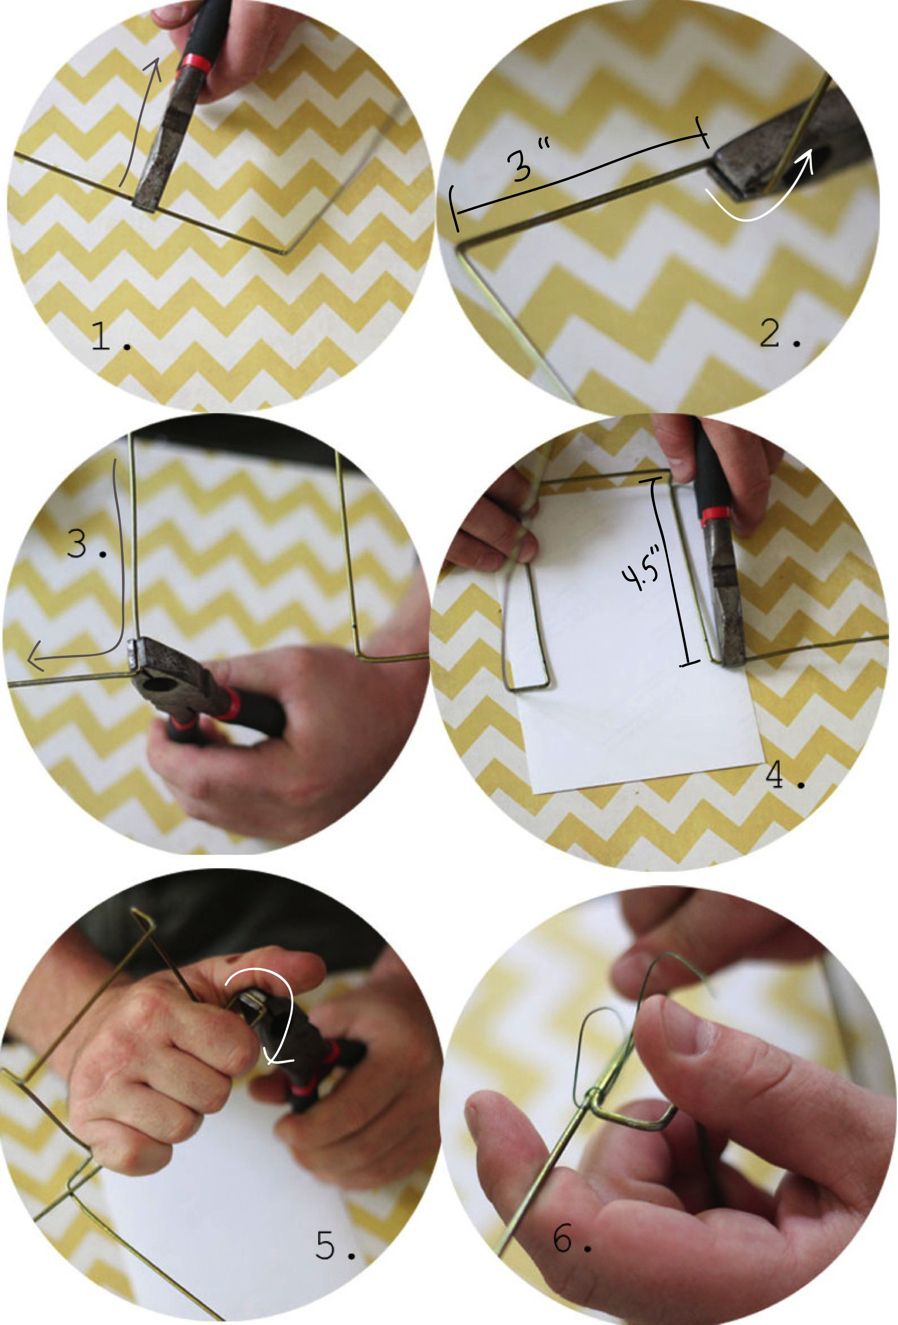
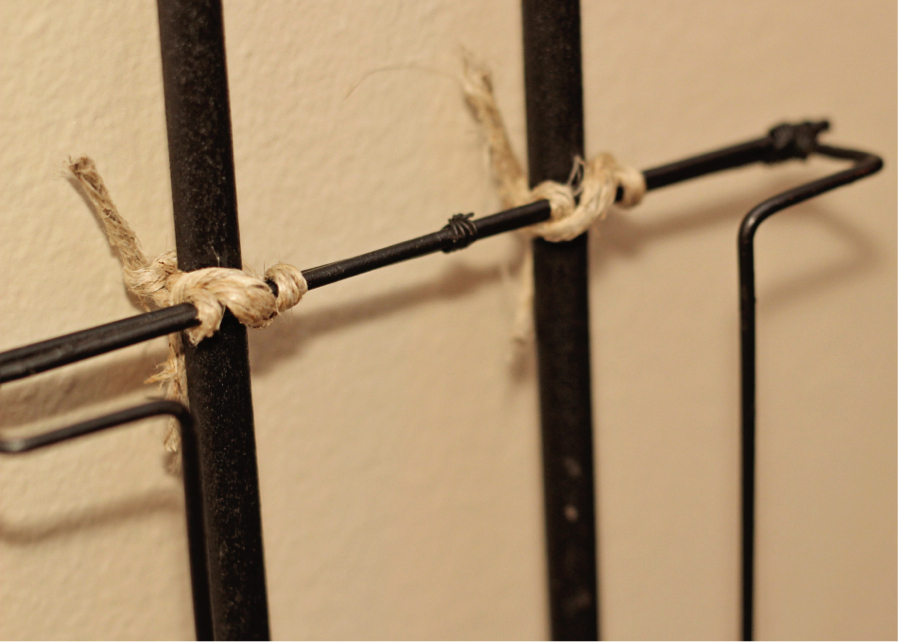
2. Wire Rack Display


3. Photo Easels


Keep the memory of your summer travels alive by displaying your photos (yes, physical printed photos) in one of these creative ways.
These geometric displays were created by Luisa at Why Don't You Make Me?.
Materials: chipboard, a blade, scissors, adhesive, Mod Podge, a paint brush, a ruler, a pen, and your photos.
On regular paper, print out the shapes you want to create and cut them out. You'll want a triangle, square, and a pentagon.
Trace out the following patterns onto chipboard to easily create a tetrahedron, cube, and dodecahedron. Cut the patterns out along the outside edges.
Run the blade along the drawn lines to score the chipboard. Take care not to cut all the way through. Bend the scored lines inward to begin creating the 3D shape.
Glue along the edges and let the shapes dry.
Using the cut-out shapes from earlier as templates, cut out your photos. Use the paintbrush to evenly spread Mod Podge over the surface of the 3D shapes, and cover them with the corresponding photos.
These look cool on your desk or bedside table. Mix in prints of maps or postcards to remind you of your voyages.
This modern photo rack was created by Kristan at Adelyn Stone.
Supplies: four 4’ wood dowels, 12 wire hangers, floral twine, spray paint, jute twine, pliers, and a tape measure.
First things first, straighten out all of your hangers. Then, start making 90˚ bends following the picture examples below.
Bend 1 Find the center of the hanger, and make two 90˚ bends measuring 3 " from bend to bend.
Bend 2 Lining your pliers up parallel with the first bend, make another 90˚ bend straight up, on both sides.
Bend 3 Measure 4.5 " up on both sides, and make 90˚ bends, bending away from the center.
Bend 4 Lay the frame with the first bends pointing up. Measure a hair over 1" to make the bend. Using a 5 x 7 photo will help you decide where the bend should be. Bend both sides at a 90˚ angle with the ends pointing up (the same direction as the bottom lip).
Bend 5 Line your pliers up with the bend from #4 and bend a 90˚ angle on both sides, enclosing the fame.
Bend 6 Wrap each end and the center with floral wire to secure.
Once each frame is complete, take them outside, along with your wood dowels, to spray paint. This one was painted black, but a neon color would look great, too!
After the dowels and frames are dry, it’s time to attach everything. Place all the frames on the floor and use 5 x 7 photos to help guide the spacing. 6 frames fit onto a 4’ dowel. Once you have everything evenly spaced, use twine to secure each frame onto the wood dowels- 2 knots on top, 2 knots on bottom.
And you’re done! You can lean the display against a wall, or directly secure it. Be sure to add several photos into each slot, so visitors can pick up a stack and flip through your vacation memories. Try adding some inspirational prints or colorful greeting cards to your display, too.
Andi at All Put Together made this 3D photo easel.
Materials: foam board, poster board, scissors, an Xacto knife, spray adhesive, glue gun, a pen, a ruler, and prints of your travel photos.
Carefully cut out the background from your images.
Lay the cut photo on the poster board. Using a pen, trace an outline around the photo.
Using scissors, carefully cut the shape from the poster board. Apply a thin layer of spray adhesive to the photo and then attach it to the matching board.
Using a ruler, draw a small obtuse triangle on foam board to make the easel. Cut out the triangle. Using a glue gun, attach the long side of the triangle to the back of the picture.
Finished! The finished decorative photo accessory looks great styled on a bookshelf or table.