


Does the prospect of hollowing out a giant gourd and carving a face into it get you down?

Do you love the ~fall mood~ of jack-o-lanterns, but wish you could make yours look like the pumpkin in your head?

Never be spooked by the prospect of carving again! Just use these simple tips to carve the pumpkin of your dreams.

Here's what you'll need:
* A real pumpkin! Pick one with a flat-ish front side to make carving even easier.
* A pumpkin-carving knife — look for one with sharp serrated edges.
* An ice cream scoop (more on that in a second).
* A printed pattern (you can also find a free selection by Googling for "pumpkin pattern"), or a sheet of blank paper with a pattern sketched onto it.
* A toothpick, wooden skewer, or narrow nail (the kind you hammer into a wall).
Trick #1: Cut your lid in the shape of a keyhole to make both scooping out the seedy innards and putting the top on later so much easier.
Trick #2: Scoop out the seeds and hollow out the pumpkin just a little bit by using an ice cream scoop instead of the little scoop that comes with pumpkin carving kits.
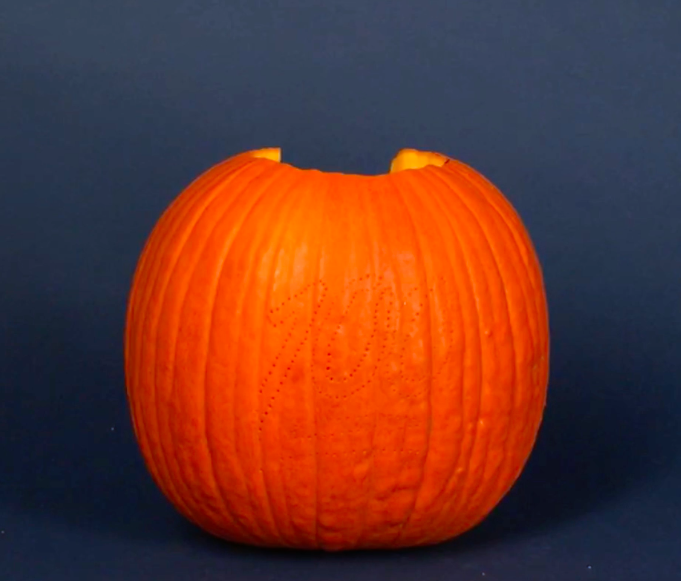
Trick #3: Transfer your pattern to your pumpkin with a piece of paper and a wooden skewer.

Use your skewer, nail, or toothpick to poke holes around the edges of the pattern, like a connect-the-dots for where you want to carve.

Remove the pattern....
Carving time! Carve with your pumpkin knife, connecting the dots of your pattern. Gently poke out each shape after you've gone all the way around.
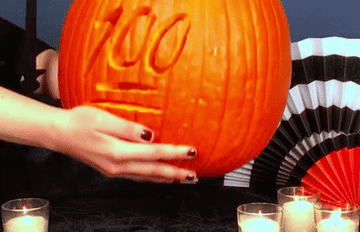
Fill with candles, put the lid on, and you're all done!

