
1. Polish up a pair of costume jewelry earrings.
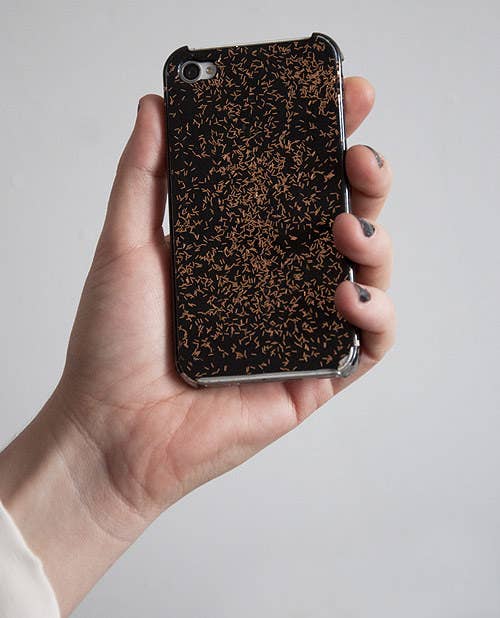
2. Dress up your boring phone case in a confetti-like coat.
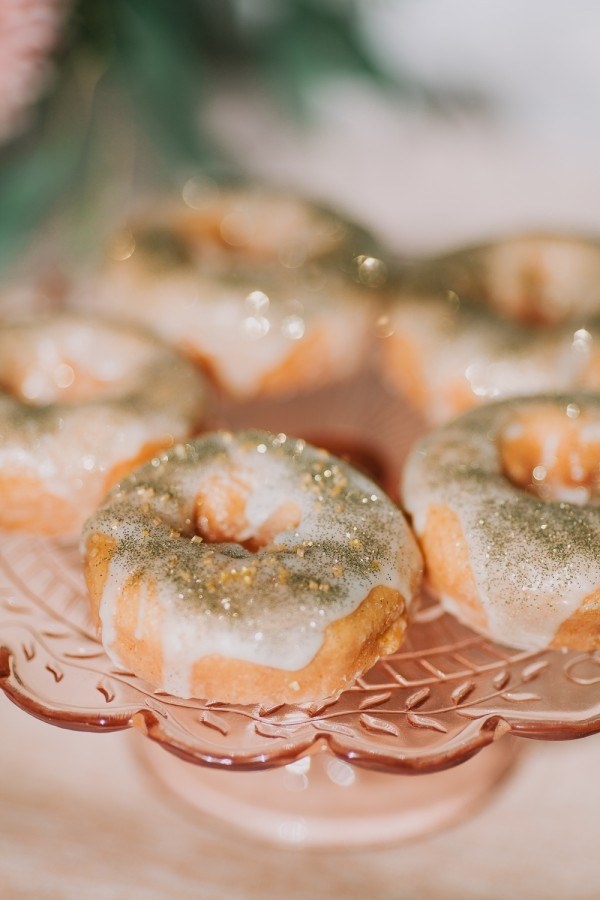
3. Instantly embellish your favorite store-bought donuts.
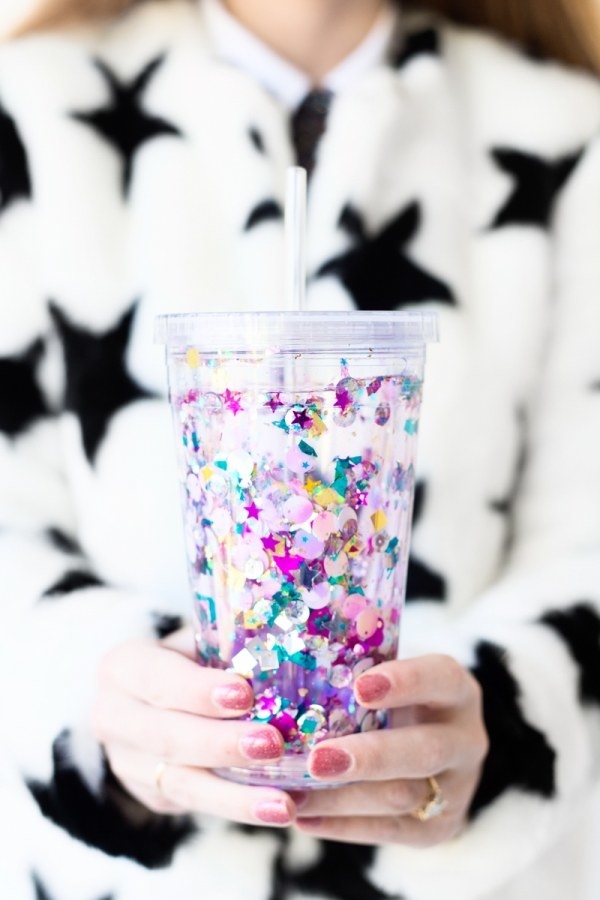
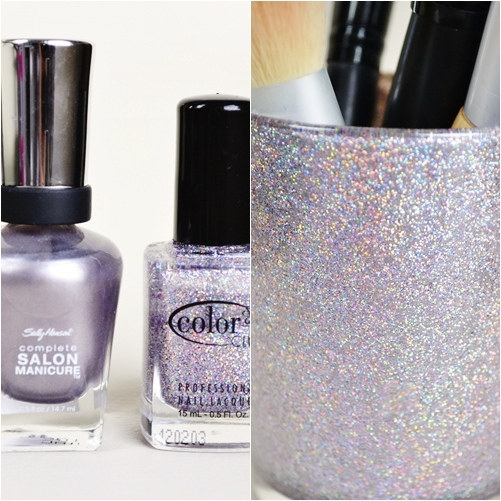
4. Fill a clear plastic photo tumbler with a custom sparkle blend.
5. Wash out an empty jam or candle jar, then turn it into a holographic makeup brush organizer.
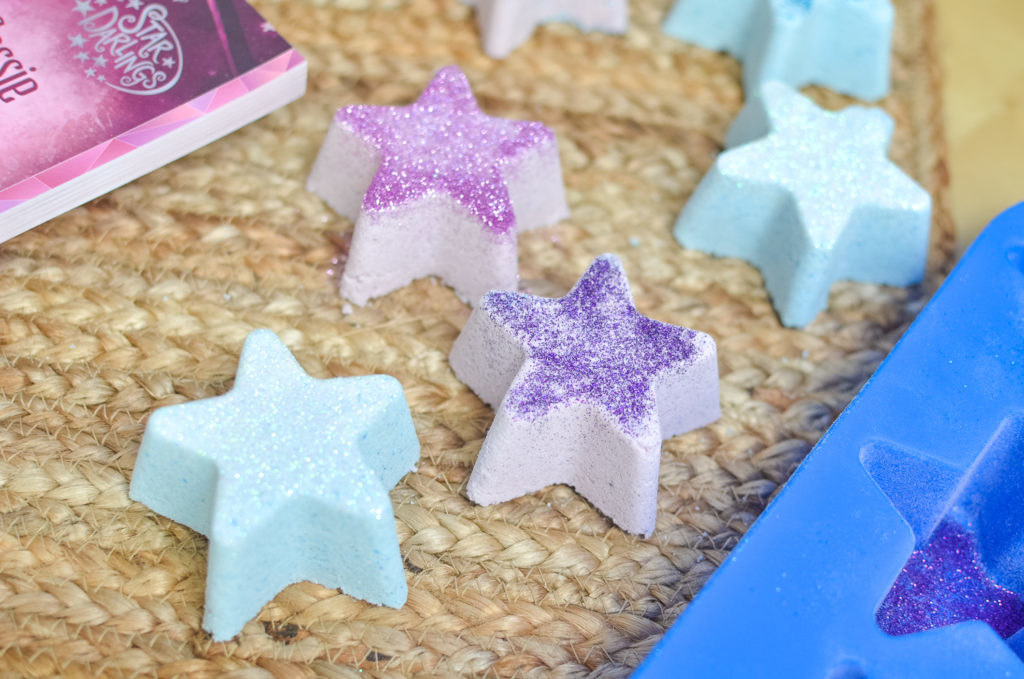
6. Mold your own essential oil bath bombs into any shape you want.
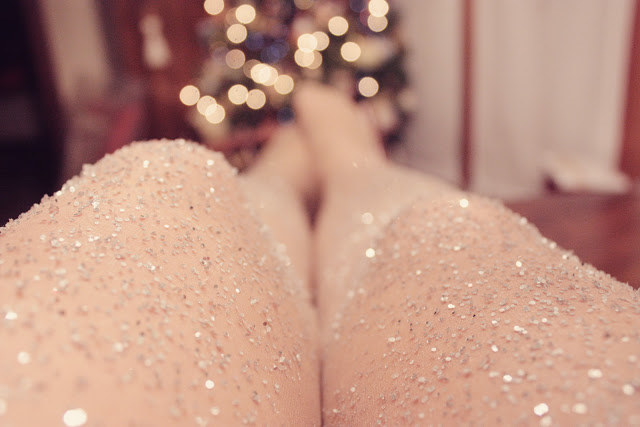
7. Sprinkle fairy dust onto any pair of spray-adhesive-coated tights.
8. Turn primary-color letter magnets into shimmering refrigerator poetry.
9. Take your digital screens from dull to flashy.
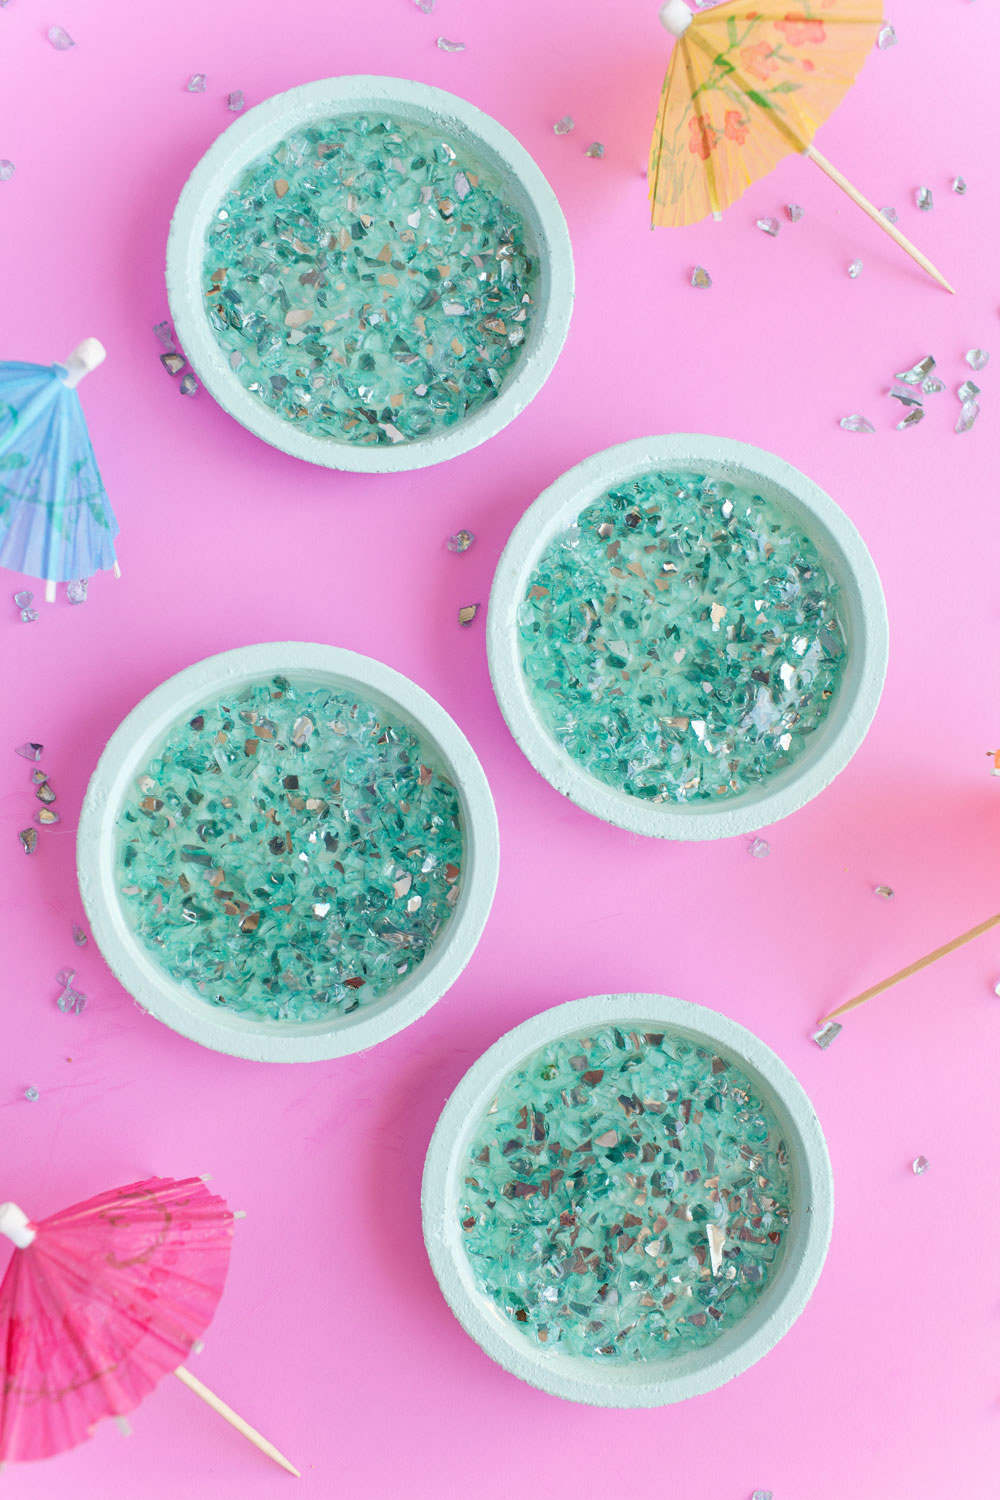
10. Seal a touch of twinkle into simple cork coasters.
11. Pick out a roll of duct tape for a mess-free sparkling light switch cover.
12. Freeze edible glitter into ice cubes that melt into colorful drinks.
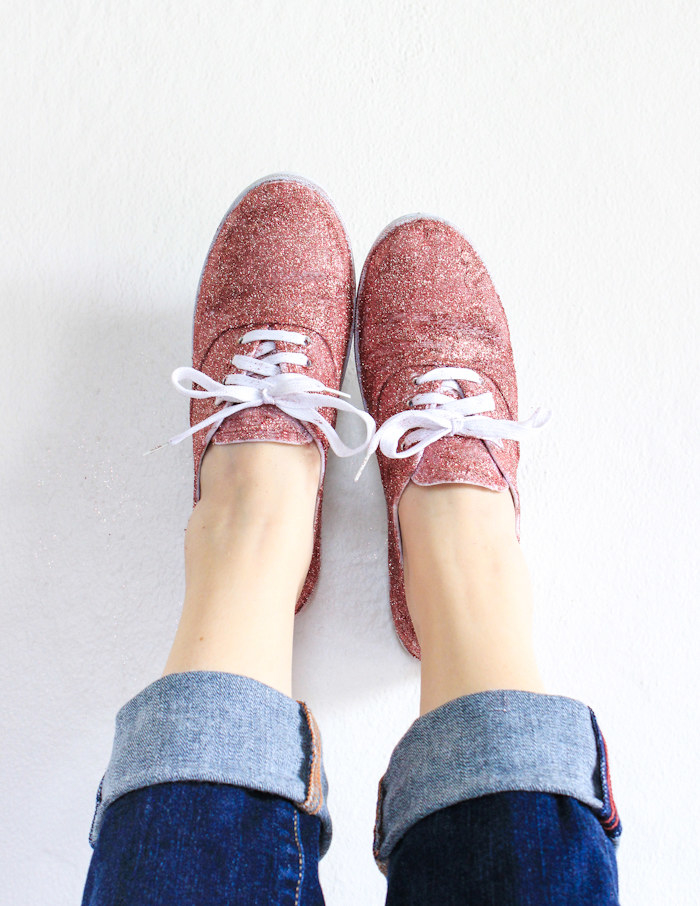
13. Paint thrift-store sneakers that Dorothy would love.
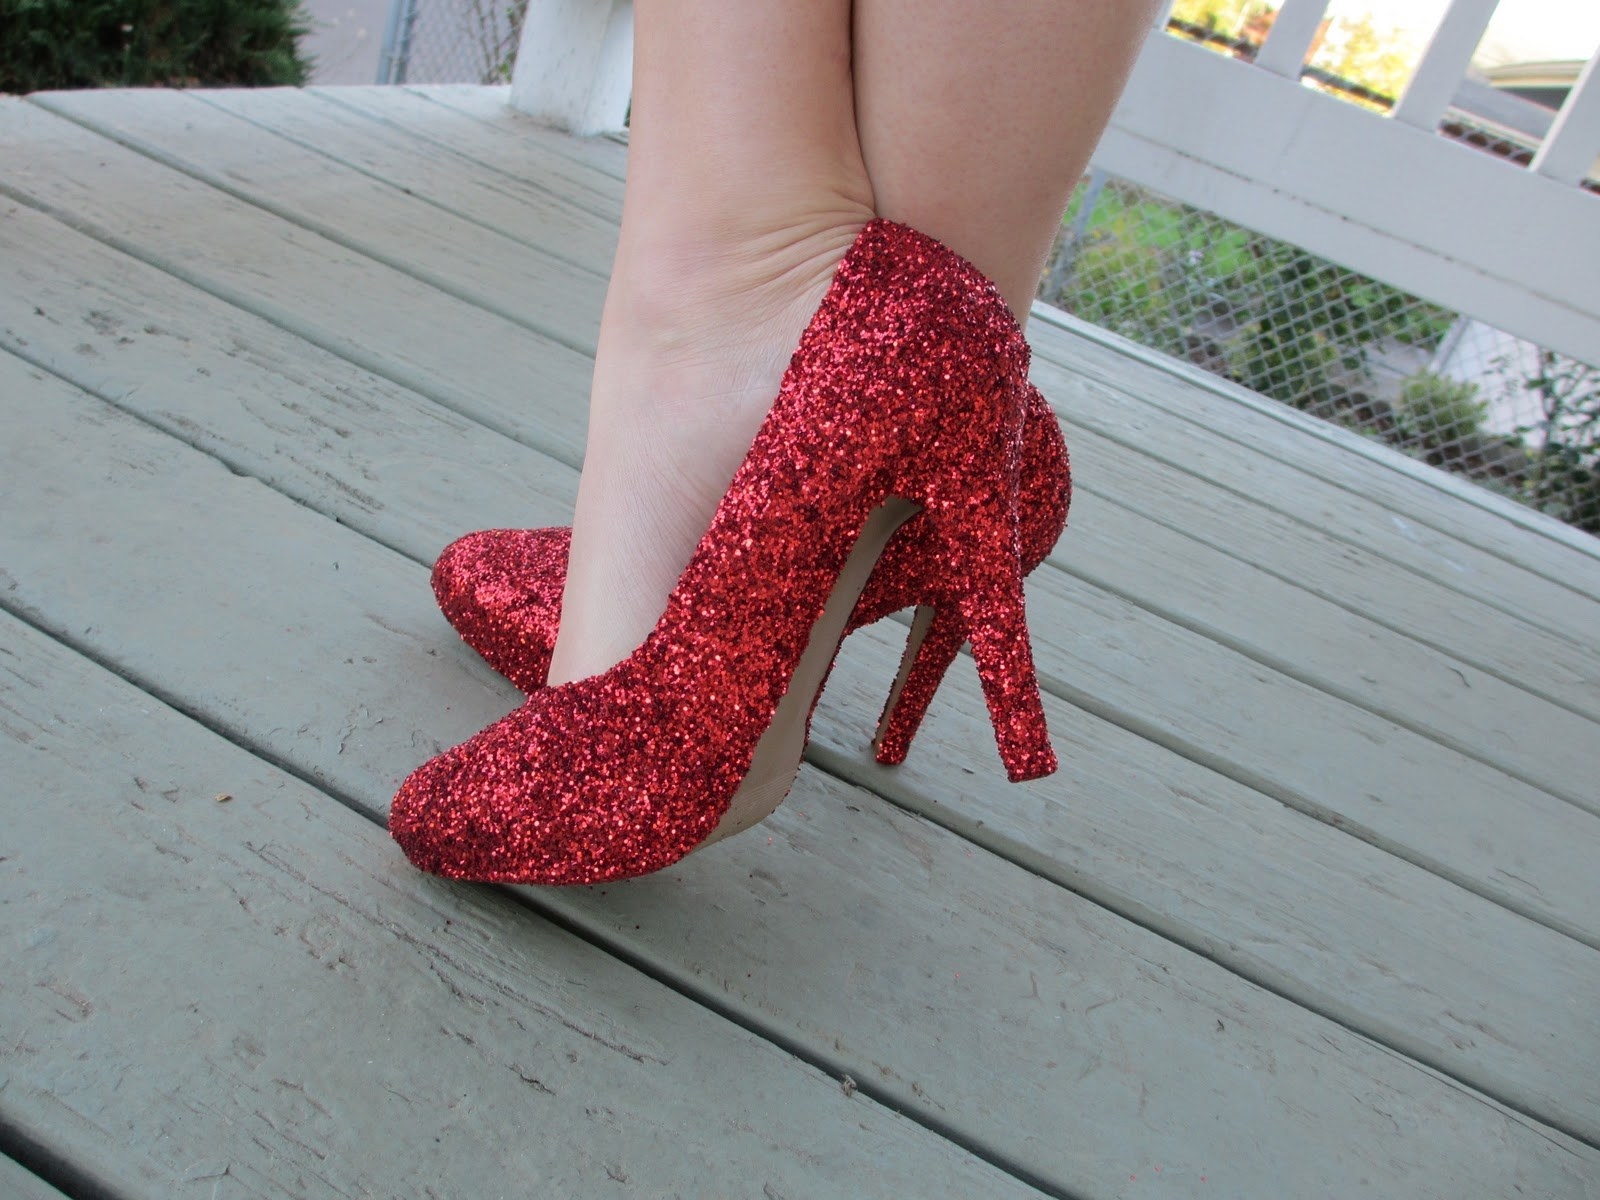
14. Fully embrace the yellow brick road and give a pair of pumps the wicked witch treatment.
15. Cover your charger with glitter duct tape or washi tape, and you'll never lose it in a sea of white cords again.

16. Stir together two ingredients to add festive sparkle to your part or your hair.
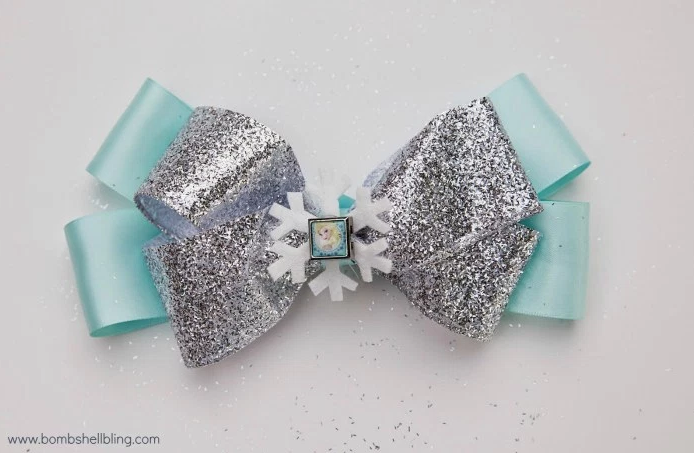
17. Tie loops of glitter ribbons into ice-queen-inspired hair bows.
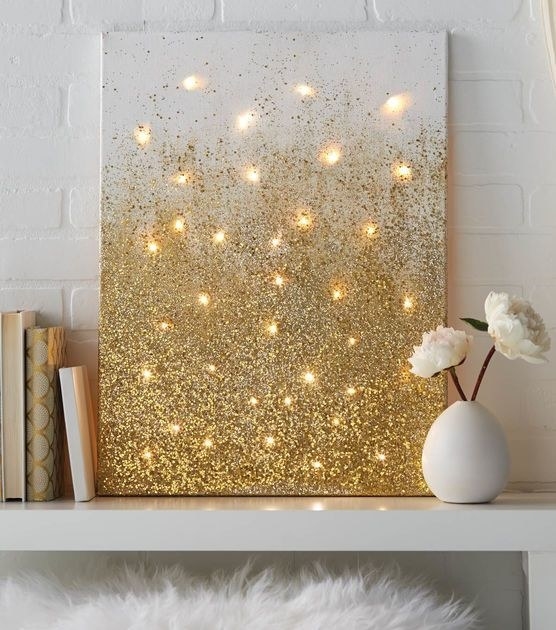
18. Cast a warm glow over your dorm room or apartment with an ombré glitter canvas.
19. Substitute double-sided tape for fancy glittered washi tape.
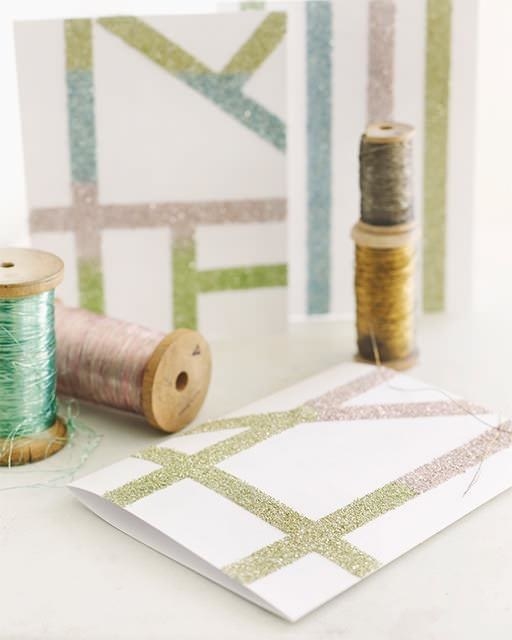
20. The same double-sided tape technique works decorate dollar-store candles.
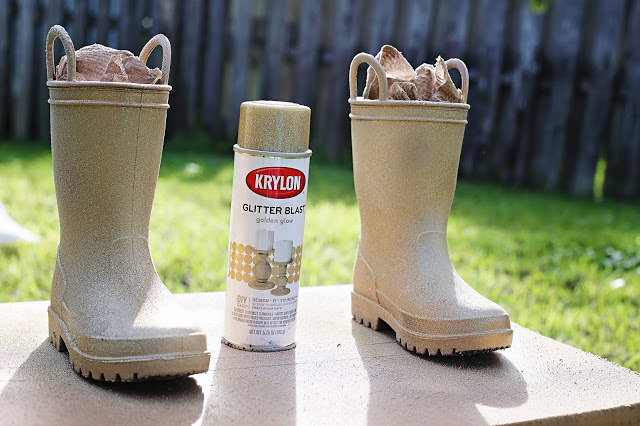
21. Spray paint a pair of rain boots you picked up at the thrift store.
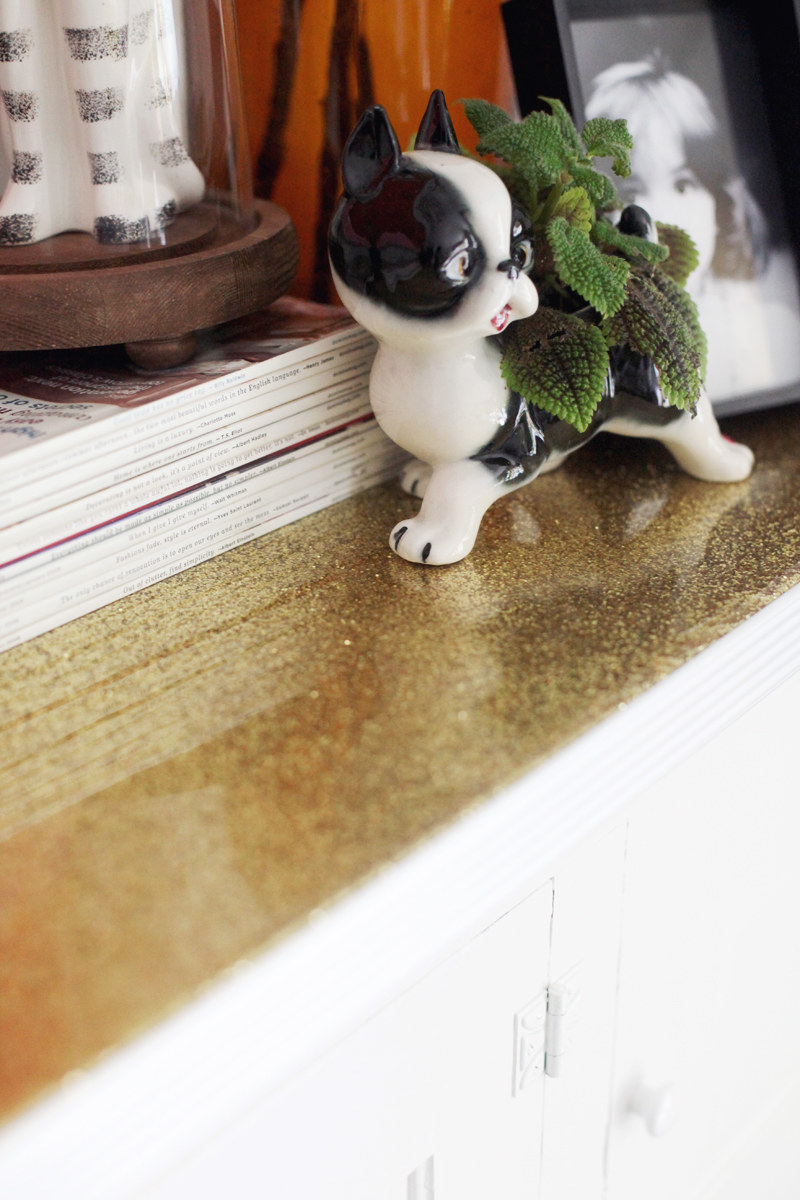
22. Glaze the top of a piece of inexpensive or found furniture for an instant accent piece.
23. Show you've earned your stripes by stenciling some serious gold sparkle onto a pair of jeans.

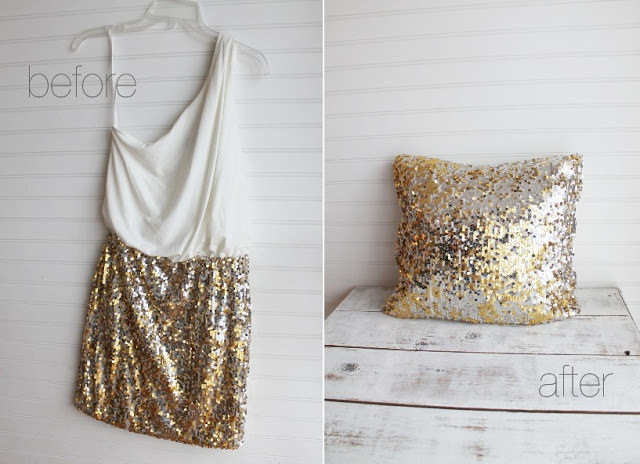
24. Stitch the skirt of your old dress into into a cover for your living-room pillows.
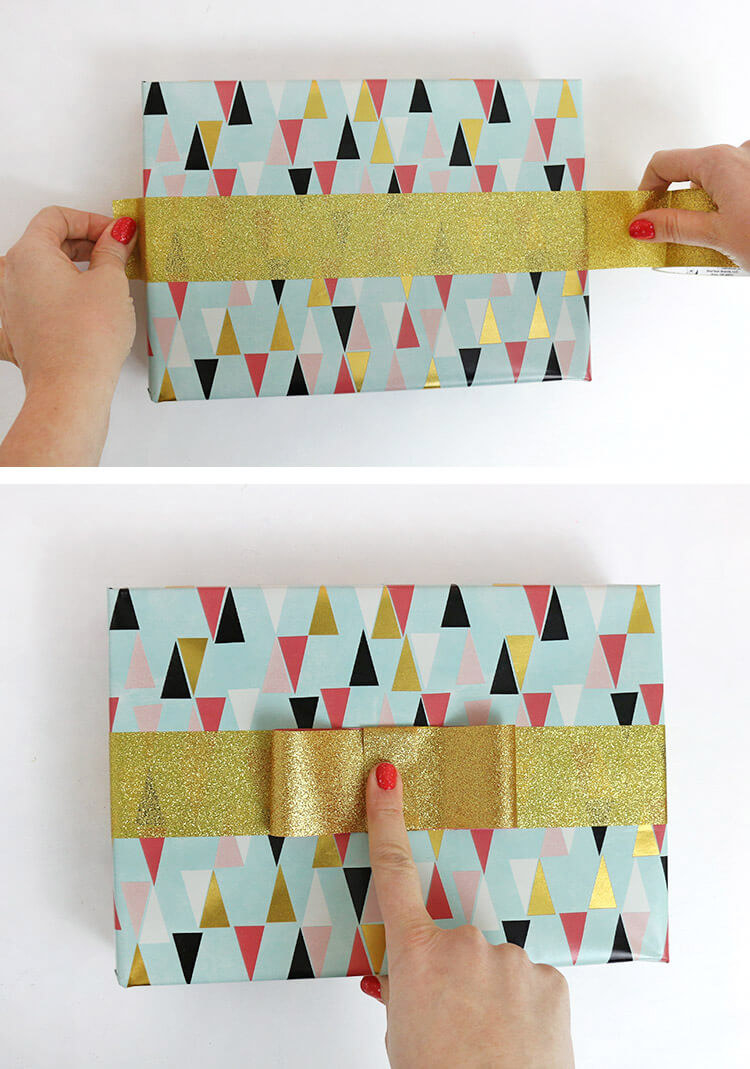
25. Pull out your glitter tape to make perfect gift bows in just three steps.
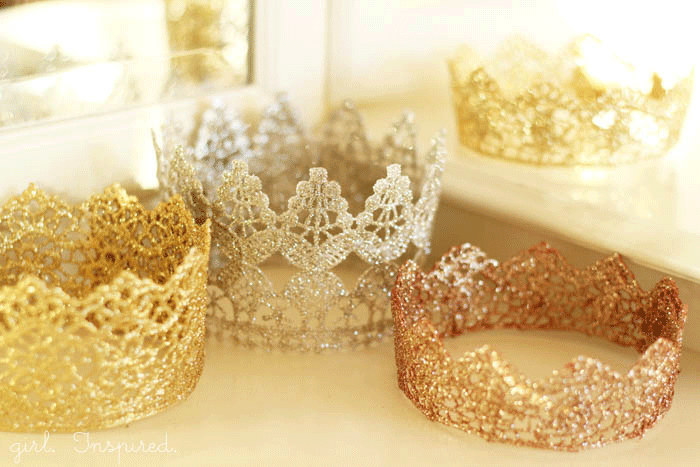
26. Crown every prince and princess in stiffened, sparkling lace.
27. Layer paint and a very fine glitter to turn a yard-sale find into a glistening throne.
28. Decorate a store-bought or simply-made cake with shining cake toppers.
29. Or, make those store-bought number candles a little more special by covering them in glitter paint.

30. Update any plain tee using specialty t-shirt glitter and glue.
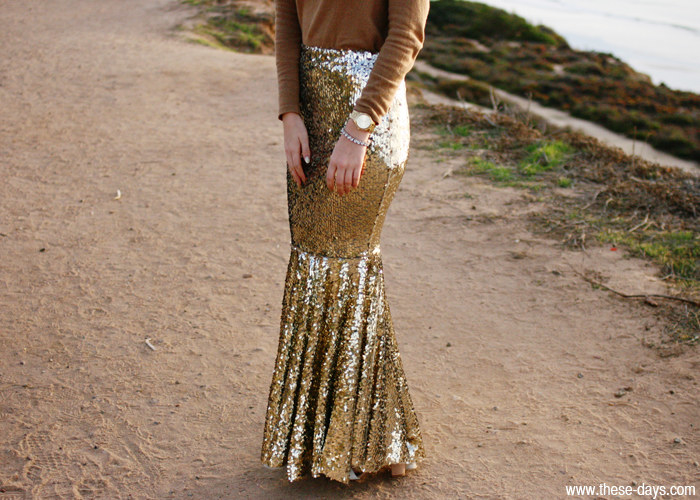
31. Sew a sparkling mermaid skirt out of knit sequin fabric.
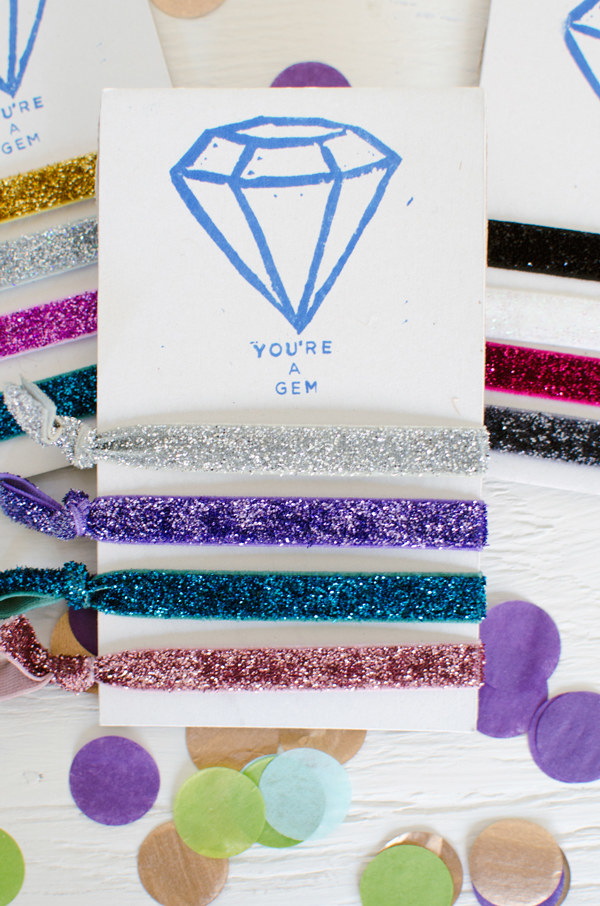
32. Knockoff those pricey hair ties by cutting and tying your own lengths of elastic.
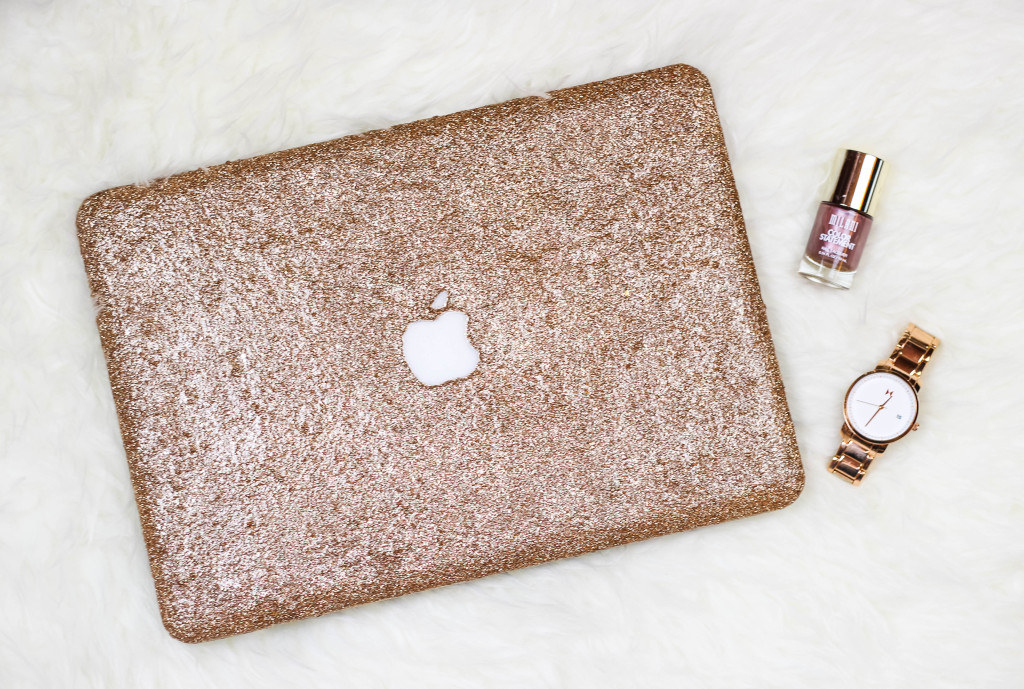
33. Dress your laptop in shimmering armor by covering the inside of a clear plastic case with rose gold sparkles.
