This post has not been vetted or endorsed by BuzzFeed's editorial staff. BuzzFeed Community is a place where anyone can create a post or quiz. Try making your own!

1. Save any used soup tin cans. Alternatively, for larger lanterns and lampshades, you can purchase galvanized metal buckets from the Dollarama for around $3 each

2. Soak the tin cans or galvanized buckets in warm water to easily remove any previous branded wrappings or sticker that may appear on your can/bucket

3. After soaking, remove any stickers or paper wrappings. You may need to use a "scrub sponge" to get rid of any glue left behind from the previous wrapping / sticker.

4. Dry off your tin can or galvanized metal bucket. Once dry, you can now apply a stencil of your choice.
5. Use regular paper and a black permanent marker for your stencil. Apply glue white craft glue to the back of your paper stencil, then wrap your stencil around your can/bucket.
6. Allow the stencil to dry. I also like to wrap a few layers of clean plastic sandwich wrap around my can/buckets after applying my stencil. This will help keep the stencil in place later on but is not necessary.
7. Once the stencil around the outside of your can/bucket has dried, fill the can/bucket with water. Fill to the top leaving about 1 inch of space from top rim.
8. Place can/bucket in the freezer. If using a tin can, allow 24 hours to freeze. If using a larger galvanized bucket, allow a full 48 hours before removing from freezer.
9. I recommend doing the next step outside. If its summer, and you are making a larger bucket sized lantern or lampshade, you may have to take breaks to re-freeze your bucket. This will depend on how detailed your stencil or free-form work will be.
10. Using a sharp nail or star shaped screw-driver and hammer, begin tapping out our stencil. The ice will keep your can/buckets shape. It is not necessary to hammer to hard. A tap or two will be enough to pierce the can/bucket
11. Continue tapping out your design/stencil. If the ice is melting too fast remember to place back in the freezer from time to time. Once completed, you may leave your can/bucket outside to let the ice melt or you can bring it in and run hot water over it to remove the left over ice.
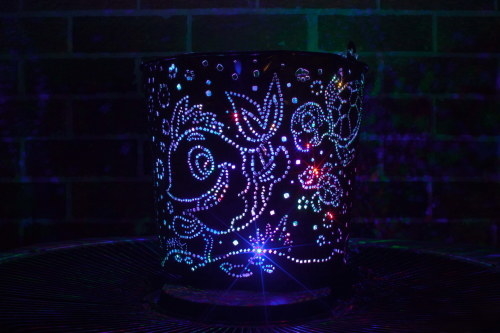
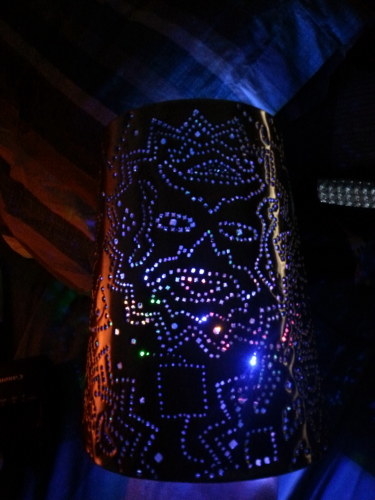
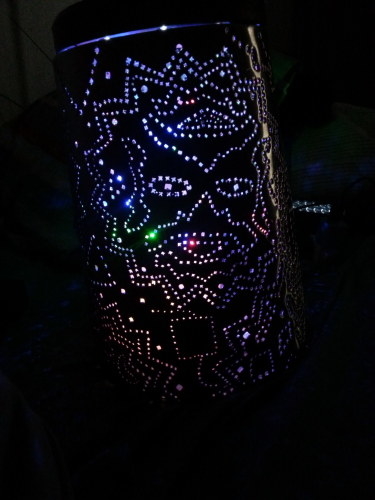
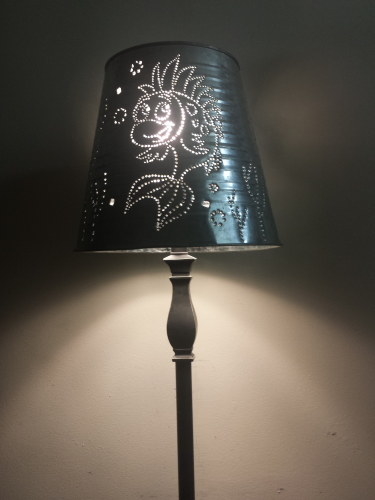
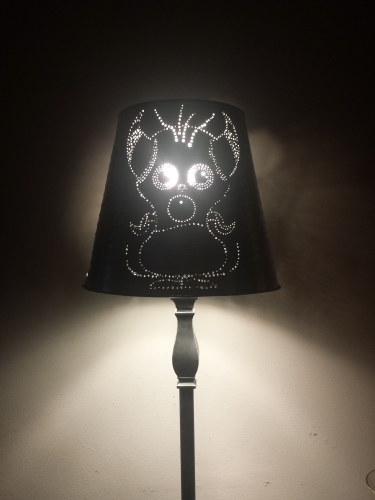
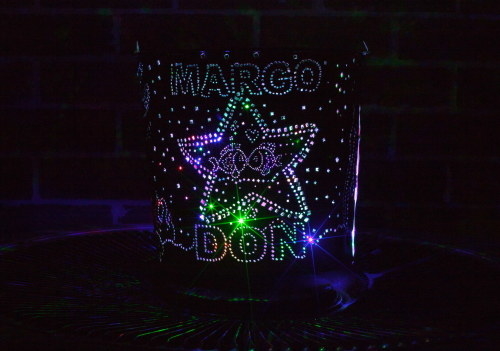
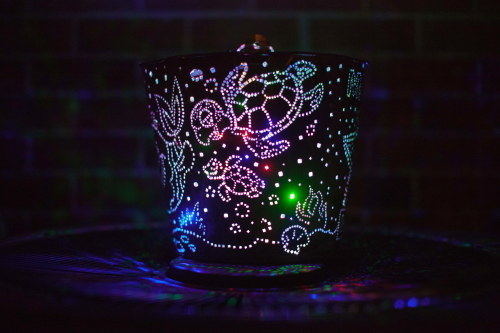
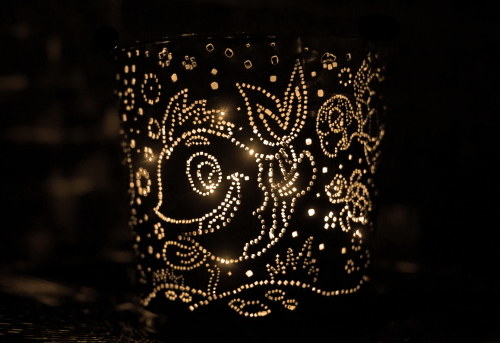
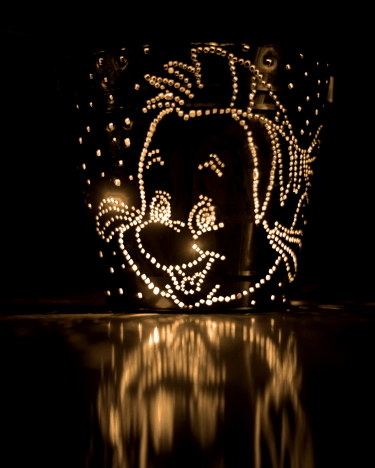
12. Now your finished!!! Admire your new lantern by placing a candle in it or placing it on top of a lamp.
Share This Article