
The clip, posted by user @hannah_ludwig, now has over 6.9 million views and shows how to completely transform a photo so that it's brighter and more colorful. The best part is that you don't need to be a photo-editing wizard to try it, and it can be done right in the iPhone photo app!
I knew I had to try it for myself, because I am actually CLUELESS when it comes to editing. Here's how it went:
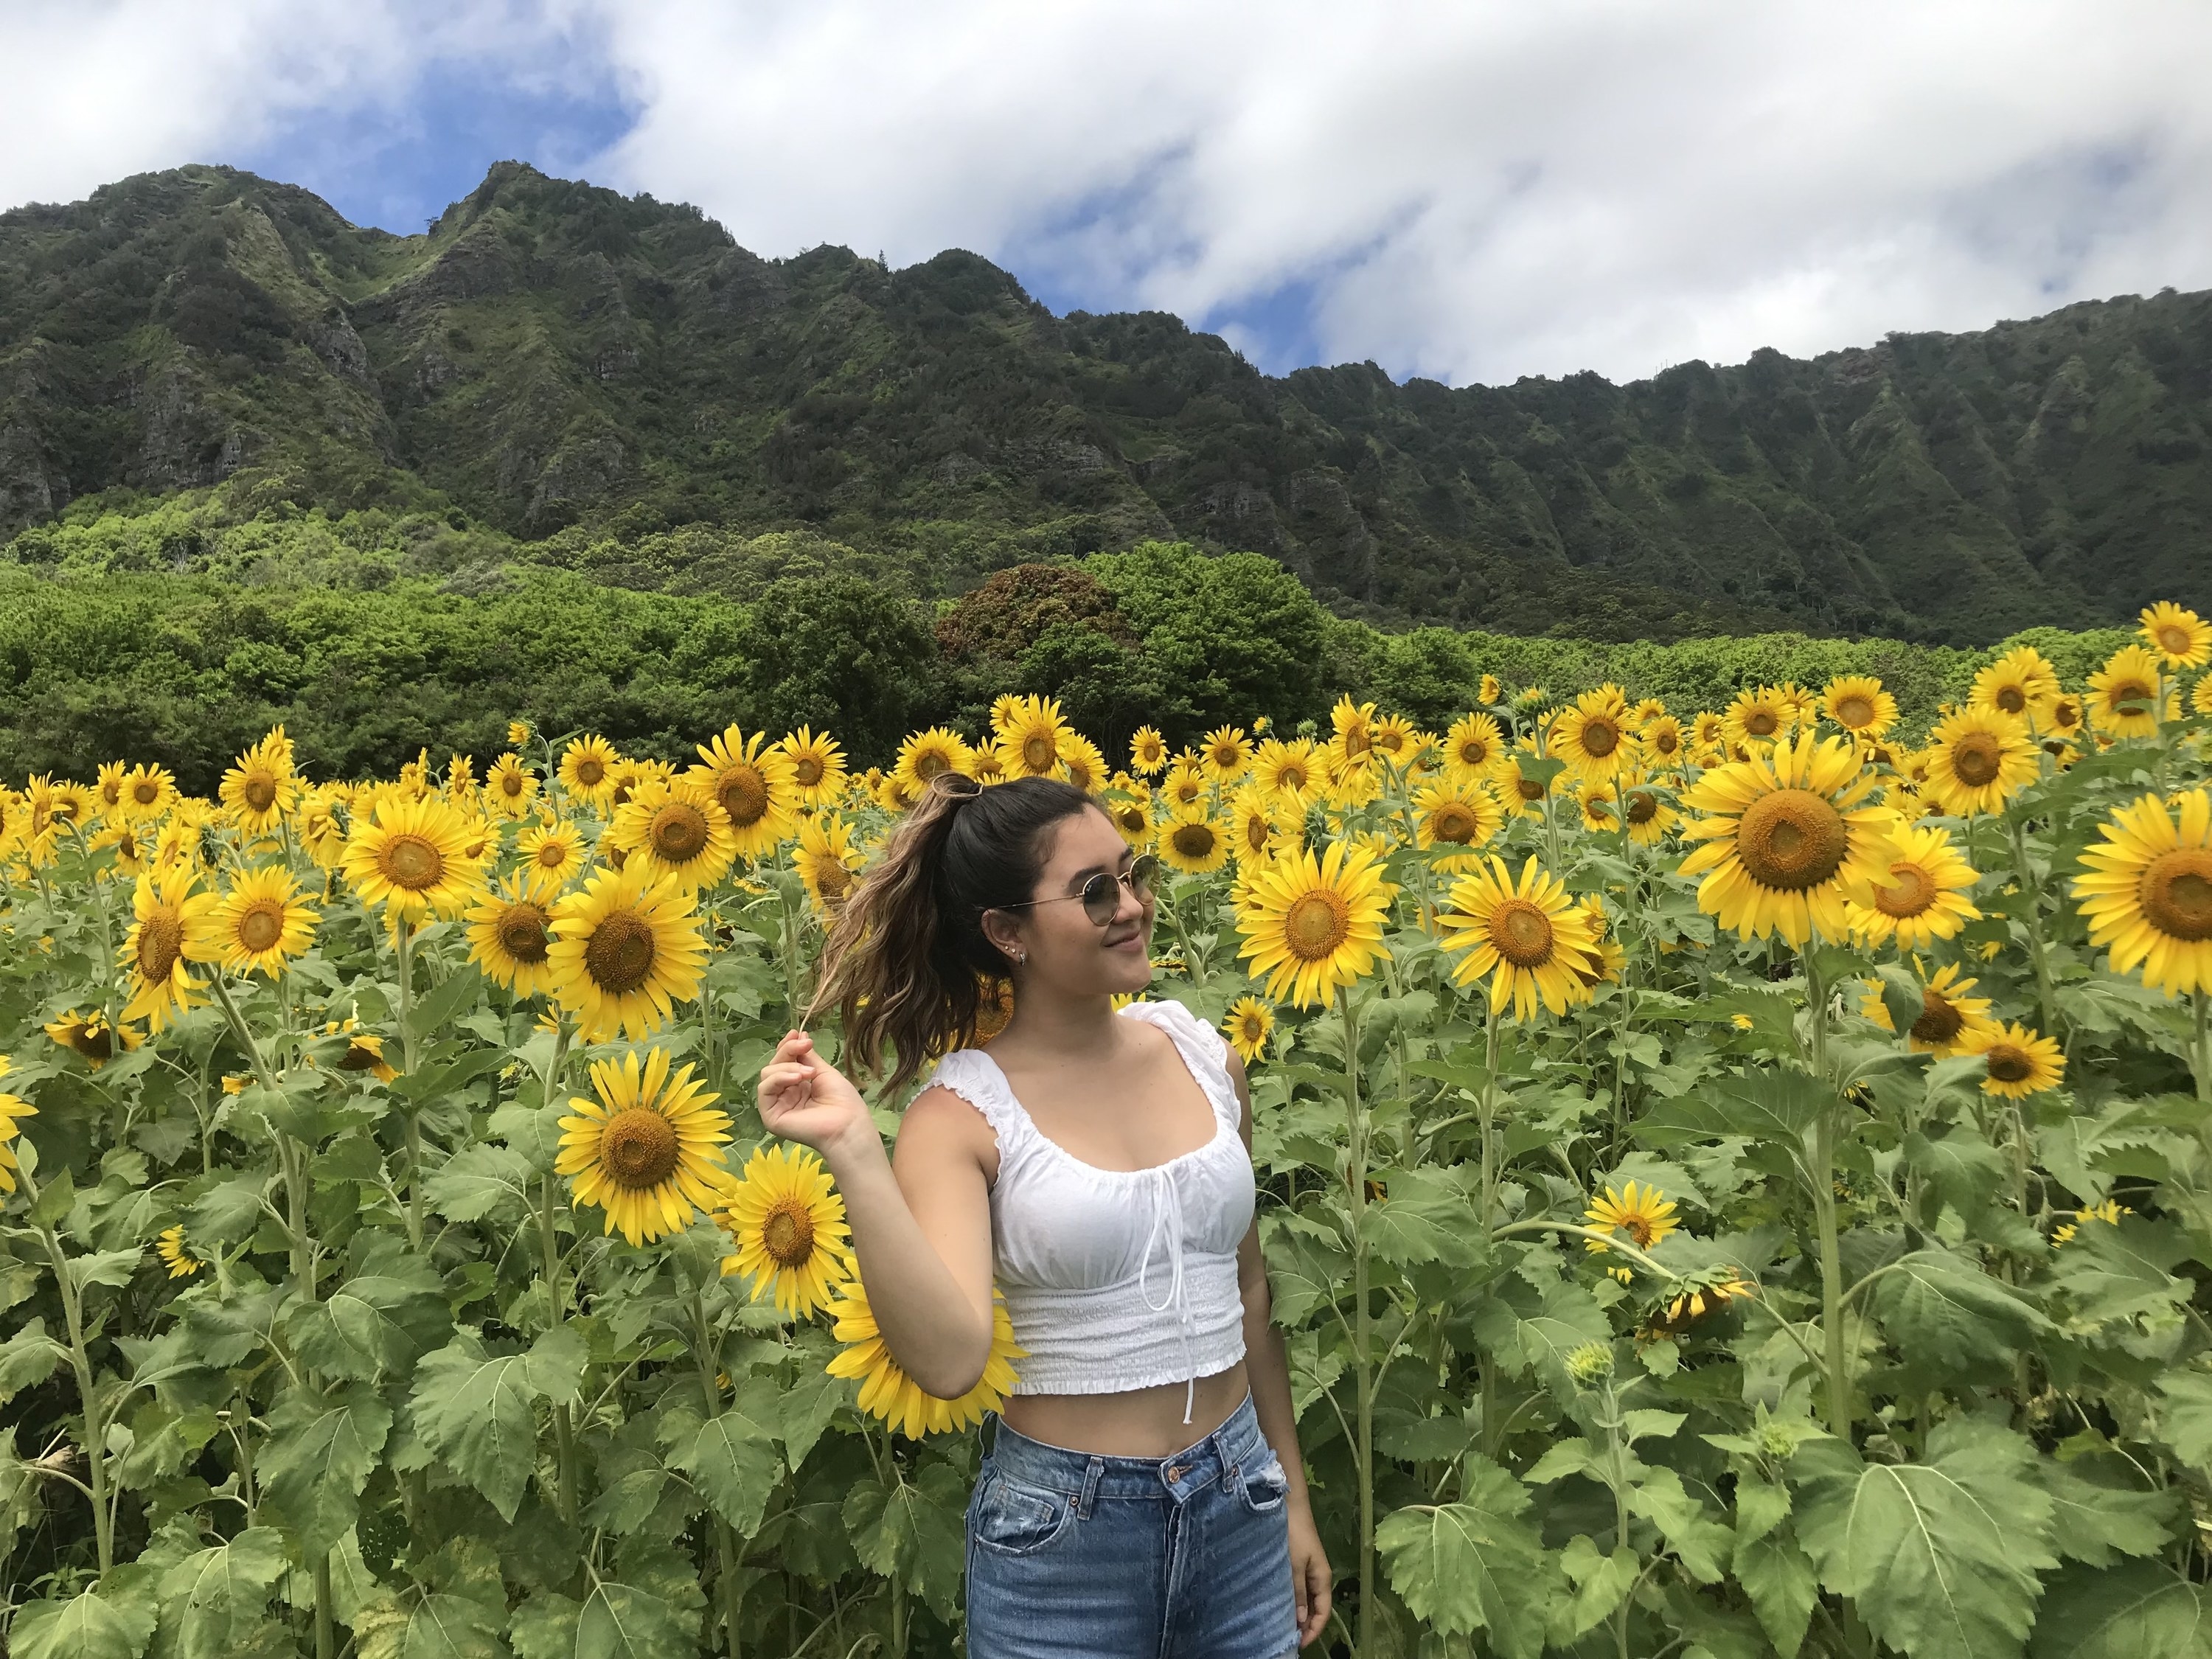
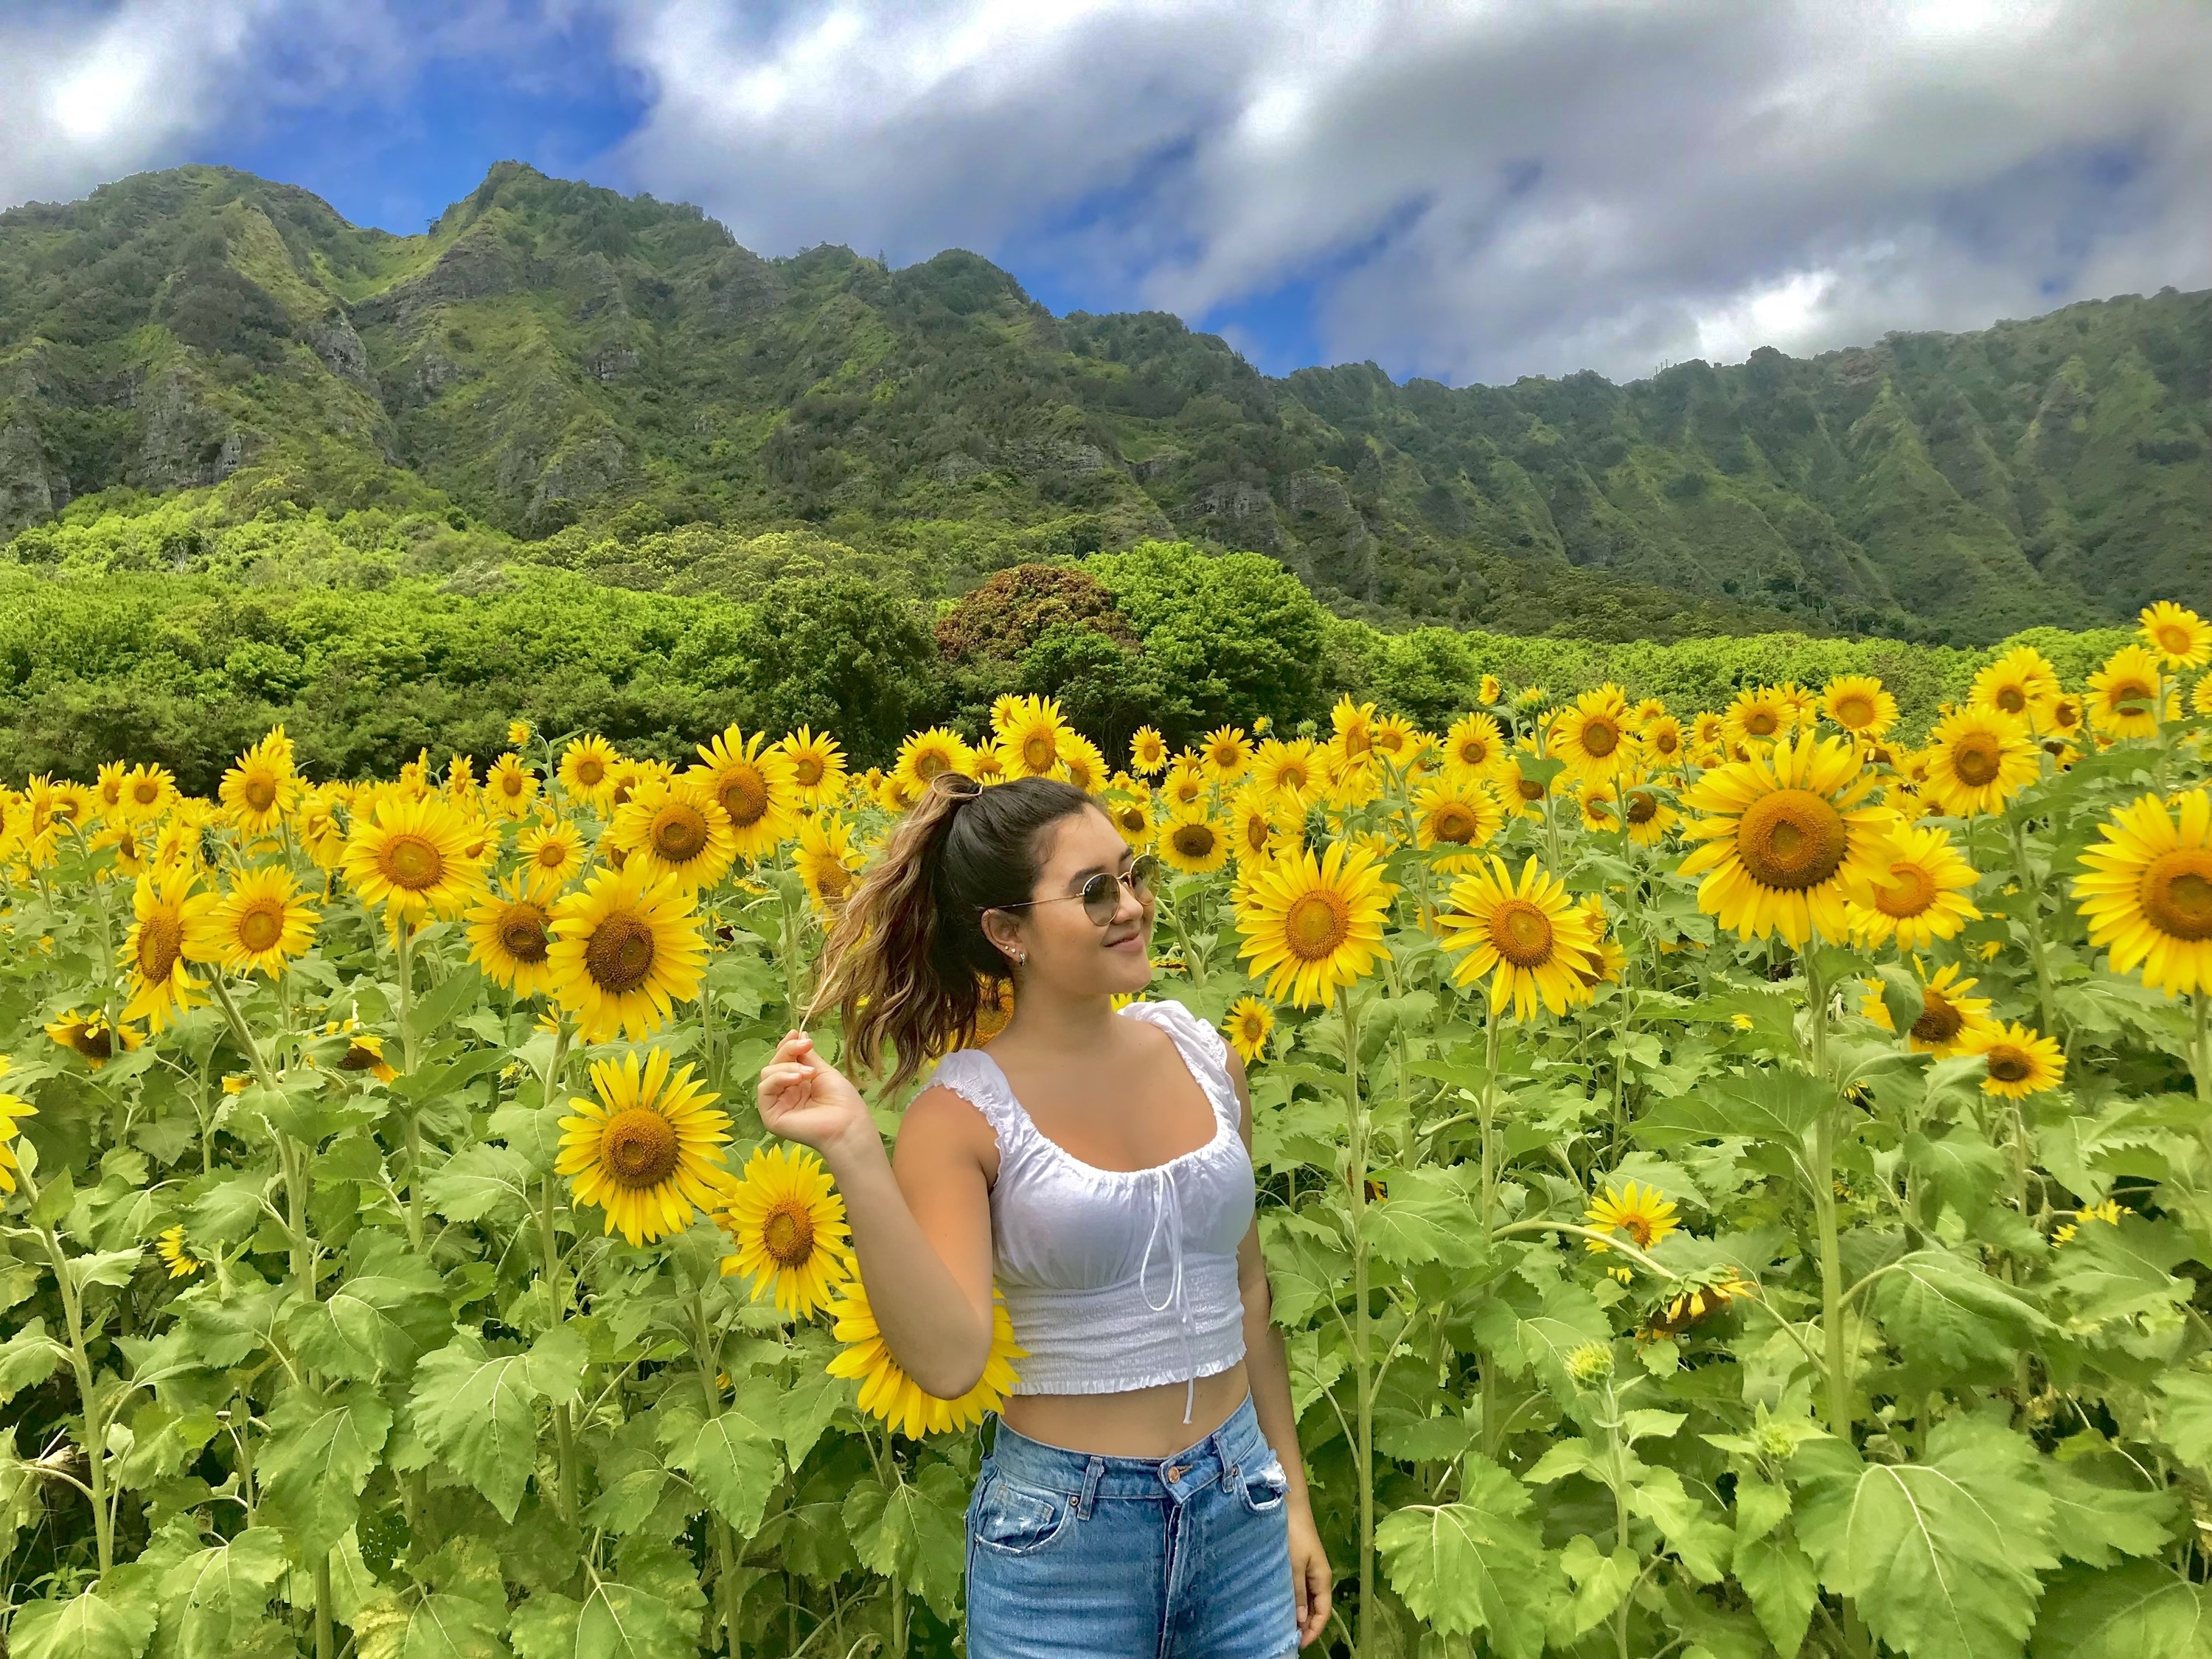
I decided I would use this photo of me in a BEAUTIFUL field of sunflowers. There are multiple shades of green, so I was curious to see how the edits would enhance the colors. This pic was also taken on a cloudy day, so I was hoping that the hack would make the sky a bit brighter.
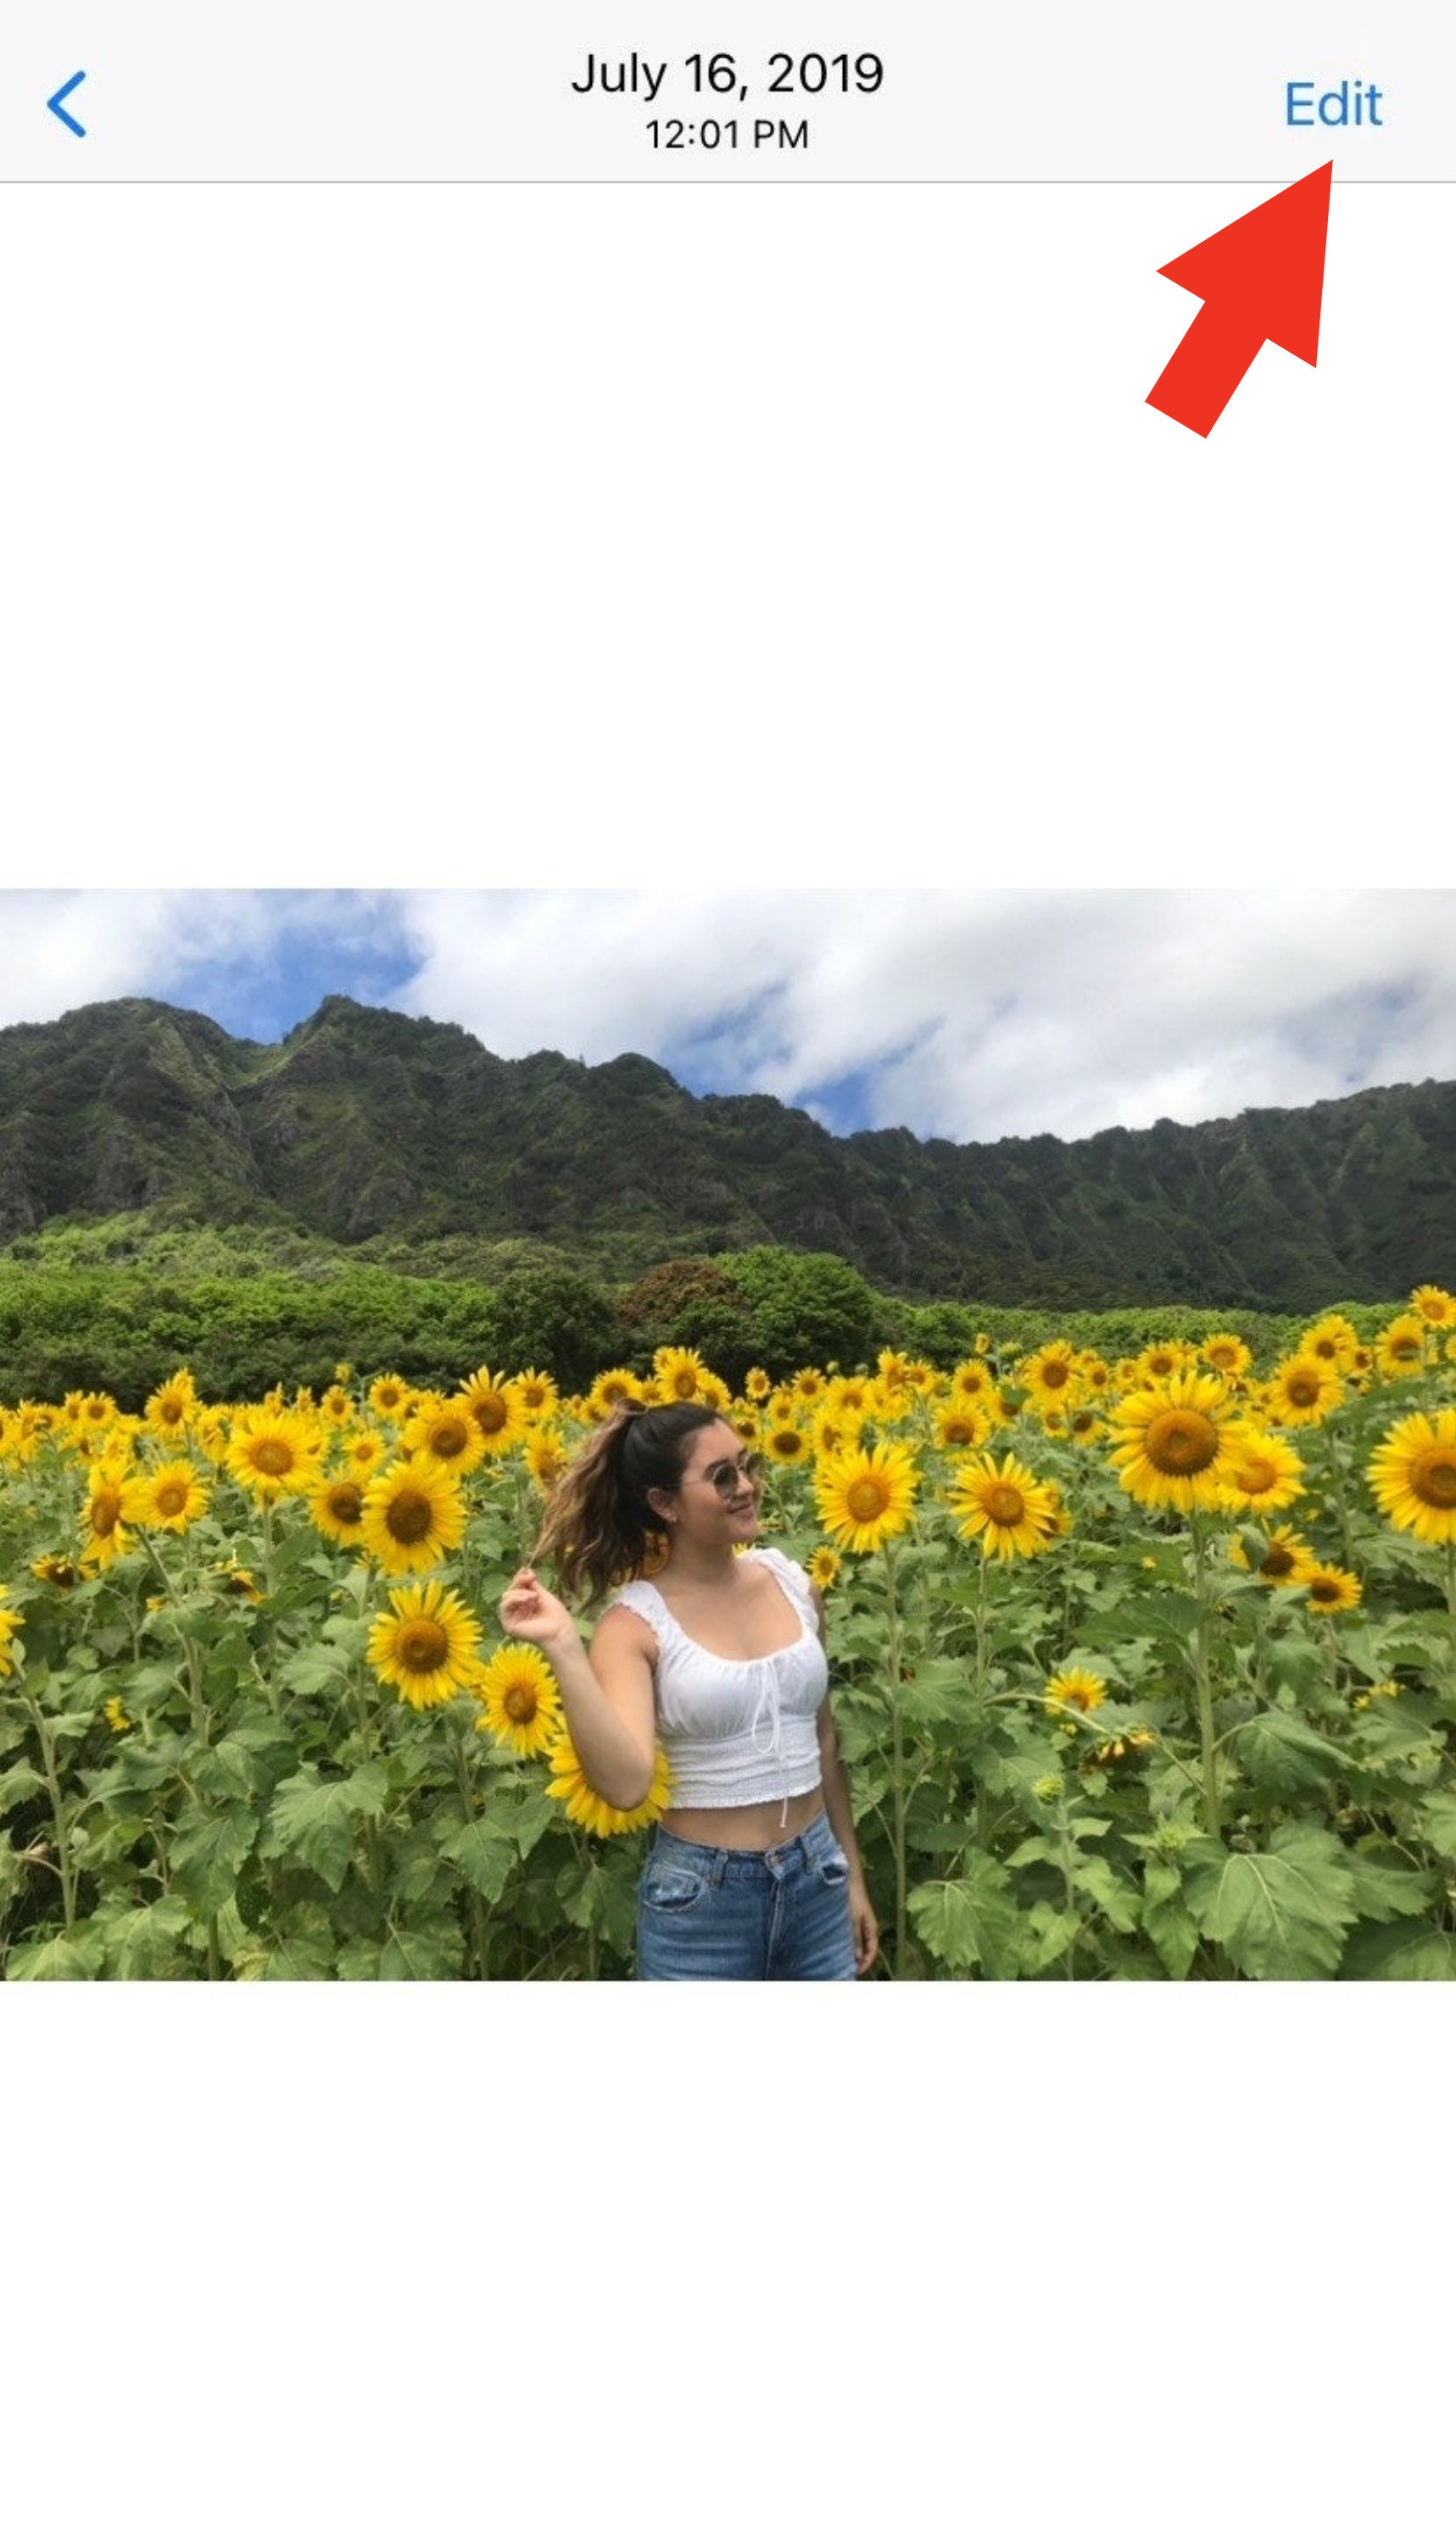
To start, I clicked the 'Edit' button on the upper-right-hand side of my screen.
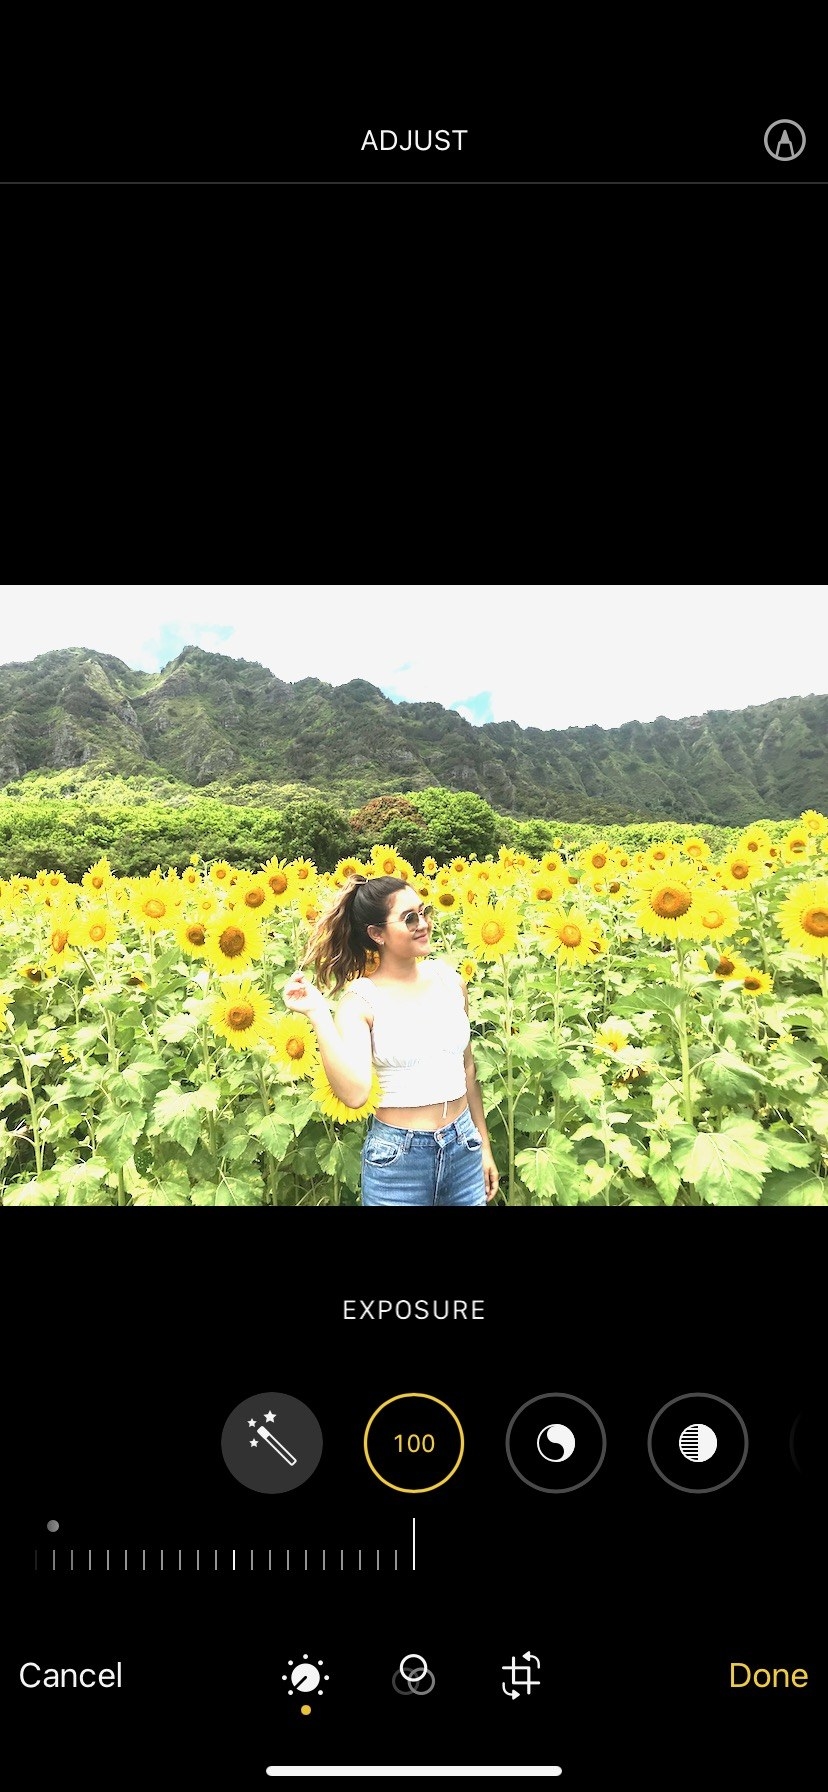
From there, the rest seemed to be pretty easy — just adjusting the numbers in each section. I began by setting the exposure and brilliance to 100.
Next, I set the highlights to -35, the shadows to -31, and the contrast to -33. The edits were definitely not looking promising so far, but I was trusting the process.

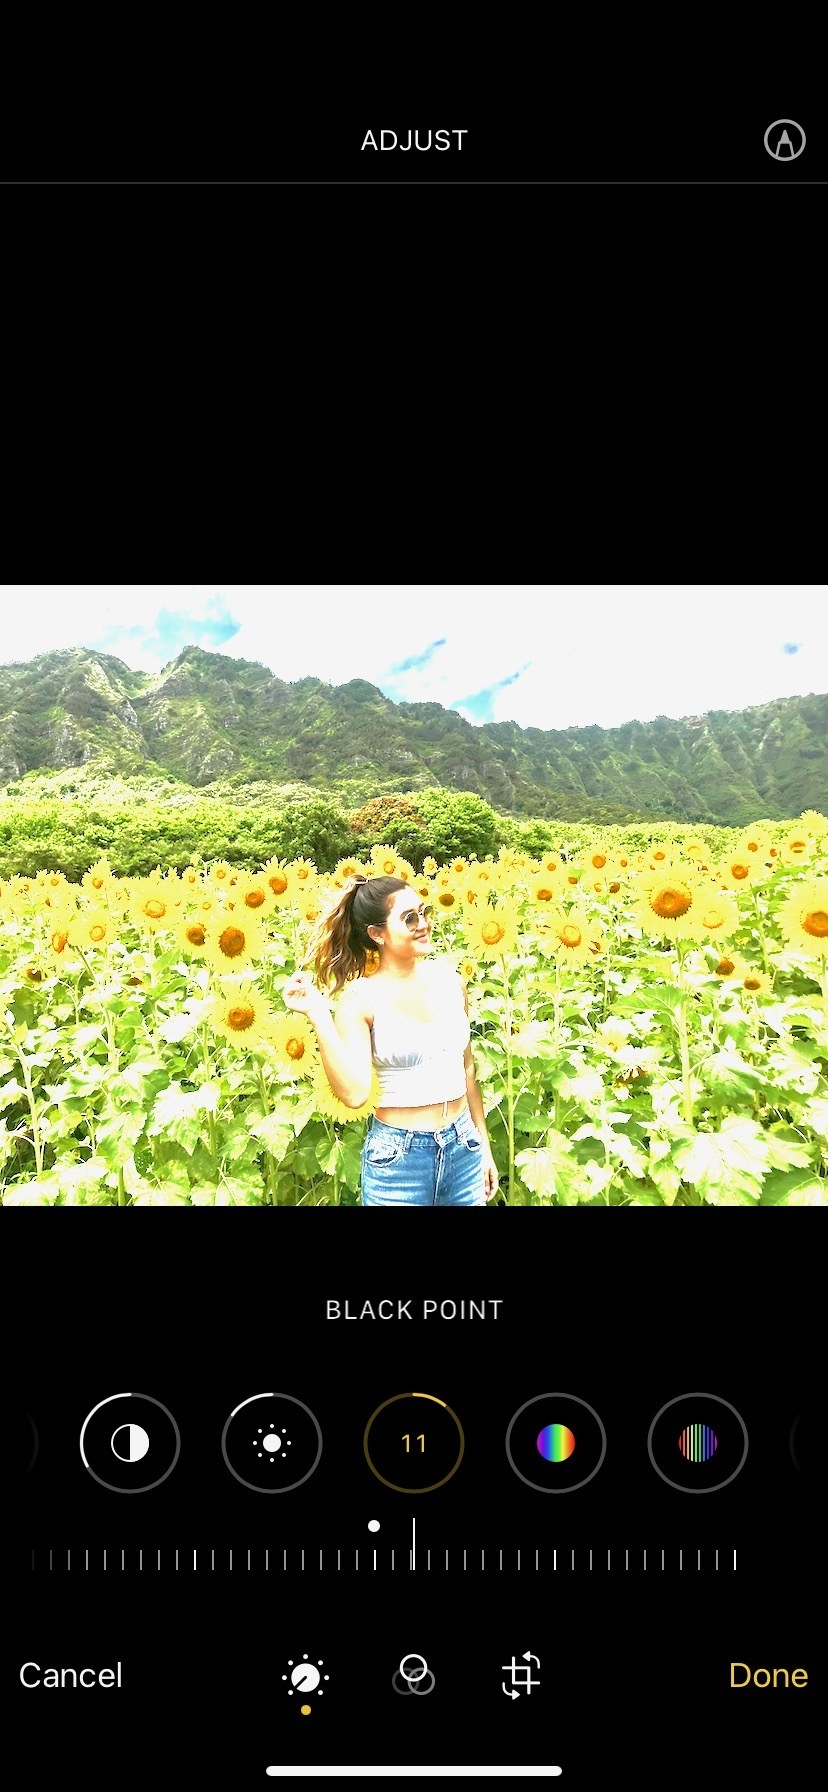
I continued with the next steps, setting the brightness to -15, as well as the black point and saturation to 11.
Finally, the last two steps were to dial the vibrance up to 9 and set the exposure back to 0...
...and this is how the photo turned out!

Here's the original, for reference:

At first I thought the edited version was too bright, but now, after looking at it more closely, I am kinda obsessed with how COLORFUL it is! It looks like a scene straight out of a Pixar movie, and I am here for it. Also, check out how tan I look!
I wanted to see how the edits would look on other photos, so my coworker Ross also put the hack to the test. He decided to use this photo:

And this is how it turned out! I mean, look at that color difference! The mountains and trees in the background also look wayyy more welcoming.

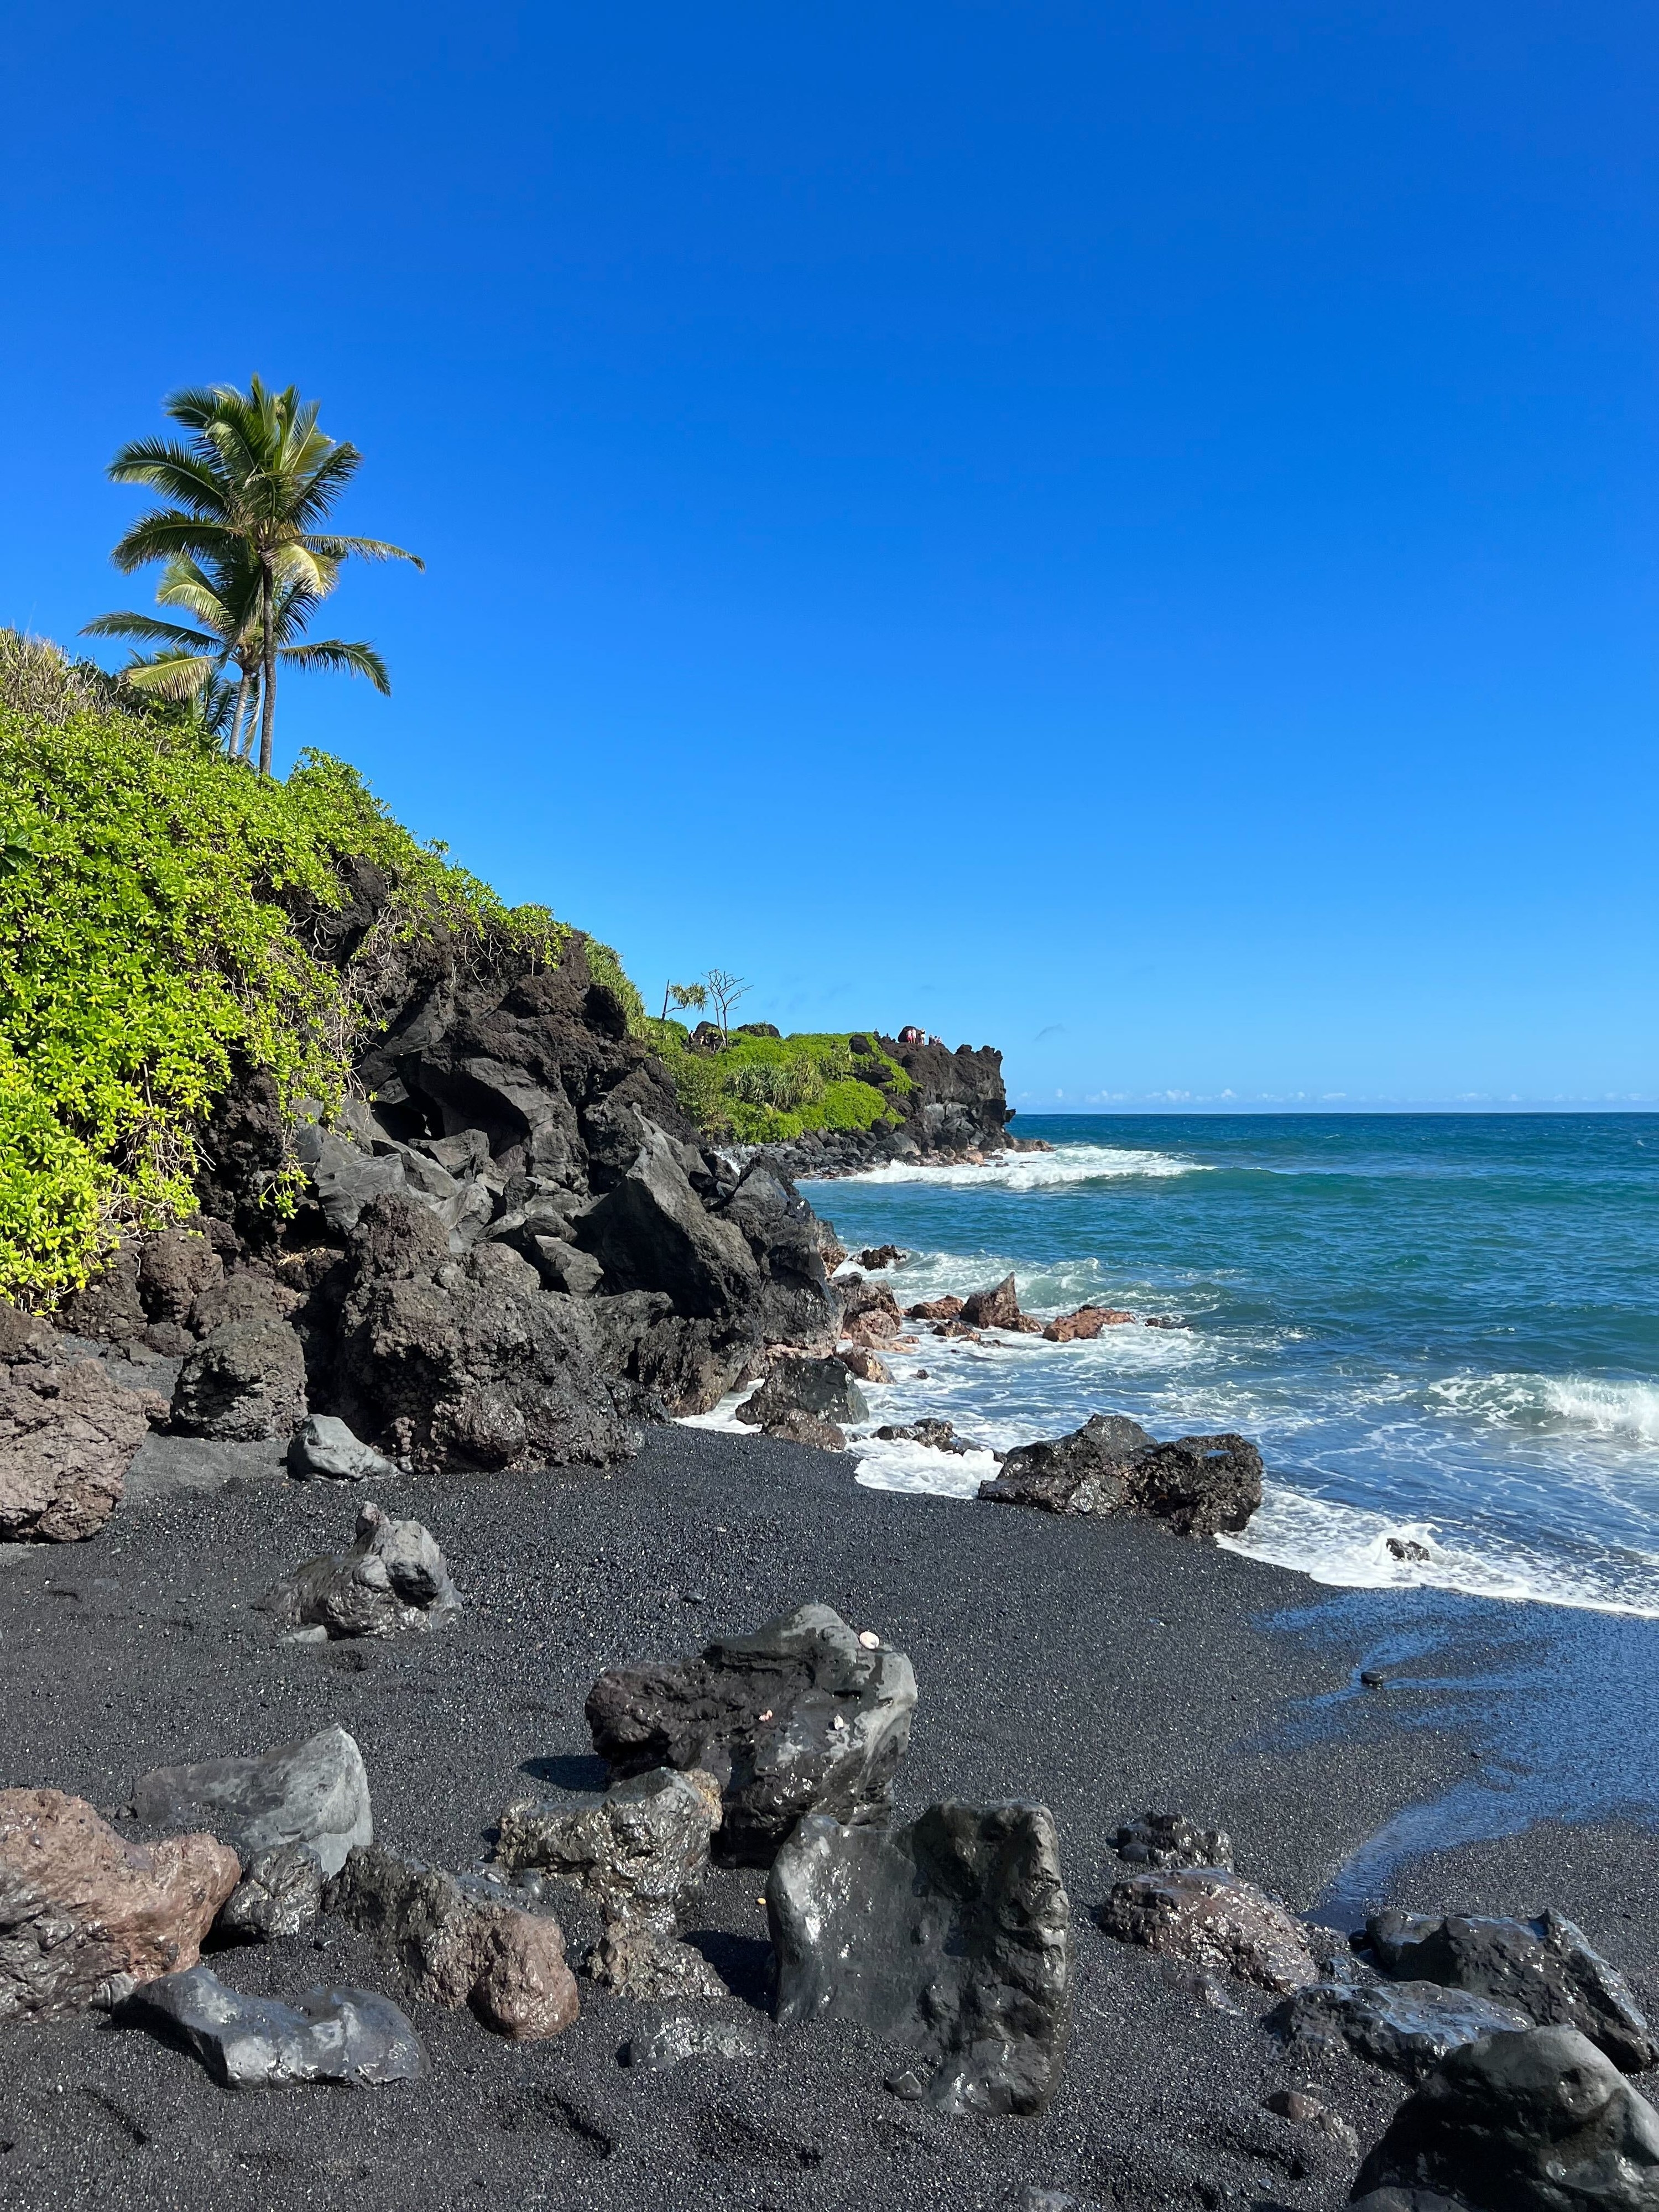
It seems to work on any kind of photo! My other coworker Jon-Michael tried the hack on a photo of this black-sand beach. Here's the before:
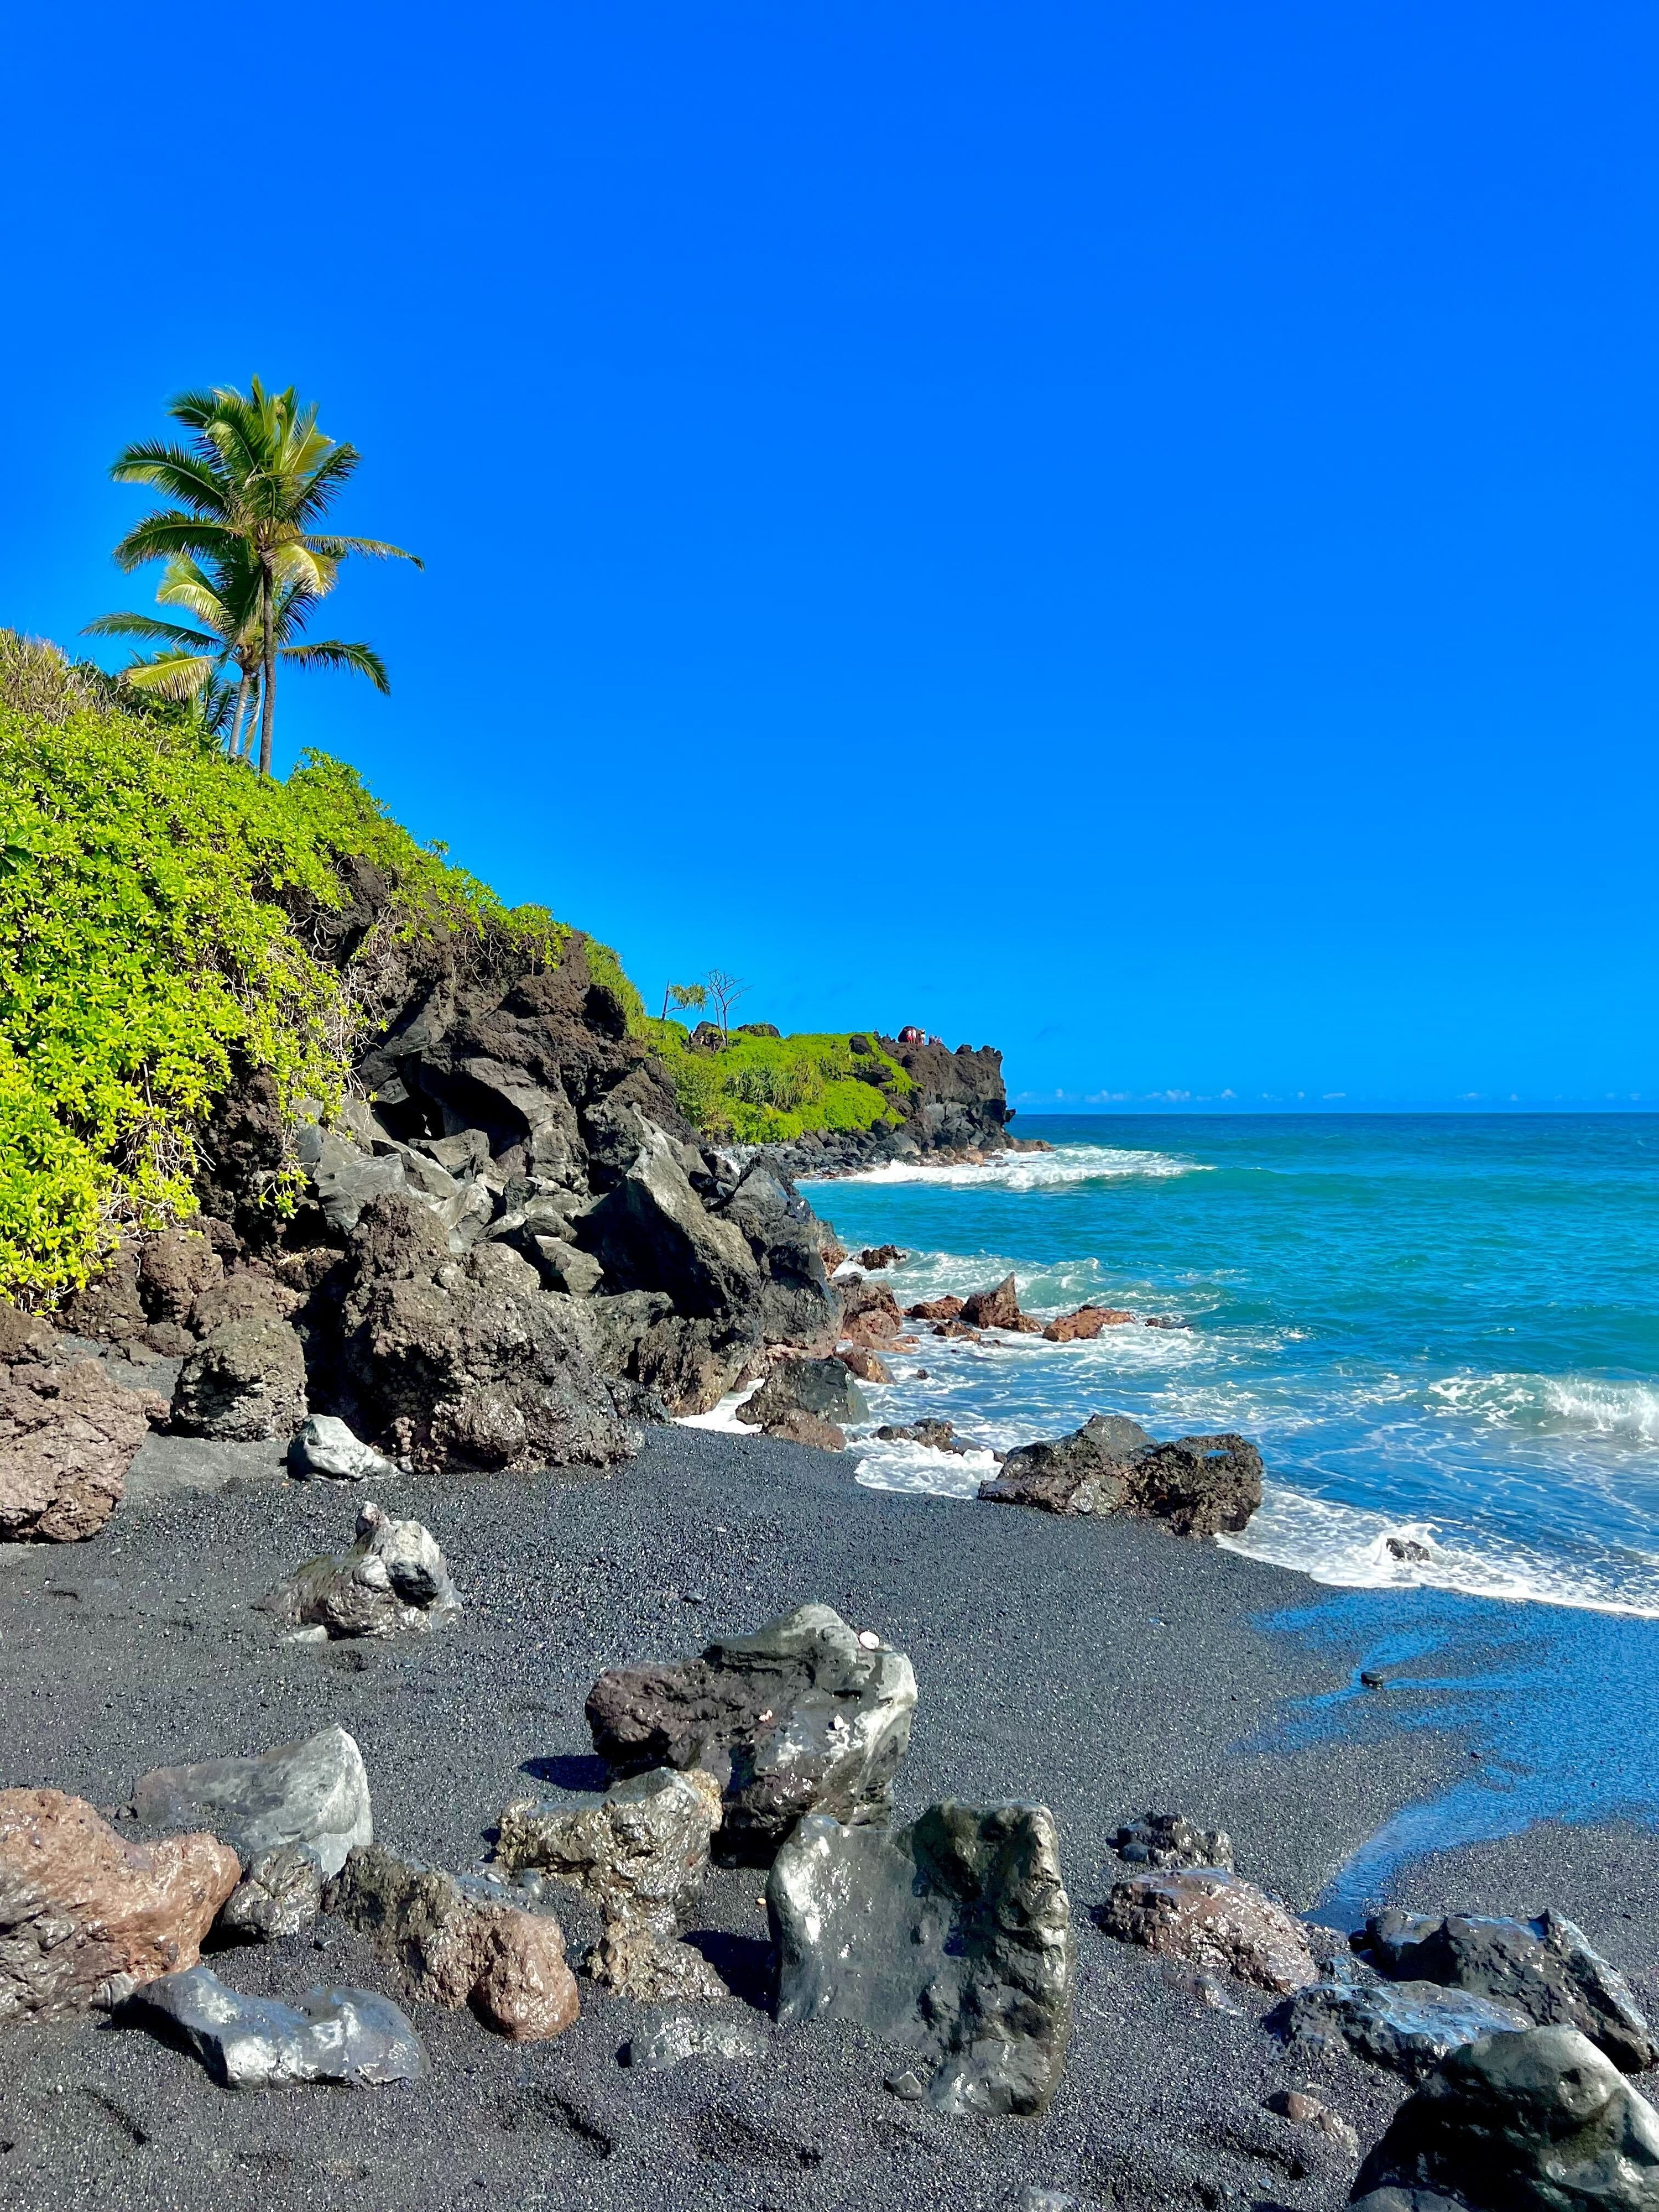
And the after! A subtler difference here, but the editing really enhanced the color of the ocean and gave some definition to the water in the foreground.
Last but not least, Fabiana gave the hack a try on this photo of herself. Here's the before:

And here's the after! The photo was already great before, but the edits really highlighted the pattern of her shirt and lightened up the background!

I will definitely be using this hack from now on — especially with photos of nature! I think the edits really help to bring out the colors of every photo.
Now it's your turn! I've listed out all the steps so you can try the hack on one of your photos. Just go to the "Edit" button and set each of these numbers:
•Exposure 100
•Brilliance 100
•Highlights -35
•Shadows -31
•Contrast -33
•Brightness -15
•Black point 11
•Saturation 11
•Vibrance 9
•Exposure back to 0