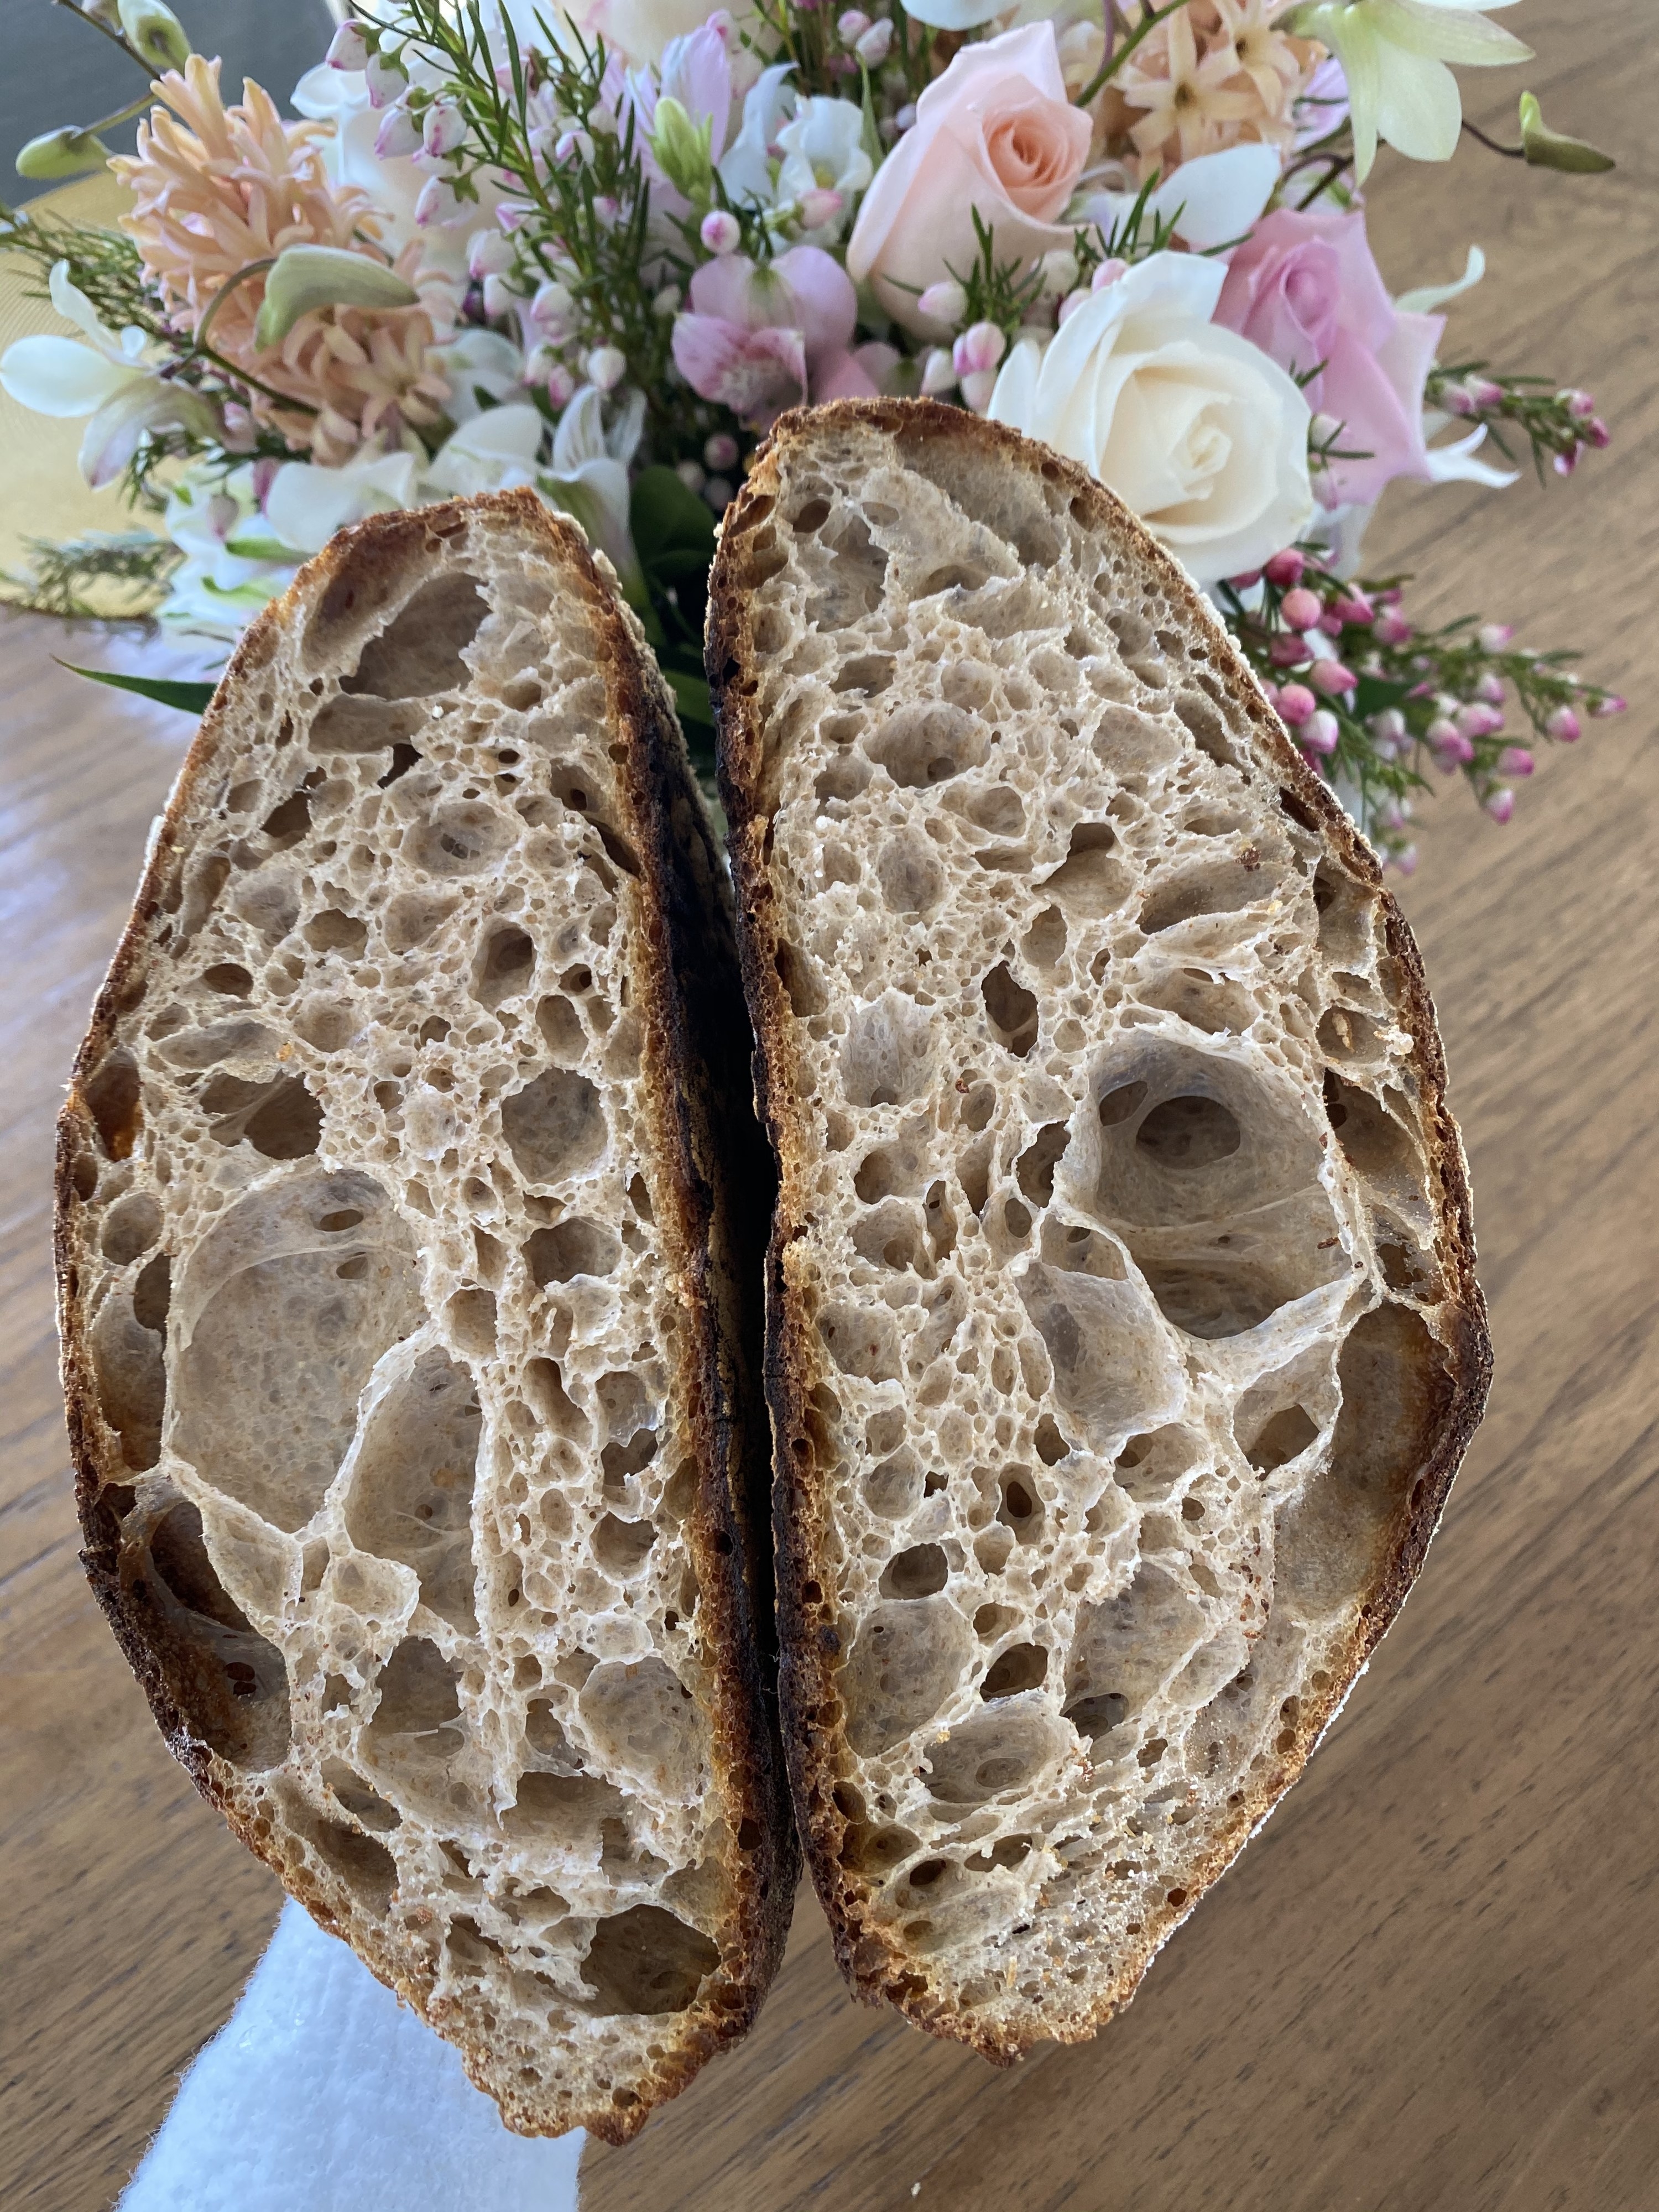
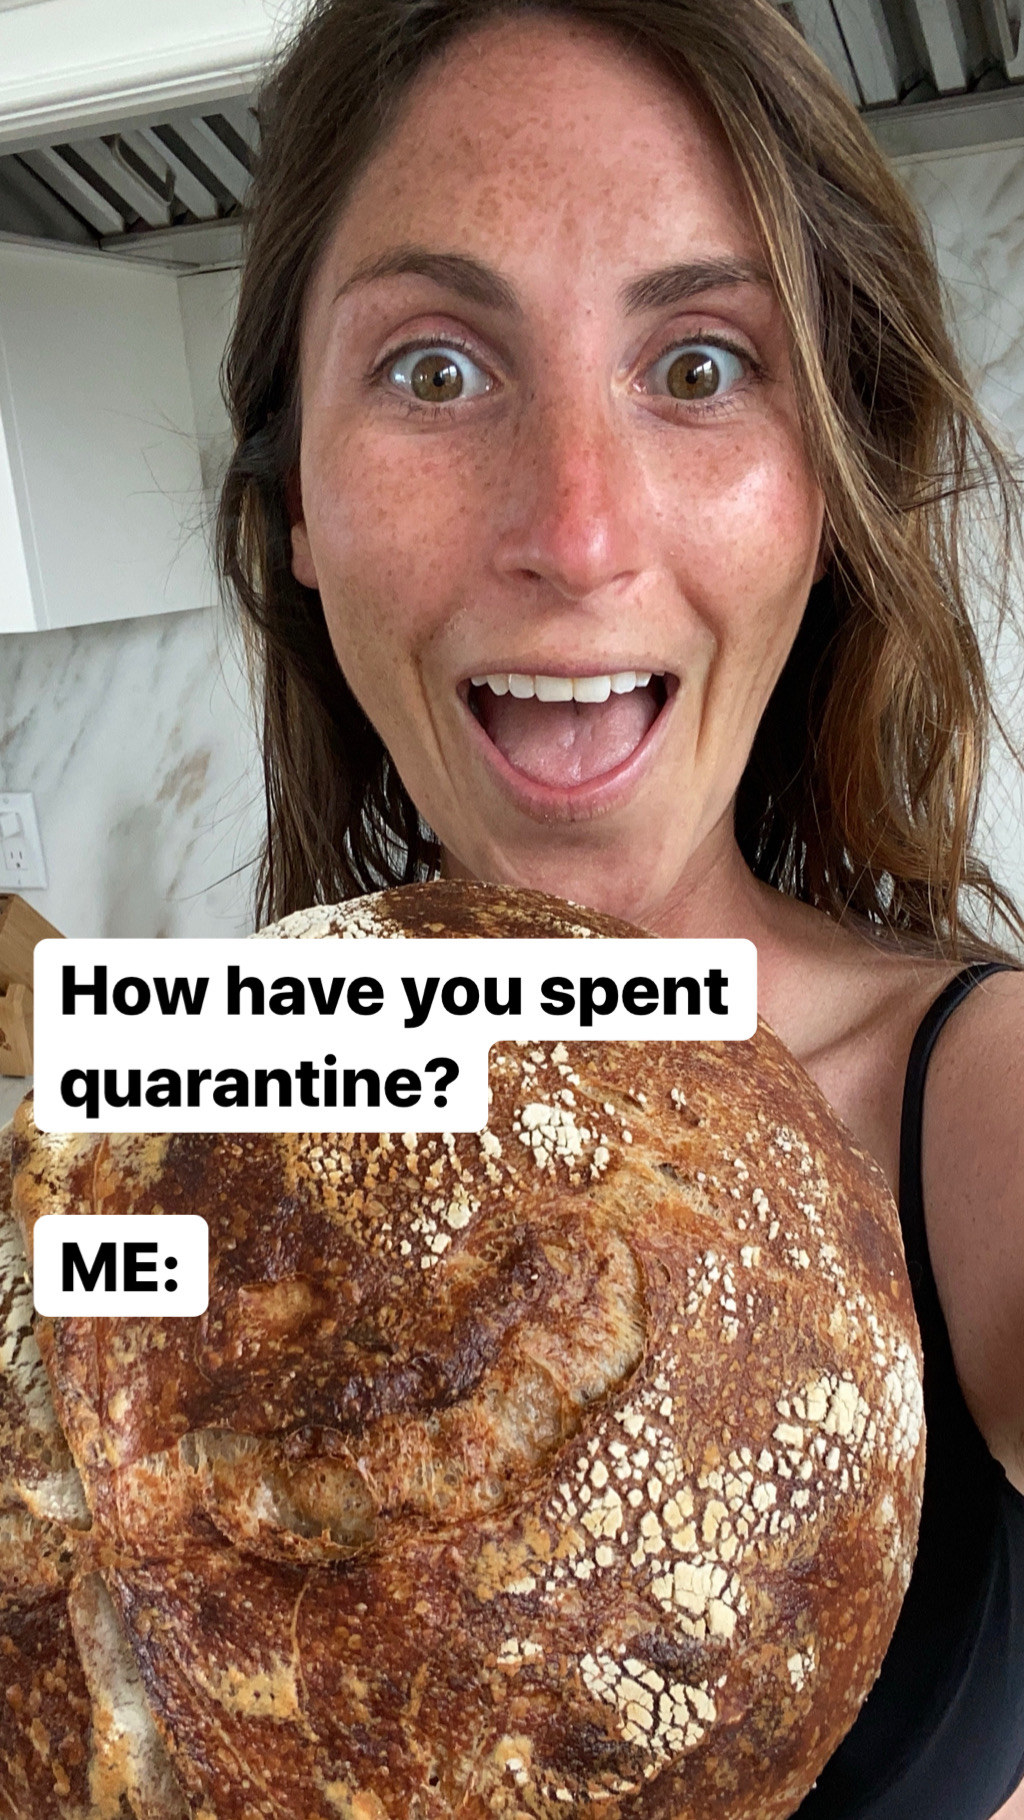
By now, your entire Instagram feed is probably full of pictures of homemade sourdough. So perhaps by now, you've been tempted to try it out for yourself.
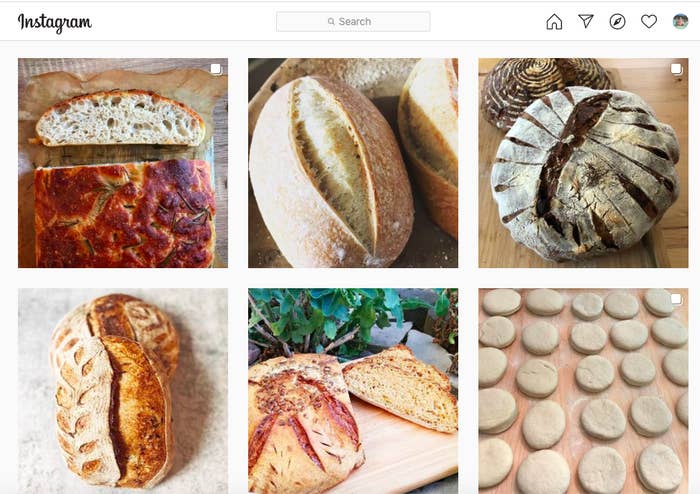
About a month ago, intrigued by all these doughy and airy loaves, I decided to try baking my own. But I immediately felt overwhelmed by all the sourdough recipes and instructions that call for two to three days of work, page upon page of directions, and constant kneading and folding. I felt destined for failure before I even began baking.
But after about a month filled with baking and eating delicious sourdough, I can confidently say baking this bread from scratch is far less intimidating than it may seem. Here's a step-by-step guide to get you started.
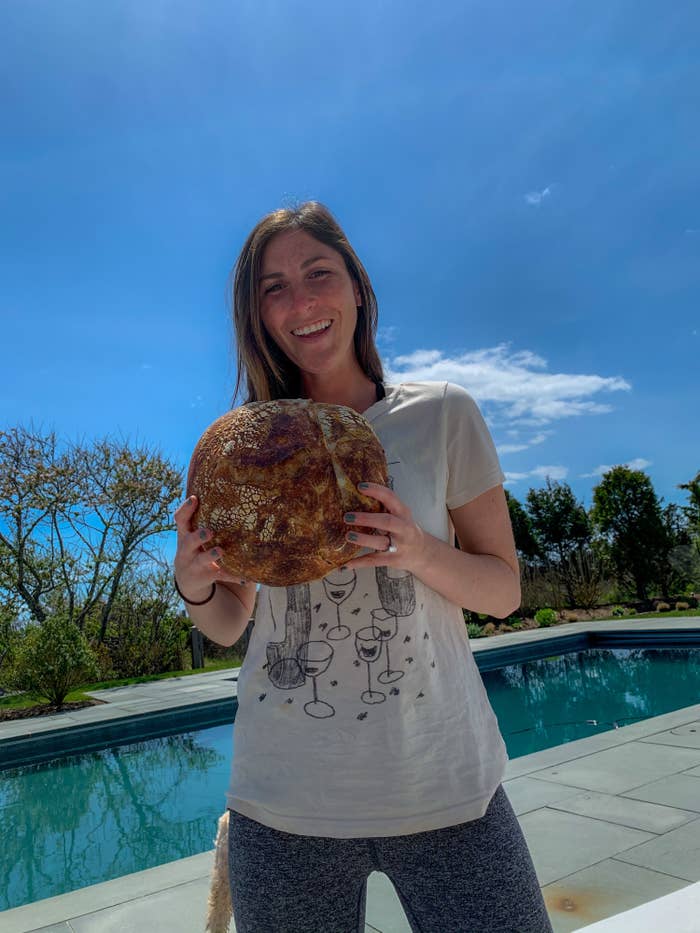
But first, here are a few things I want to mention:
-I'm not a professional baker. I have no idea about the science behind baking bread, and until very recently, I never baked often. I'm telling you this because you shouldn't consider the following a professional guide. Consider it your average beginner's tutorial, written by a fellow novice baker. Do I make sourdough to rival Tartine's famous loaves? Abbbbbsolutely not. But I've practiced enough to make bread that tastes pretty damn delicious, which is good enough for me.
-You'll find tons of sourdough recipes online with slightly different instructions, but these steps will work for just about any recipe you're following. Just make sure to use the designated types and amounts of flour, water, and starter.
-If you're looking for a recipe to get you started, my absolute favorite has been Claire Saffitz's sourdough recipe from New York Times cooking. The Perfect Loaf also has a great beginner's sourdough recipe as does food blog Alexandra Cooks.
First things first: You'll need an active starter that's ready for baking. The day before you're planning on baking, feed your starter twice with 100 g mixed white and whole wheat flour and 100 g lukewarm water. Try to space the feedings out by about 12 hours, so if you feed it the first time at 8 a.m., give it a second feeding at 8 p.m. Let the starter sit overnight covered with a dish towel.
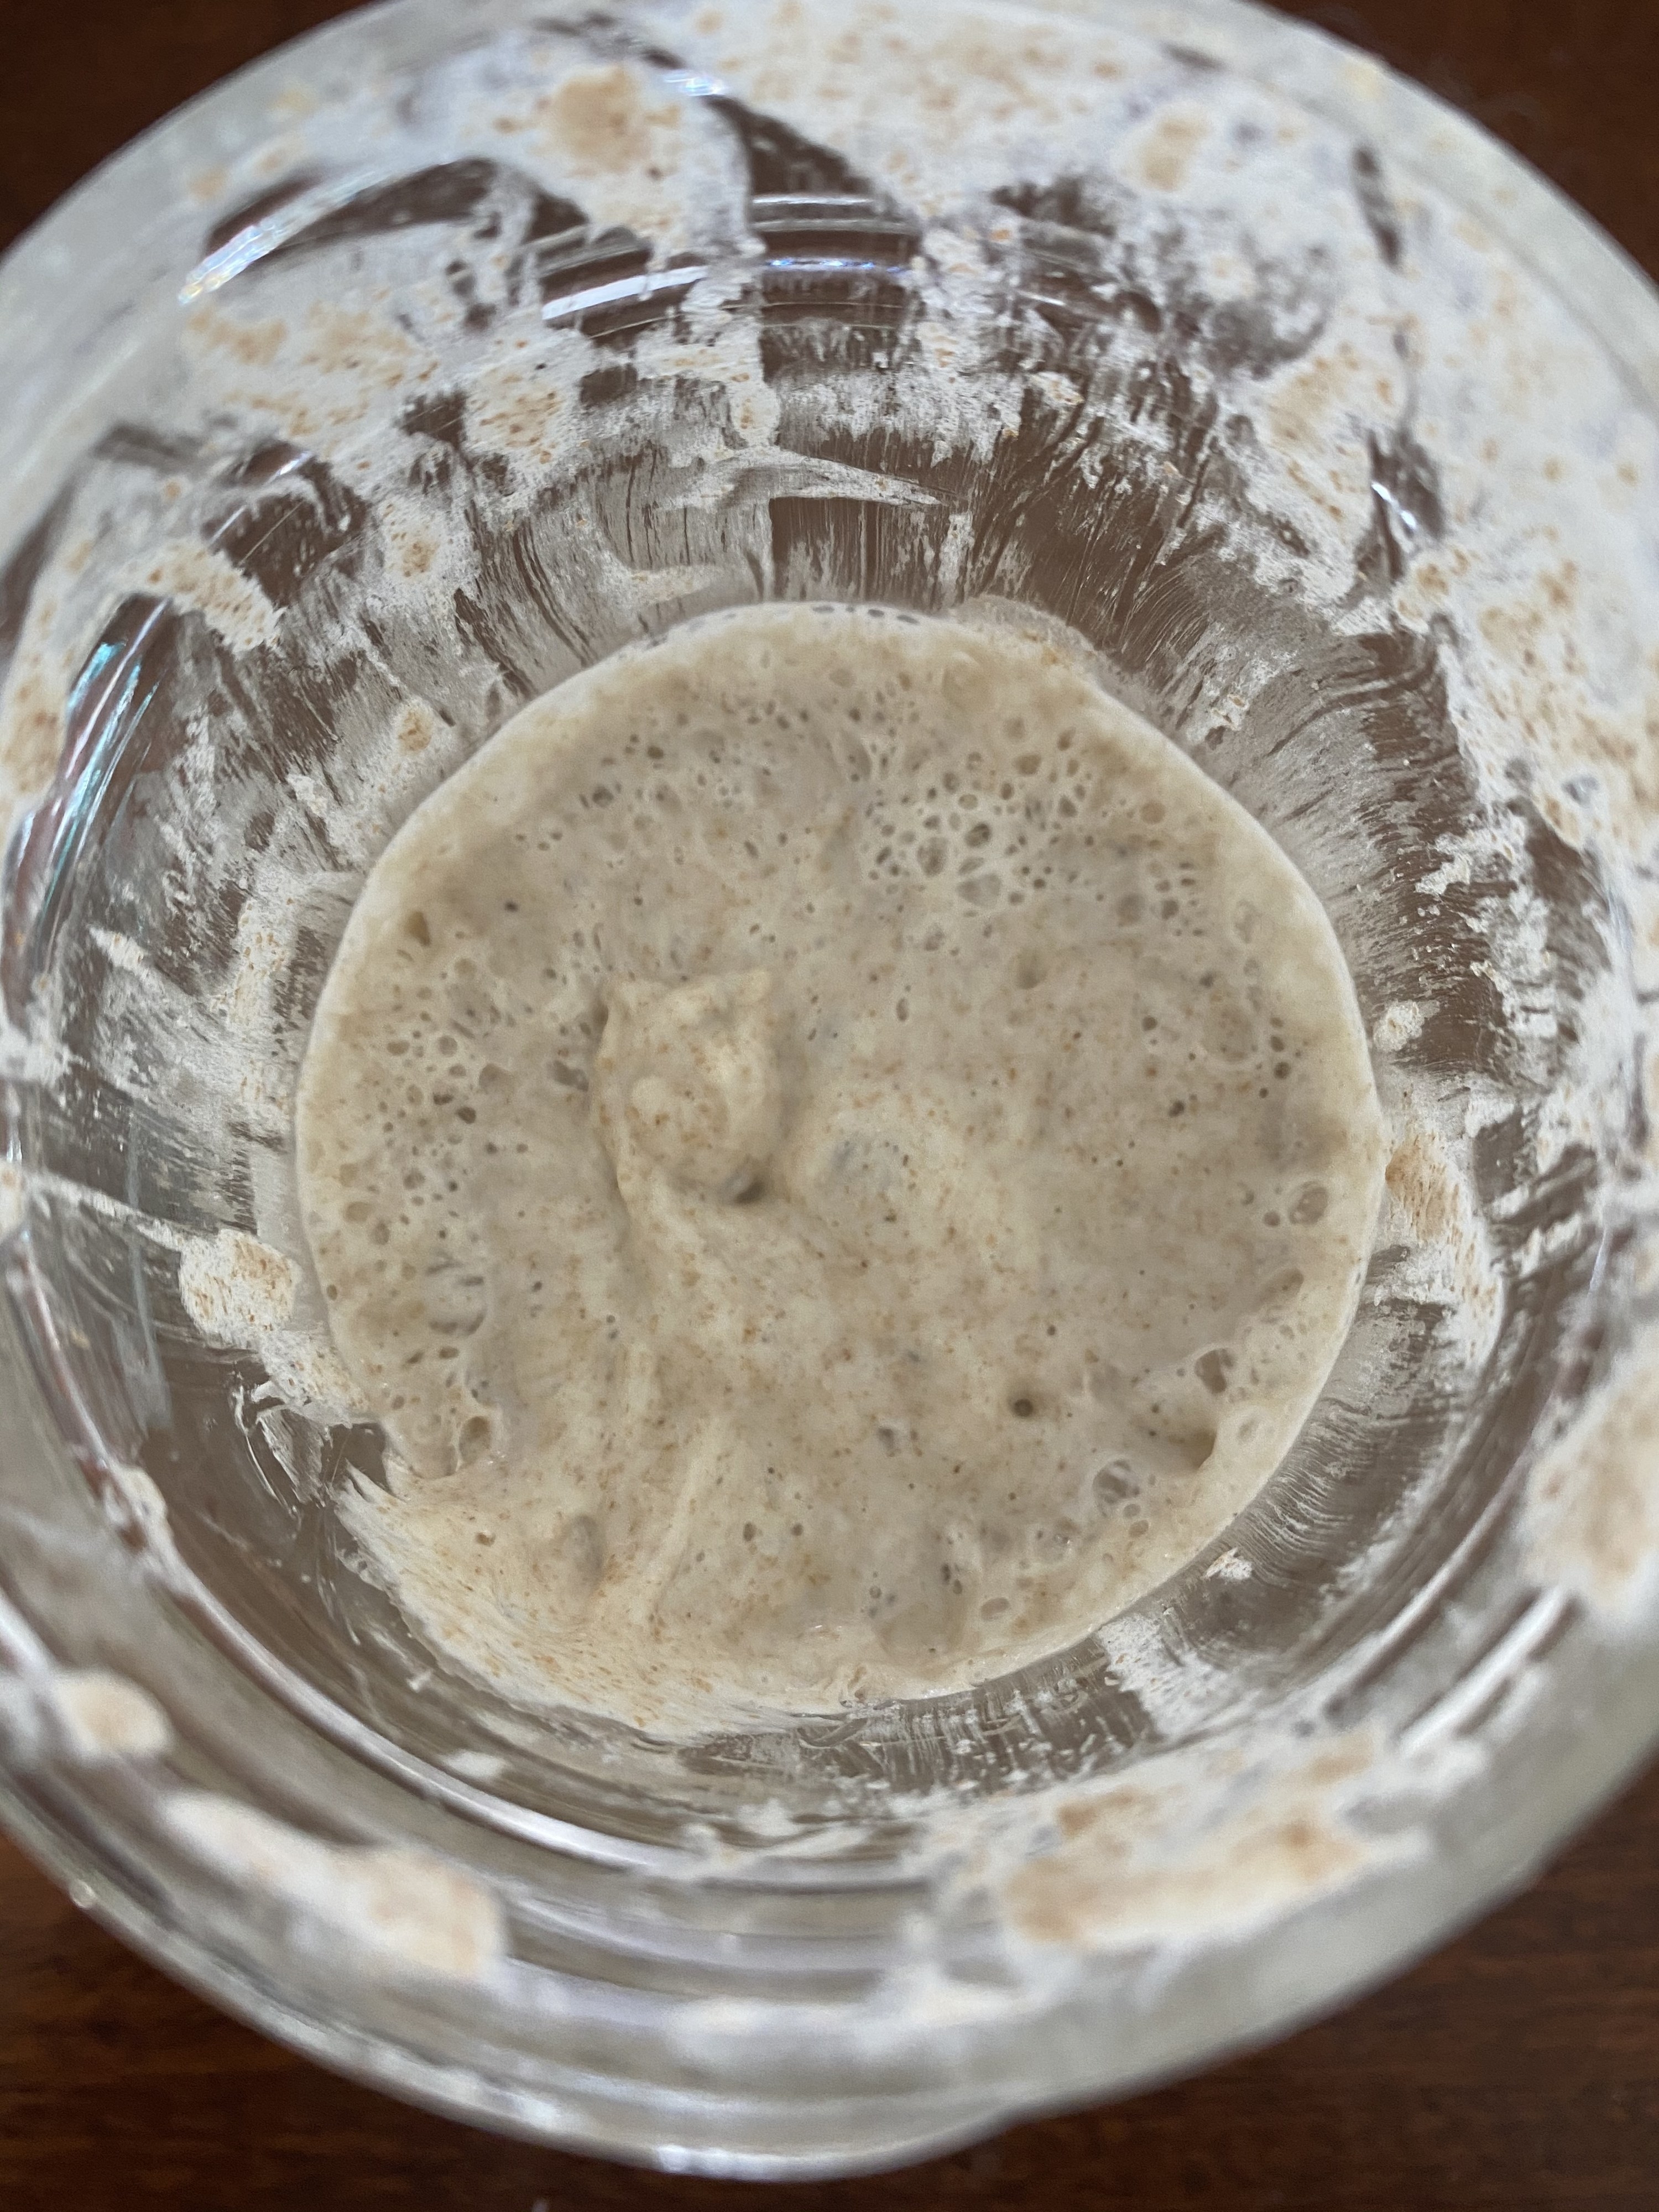
Next, you'll need to prepare the autolyse, which basically means to soak the flours in water. Different recipes call for different quantities of flour or water, so choose one and stick to it. In a large bowl, combine the flour with lukewarm water and let the mixture sit covered for a minimum of 30 minutes.
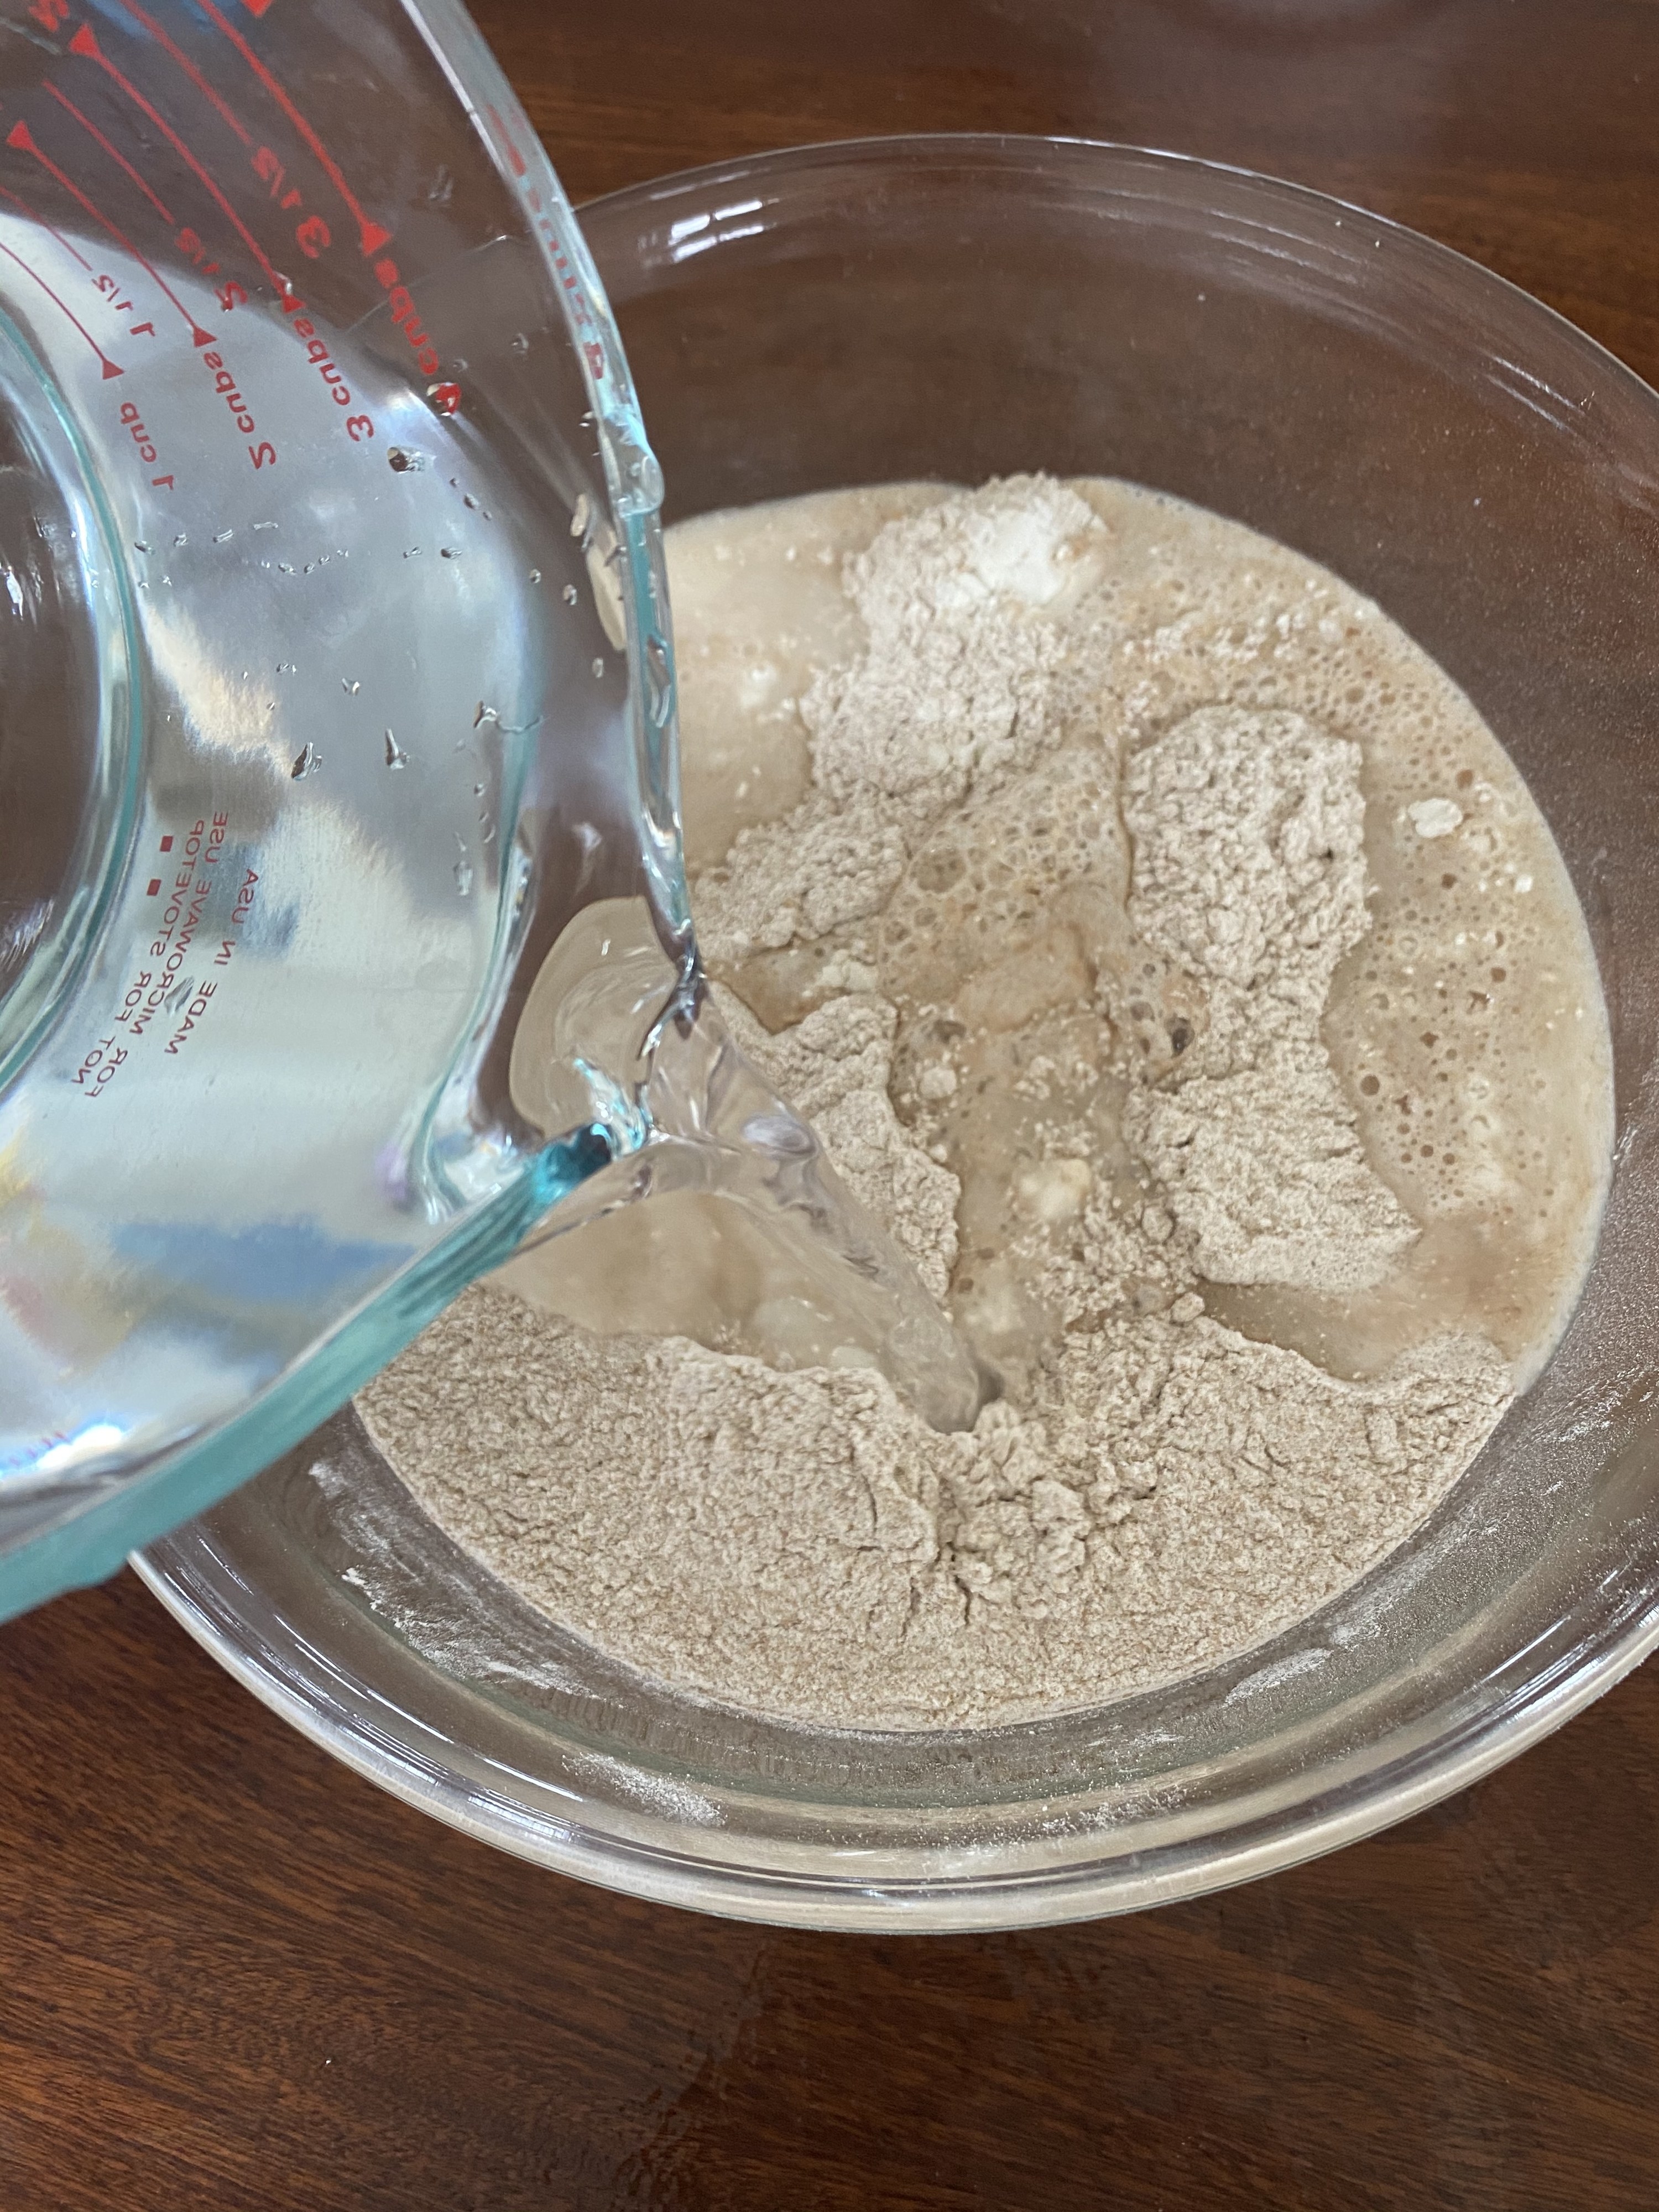
Once your autolyse has sat for at least 30 minutes and your starter is active, it's time to begin. Following the recipe of your choosing, combine a portion of your starter with the flour and water mixture. You won't use all of your starter.
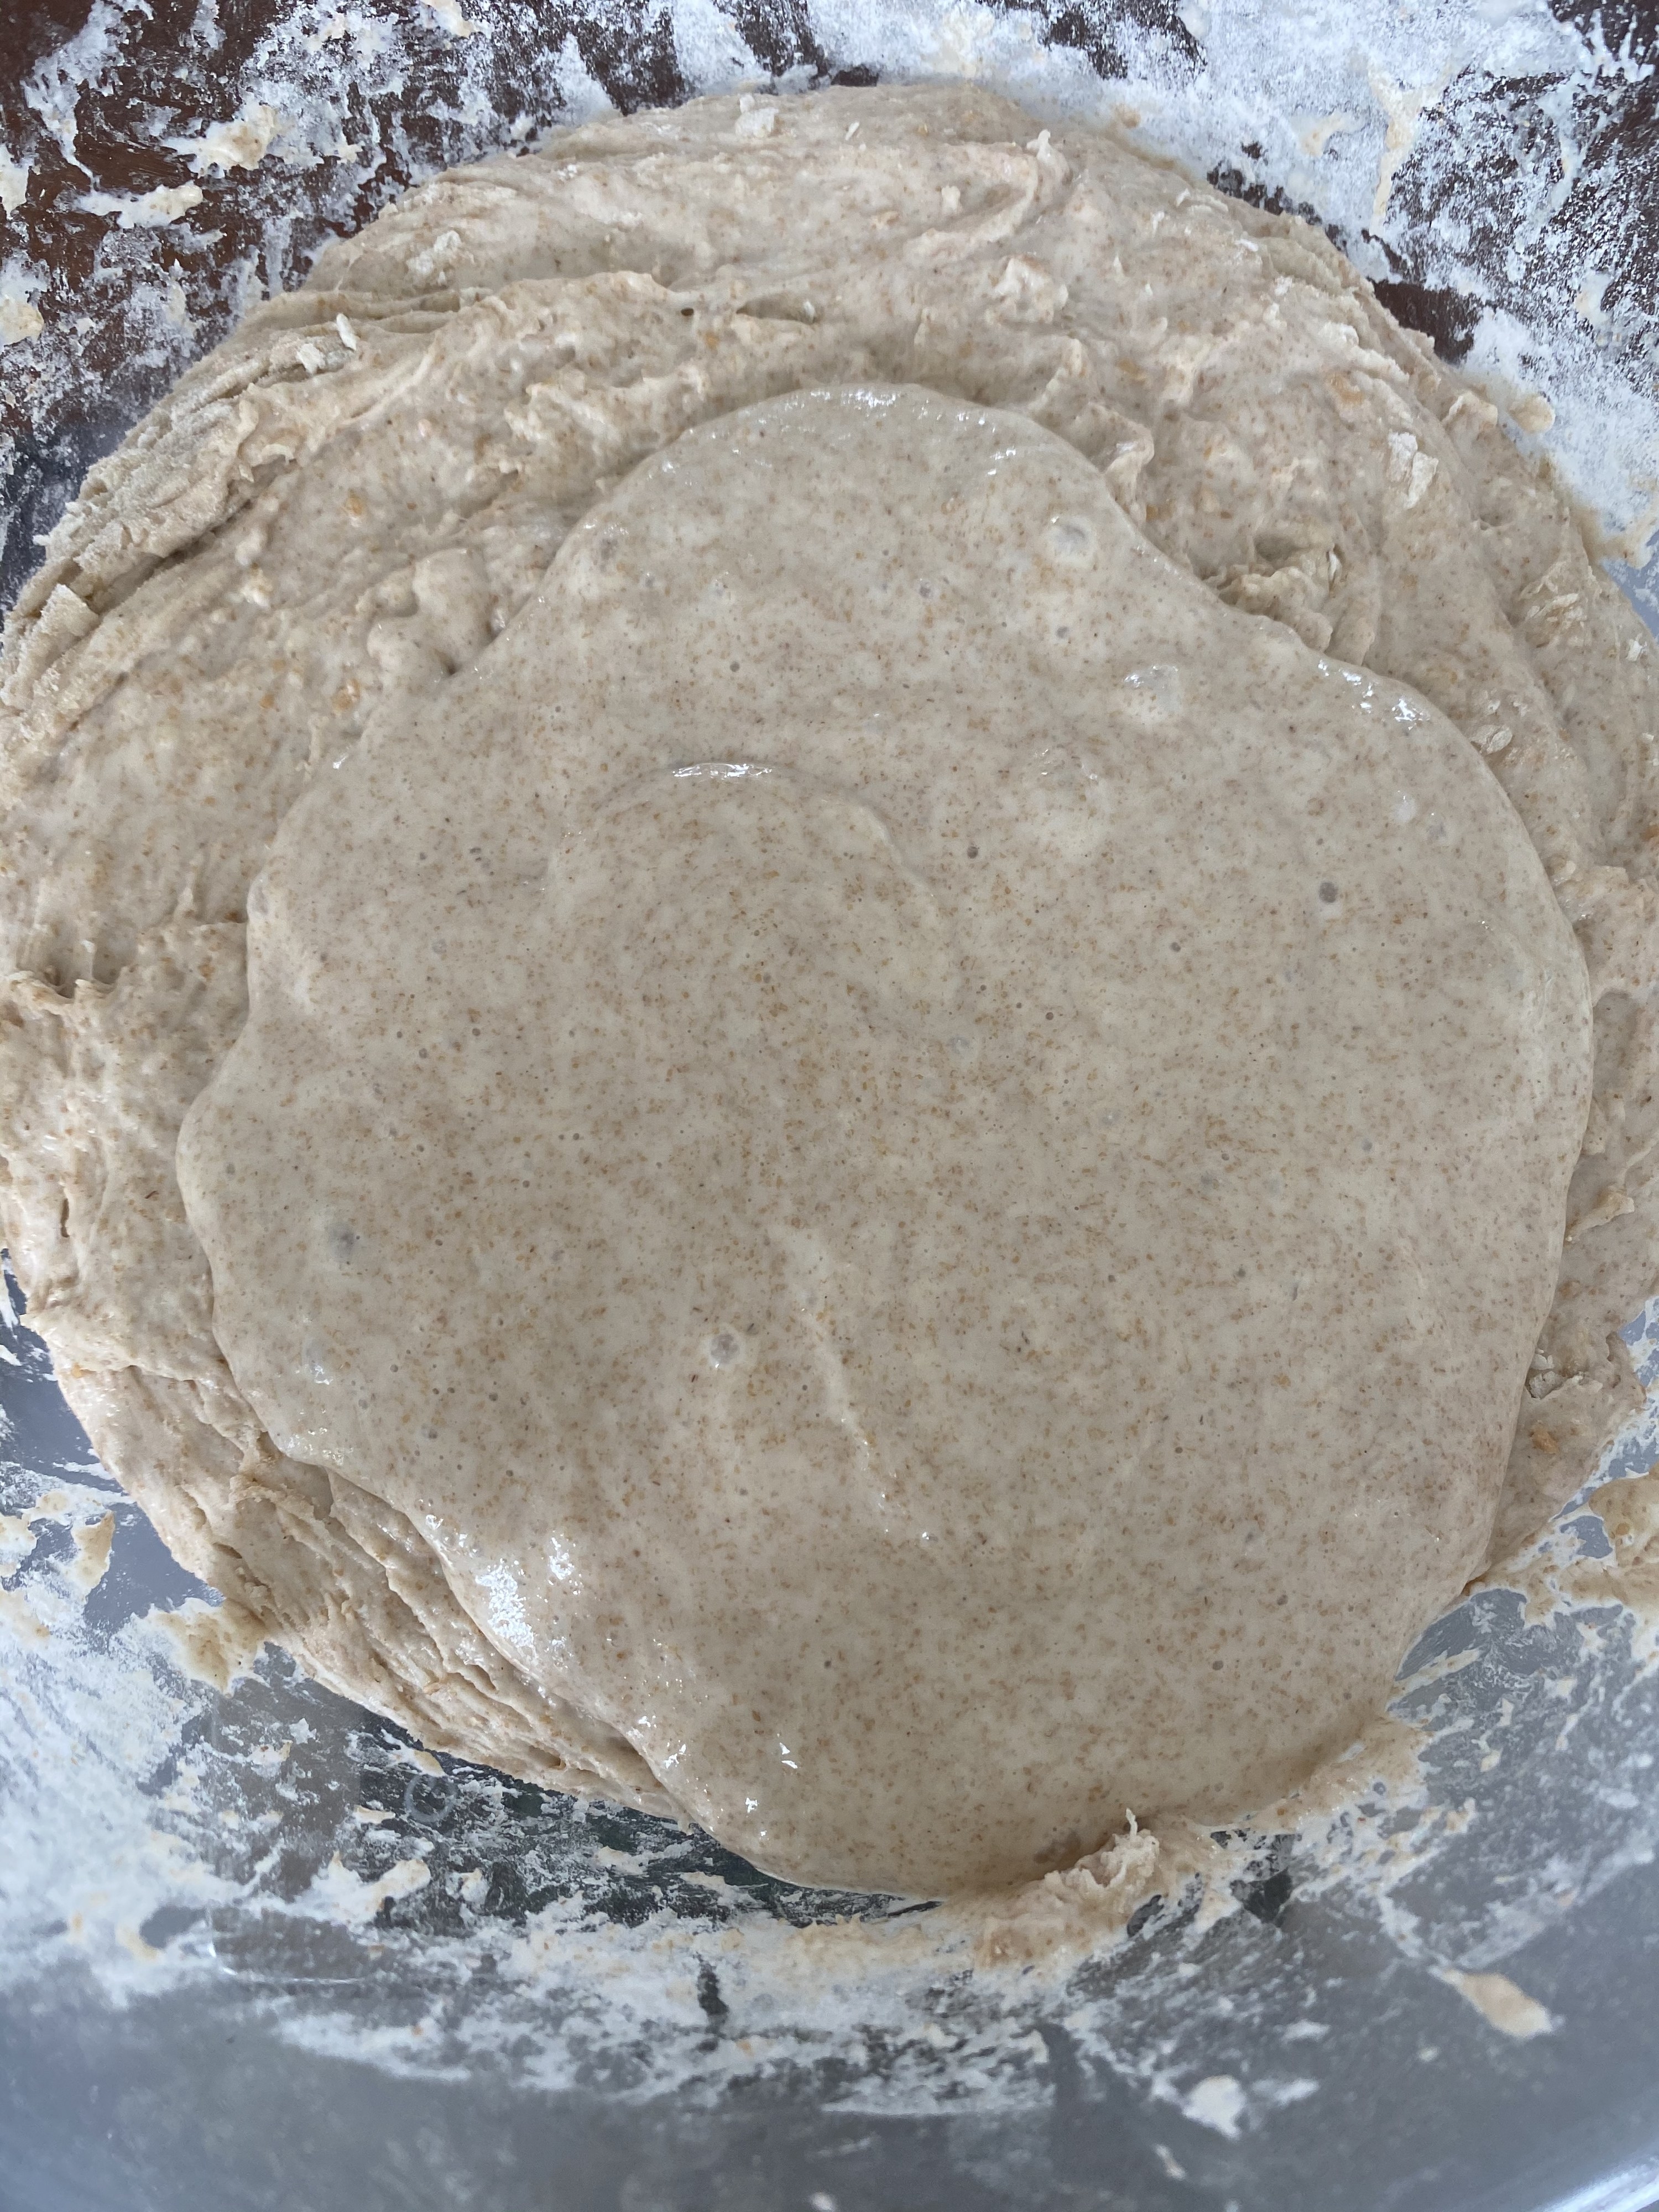
Use your fingers to pinch and rotate the mixture, thoroughly combine the starter and the rest of the flour. Let the dough sit covered for about 30 minutes.
Then sprinkle 20g kosher salt and 20g lukewarm water over the dough. Use your fingers to work the salt and water evenly into the dough. Pull the dough and stretch it upward as much as you can without tearing it. Continue to moving the bowl around in a clockwise motion as you pull and stretch the dough. Do this for about 10 minutes until the dough feels very smooth.
Cover the dough with a dish towel and let it sit for one hour. At this point, the dough is going to begin its first rise (called bulk fermentation). The entire process can take anywhere from 3-7 hours depending on the temperature of your kitchen.
Mark the height of your dough with some tape because you'll know bulk fermentation is over when it has just about doubled in size.
After the dough has rested for one hour, it's time to begin the stretch-and-folds. Wet your hands, reach underneath the dough, grab a portion of it and gently stretch it upwards until you feel resistance. Fold it over so it covers the other side of the dough. Rotate the bowl 90 degrees and perform the same motion, then another 90 degrees, and a final 90 degrees until you've folded the dough four times. That's your first set of stretch-and-folds.
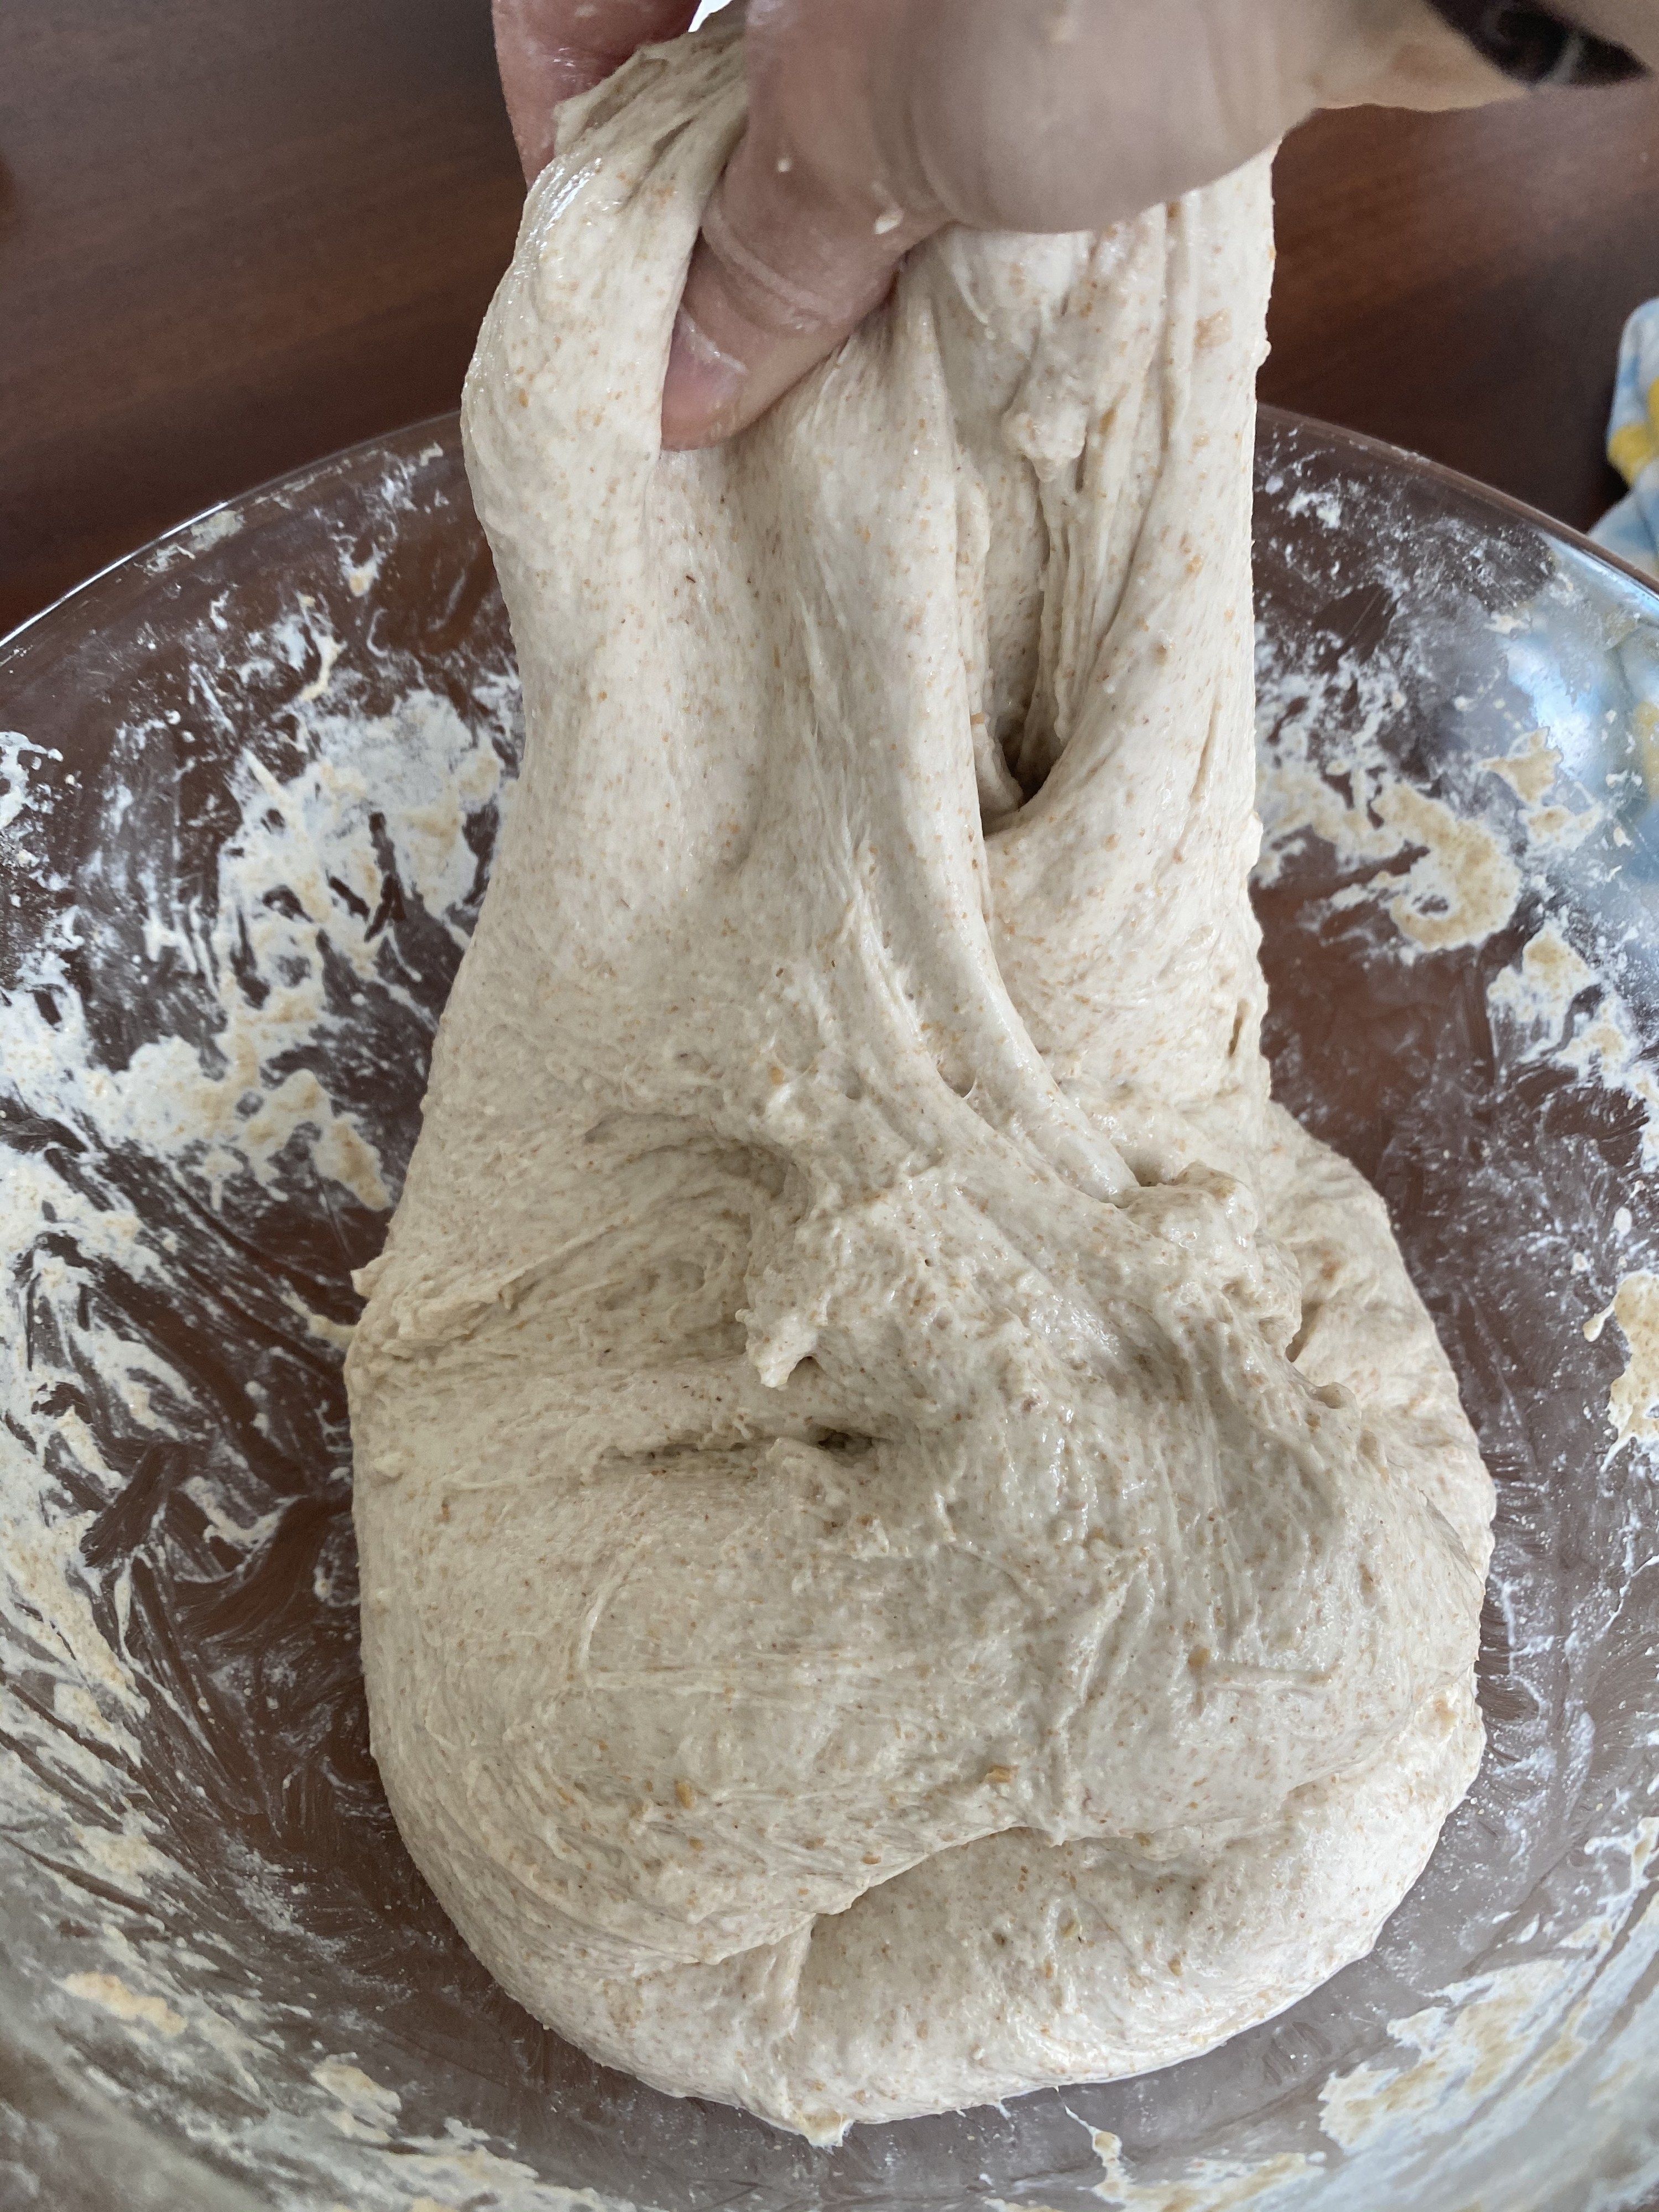
You'll want to repeat that same exact series of stretch-and-folds every 45-60 minutes for the next few hours. Stop the process when your dough looks super smooth and airy with bubbles forming on the surface.
Lightly flour a countertop and gently pour the dough out from the bowl, moving carefully so you don't pop the air pockets. If your recipe yields two loaves, now is the time to slice the dough in half. Then, flour your hands and shape the dough into a tidy ball. You don't want to work the dough any more than is necessary. Cover the ball(s) of dough with a dish towel and let rest for 30 minutes.
Now, you can finally shape your dough. Sprinkle each ball of dough with some flour and with the help of a bench scraper or spatula, flip the balls so the floured side is facing down. Shape the dough into a square.
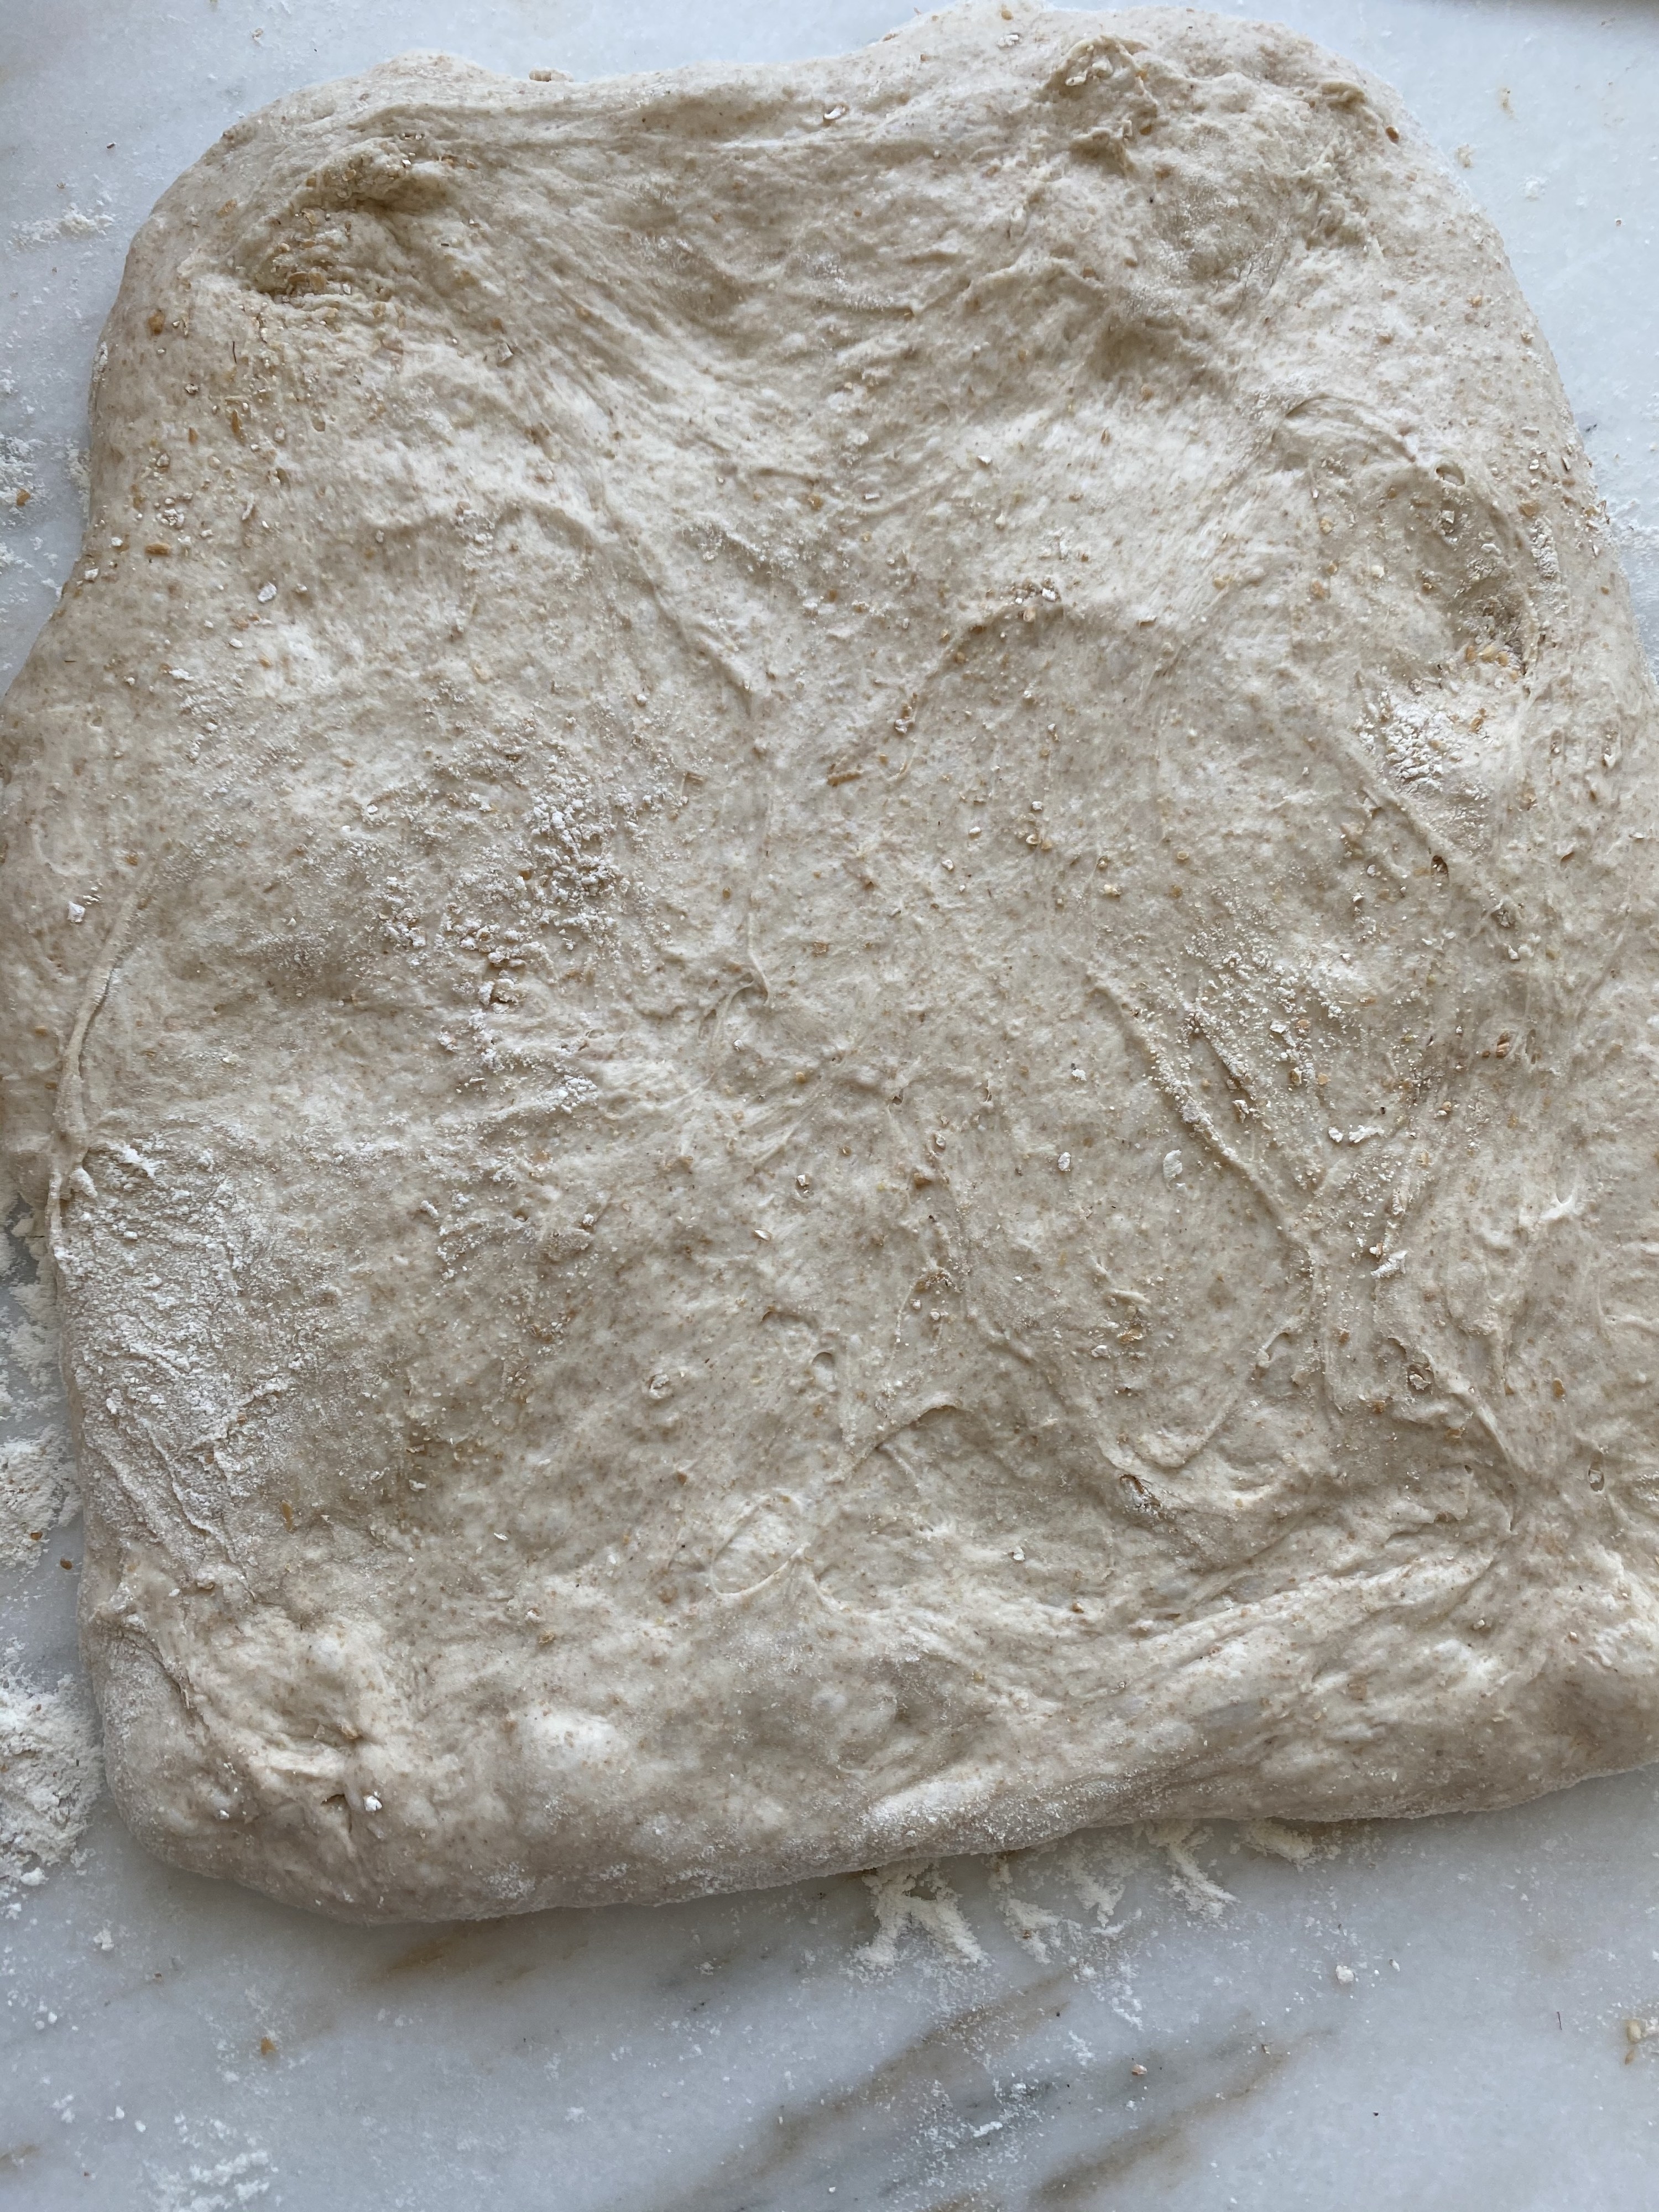
Fold the left side toward the right, then the right side toward the left, then roll the bottom of the dough toward the top making a little spiral packet.
Place each spiral seam-side-down in a dish towel-lined basket, cover with another dish towel, and let rest at room temperature for about 1.5 hours.
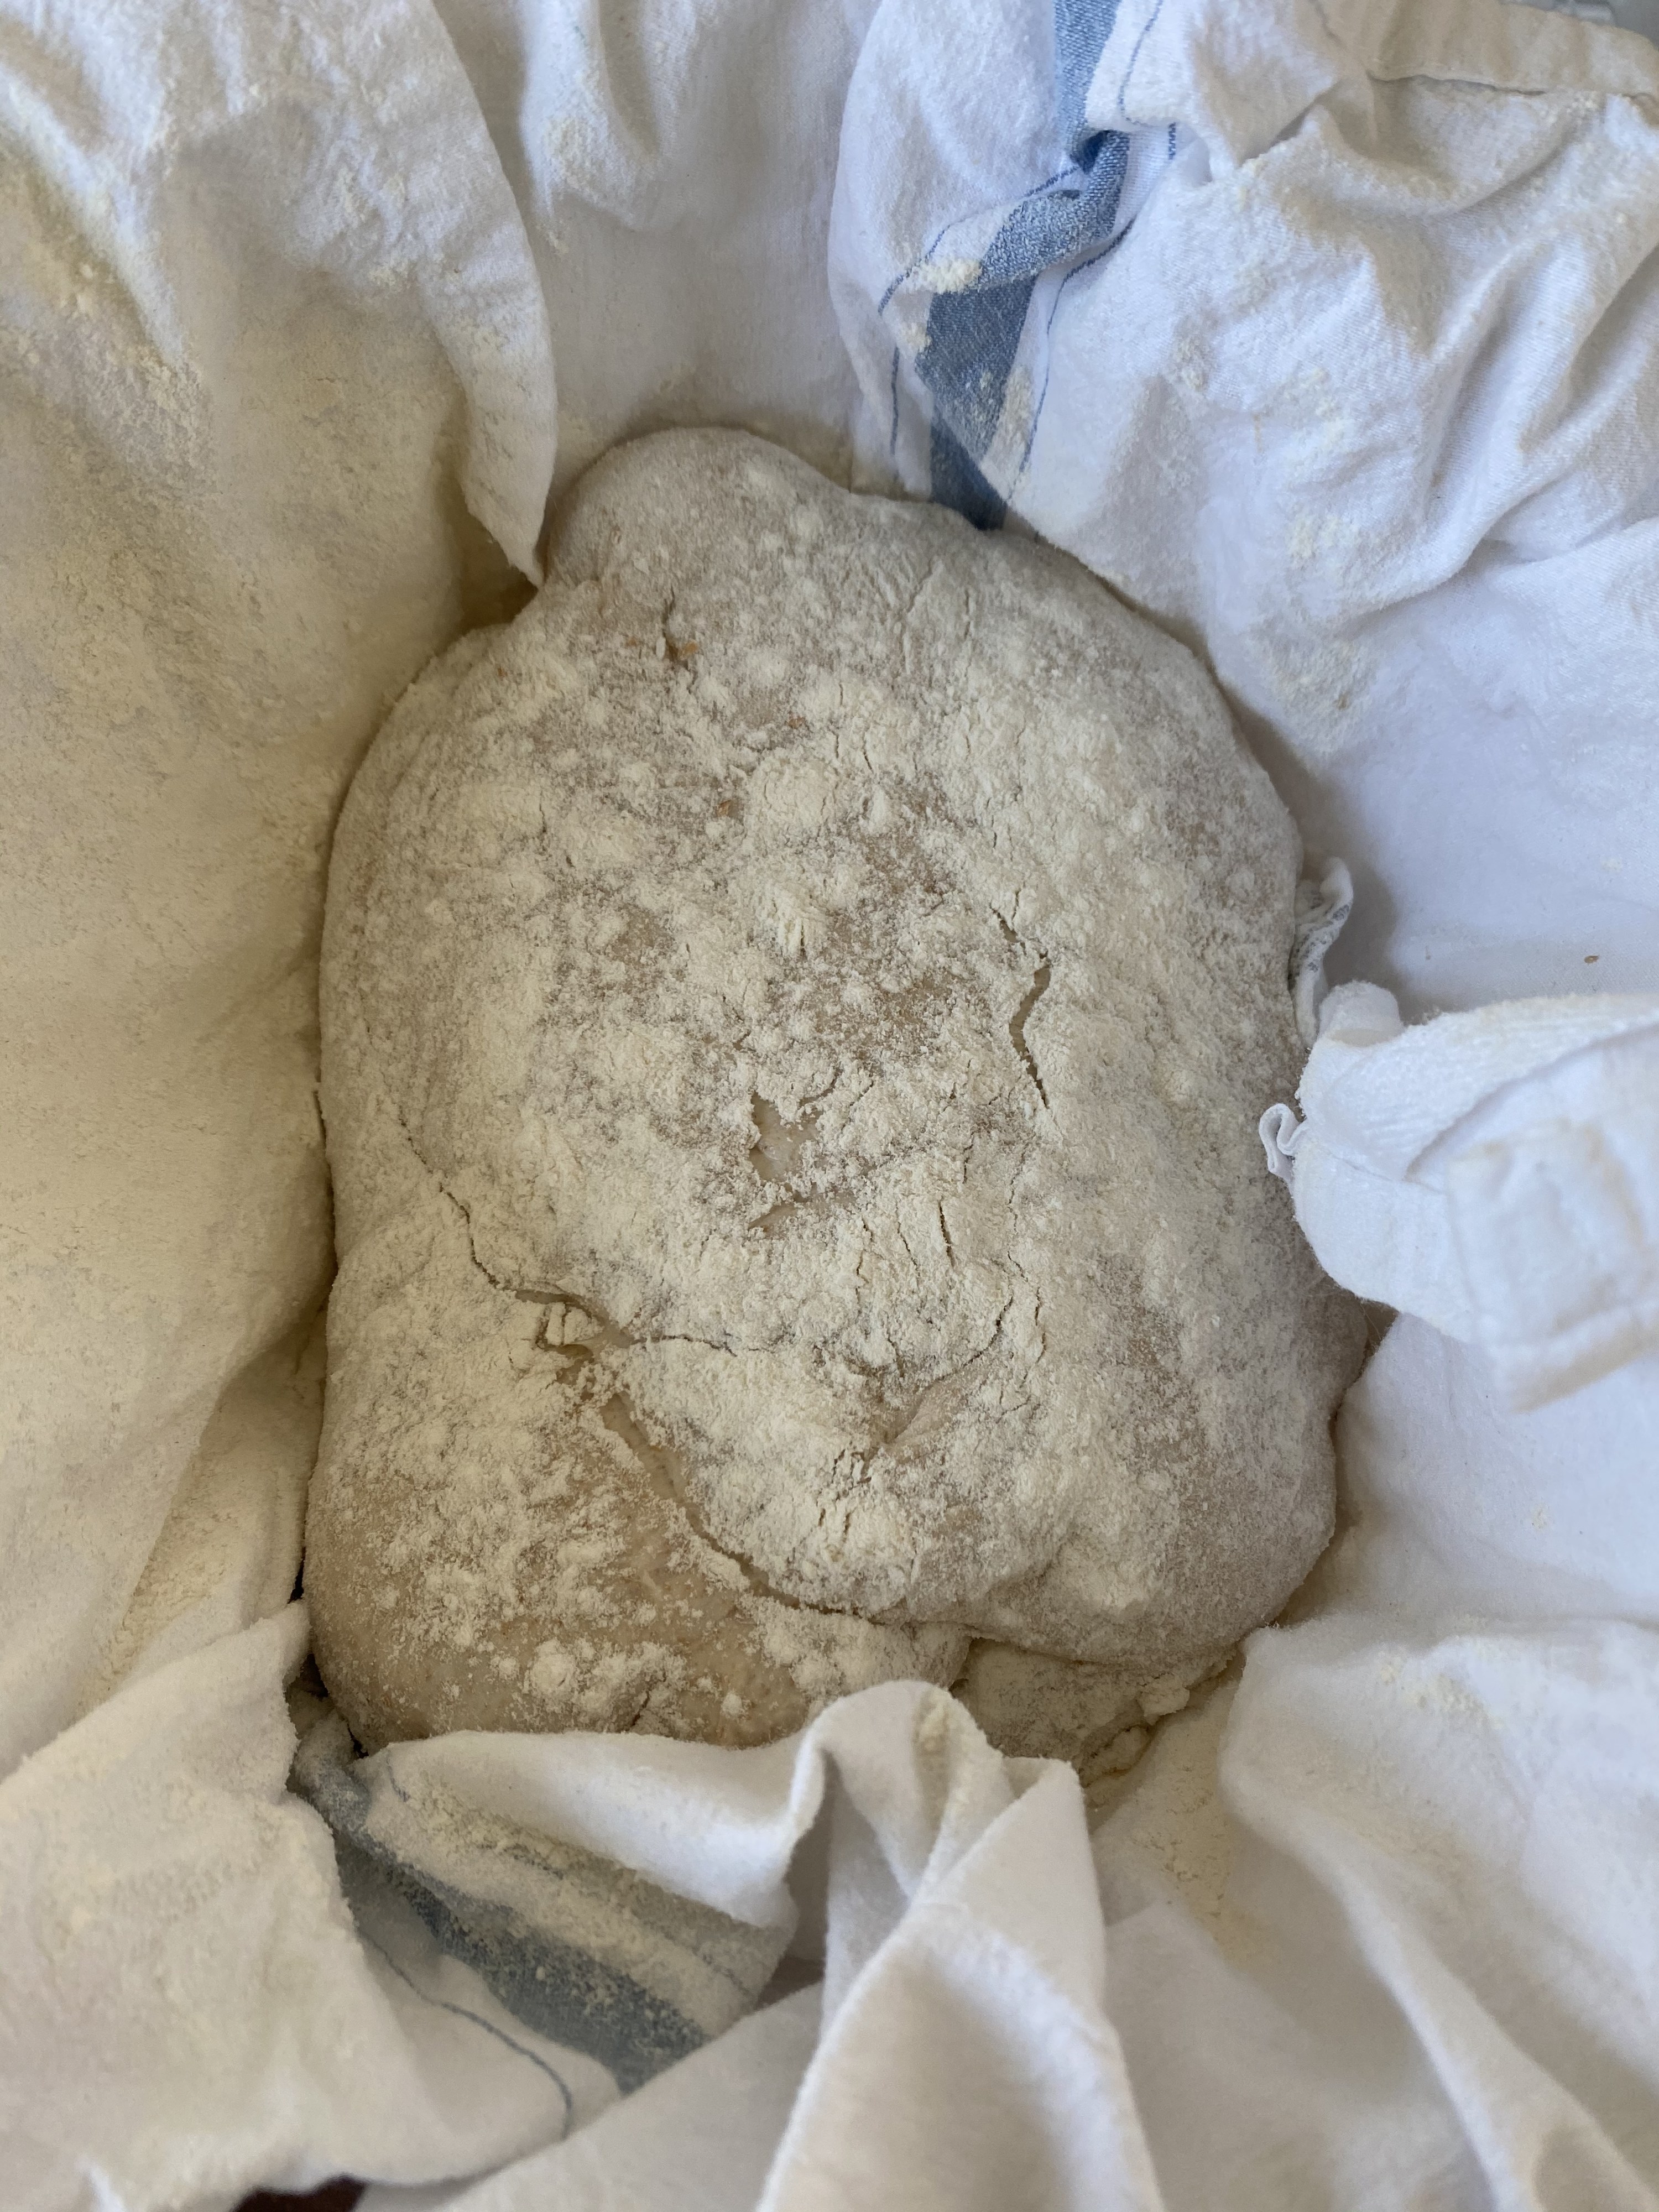
It's now time to proof (aka rest) the dough one final time. Wrap the bowl in plastic wrap, seal it with a clip, and transfer to the fridge where the dough will rest for one or two nights. This is an exercise in patience but it's SO worth the wait. I tried making bread after just a few hours of proofing, but it tasted so much better and tangier after proofing in the fridge for at least 12 hours.
At long last it is finally time to bake. Preheat your oven to 500 degrees Fahrenheit with your baking vessel inside for at least half an hour. Use a Dutch oven, clay pot or casserole dish with a tight fitting lid. While your oven heats up, let the dough sit at room temperature. Lightly dust the top of the dough with flour.
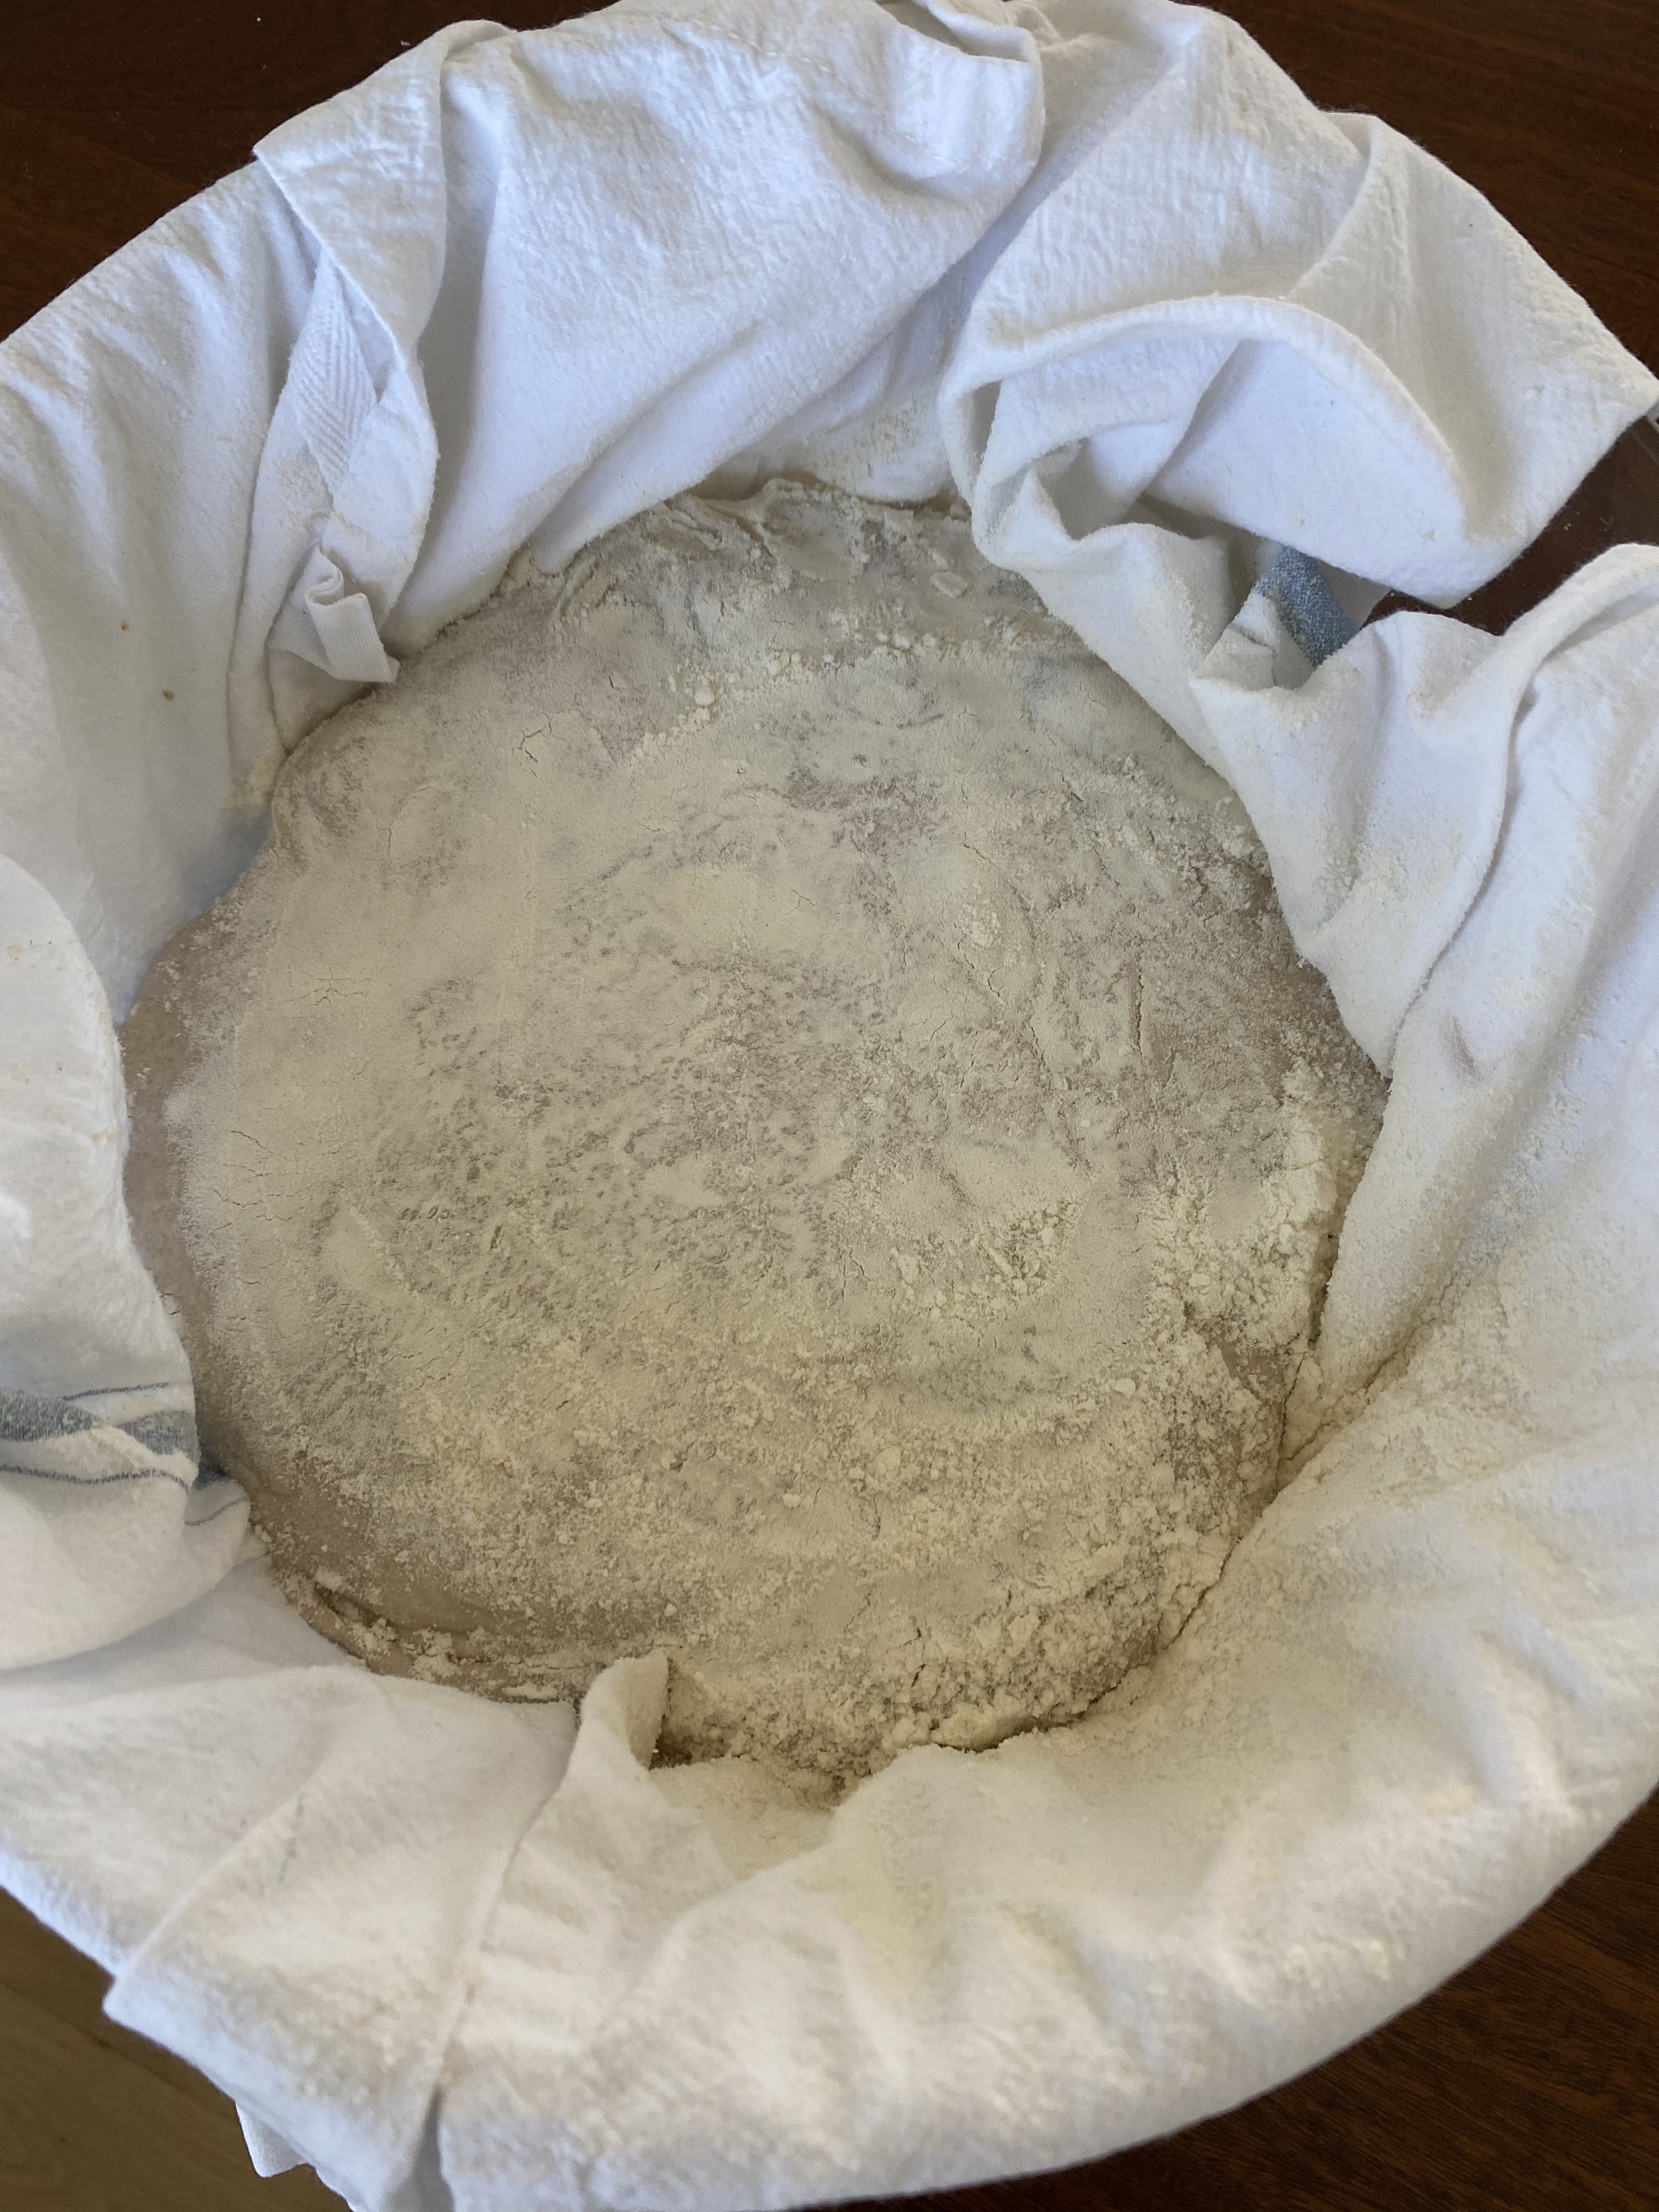
Carefully remove your baking vessel from the oven and ever-so-carefully transfer the dough to the inside of the Dutch oven or pot, peeling the dish towel away. Use a flat razor blade or a serrated knife to slice a slit in the dough. Place the lid back on the pot and bake for 20 minutes, covered at 500 degrees Fahrenheit. Remove from the oven after 20 minutes.
Next, turn the oven down to 450 degrees Fahrenheit. Return the loaf to the oven, this time uncovered, for about 30 minutes or until the exterior is very brown and crispy. Transfer to a baking rack to let the loaf cool completely. This is the hardest part of all, but resist the urge to slice into the loaf until it has cooled for at least an hour.
When the loaf has cooled, it's time to slice and devour. Store the bread in a paper bag or covered in a dish towel to keep it moist and fresh.
This may seem like a lot of information and a lot of steps, but truthfully the hardest part of making sourdough bread is having the patience. About 90% of the work is inactive and the result — crispy, doughy, tangy, airy sourdough bread you baked from scratch — is well worth the wait.
