Hi, we're Anjali and Christina, and we built a lamp from scratch.

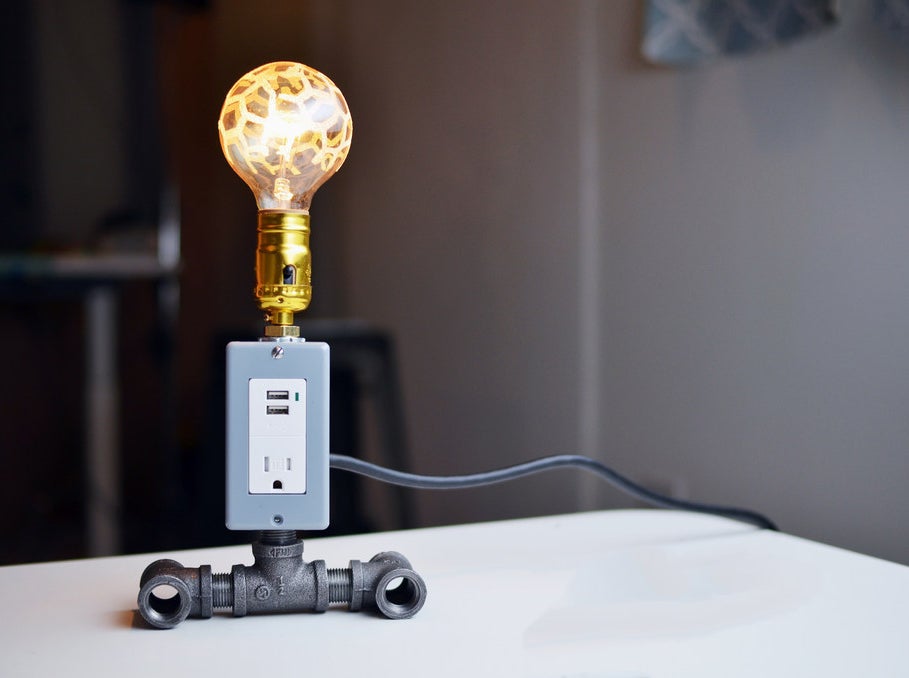
This is what you'll be building (with the option to decorate):

If you want a more ~visual~ explanation, first check out this video of how to build the lamp.

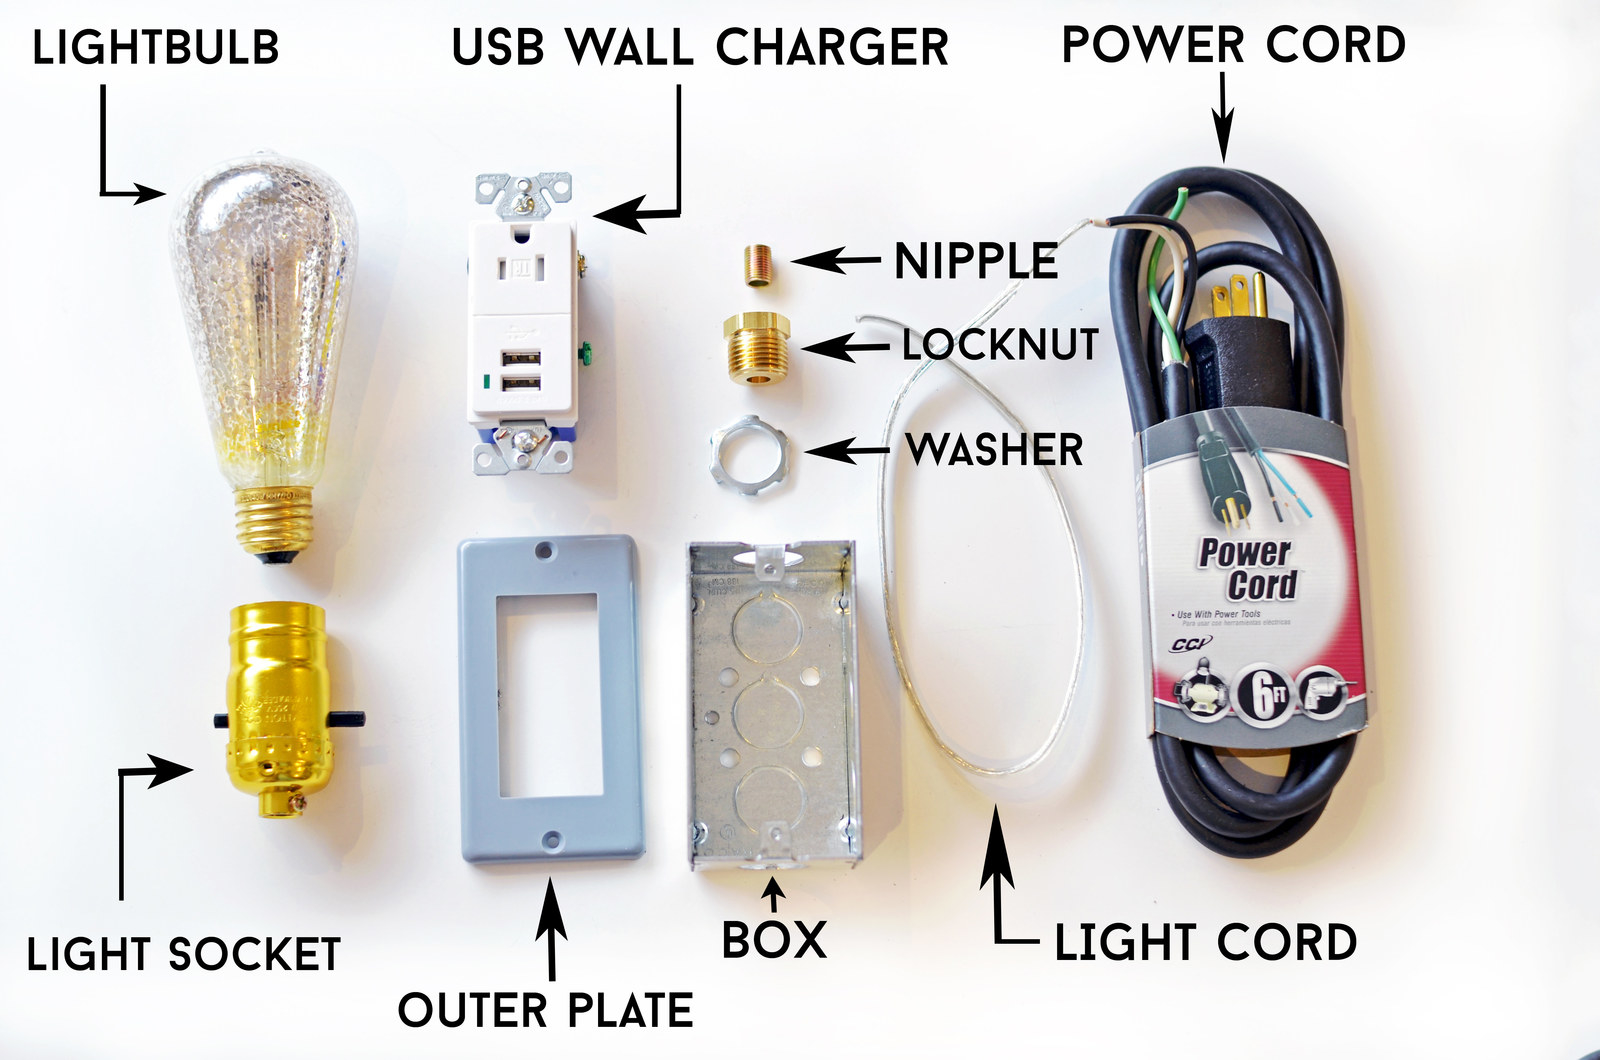
1. Gather your materials.

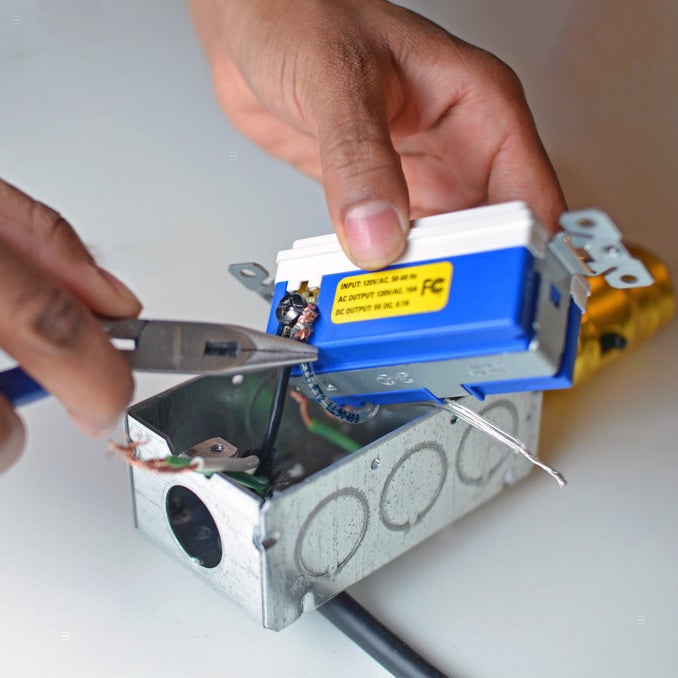
2. Prep by cutting and stripping the wires.
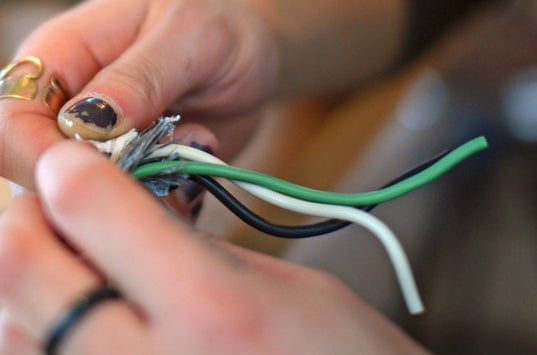
Cut off the black insulation (outer covering) from the power cord so you have least 6-8 inches of the green, white, and black wire exposed. These are the wires you're going to use for the inside of the lamp. Cut off three inches from the green wire to save for later (you're going to use this to ground the box), then strip the insulation from the ends of each of these wires.
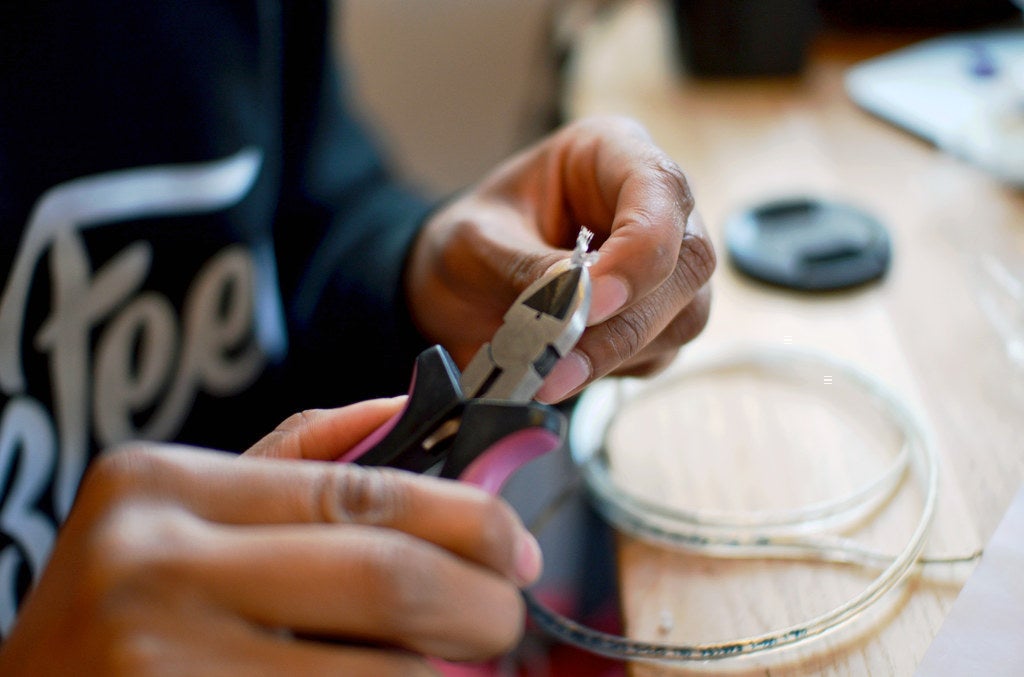
Split the lamp cord in two on each end, and then strip these wires as well. You can strip the wires using a wire stripper, wire cutter, or even a pocket knife. For each wire, strip off about 1/2-3/4 inch of plastic insulation.
3. Assemble the lamp socket.

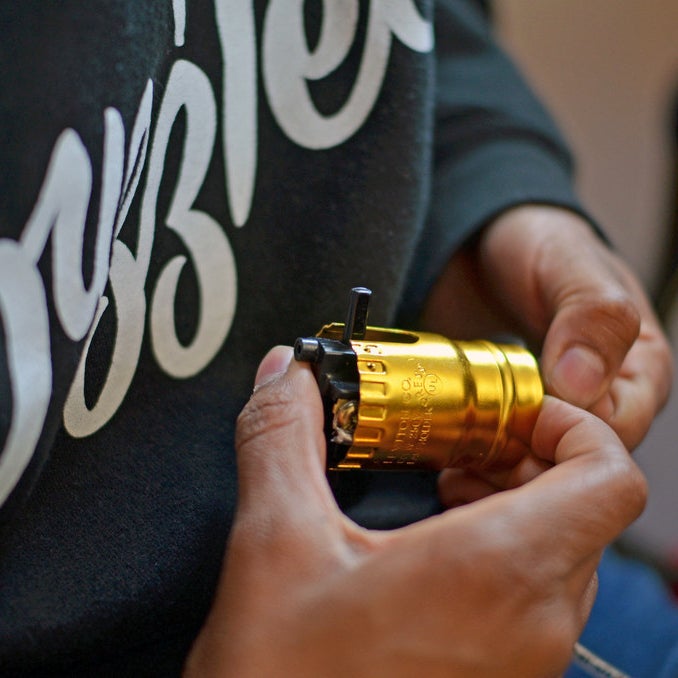
Determine which lamp cord is the neutral cord and which lamp cord is the hot cord. You can do this by running your hands along the sides of the cords — the neutral cord will feel more ribbed and square-like, whereas the hot cord will be rounder.
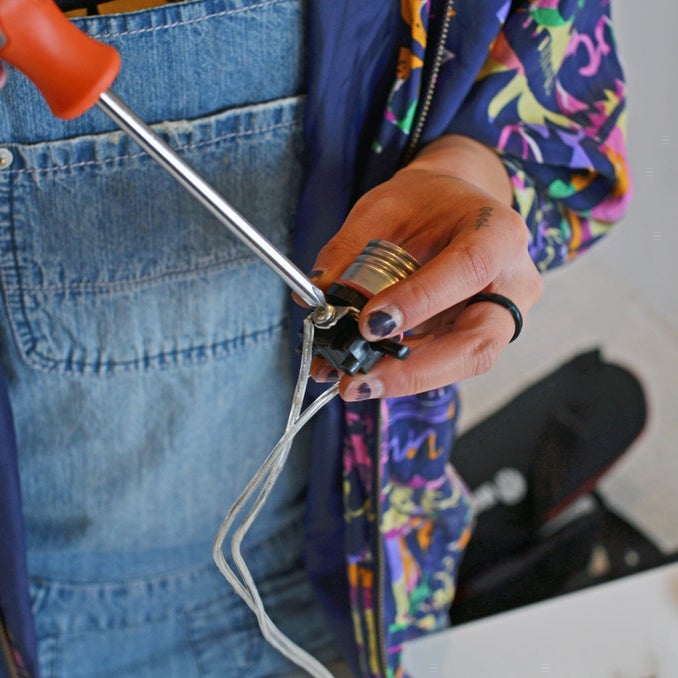
Connect the neutral cord to the neutral screw on the lamp socket (usually silver) and connect the hot cord to the hot screw (usually gold). You don't need to know the technicalities of each cord: just go by the different colors because most outlets will label which screw is hot and which screw is neutral. You can connect the wires to the screw by loosening the screws, wrapping the wires around the screw, and then tightening the screws.
For some lamp sockets, you'll have to pop off the outer metal casing like in the photo above. Take apart the lamp socket, attach the wires to the screws, reassemble everything and voila! Your lamp socket is wired.
3b. Assemble the lamp legs (optional).
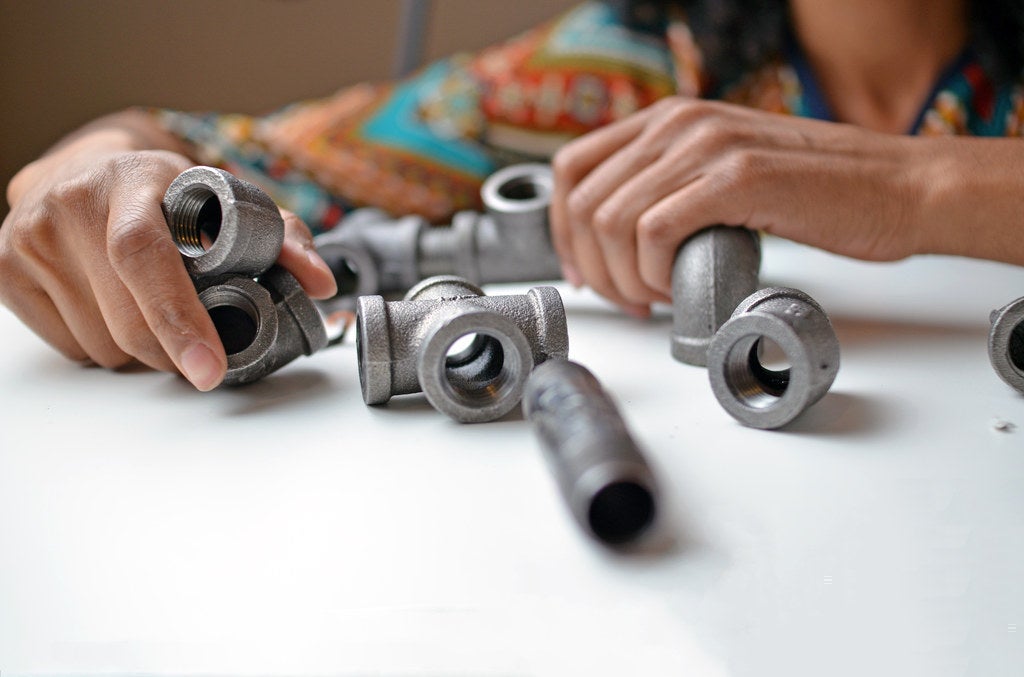
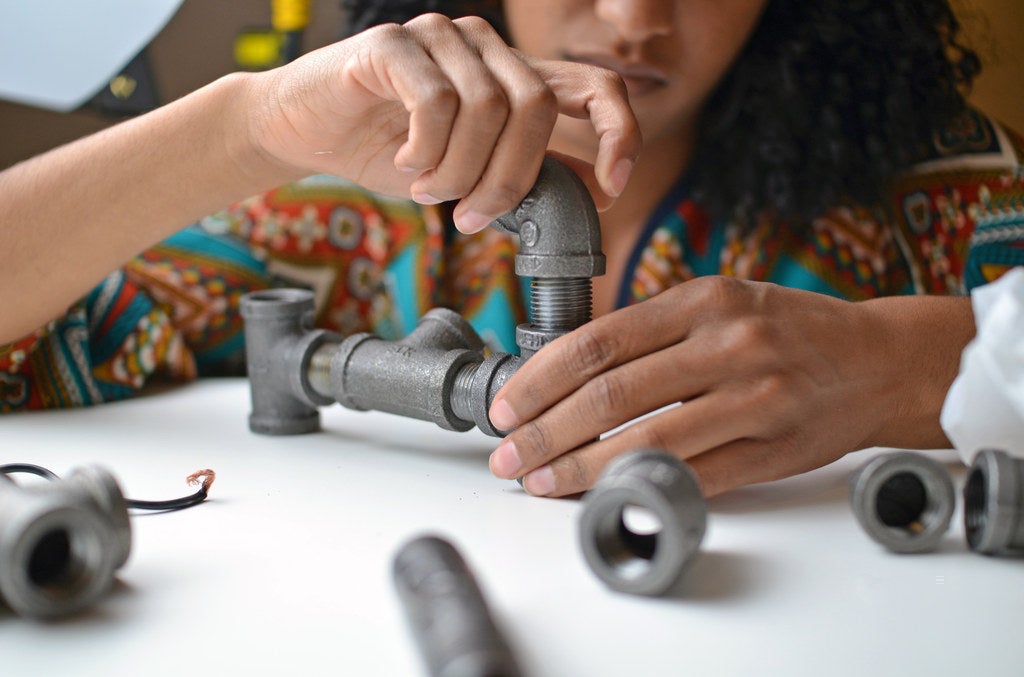
If you're going to use lamp legs, you'll want to assemble them before you attach them to the box. This is where your ~creativity~ can kick in. Legs may make the lamp more stable but they aren't necessary. We provided an example of how you can assemble your pipe lamp legs above and below, but you can do this any way you like.
Some other materials you could use for legs include floor plates, wood, and anything else you think would be a good fit.
4. Punch out two holes: one at the top for the lamp socket and one in the back for the electrical cord. If you plan on adding legs, punch out a hole in the bottom as well.
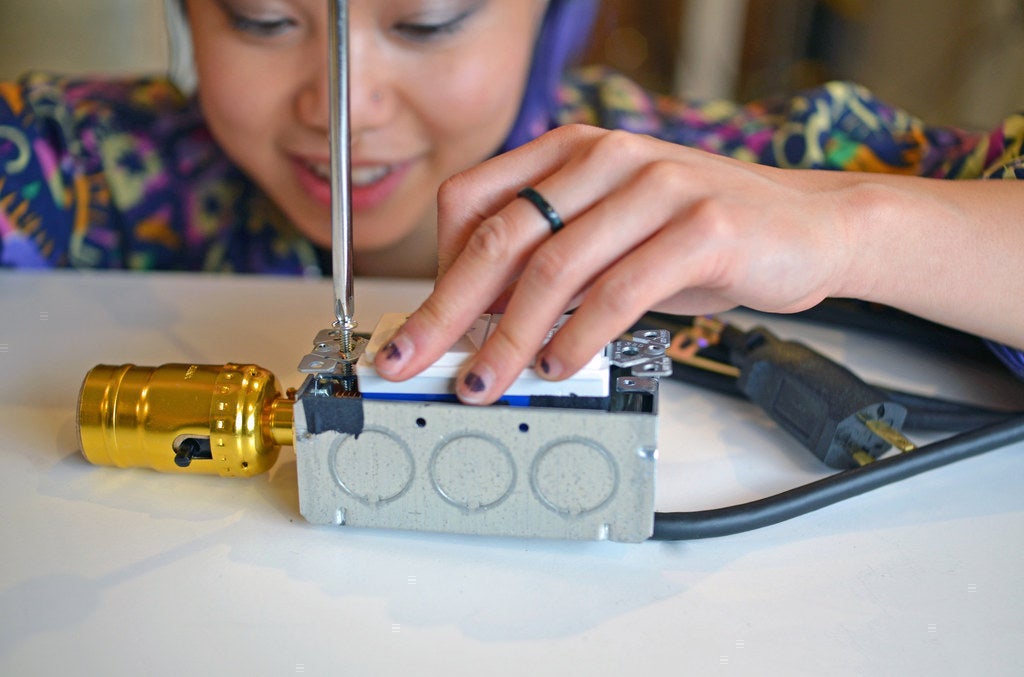
5. Attach the lamp socket and legs.

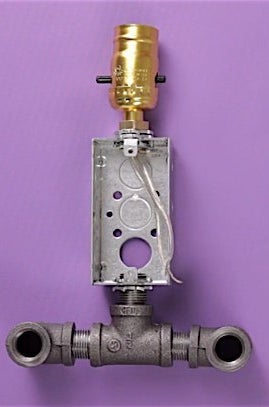
To attach the lamp socket to the top of the junction box, you'll need a 1/2 in. washer with tooth locks, a 1/4 in. nipple, and a 1/2 in. bushing (also called snap connector).
Screw one end of the nipple into the lamp socket, and the other end of the nipple into the snap connector. Screw the snap connector into the top hole, and use the washers to keep the snap connector in place.
Connect the legs to the box by screwing a 1/2 in. nipple into the bottom hole and sealing it in with a washer.
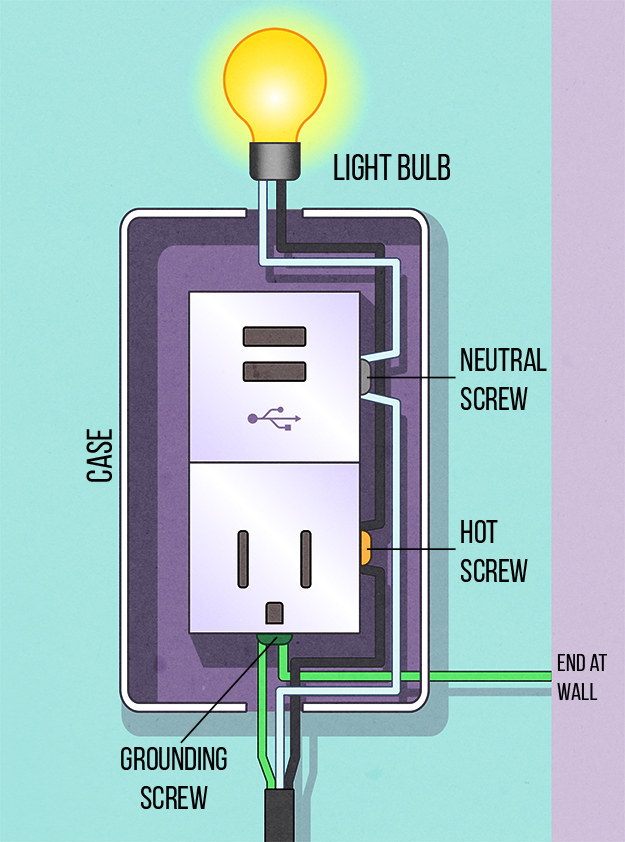
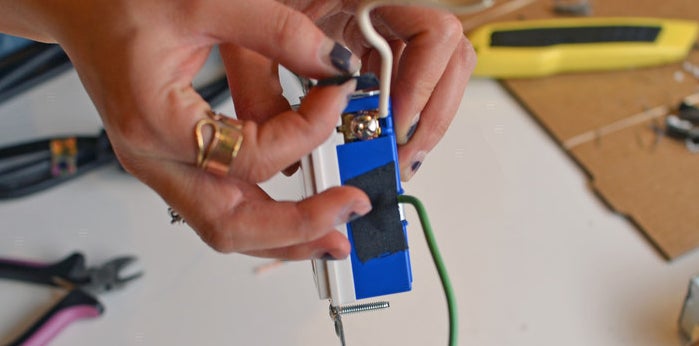
6. Wire the USB outlet. MAKE SURE NOTHING IS PLUGGED IN.
7. Cover the screws and wires with electrical tape so nothing is exposed.
8. Fit the outlet into the junction box and remember to attach a green grounding wire to the wall of the box.

This is VERY important! You want to ground the box so you don't get shocked.
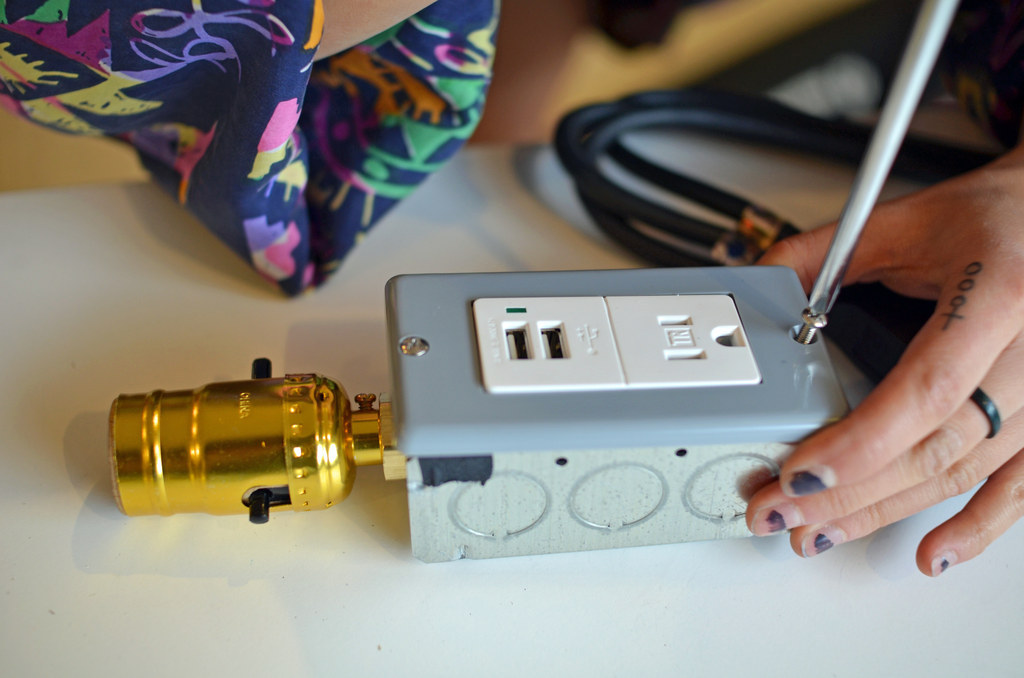
9. Screw the outlet into the box, as well as the cover plate.

10. Finally, screw in the light bulb, plug it in, and YOU'RE DONE! YOU'VE JUST MADE A FULLY FUNCTIONAL LAMP!

BONUS ROUND: Decoration!
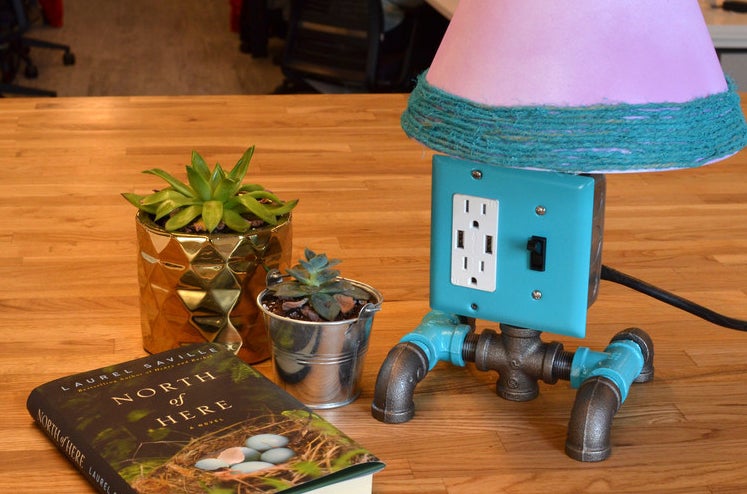

Maybe you want something chic for your desk, or something rustic for your nightstand. Either way, there are so many ways you can personalize your new lamps. We found a spectacular lightbulb here, a lampshade that we later painted here, and an industrial cage here. We also spray painted two of the lamps to match their ~personality.~ If you want to spray paint, we recommend Rust-Oleum, since it dries fairly quickly and stays on well. Or, just leave it as is because it's already going to impress all your friends.
So: would we do this again?

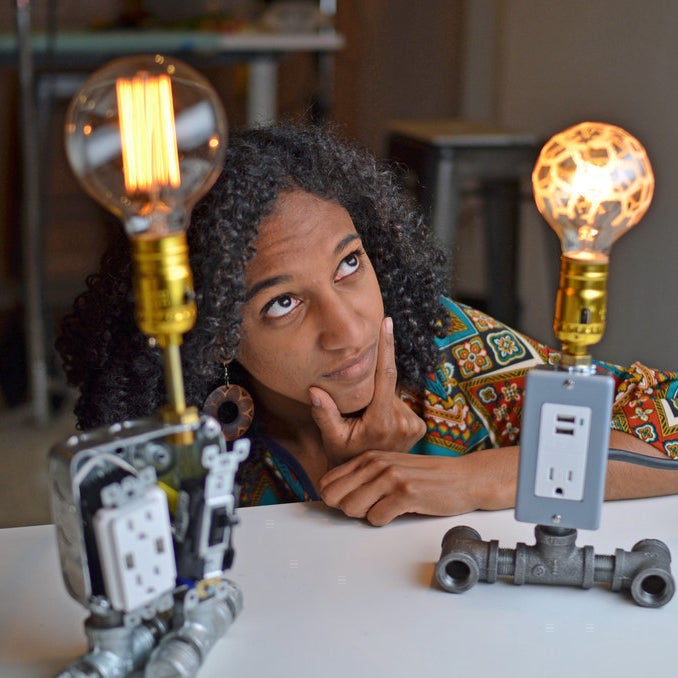
ABSOLUTELY! And the even better news is, you can make one, too.
Through this project, we learned that with patience and the power of the internet, we could teach ourselves to do nearly anything (even wire a phone-charging lamp). This project got us out of our desks, helped us flex some rusty brain muscles, and gave us some pretty cool bragging points. Not only that, but we made something useful that wasn't readily accessible to us.
Our biggest takeaway from all of this? There's never a good reason to shy away from building and creating. If want something, make it. If you don't know how, you can always learn. Nearly every puzzle has a solution, and if you work at it long enough you'll have something you can use, and better yet something you'll be proud of.
Goodnight y'all. Until next time.