

1. Glowing Eyes Watching Your Every Move

You'll need:
• Paper towel rolls
• Precision knife
• Packing or masking tape
• Glowsticks
• Fishing line (optional, if you want to hang the finished product)
Instructions:
1. Cut paper towel rolls into small sections (or use toilet paper rolls).
2. Carefully use a precision knife to cut out various eye designs, like these.
3. Cover one end of each tube with packing or masking tape.
4. Crack glowsticks to get them glowing, then place one inside each tube.
5. Secure tubes by covering the other end with tape.
6. Place the eyes somewhere dark where people are sure to see them — and be seen by them!
See the inspiration here.
2. Skin-Crawling Spider Wreath


You’ll need:
• Natural or grapevine-style wreath
• Spider web material
• Fake spiders (the more realistic the better)
Instructions:
1. Take a handful of spider web material and place it on the wreath where you see fit — wherever needed to look realistic.
2. Add fake spiders all over.
3. Hang on your front door and get ready to creep yourself out!
See the inspiration here.
3. Severed Hand Vase


You’ll need:
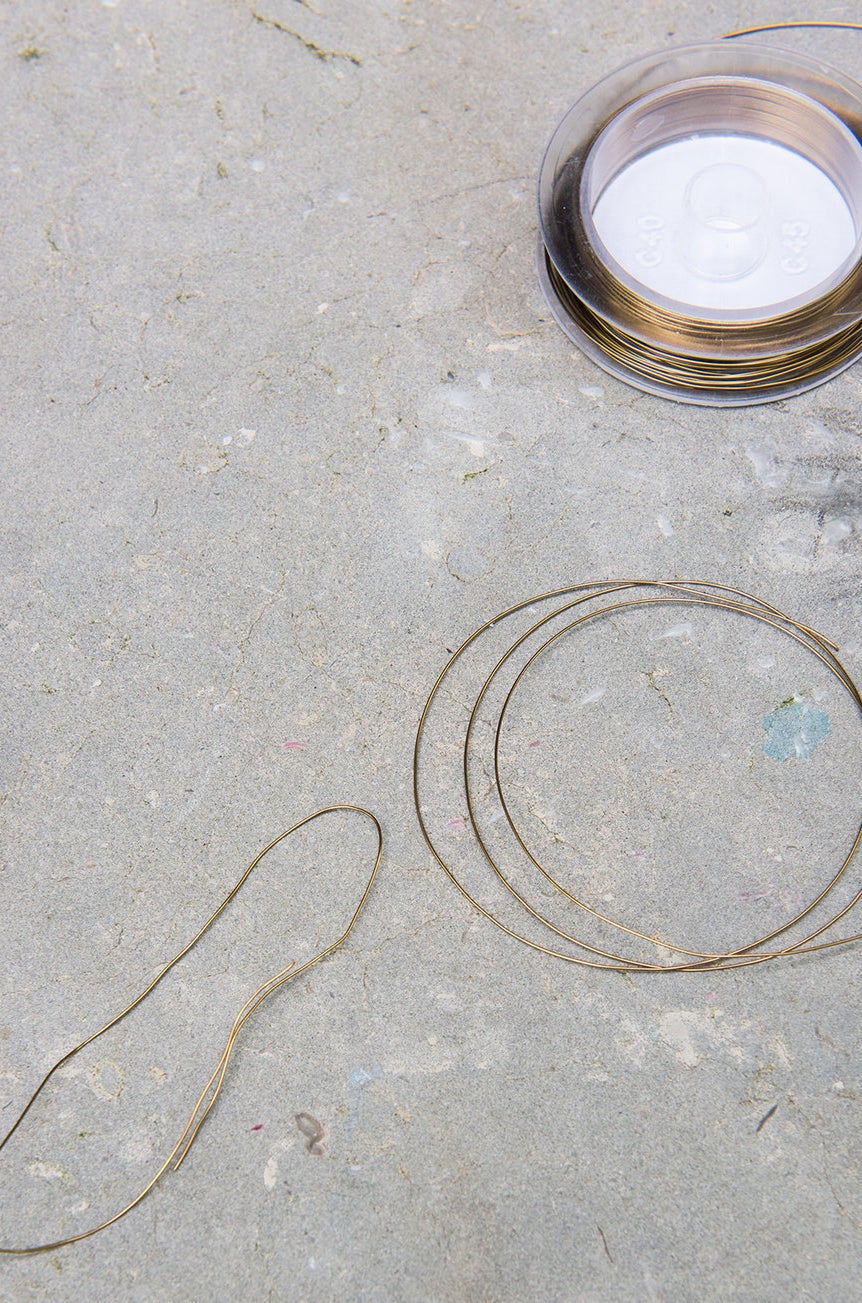
• Bendable craft wire
• Strong scissors or wire cutters
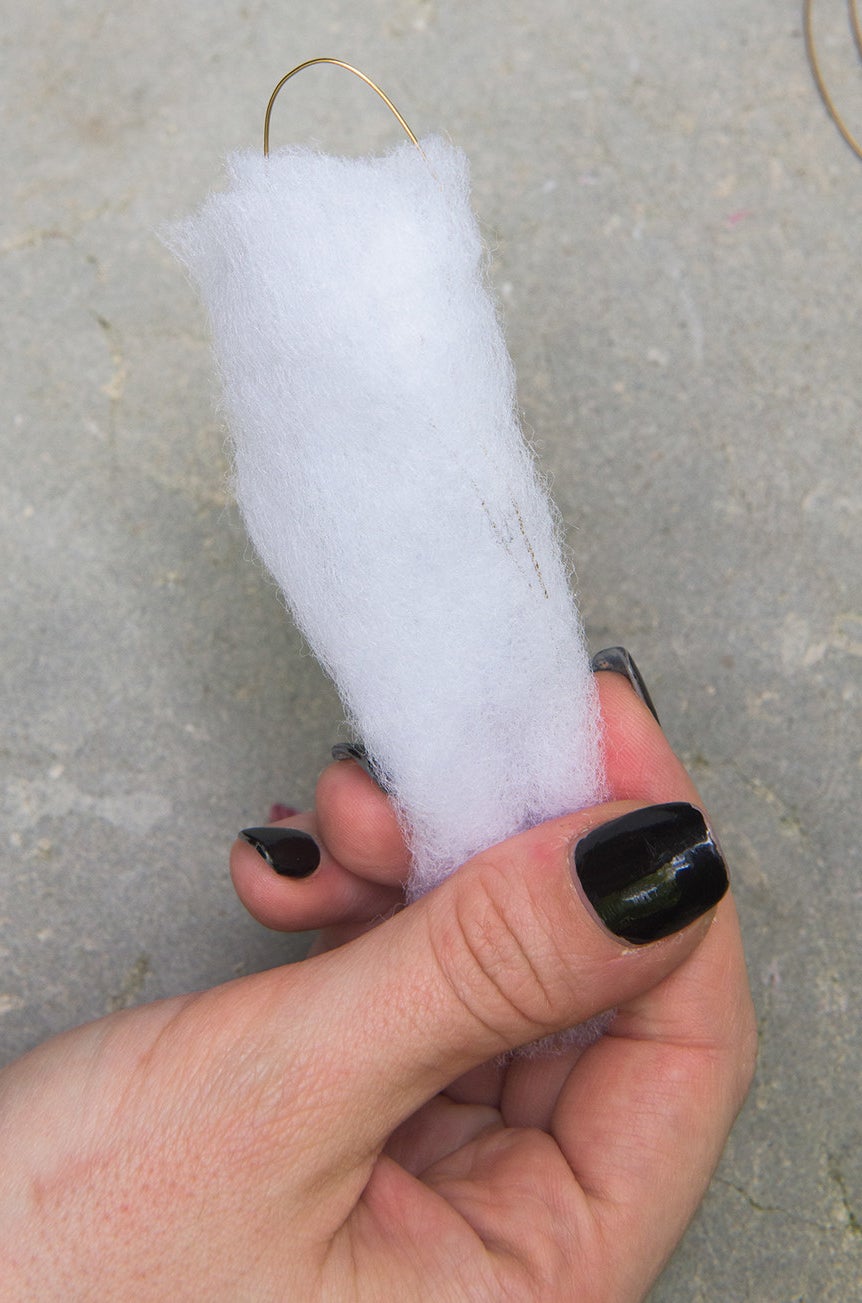
• Polyester batting
• Disposable latex glove
• Stick-on acrylic nails
• Red permanent marker
• A narrow vase
• Flowers
Instructions:
1. Cut a piece of wire for each finger of the glove, making sure wire is longer than the fingers so they will be able to bend.
2. Cut batting into pieces and wrap around the wire, folding the batting over each wire's end to create a cushion.
3. Insert the batting-wrapped wires into each finger of the glove carefully so the glove is not punctured.
4. When the fingers are filled, add some batting to the palm of the glove.
5. Adhere acrylic nails to the end of each finger.
6. Mark the wrist of the glove with the red marker so it looks like blood.
7. Wrap the wired glove fingers around the vase.
8. Put black and blood-red flowers in the vase to up the creepiness level!
See the inspiration here.
4. Gone Batty Lampshade

You’ll need:
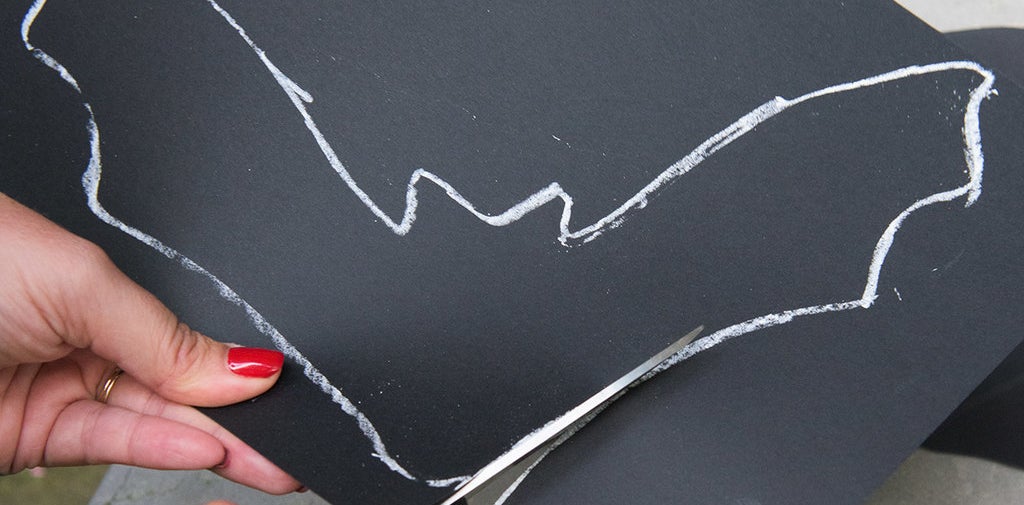
• Bat stencil
• Black construction paper
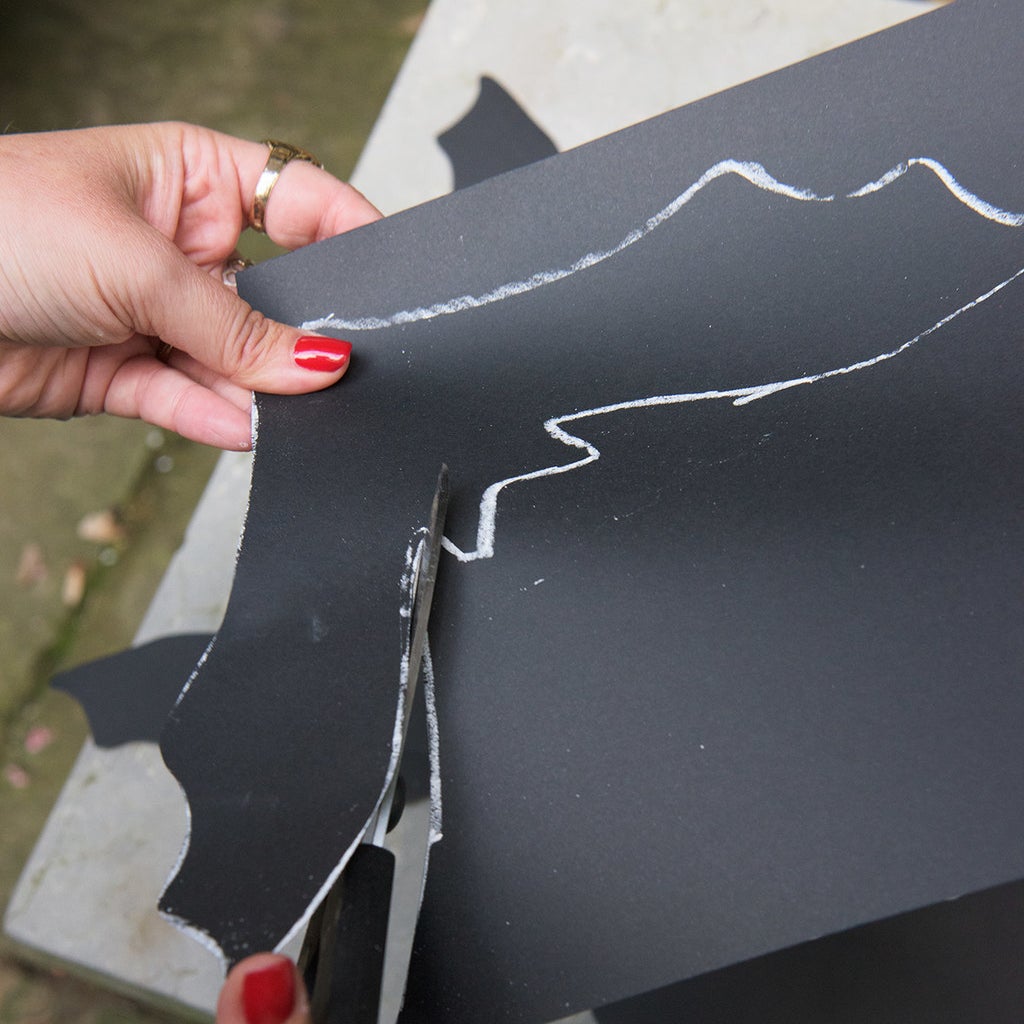
• Scissors
• Clear tape
• A table lamp with fabric lampshade
Instructions:
1. Using a stencil if needed, cut bat images out from black construction paper.
2. Use loops of tape to adhere bats to the inside of the lamp.
3. Turn on the lamp to see the batty silhouettes! On Halloween night, place it near the window to spook trick-or-treaters.
See the inspiration here.
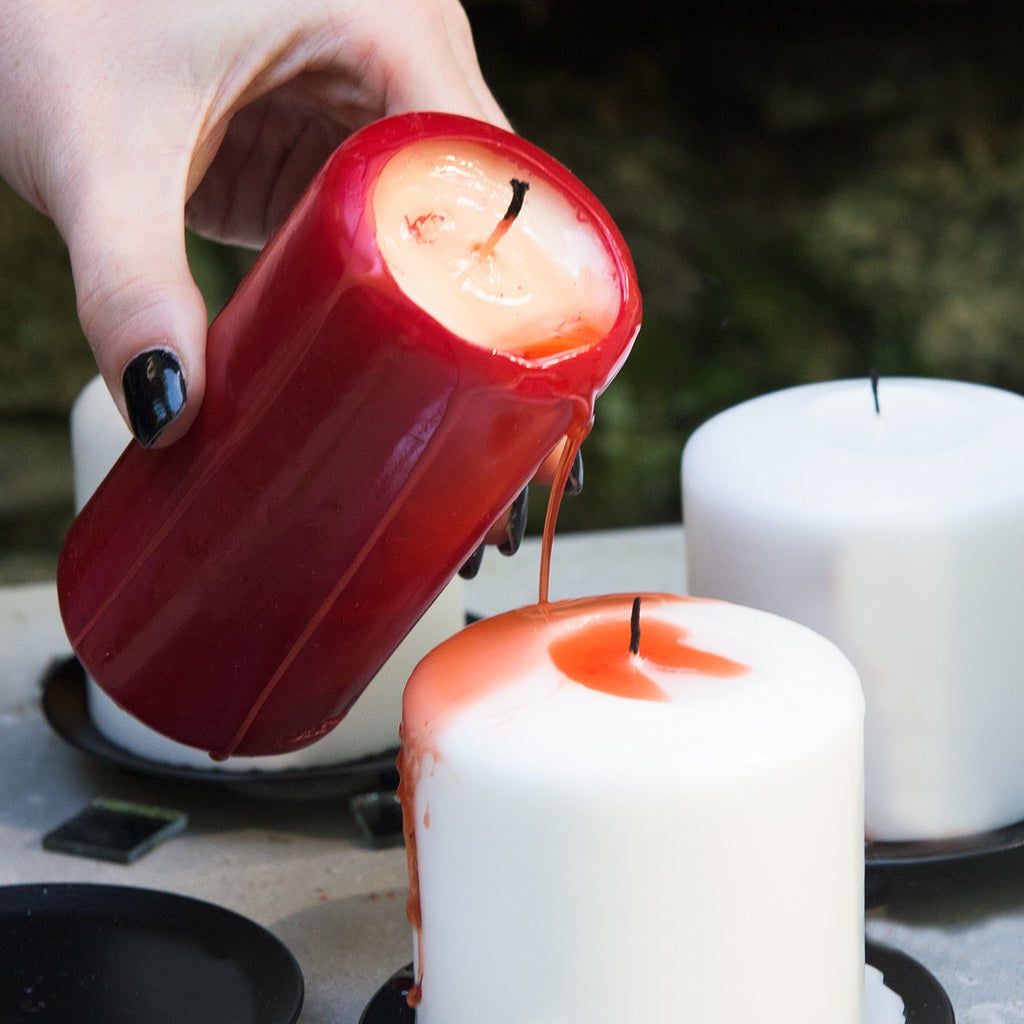
5. Bloody Candles


You’ll need:
• A deep red candle (any shape will work)
• Matches or a lighter
• White pillar candles
• Dish candle holders
• Small mosaic mirror tiles (optional)
Instructions:
1. Light the red candle.
2. Place white pillar candles on dishes.
3. When a pool of red wax has collected, blow out the candle and let red wax drip onto the white candles so the wax runs down the side of the white candle.
4. Continue melting red wax onto the white candle rim so it runs down the sides in different lengths.
5. If you have them, scatter mirrored tiles around the candles to create lots of little reflections.
6. Use these candles instead of normal votives for spooky Halloween lighting!
See the inspiration here.
6. Floating Ghosts to Haunt Your Home
You’ll need:
• Wig head
• Dress form (used for sewing projects)
• Plastic wrap
• Clear packing tape
• Clear gift-wrapping tape
• Scissors and/or precision knife
• Large clear trash bags
• Foam paintbrush
• Glow-in-the-dark paint
• Fishing line for hanging
• Mirror (optional)
Instructions:
1. Don’t be intimidated by these instructions. It looks like a lot, but it’s worth it. :)
2. Start by wrapping the wig head fully in a layer of plastic wrap.
3. Wrap a piece of packing tape around the neck and another around the forehead just above eyebrows.
4. Apply a third piece of tape vertically — first at the forehead, then up and over the back of the head and down the neck — to connect the 2 horizontal pieces.
5. Use gift-wrapping tape where needed to keep the plastic wrap taut on detailed areas of the face, like the eyes, nose, and mouth.
6. Cover the head and neck with 2 to 3 layers of clear packing tape, using both vertical and horizontal applications for structure and avoiding the detailed areas with gift-wrapping tape.
7. Once you’ve created a stiff structure, cut a line from the top of the head down to the back of the neck. Remove and set aside.
8. Similar to how you wrapped the head, cover the shoulders and torso of your dress form tautly with plastic wrap.
9. Create structure by applying packing tape around the waist, neck, and shoulders. Then use more tape to connect these structural pieces, almost like a vest or harness.
10. Wrap the dress form with packing tape until it's covered in at least 4 layers.
11. Again, when the structure is stiff, cut a line from the top of the neck down to the waist. Remove the structure from the body form.
12. Insert the head structure into the neck of the body structure. Connect with tape.
13. Create a loop of tape and secure it to your ghost’s head.
14. Add tape layers along all seams to secure.
15. Make clothing for your ghost by cutting the bottoms off of several clear trash bags and taping these to the waist.
16. For extra spook, use the foam brush to apply glow-in-the-dark paint to the edges of your ghost’s clothing.
17. Use fishing line to hang your ghost somewhere in or outside your home.
18. If inside, try propping a mirror up nearby to catch the reflection of your ghost, and don’t say we didn’t warn you!
See the inspiration here.
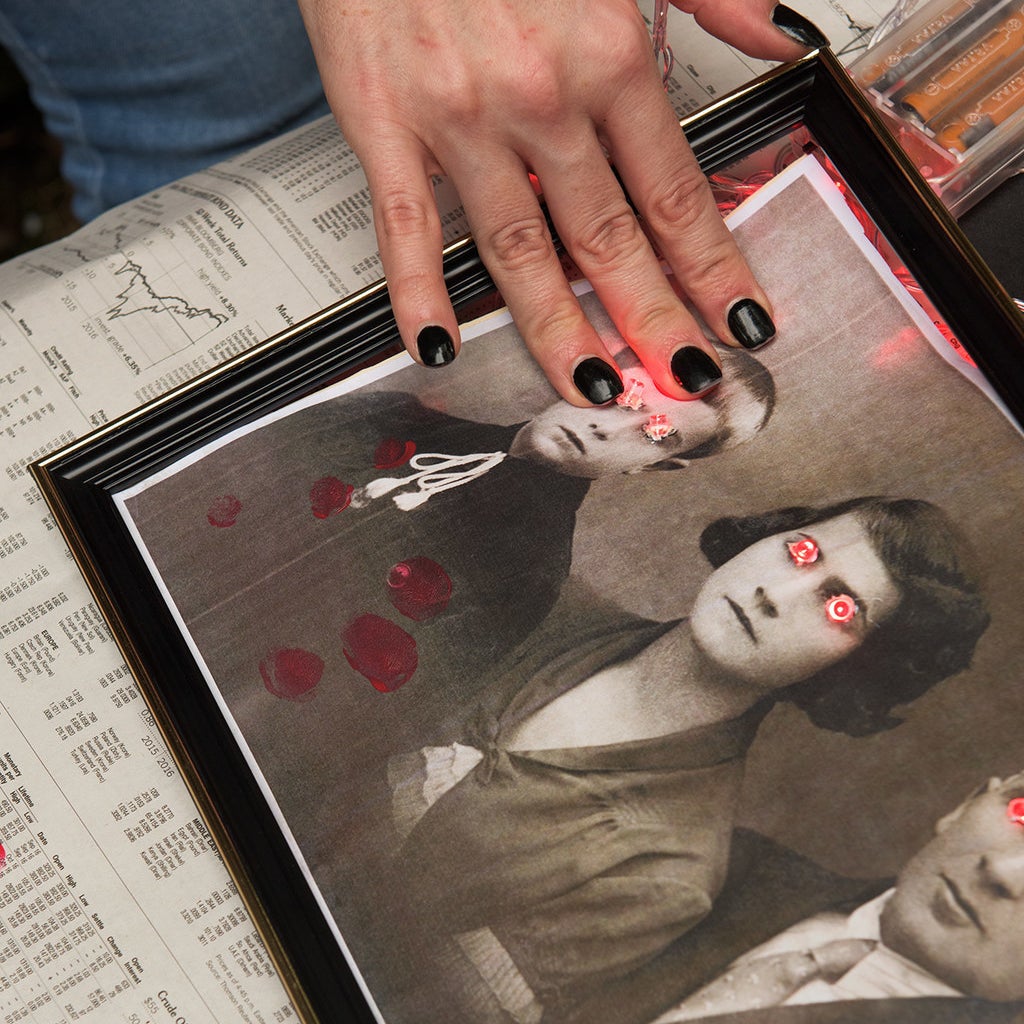
7. Peeping Portraits


You’ll need:
• Paper
• Printer
• Rubber cement
• Manila folder or card stock
• Scissors
• Black craft paint
• Water
• Foam paint brush
• Precision knife
• Picture frame
• Mini red LED lights
• Packing tape
• Red finger paint
Instructions:
1. Print out an old sepia-tone or black-and-white portrait.
2. Glue the picture to a manila folder (or card stock) and cut the folder to fit.
3. Mix a little bit of black craft paint with water and lightly paint your printed picture with the mixture. This will give the image an “aged” appearance. Let dry.
4. Use a precision knife to cut out the eyes in the portrait.
5. Remove the glass from the picture frame. Replace it with the portrait.
6. Insert mini red LED lights through the cut-out holes and secure with tape.
7. Tape the back of the frame to secure the portrait and lights within the frame.
8. Apply a thin layer of red finger paint to one of your hands and pick up (and set back down) the pictures and frames, leaving behind “bloody” fingerprints.
9. Plug in the lights and watch those eyes glow!
See the inspiration here.
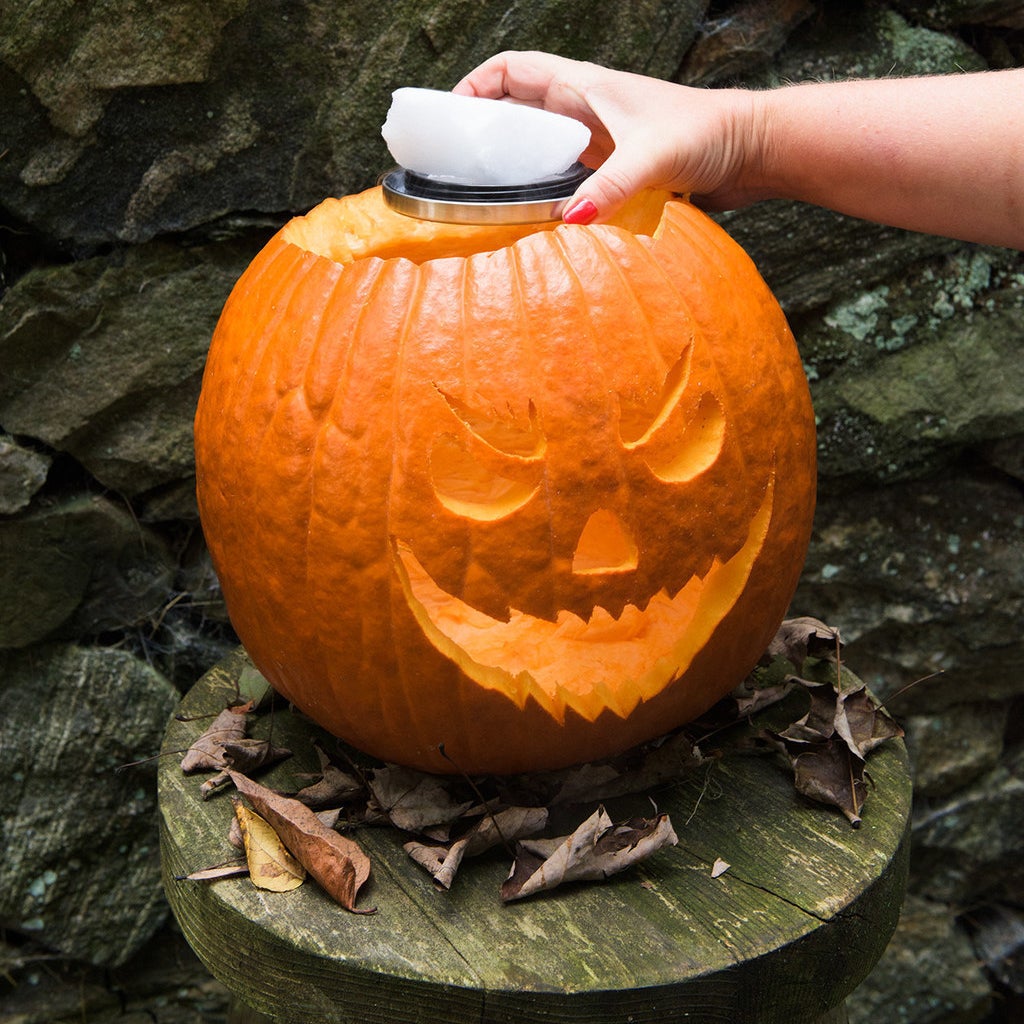
8. Jack-o’-Lanterns Up in Smoke

You’ll need:
• Medium-size pumpkin(s)
• Pumpkin carving tools
• Black permanent marker
• Rubber gloves
• Small metal or plastic container
• Dry ice (enough to fill container)
• Hot water
Instructions:
1. Use carving tools to remove the top of the pumpkin as well as the filling and seeds from the inside.
2. Trace and cut out your preferred jack-o’-lantern design on the front of the pumpkin.
3. Fill a small metal container with dry ice and place inside the pumpkin. (Don't forget to wear rubber gloves if and when handling dry ice directly.)
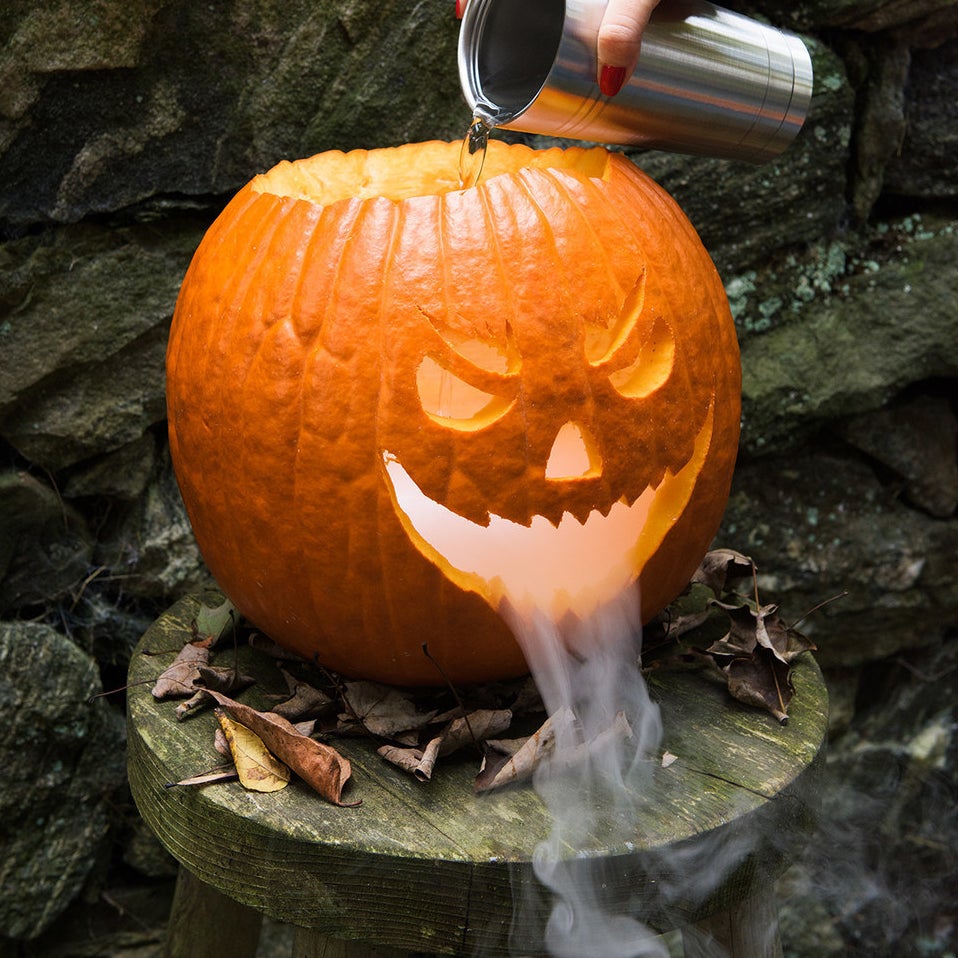
4. Carefully pour hot water over the dry ice.
5. Prepare for a super-spooky smoke show!
See the inspiration here.
Photographs by Lauren Zaser / © BuzzFeed
Portraits via iStock. Header design by Kirby Darland.
Take your house from homey to haunted — just in time for Halloween!
Use the Chase Freedom Unlimited℠ card to get your spooky supplies and earn 1.5% cash back on everything you buy.