
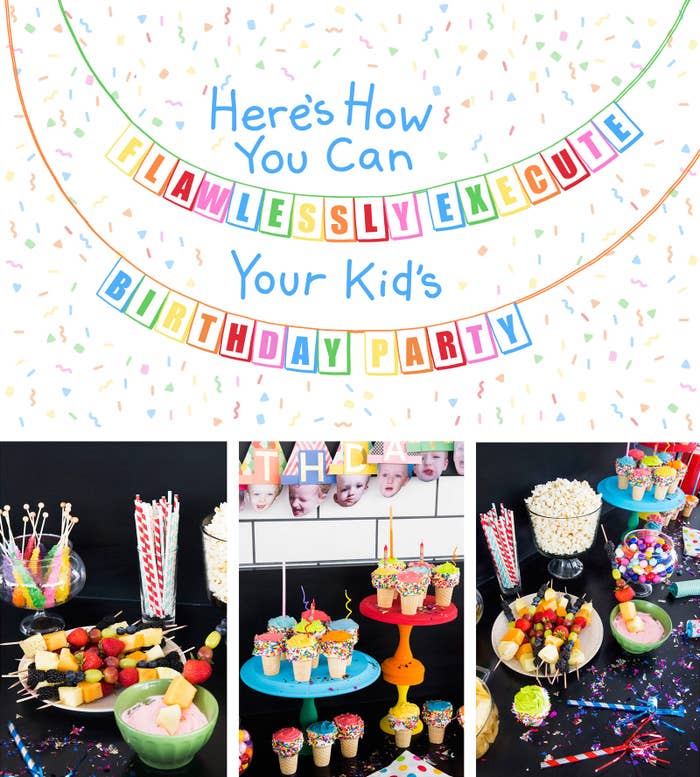
It's that time of year: your little one's birthday celebration!
And you're about to rock your way through any DIY project that'll make a unique and colorful party-going experience!

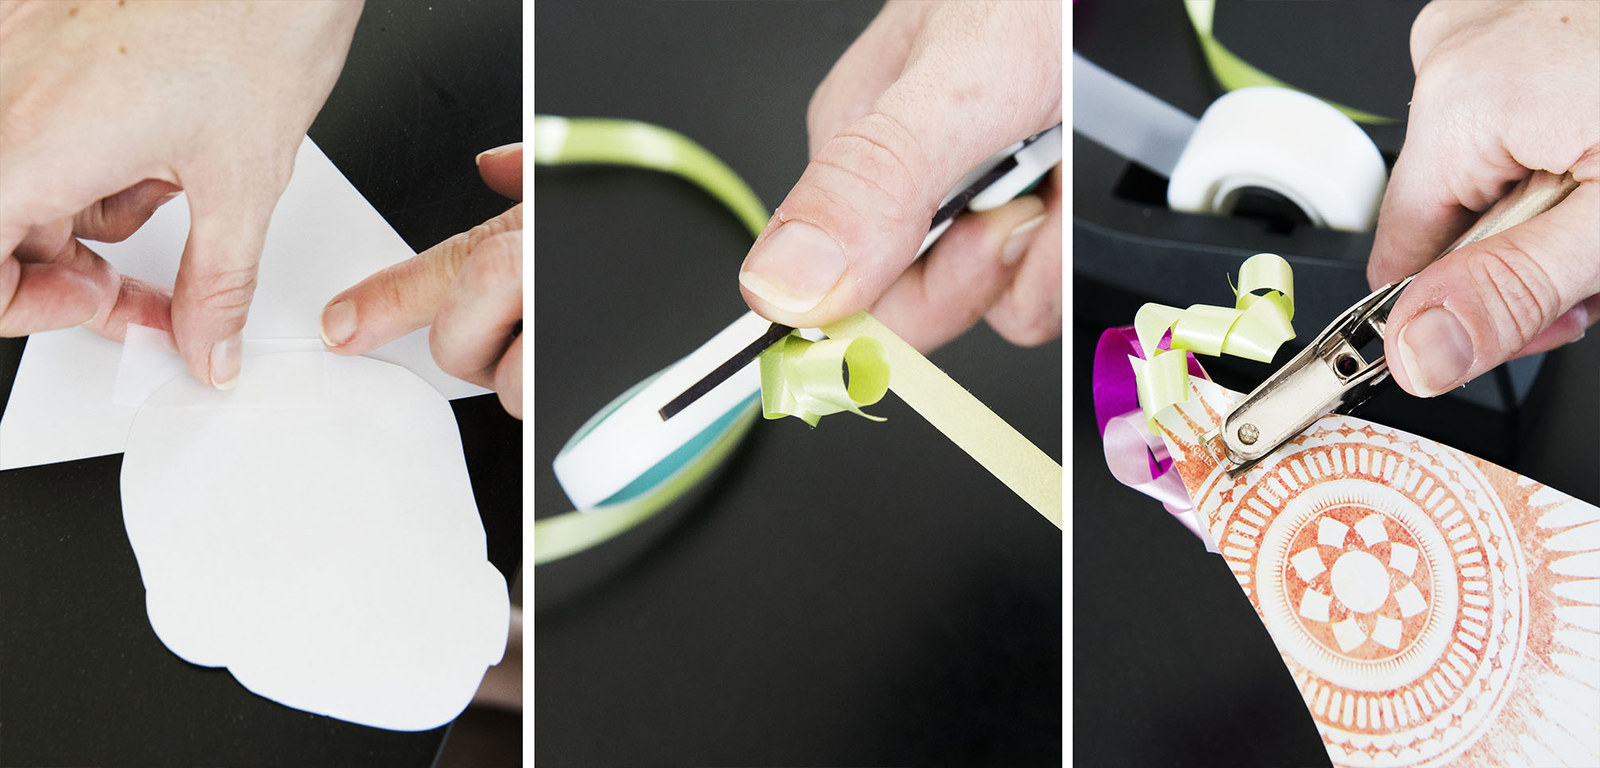
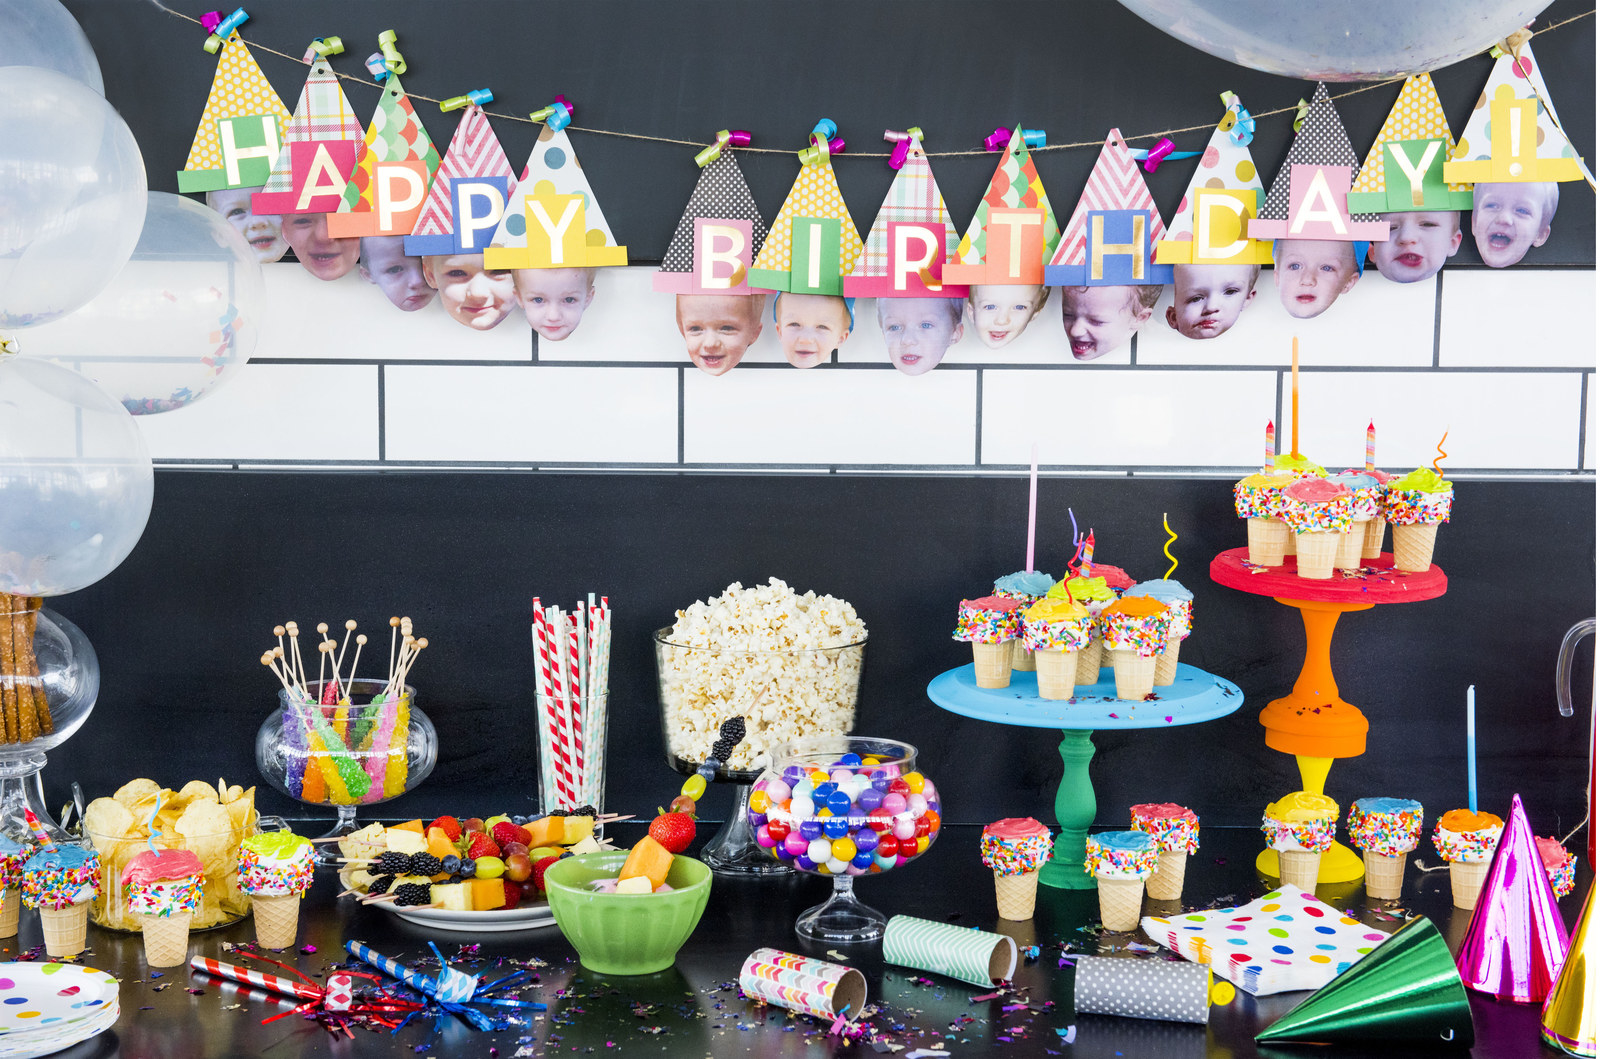
Personalized Banner
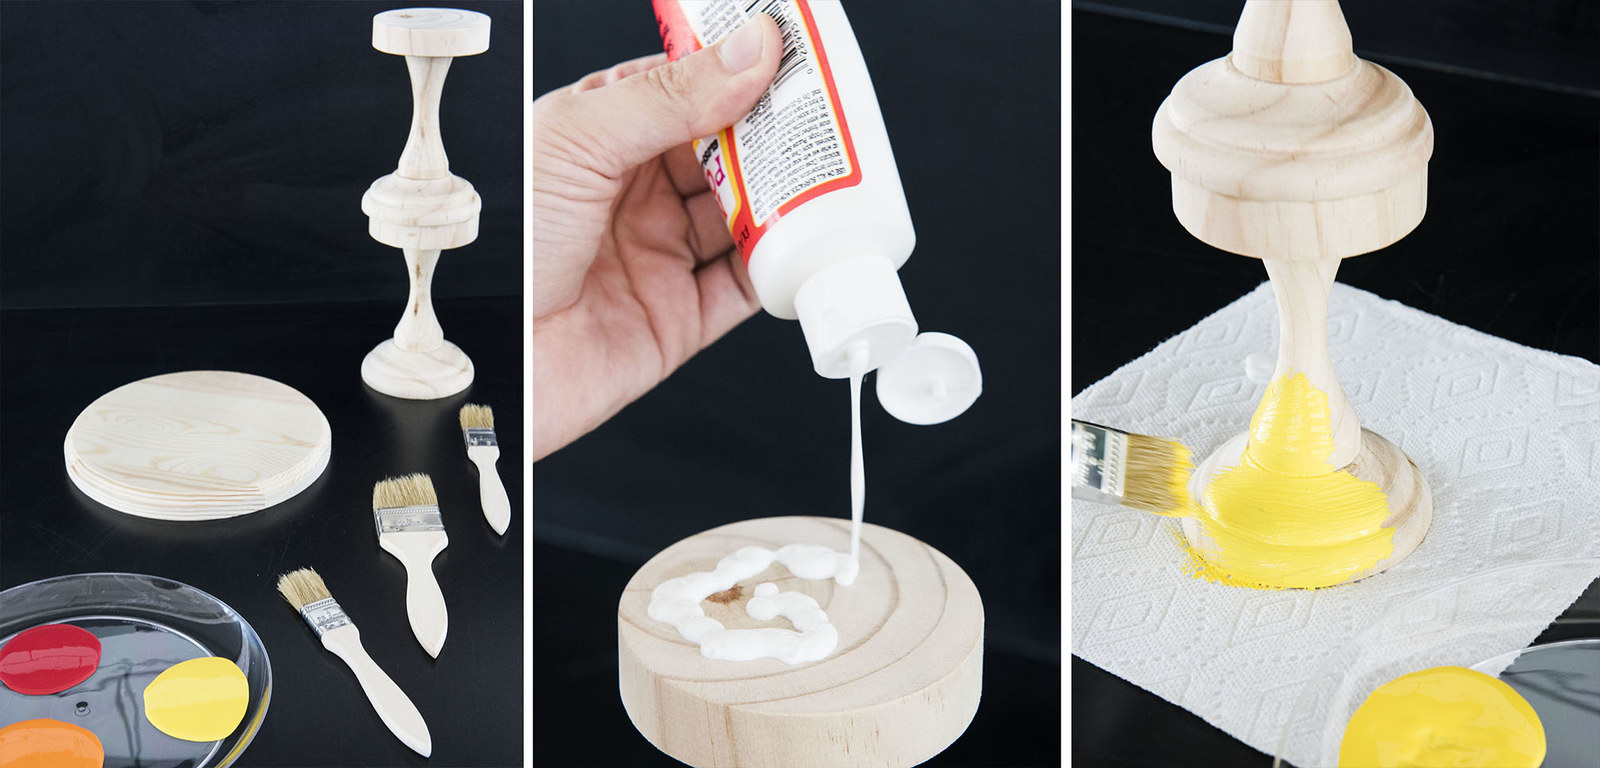
Tiered Treats
Confetti Balloons
Fruity Rainbow Kebabs With Rainbow Dip
Colorful Cones

Toilet Paper Roll Party Poppers

Photo Booth Border
Don't forget to the final touch of some good tunes to set the party mood!
And you'll pass the party with flying colors!
Photographs by Lauren Zaser / Design by Lyla Ribot
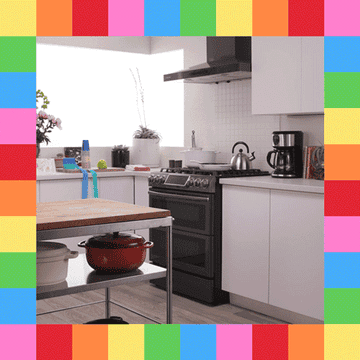
Don’t stress when it comes to preparing for your kid's birthday parties! Samsung’s Family Hub™ has your back for all the planning and partying your kitchen may see.

