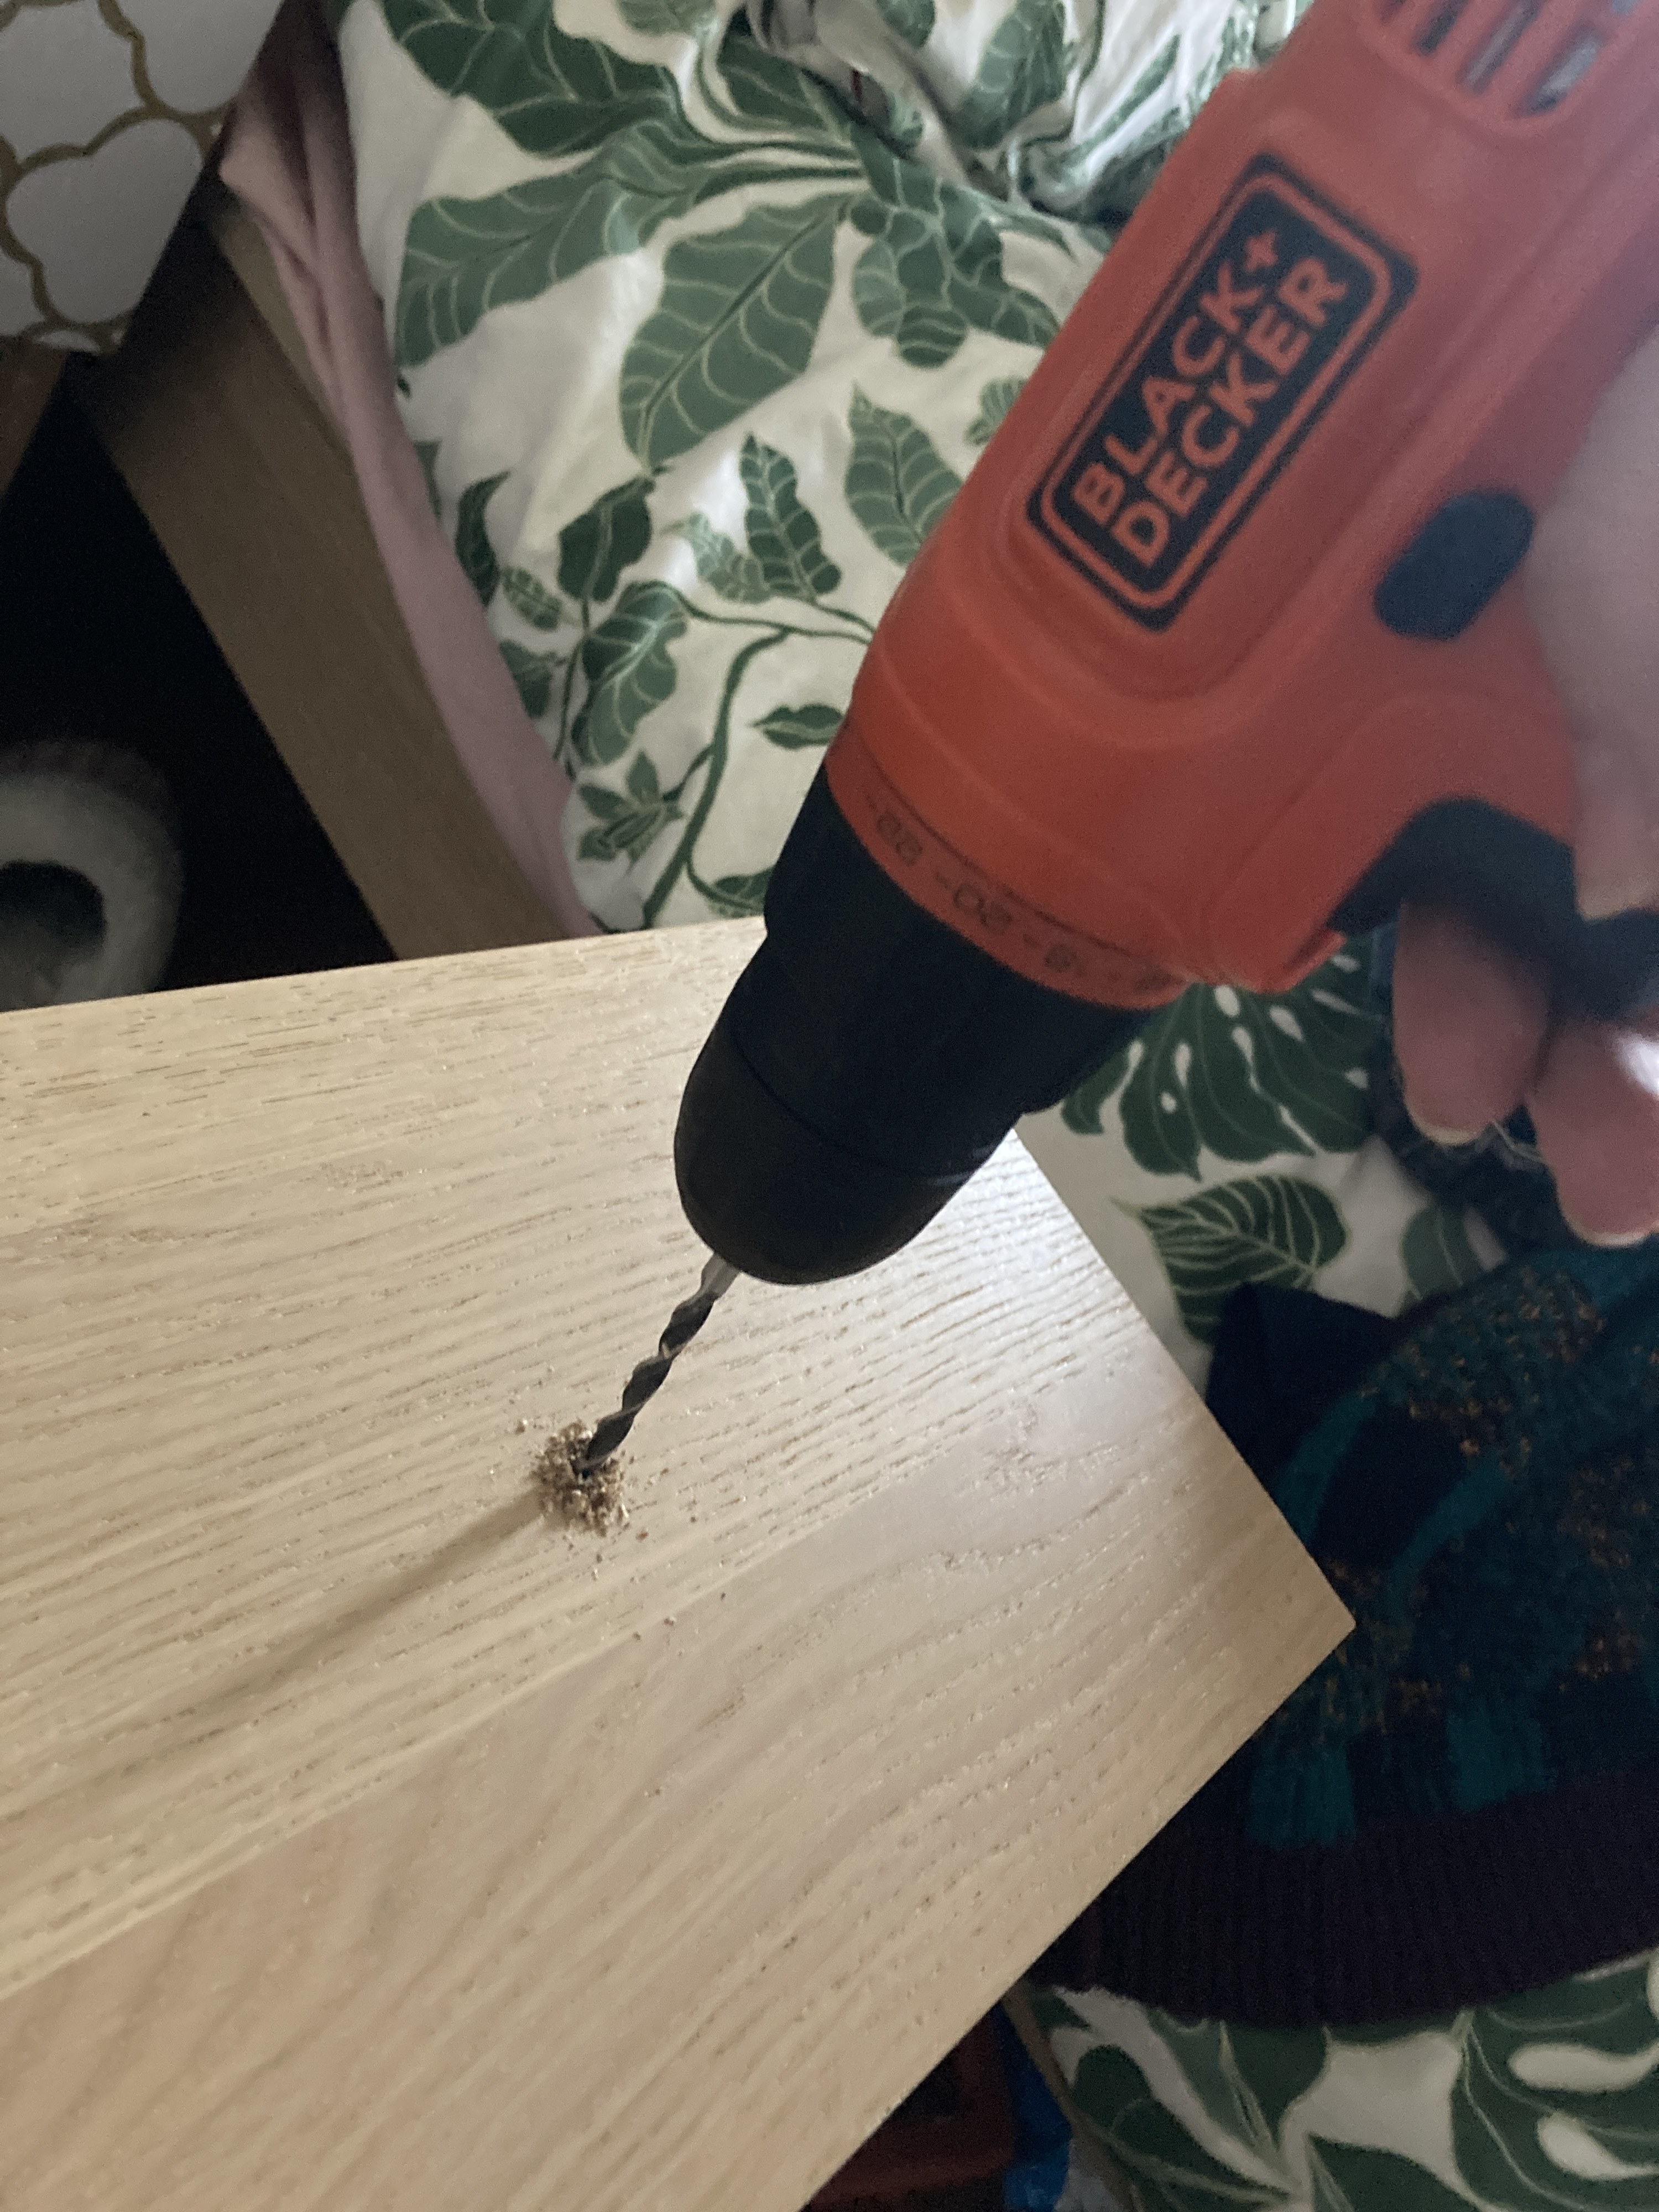
Okay, confession: I suck at DIY stuff. Like, before this article, I had never even used a drill before.
However, I am also an incredibly cheap person — so, when I read about people who had upgraded their Ikea furniture, I was inspired. I decided to come up with projects of my own because I have nothing (nothing!!!) better to do with my time.
So if you're looking for some super easy DIY inspo, please step this way:
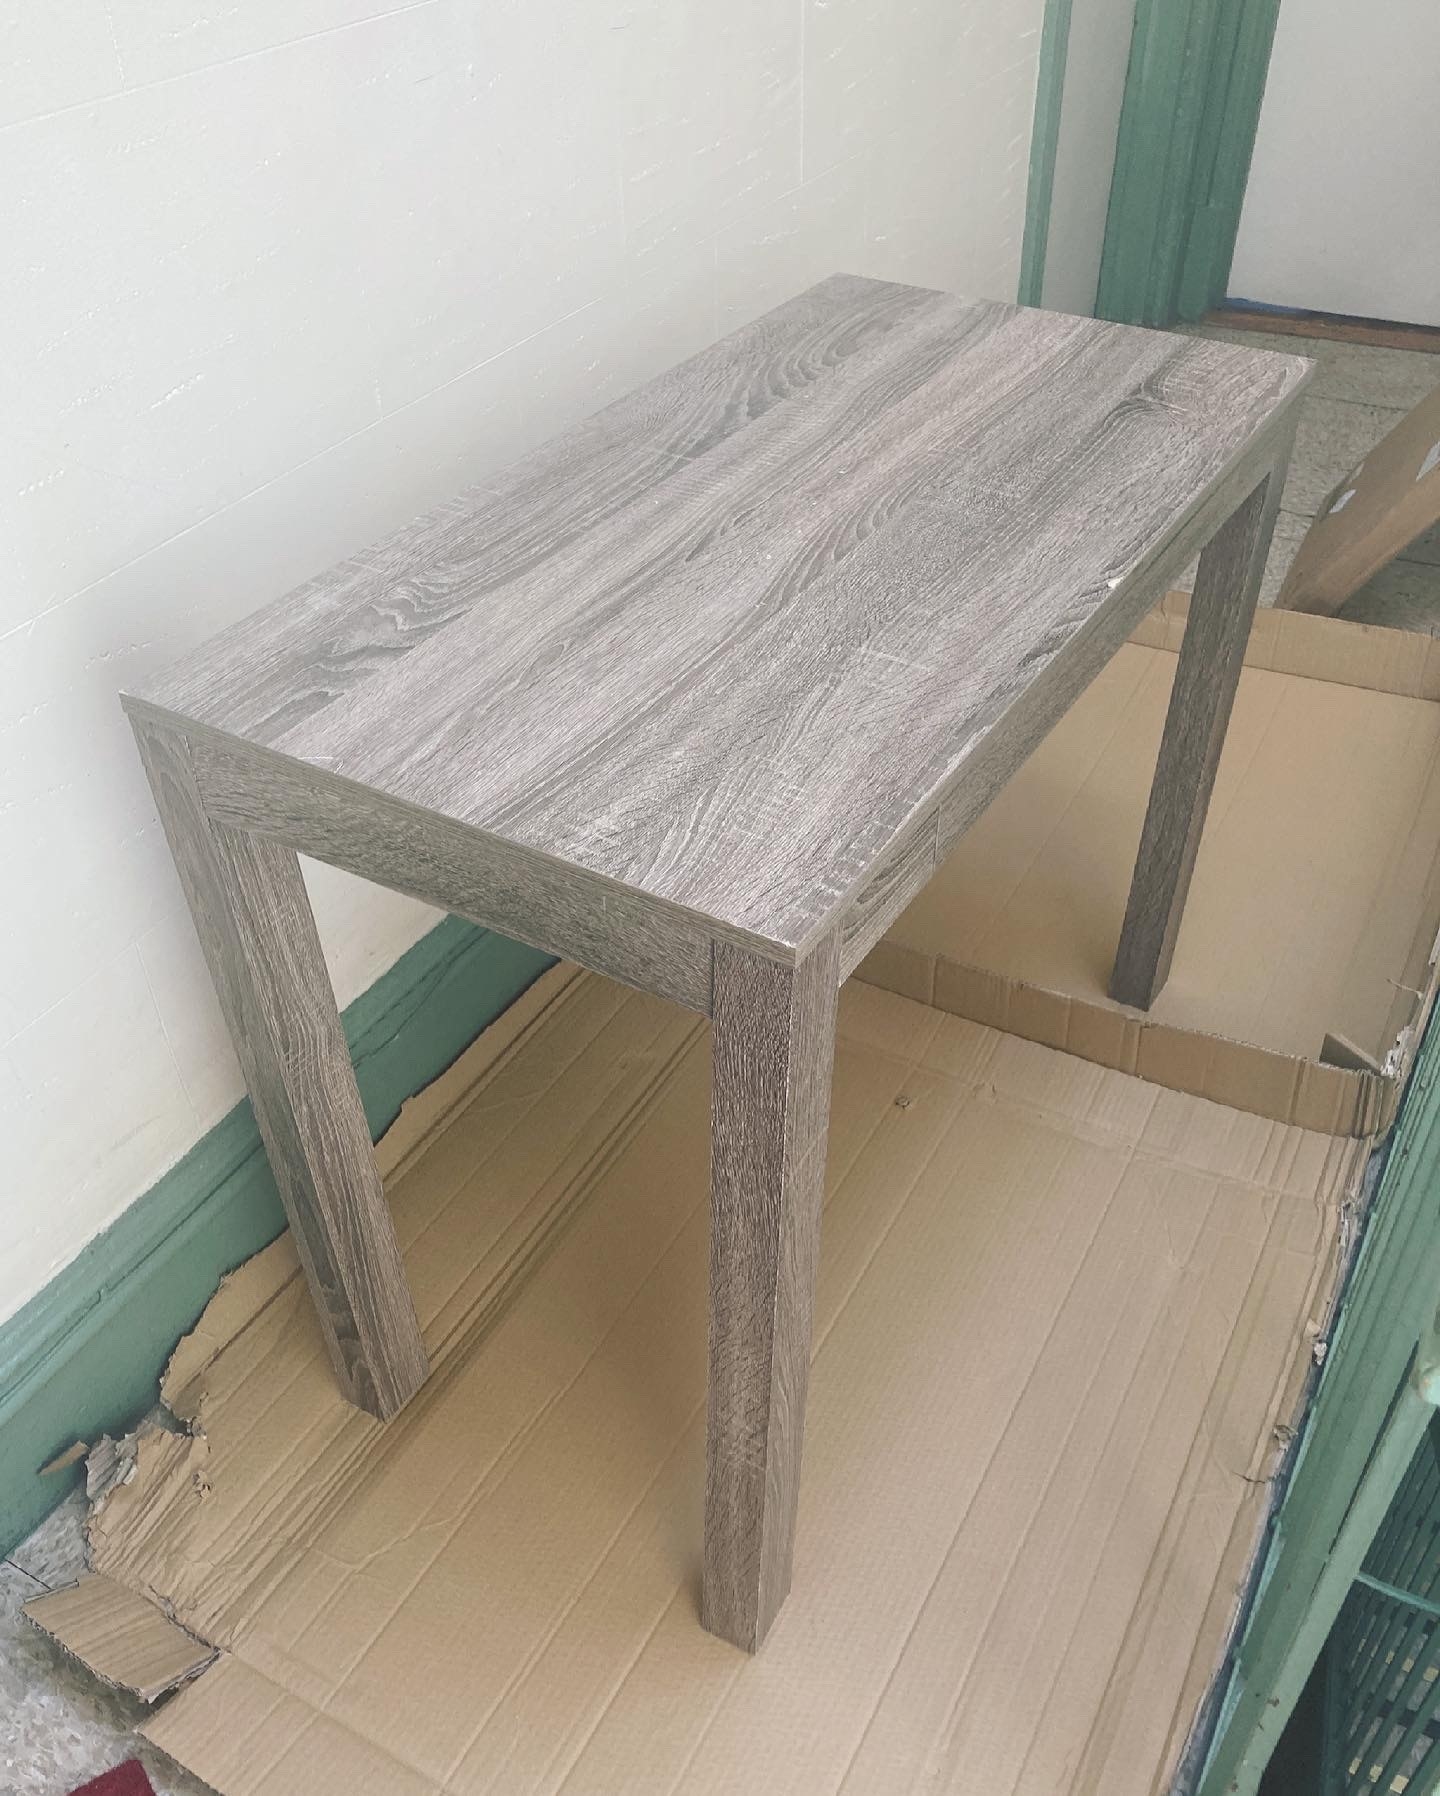
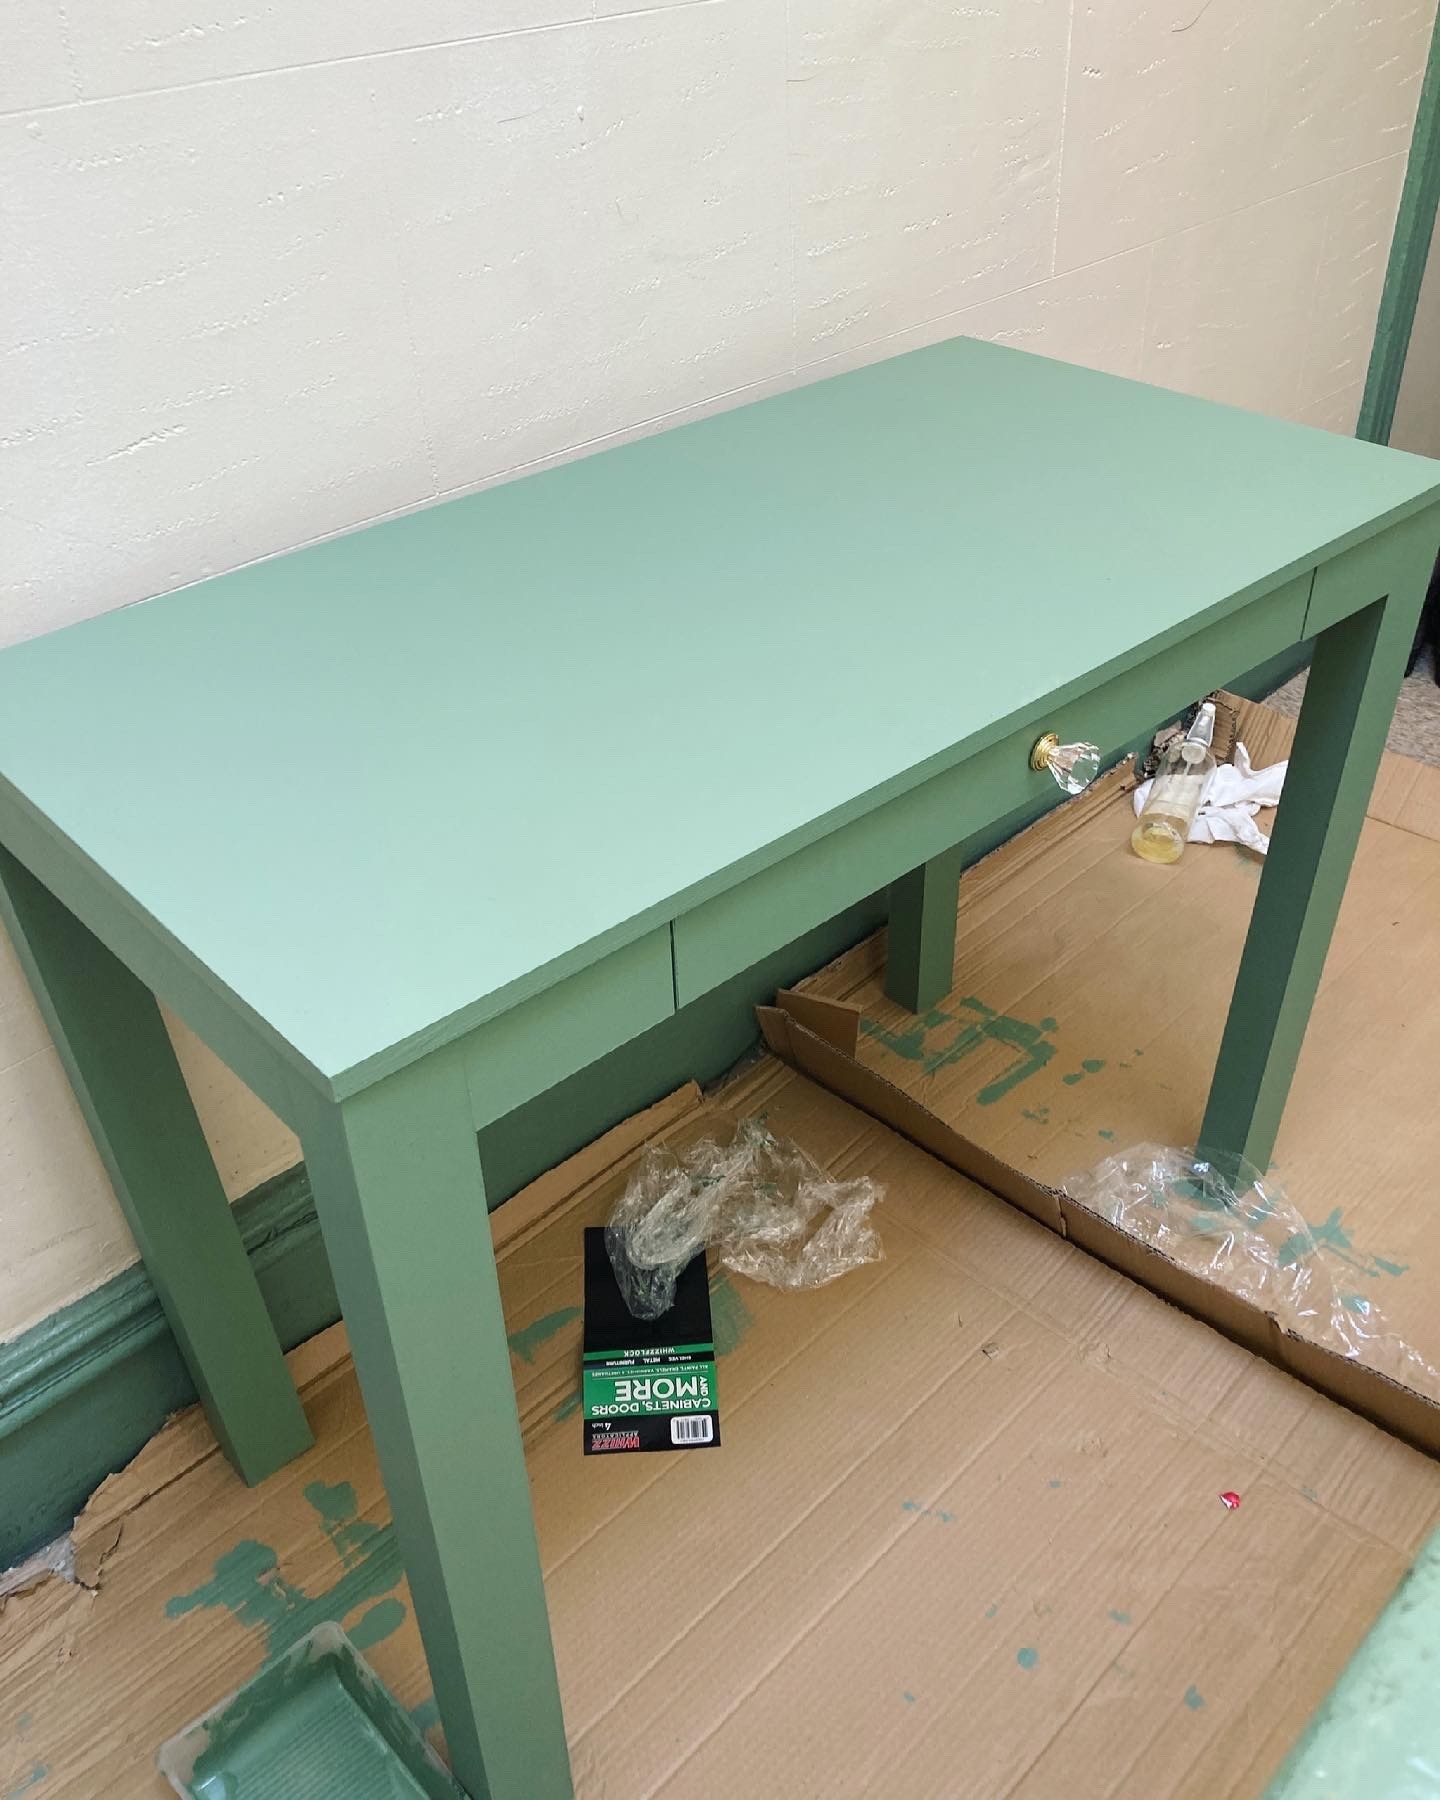
Behold, my desk: AKA the entire reason I wanted to do this in the first place. I got it from Craigslist for $20 last year — I have no idea where it's actually from, but it sure seems Ikea-esque. It's perfectly functional, but didn't match any of my other furniture.
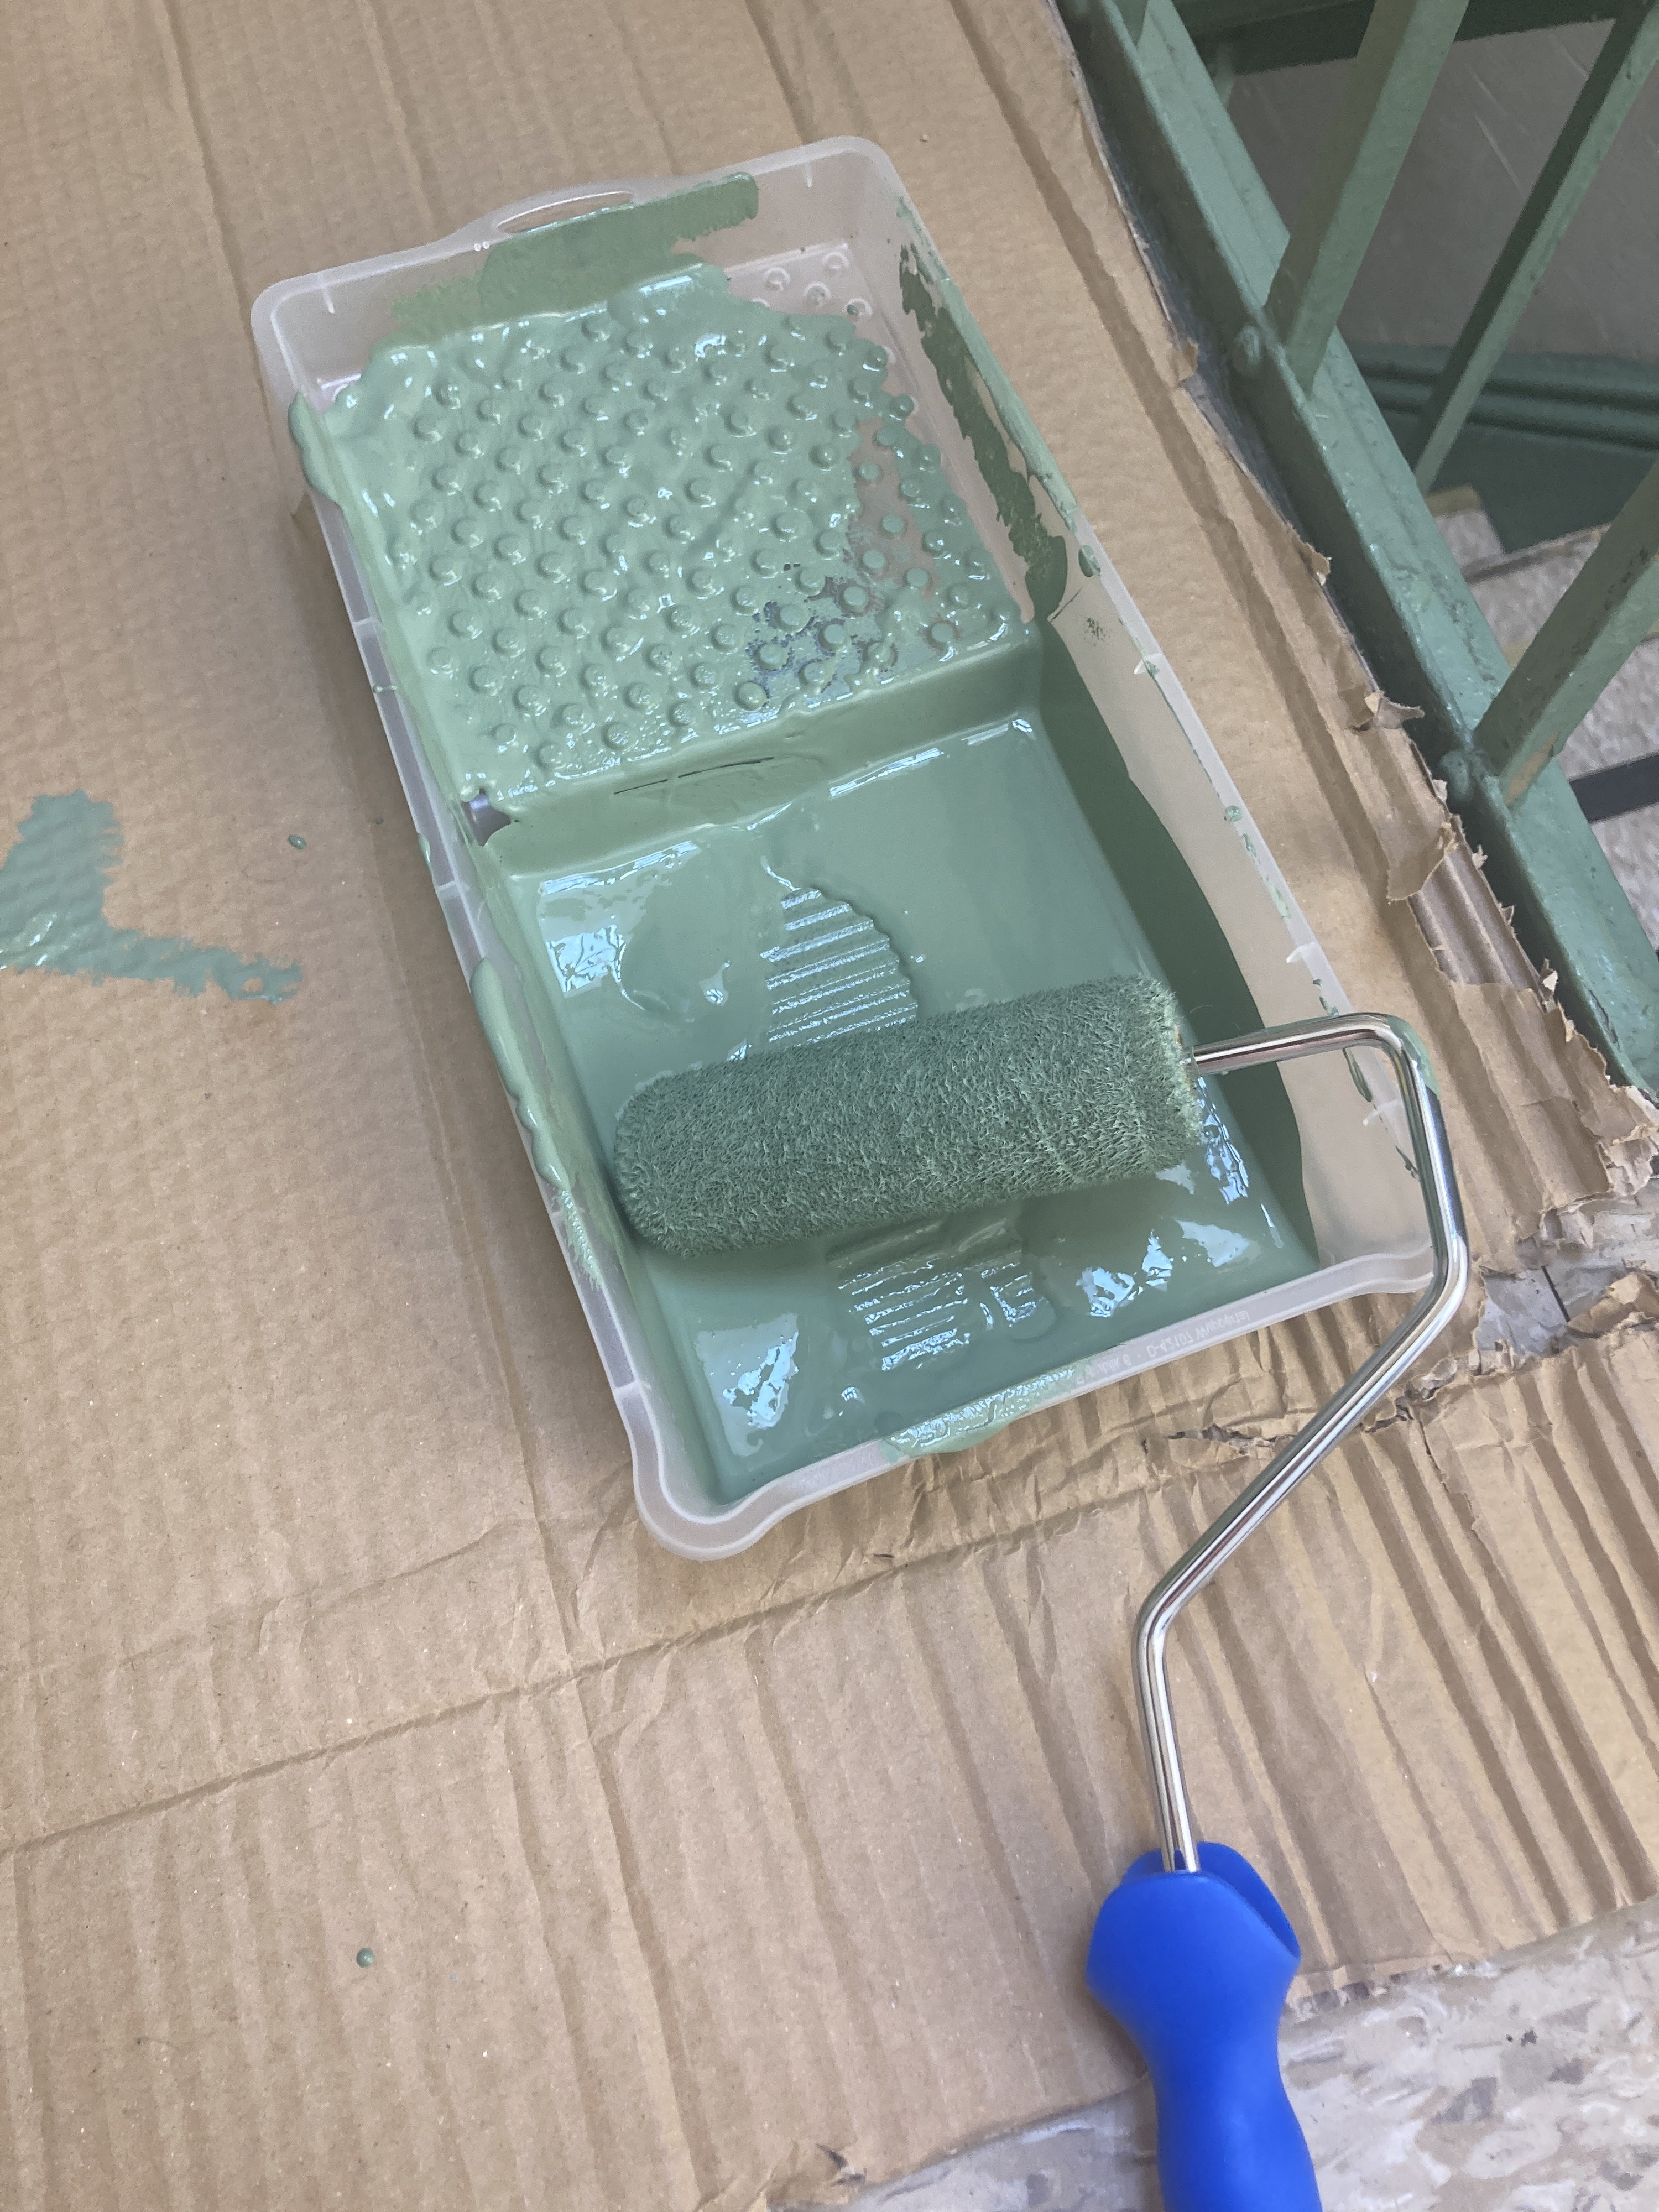
So I picked up this Krylon Chalky Finish paint from Lowe's, where a very nice man tinted it to the color of my choosing. It is a total coincidence that when I got home, I realized that it was the same color of the trimmings of my building hallway, but I digress.
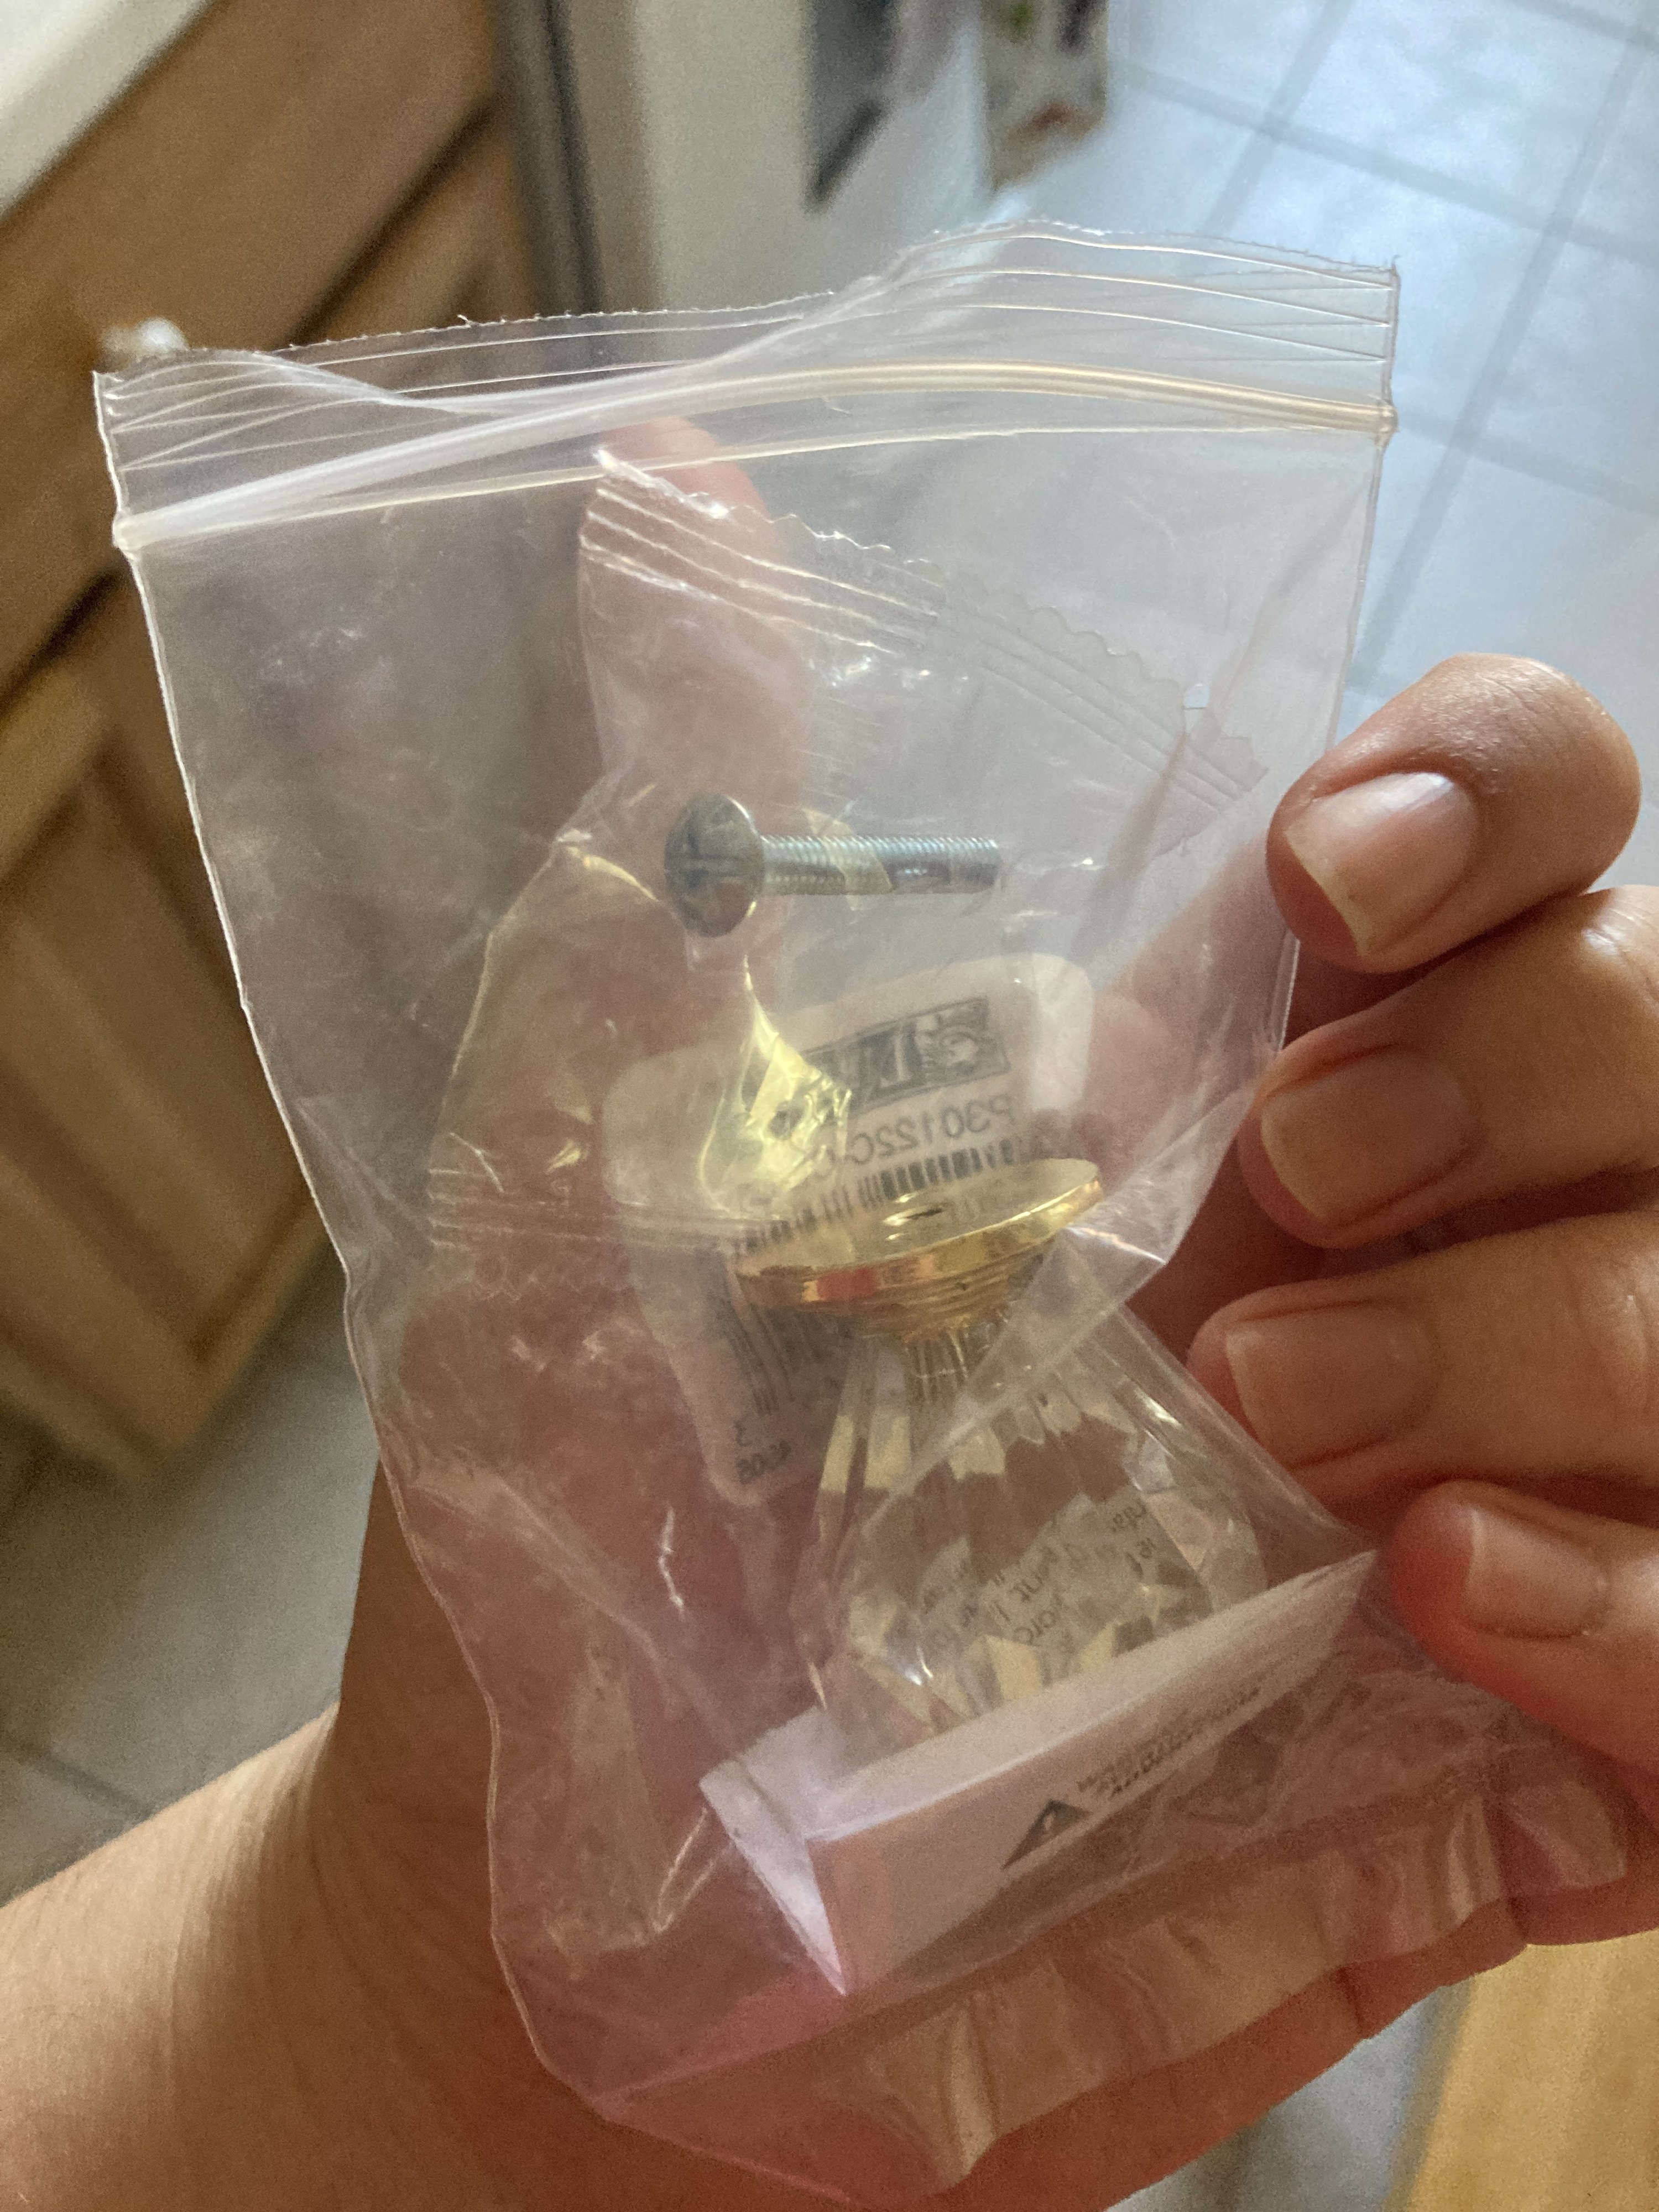
After applying two coats, I then drilled a hole — gasp — so that I could attach a nice knob. I picked up this one from Home Depot, and I just used a drill bit that was roughly the size of the screw it came with.
And this was the final result!!!
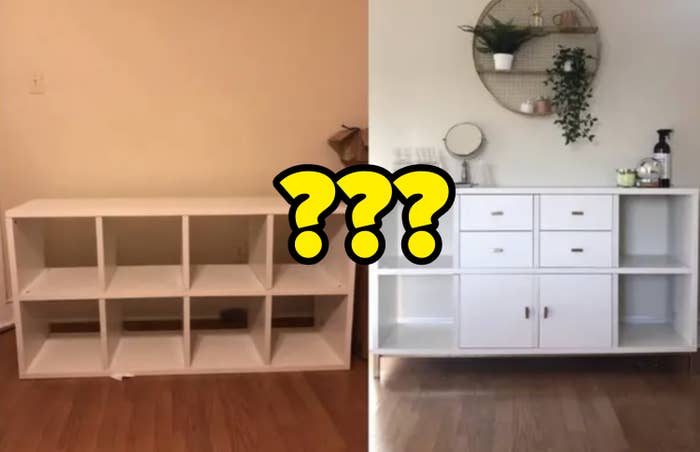
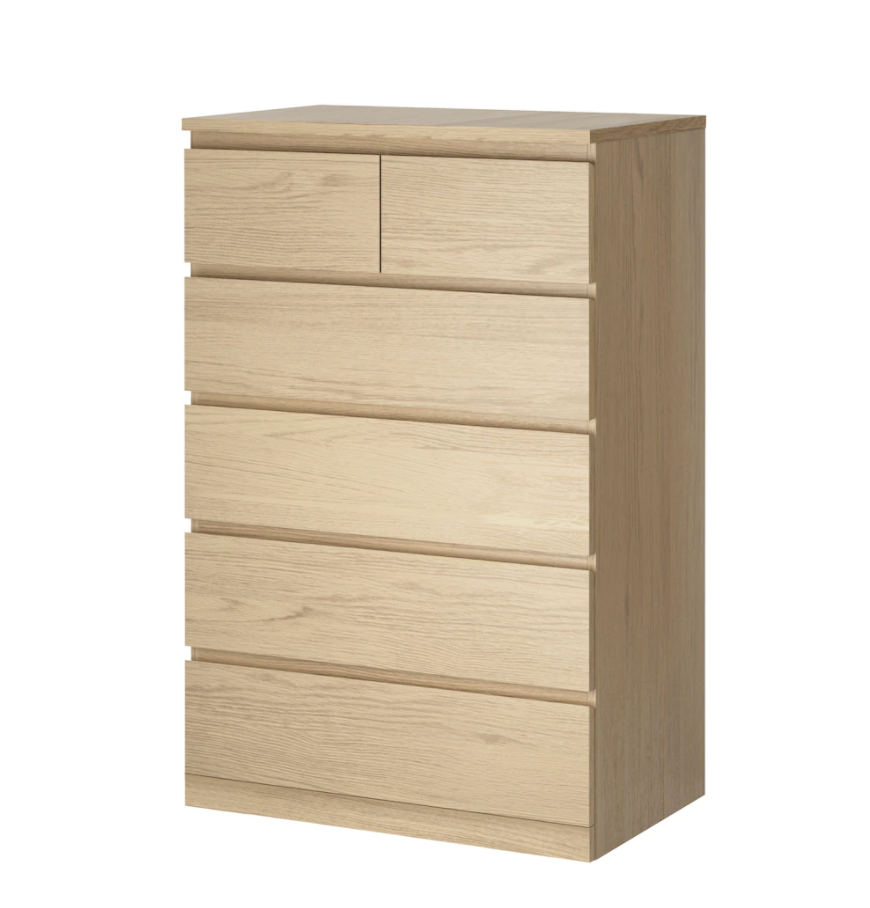
Ah, the Ikea MALM drawers — I feel like I've had some iteration of these bad boys in every apartment I've lived in for all eternity. A sturdy lad, but a touch dull.
I was tempted to paint this as well, but I was worried it might look a bit *much.* Instead, I bought some peel and stick wallpaper from Amazon. Then, I cut off a piece roughly the same size as the drawer, pressed the drawer front down, and used an exacto knife to cut it to size.
Next, I measured and marked where my drawer knobs would go with a pencil before drilling again. The drawer knobs were also from Amazon, and I was worried that they would be too small and look a bit like gold nipples — but it was fine.
And here's how they turned out! Once again, I am obsessed.
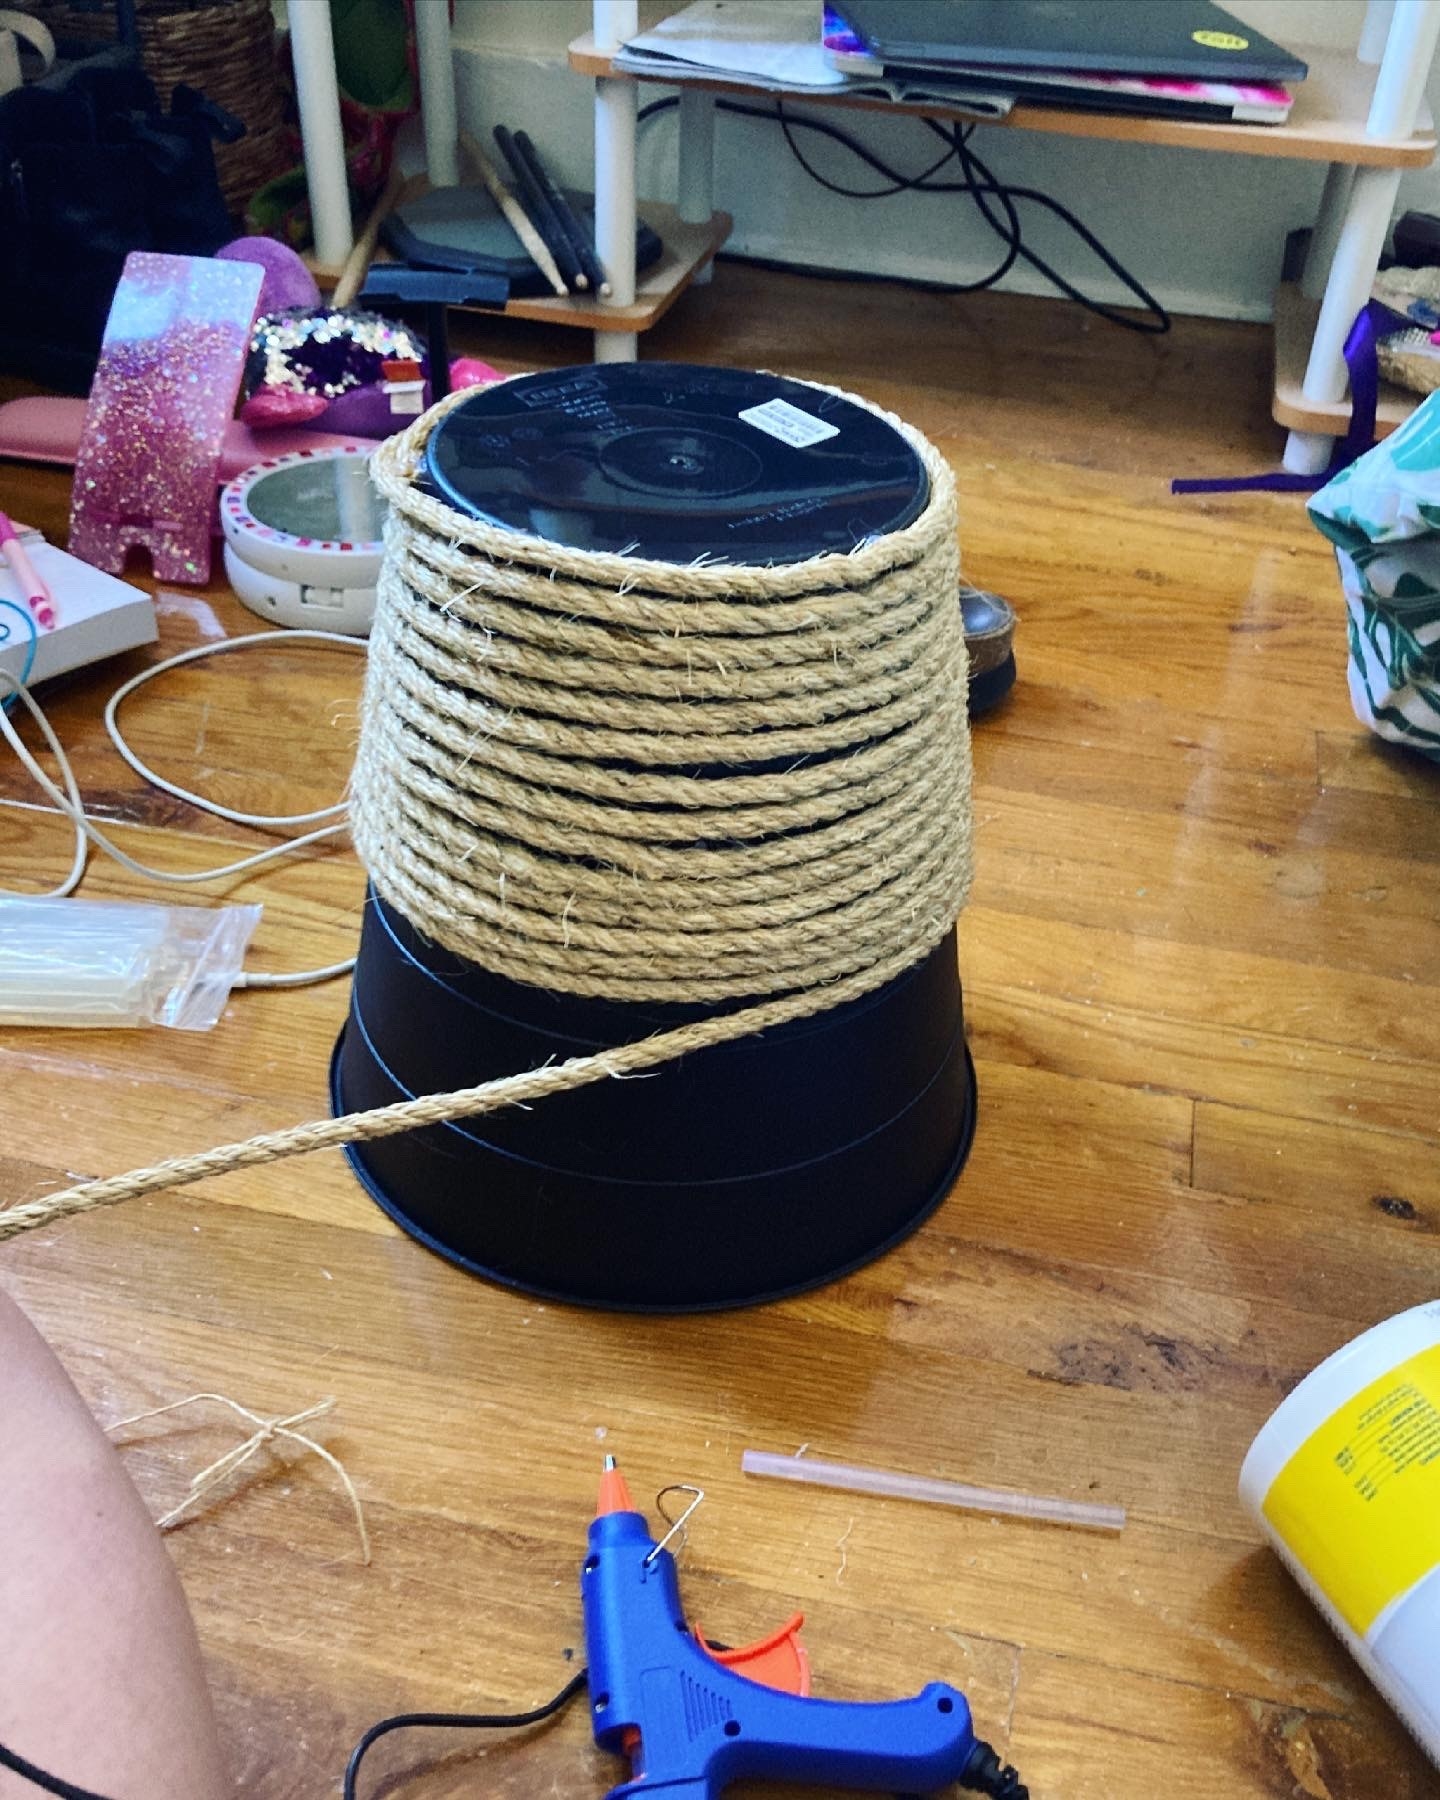
Was this one a bit much? Maybe????? But I just couldn't resist turning this Ikea trash (can) into one man's (my) treasure.
Using a glue gun, I wrapped and secured 50ft of rope around the can. I did this while watching Operation Varsity Blues: The College Admissions Scandal on Netflix, which wasn't an essential part of the DIY, but is recommended nevertheless.
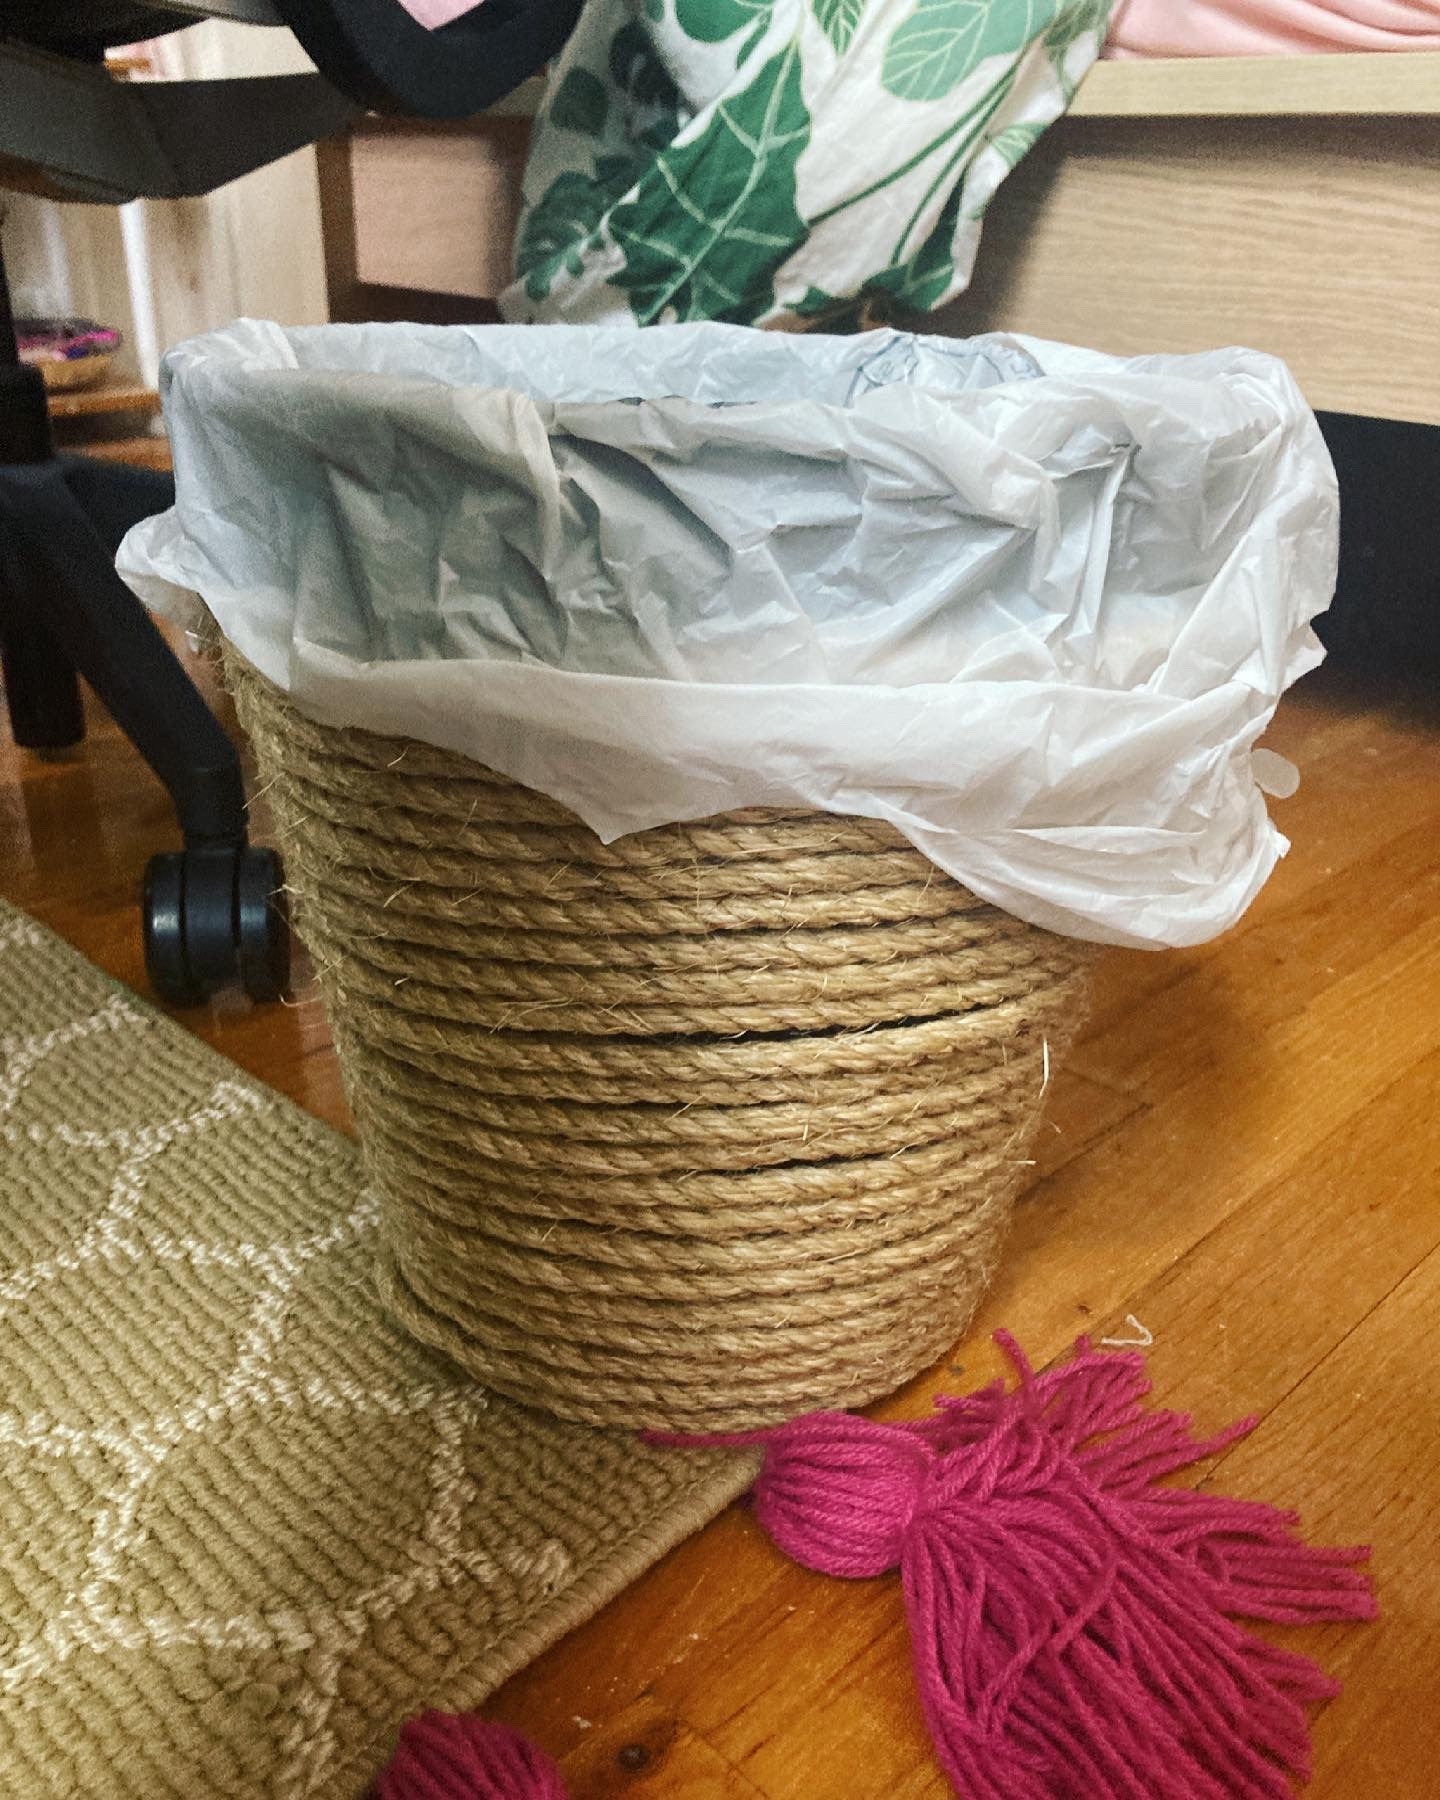
Then, observe! My (sorta) new trash can!!!
I had SO much fun doing this. What's more, I also learned a bunch of basic DIY skills in the process of researching and executing everything.
Overall, these projects have very much changed my perspective on buying new furniture — I definitely want to work more on updating what I already own, and upcycling thrifted items.
So, do you have any tips on making your cheap furniture look great? LMK in the comments!
