

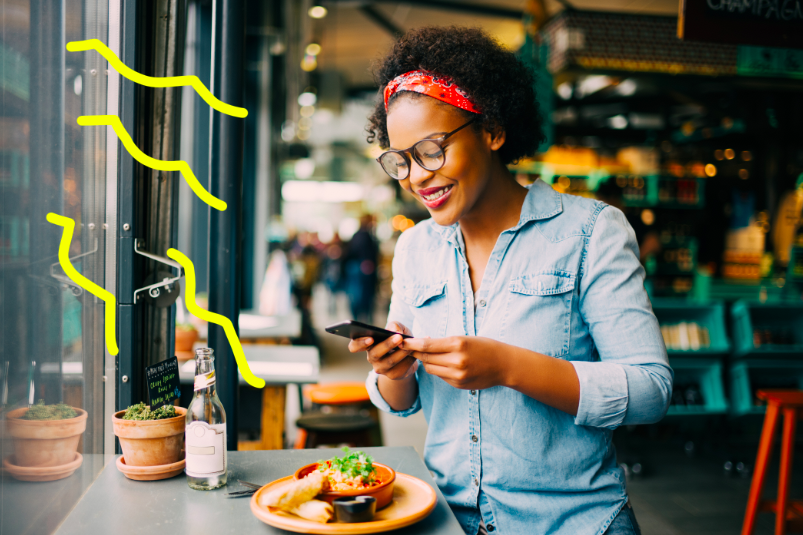
Listen, I'm one of those people who always takes photos of my food — I'm not ashamed!
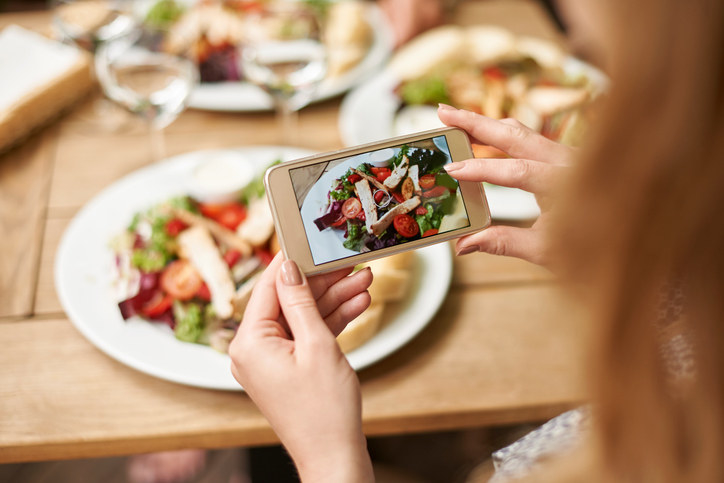
So here are 12 simple tips I've learned from photographers and stylists to take my iPhone food photos to the next level:
1. Whenever possible, shoot in natural light...
2. But don't shoot in direct sunlight either (unless you're going for that extreme shadow look).

3. But if you do shoot in direct sunlight, turn on your HDR setting to help balance it.

4. Bounce light onto your food by using a white napkin or piece of paper.

5. Manually adjust the exposure while shooting.

6. Don't use the zoom.
7. Take several shots.
8. If you're shooting in the dark, use your friends phone as a spotlight instead of turning on your flash.

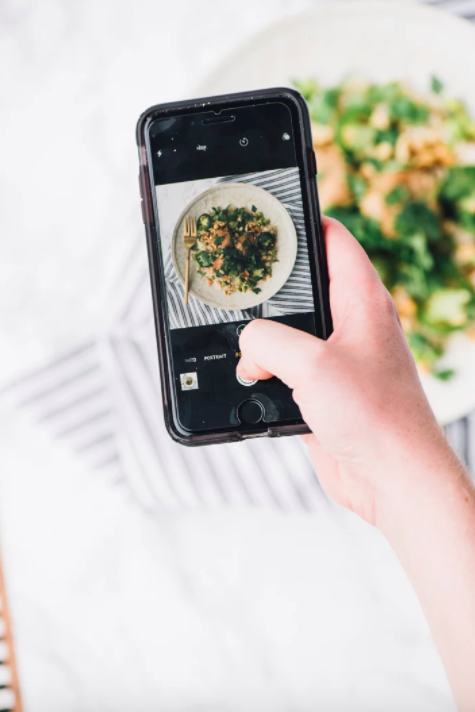
9. Try shooting from overhead...
10. And enable your photo grid to help make sure you're completely level.
11. Hold your phone as still as possible.
12. Don't use filters — instead, just make minor edits manually.
Time to take some photos!
