When I moved into my new flat last year I bought a cheap wardrobe, a temporary fix until I found something nicer. Alas, I did not find something nicer, and as weeks turned into months I grew to hate my wardrobe. A visceral, seething hatred. You see, I came to understand that my Ikea Aneboda, with its doors and its secrets, was stealing the very light from my room. Not only that: My £55 flatpack wardrobe was in fact a portal to the beyond!
What was once a relatively cheap storage solution had become a vortex of antipathy and scotch. I decided something must be done. I decided to build me a goddamn clothes rail.
1. Destroy the demon portal
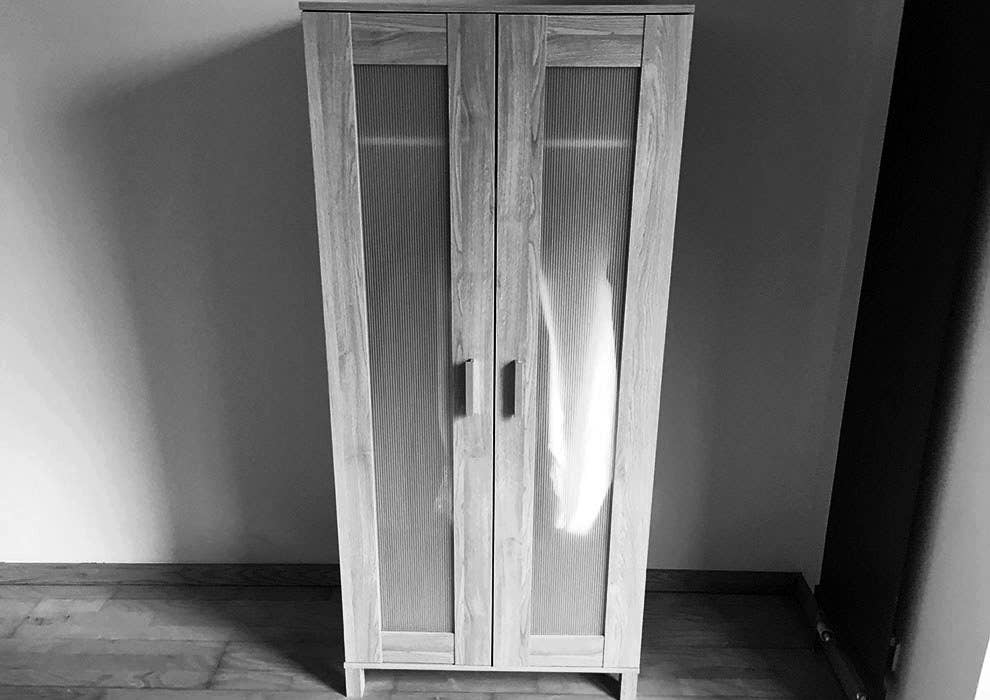
Narnia is a fucking lie. A lie! This is not the passage to a land of fantasy and whimsical creatures. DO NOT GAZE UPON IT TOO LONG! Those doors, those sides! I can only imagine the depths of evil hidden within: vengeful spirits, demons of the unfriendly variety, stabby ghosts. The solution is simple: a priest, an axe, and a bottle of whisky.
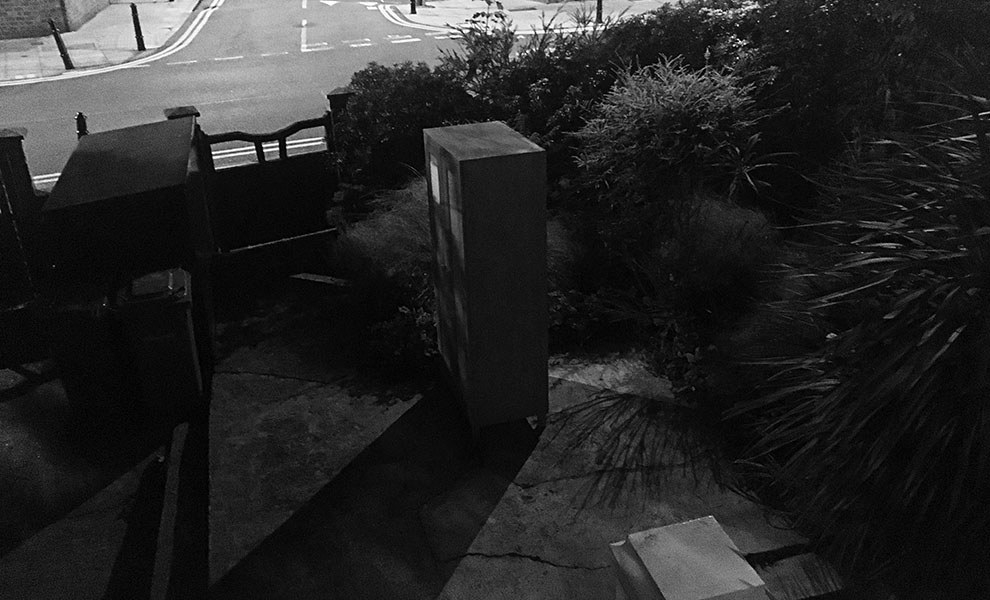
Alternatively, your local council will probably come and pick it up for free.
2. Prepare thy timber

The advantage of a clothes rail is thus: breezy, minimal, nowhere for evil to lurk.
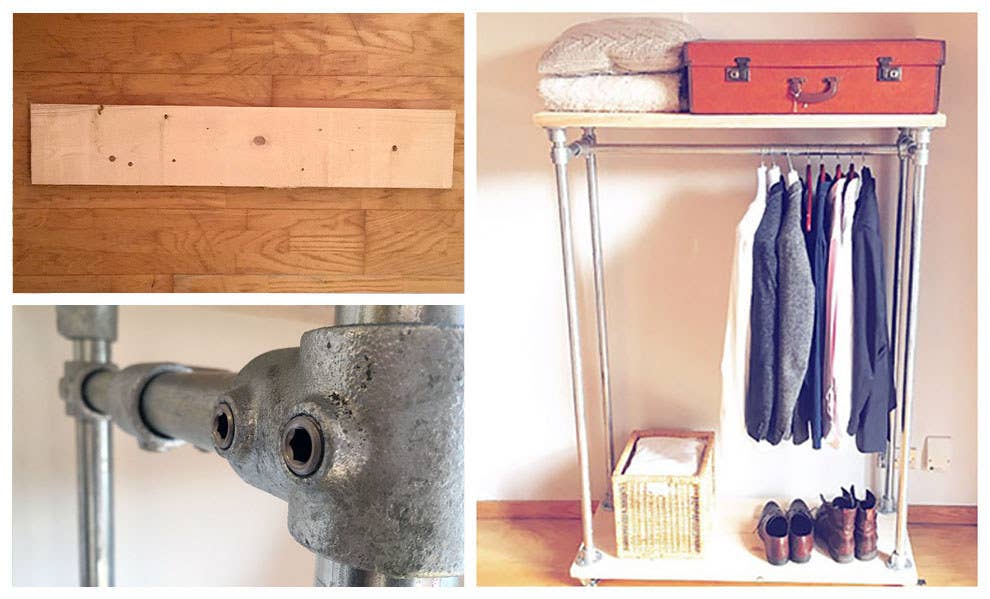
The design for my clothes rail was based on the same materials I used to build my scaffolding book shelf earlier this year, namely scaffolding. I bought 4 x 4ft timber boards, gluing them together with wood adhesive. I used small mending plates to hold the boards together while the glue dried. Remember, scaffolding timber is going to be slightly warped, but not as warped as the malevolent forces inside your wardrobe.
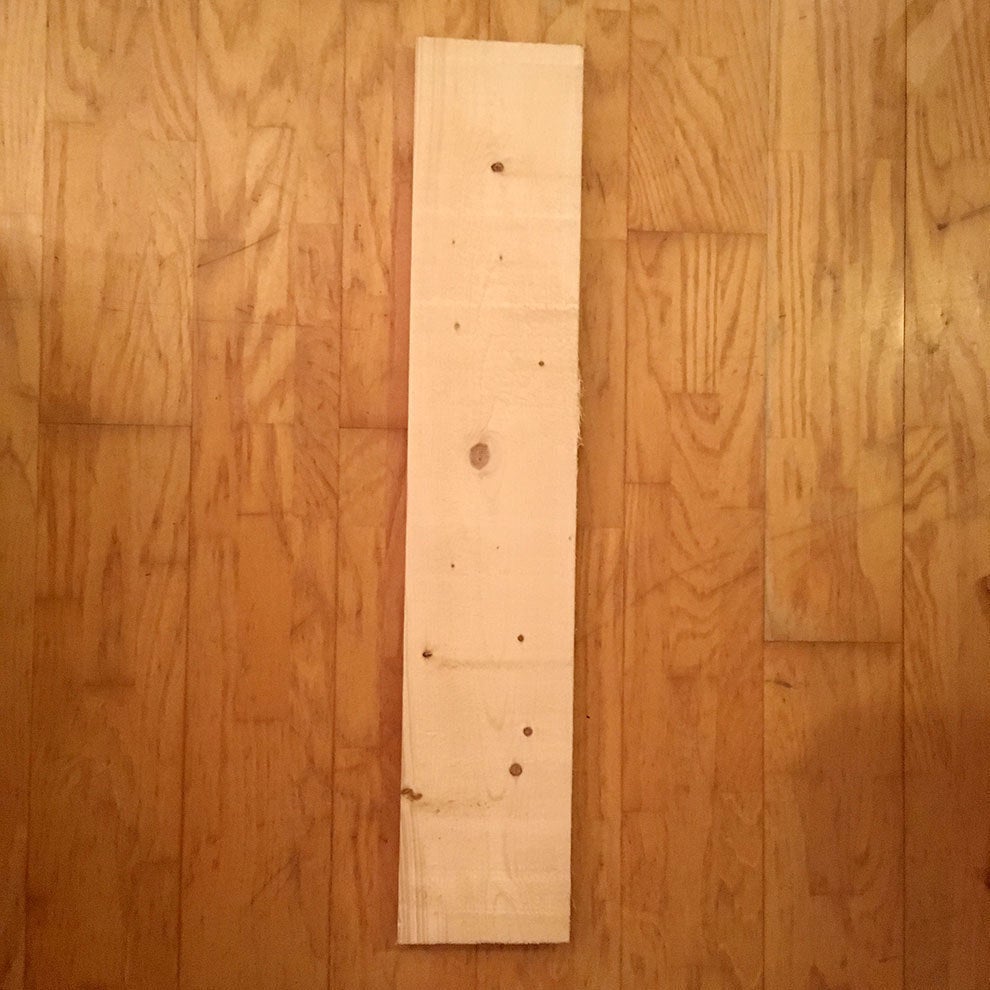
3. Cleanse the board of filth and detritus
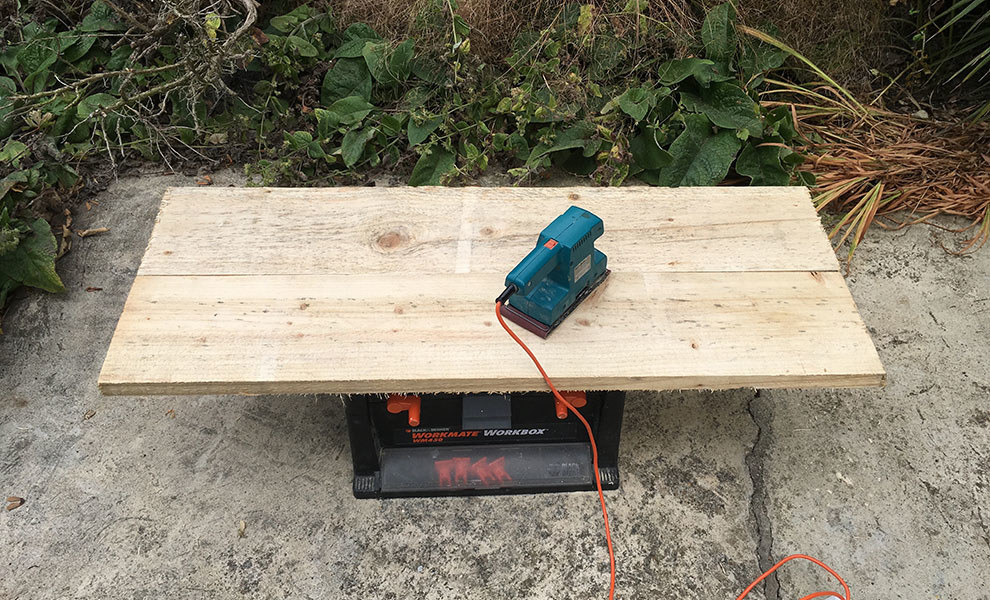
I left the glue to dry overnight, then in the morning woke up unreasonably early to sand the boards down. Unlike the bookshelves, which needed to be relatively smooth because books, I left these shelves a little rougher.
Even though clothes rails provide no safe harbour to the dark forces that exist in the space between this world and the next, the threat of a splinter or two is added security.
4. Resurrect an old friend!
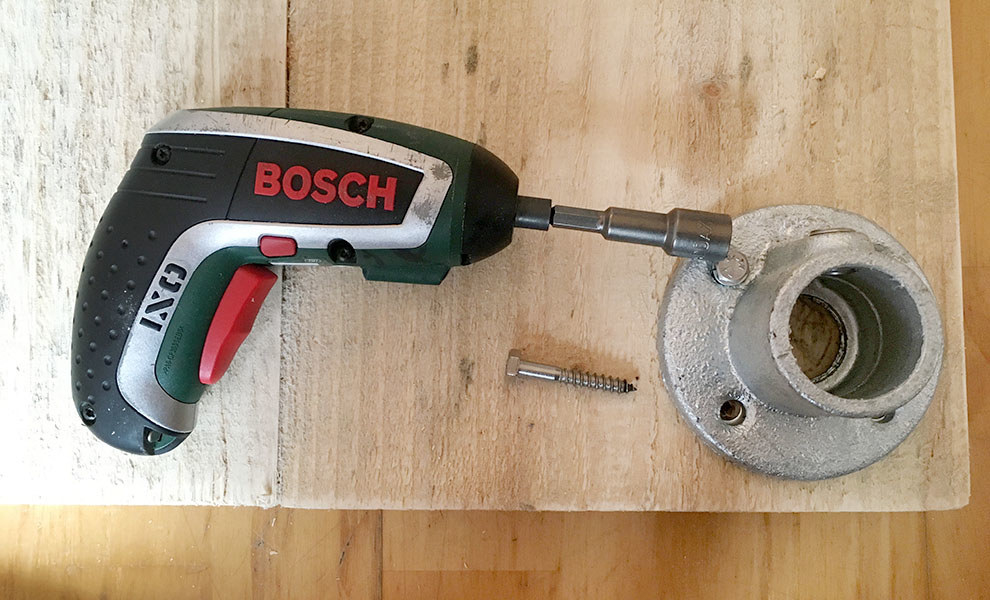
BOSCH! Last time we met, I feared a set of shelves had felled my electric colleague, but nay, Bosch was only mostly dead. Mostly dead is slightly alive! Over the past months I have nursed Bosch back to health to help me do battle with the forces of evil.
And, you know, to screw things together.
The design requires 8 x wall plates, screwed into each corner. I left 1cm gap from either edge, which is important to get right, otherwise scaffold tubing won't fit. I used M6 Coach Screws, which were forged from the swords of angels. Possibly.
5. Make mobile your furnishings
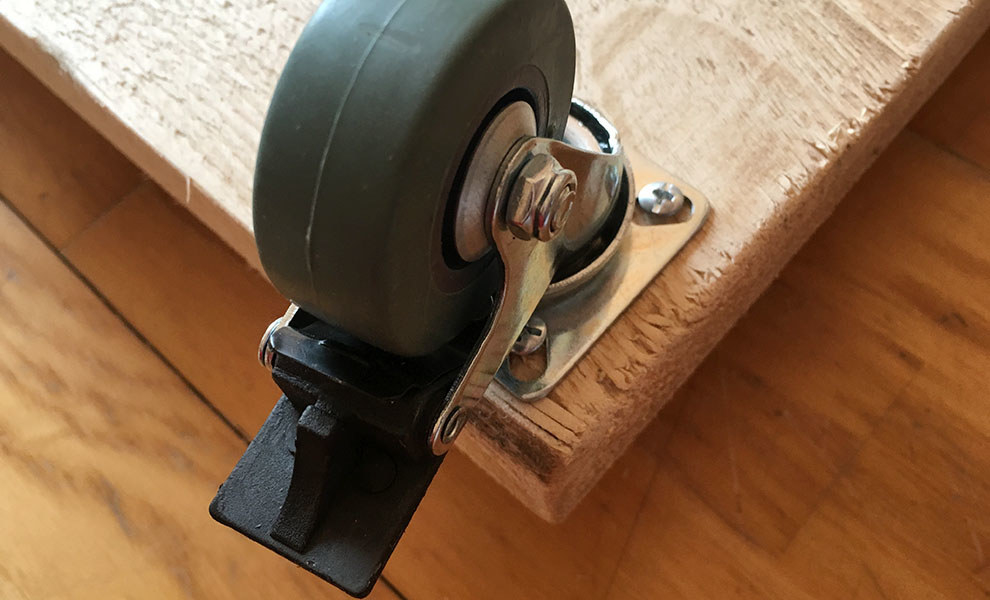
Once you've screwed on the feet for the scaffolding, flip one of the boards over and affix 4 x castors, one on each corner. The positioning is arbitrary, but you want them close enough to the edge so you can press and release the brakes once upright.
You could attach regular feet, but castors are an essential tool in the fight against demonic forces. If you find a particular corner of your room has got itself a poltergeist, you can roll your clothes rail elsewhere while an assorted variety of religious leaders, unaccredited spiritualists, and documentary filmmakers deal with your uninvited guest.
6. Assemble the scaffolding frame
Once the castors are attached, flip the board over and slot the upright poles in. I used 4 x 150cm tubes, held in place with a grub screw.
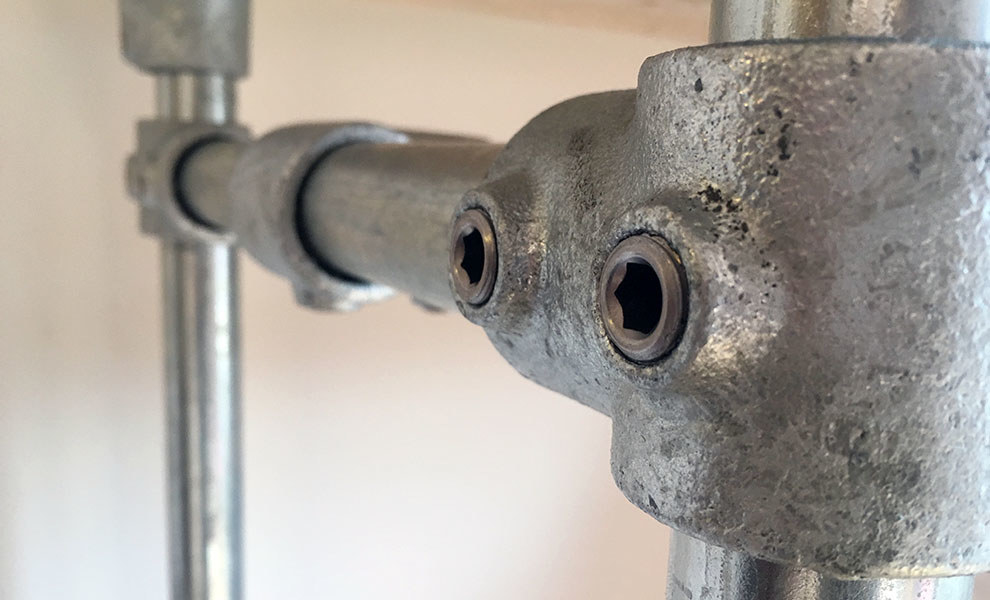
Next, slot together the sidebars, with one swivel tee tube clamp (pictured) at either end, and another in the middle. The design I'd spent three minutes sketching on the back of a receipt required 2 x 31cm tubes to brace between the uprights.
Ensure you double check your maths, because when I came to assemble my rail, I discovered that some non-corporeal phantasm had undue influence over my rudimentary calculations...
7. Oh fucking shit
SPIRITS OF THE NETHER WHY HAST THOU SUCH SCORN FOR MY STORAGE SOLUTIONS!
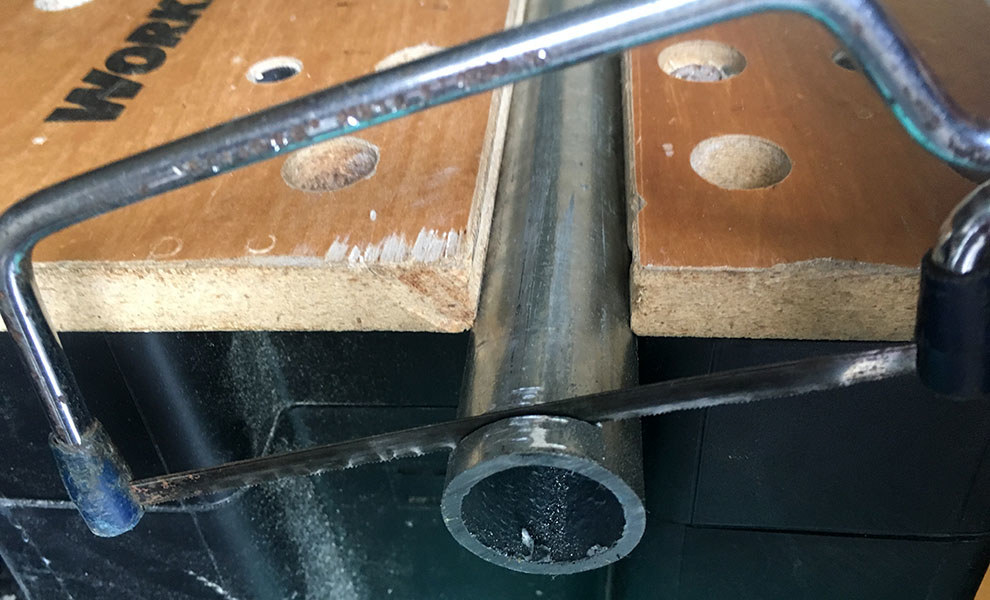
It turns out when calculating the length of the braces I hadn't left sufficient room for the internal depth of the swivel tee clamp, meaning my godforsaken tube was 1cm too long. How I slammed my fists on the wall and wept! Curse GCSE maths and hostile entities both.
I was not about to let evil run riot over my storage dreams. On the hottest day of the year, with souls of the damned about to breach the very fabric of our realm, I clamped the tube into my workbench and went to town with my trusty junior hacksaw. Twice.
8. Try and try again
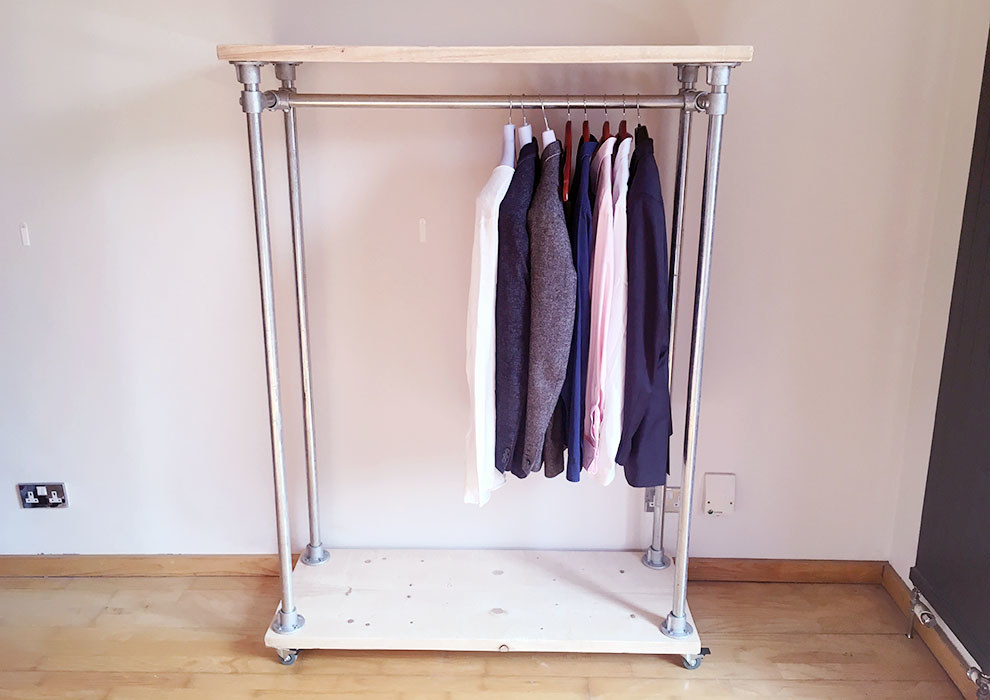
An hour of hacking and sawing later, the tubes were the right length, and I clamped them in place. I added the 105cm clothing rail across the middle, then slotted the top shelf on to the upright poles, tightening all the grub screws with an allen key.
With the frame assembled, I hung some clothing on the rail to test it out, and dropped to my knees in joy. It worked! A functional hanging space with ne'er a side nor a door to provide sanctity for the manifestations of my nightmares!
Feast upon this minimal, Pinterest-friendly furniture design, demons:

Today I mostly made this ð
All up, the clothing rail cost me around £80, not including shipping costs, which will vary depending whether you exist on the same mortal coil as I do. This saved me 75% against similar designs I found online, while simultaneously smiting the armies of the dead.
I'm not saying all wardrobes are evil, nor that they all facilitate the passage between our world and other, less friendly ones, but they are definitely up to no good.
So beware, and next time you look at your wardrobe, ask yourself: Who is watching whom..?