
Here are the tools you'll need:
- Base coat
- Black nail polish (we used Essie Licorice)
- Matte top coat (we used OPI Matte Top Coat)
- Nail wraps (we used Sally Hansen Glitter Strips in Bling It On)
- Nail scissors
- (Optional) Pre-glued nails (we used Patricia Inspire nails)
You can paint directly on your natural nail, or you can use pre-glued nails, which can make art much easier. Follow these instructions if you're going to use pre-glued nails.
Step 1: One at a time, cut the nail wrap stickers into 10 long, isosceles triangles.
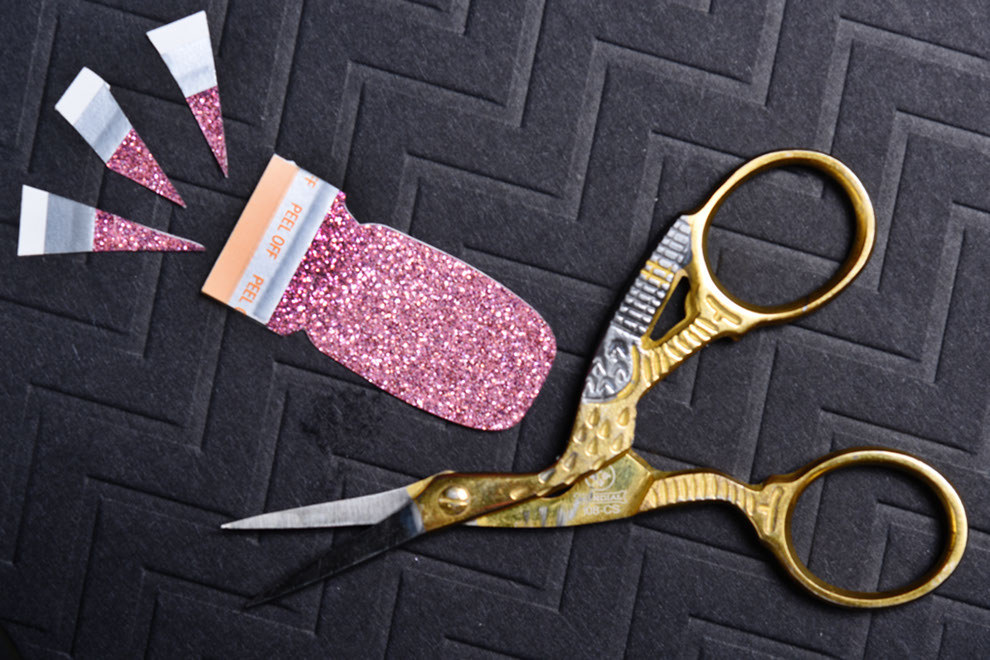
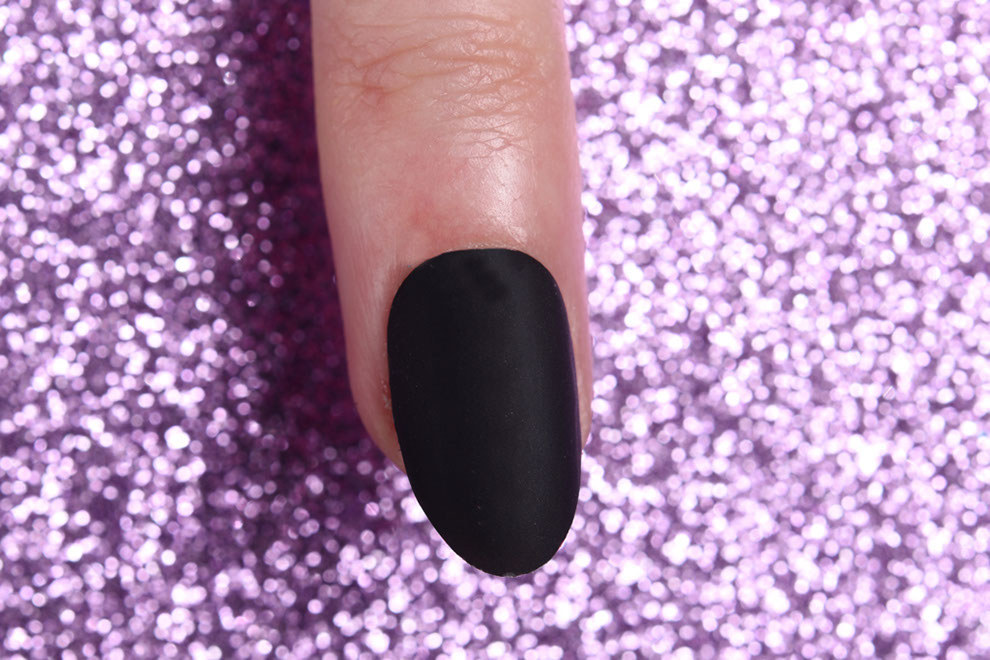
Step 2: After painting a clear base coat, use two layers of black nail polish on your nails.
Step 3: Peel off the sticker back of the nail wrap.
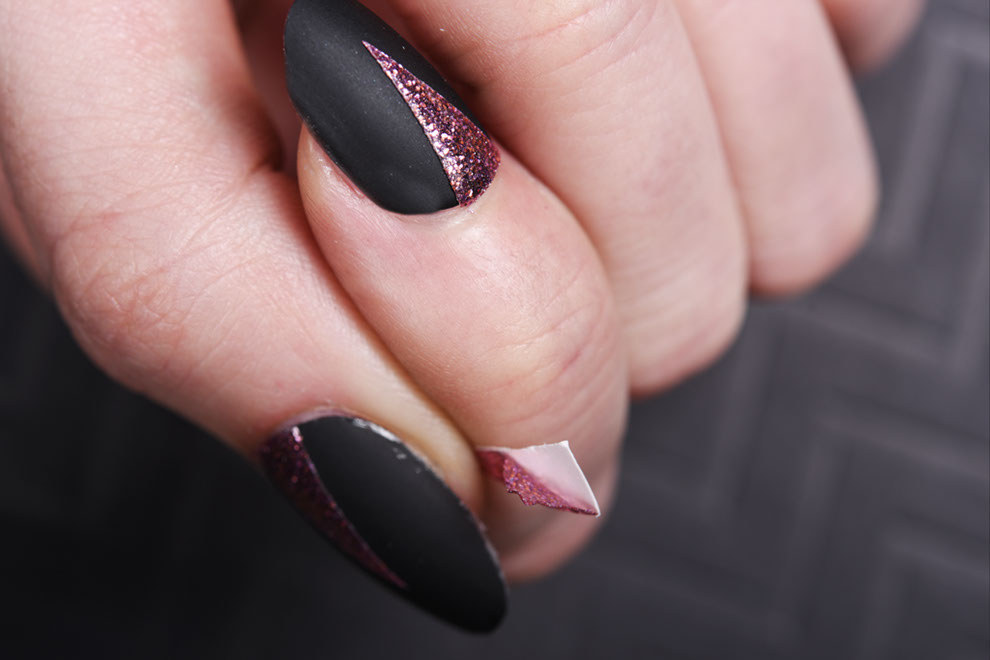
Step 4: Place the sticker on your nail.
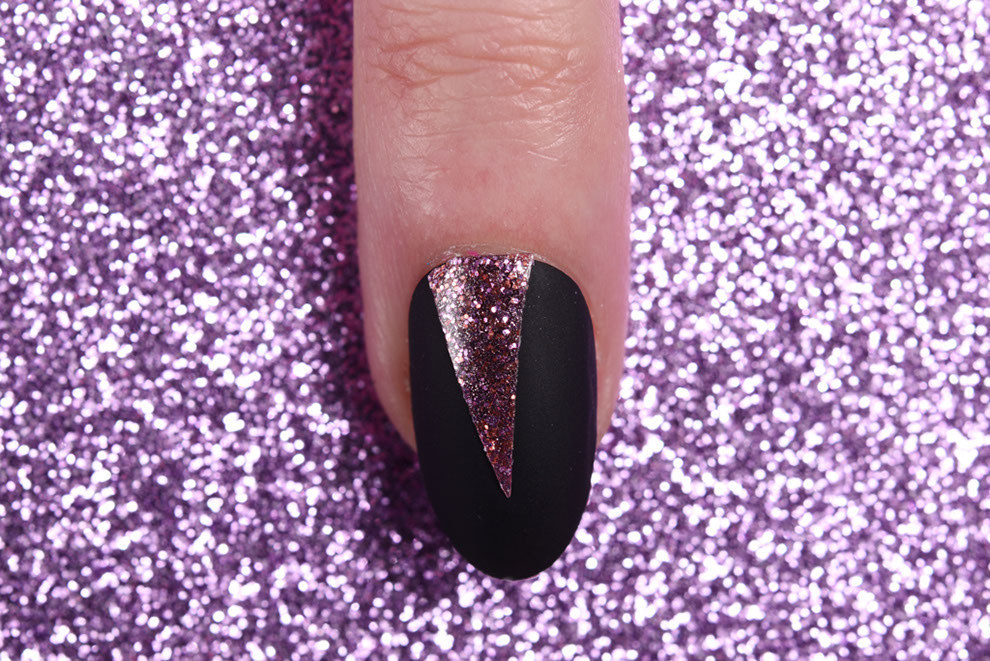
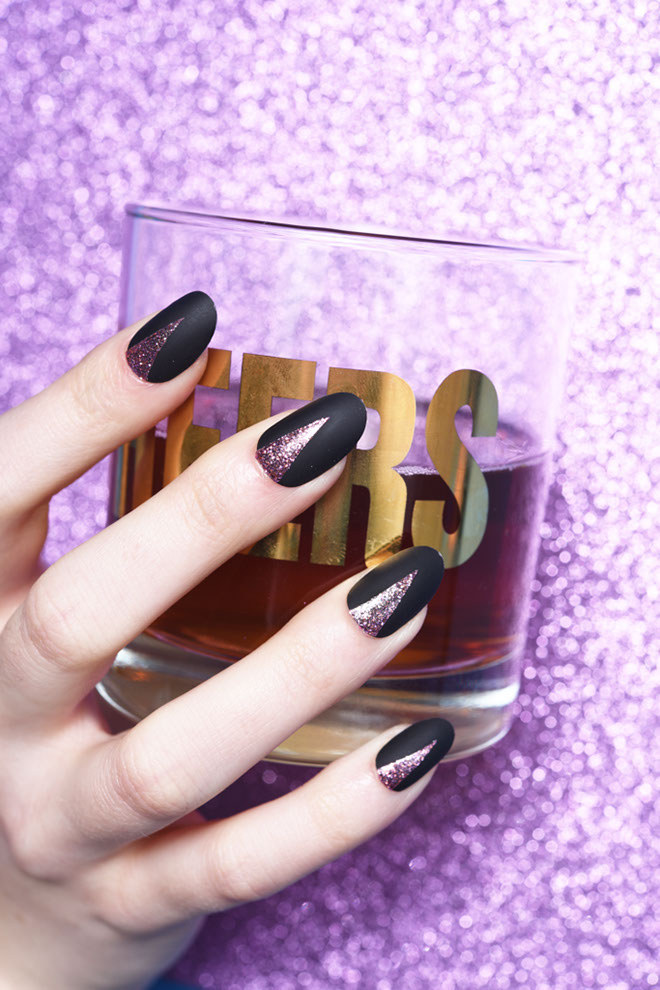
Cheers to you for having these ~baller~ nails!
Find more wedding nail art ideas here.
Nail Artist: Miss Pop Nails
Patricia Inspire Nails were provided to BuzzFeed Life free of charge.
Cheers glass was provided to BuzzFeed Life free of charge.
