
What You'll Need
-Scissors
-Black Permanent Marker
-Colored Permanent Markers
-Hole Punch
-Aluminum Foil
-Baking Sheet
1. Download and print the template of your choice.
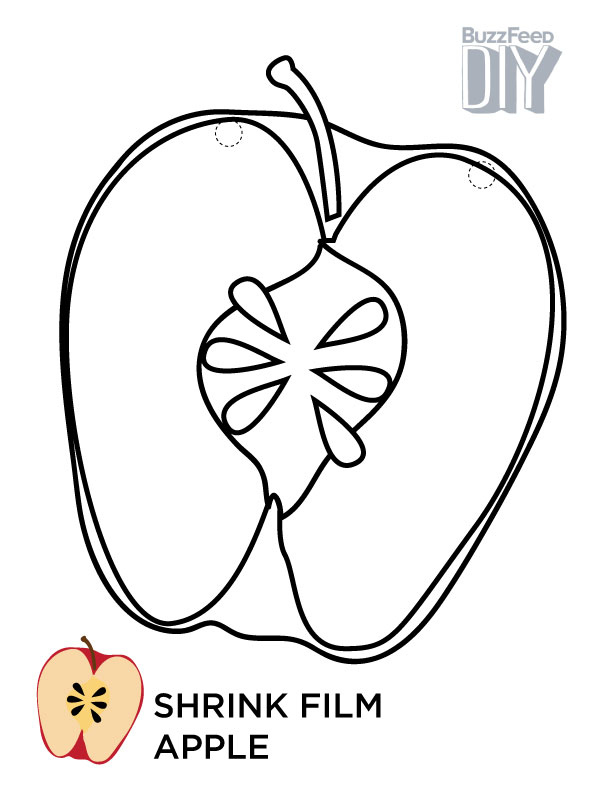
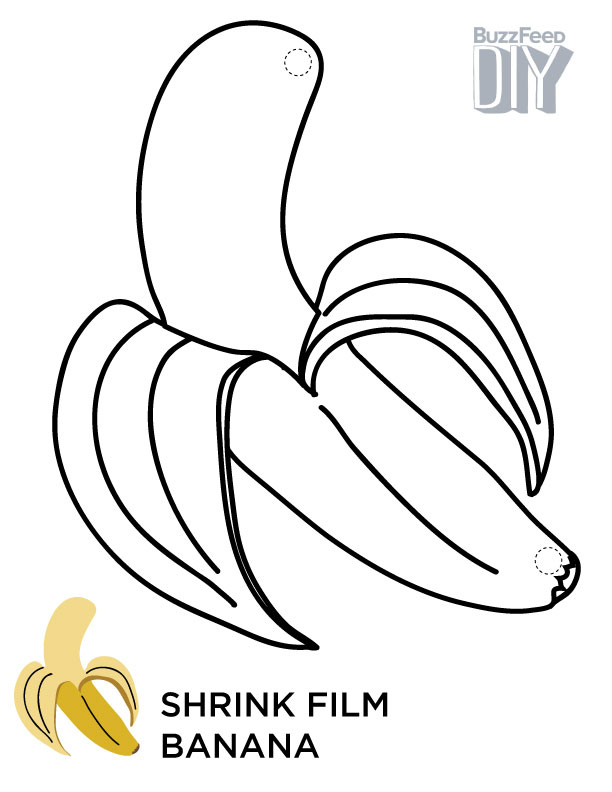

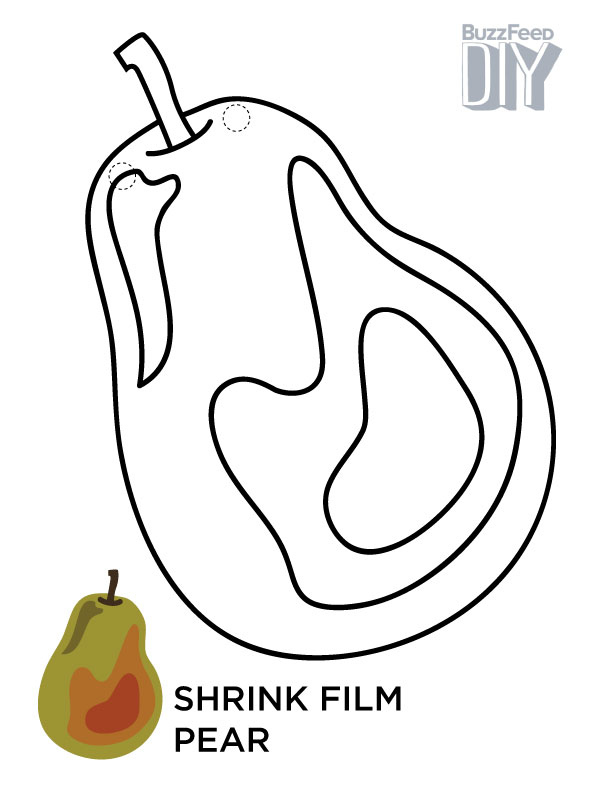
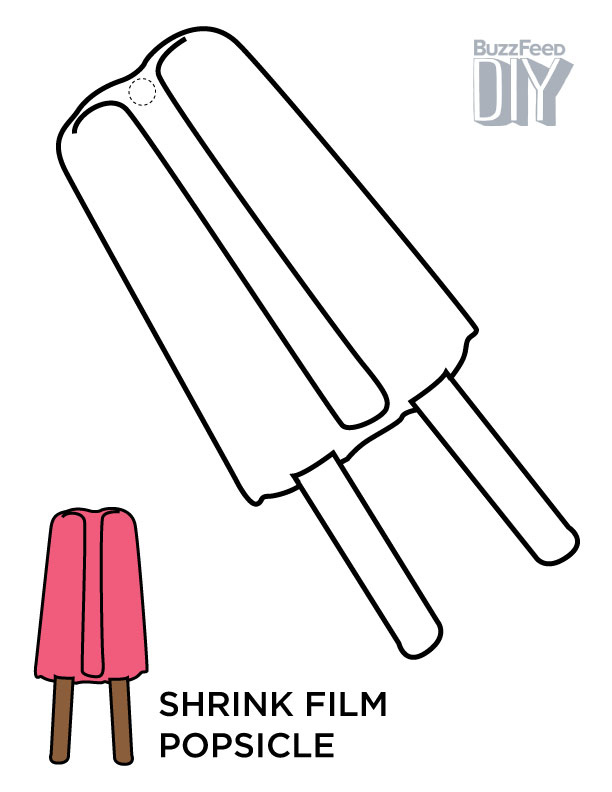

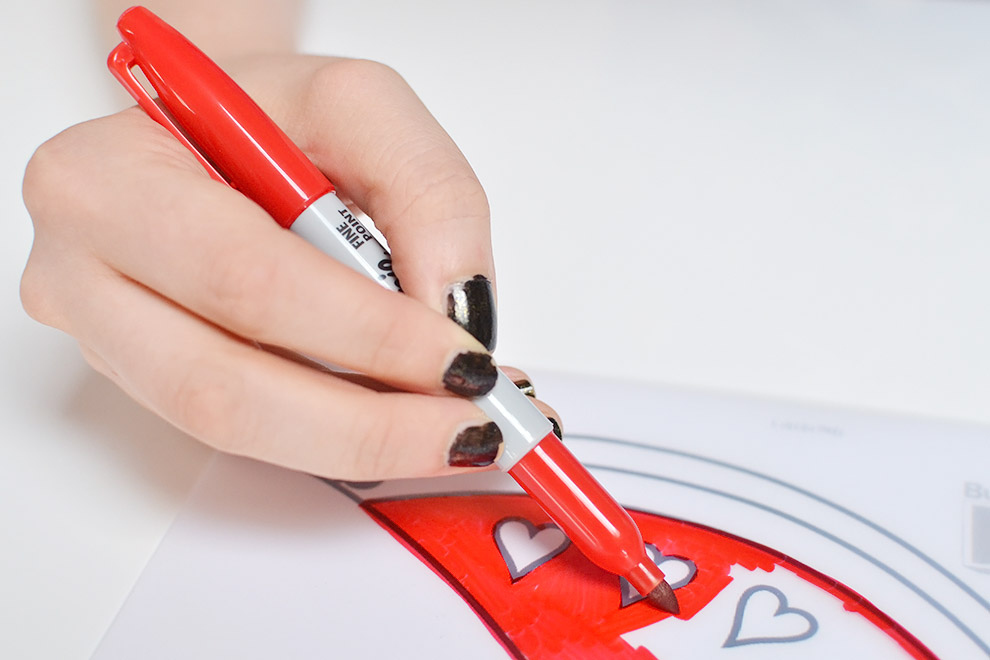
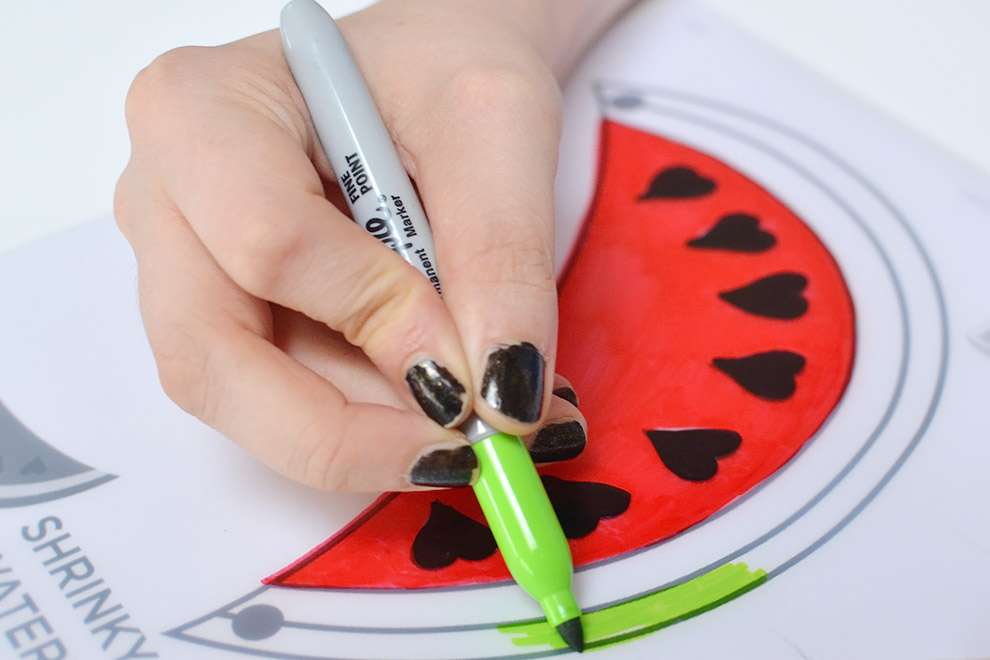
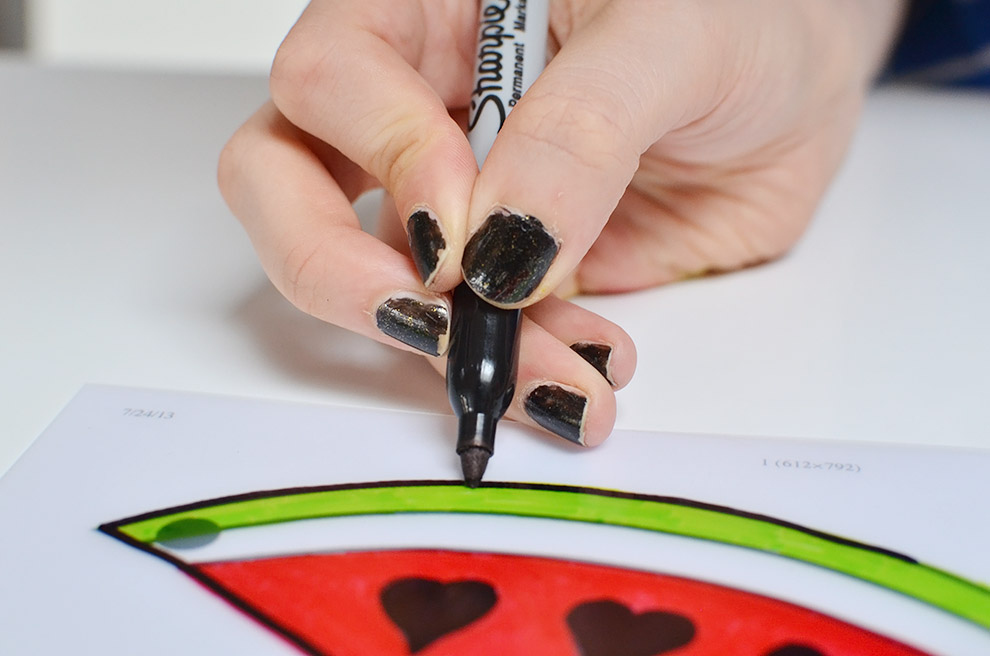
2. Place the shrink film on top of the template. Using your permanent markers, trace each part, one color at a time.

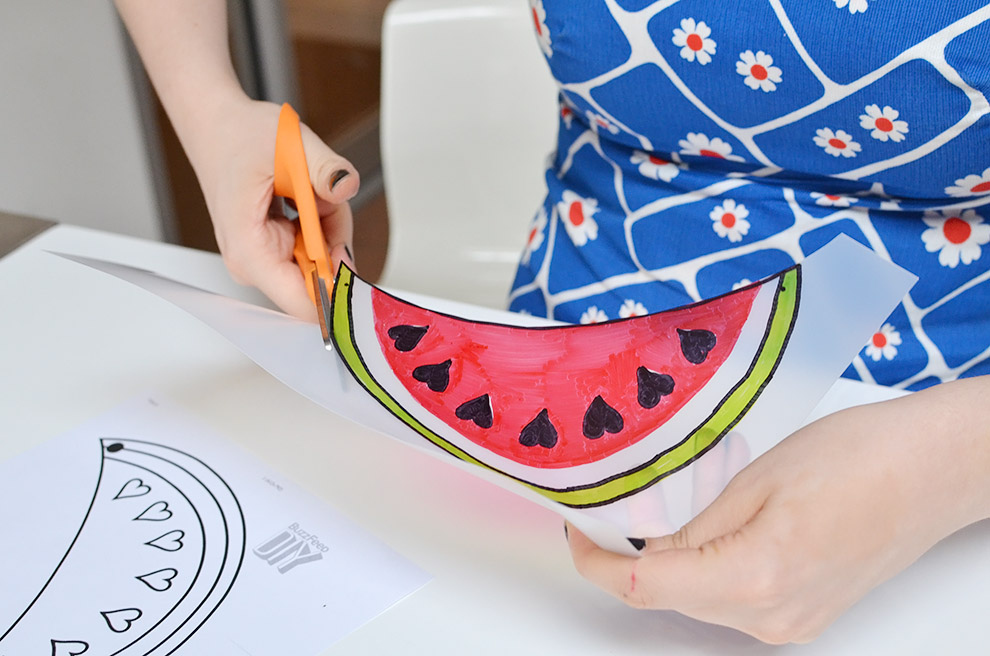
3. Once you've finished coloring, make a small mark about 1/4 inch from the edge.

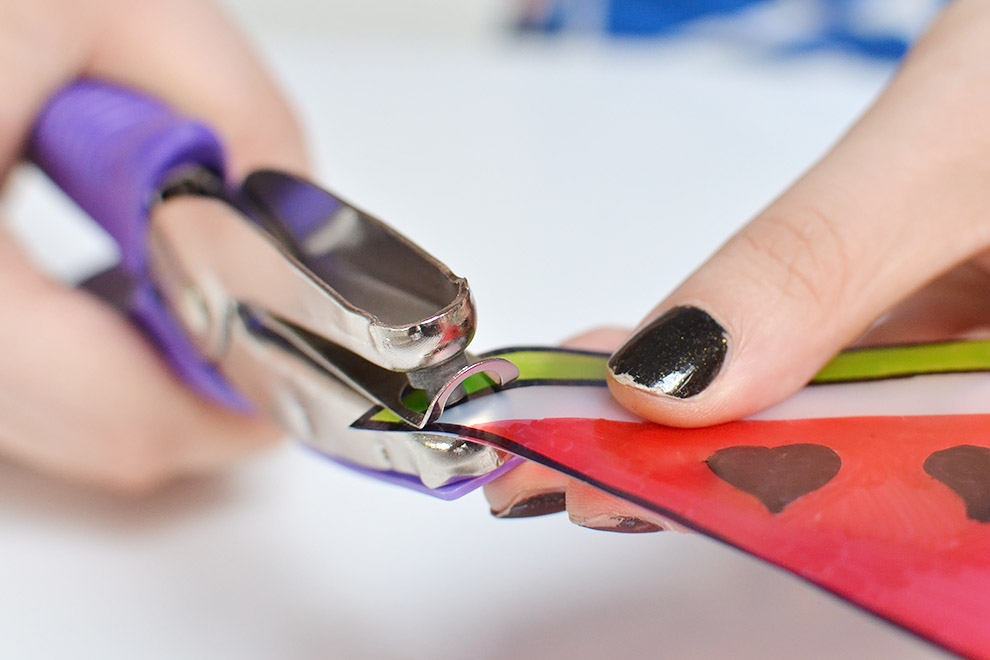
4. Carefully cut out the shape.
5. Punch a hole on each side, where you placed your marks.
6. Preheat your conventional or toaster oven to 325 degrees fahrenheit.
But be sure to check your shrink film package instructions first, in case it requires a different temperature.
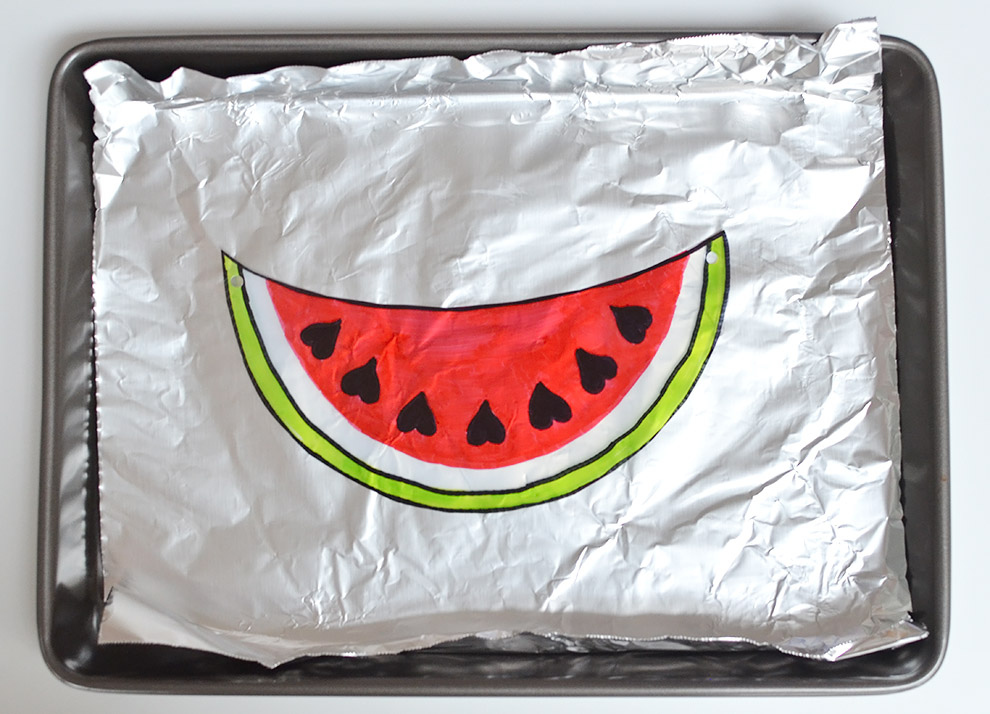
7. Place your cutout, ink side up, on top of a foil covered pan.
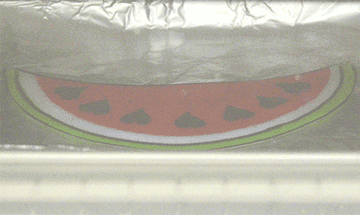
8. Pop into the oven and bake for 1 1/2-2 minutes. It should reduce in size by about 2/3 and do something like this:
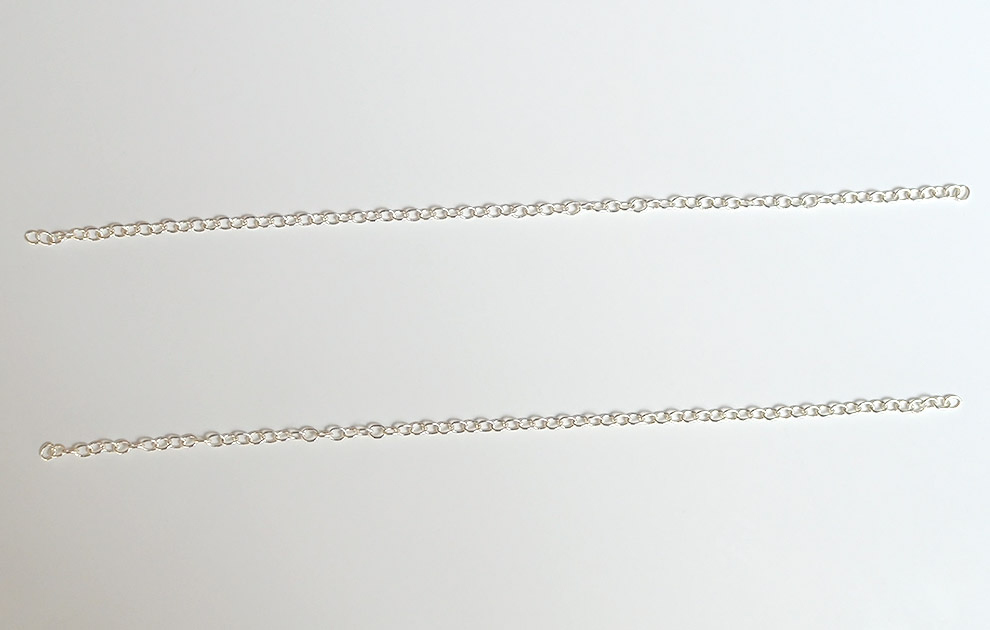
9. Cut two pieces of chain, about 7 inches long each.
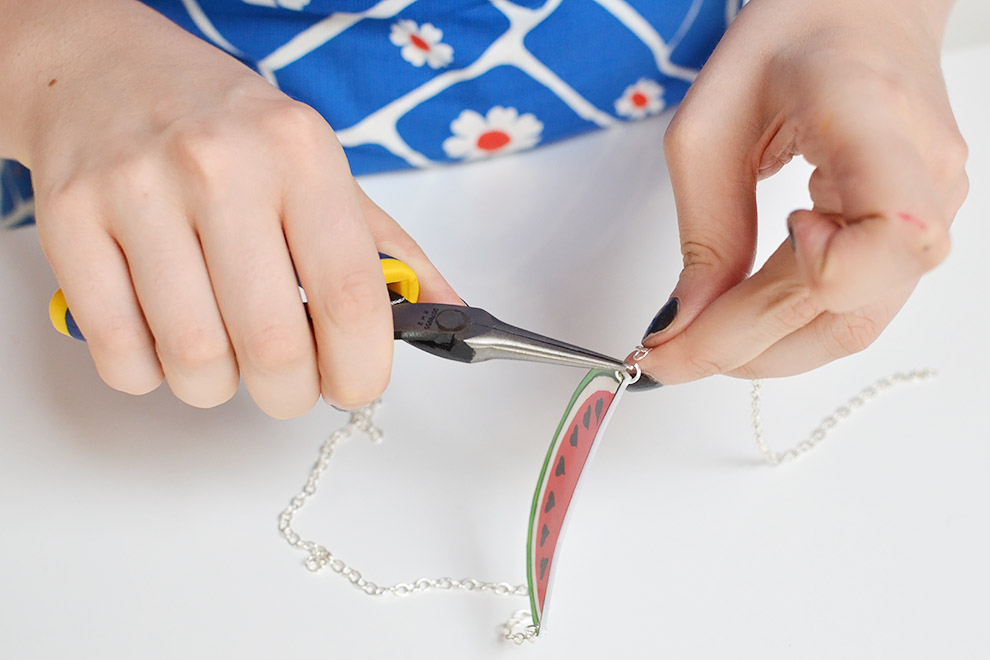
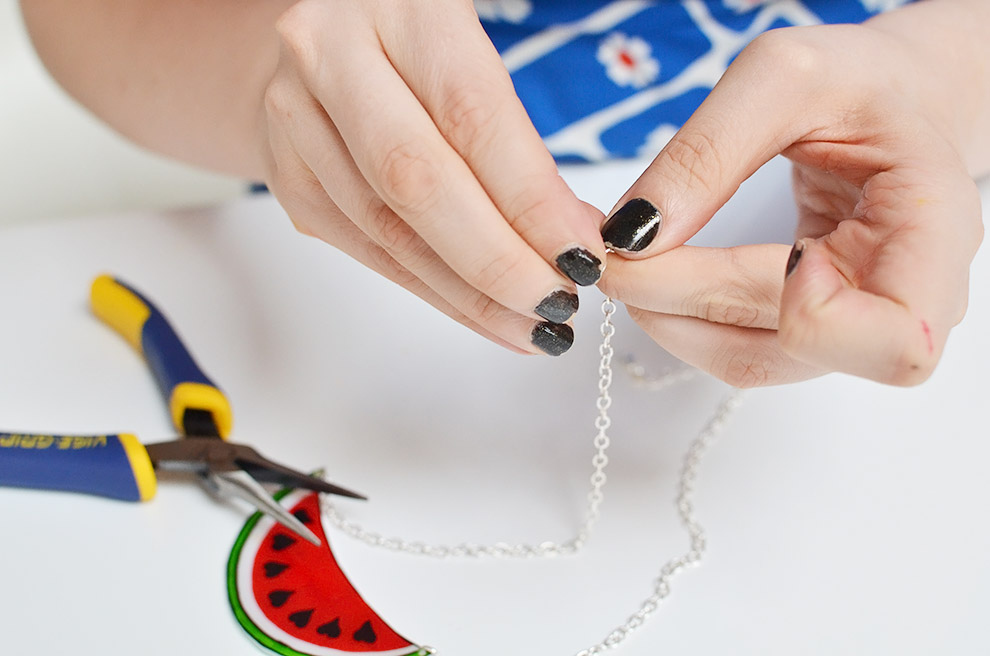
10. Using your needlenose pliers, place a jump ring through a piece of chain and then through the hole on one side of the fruit.
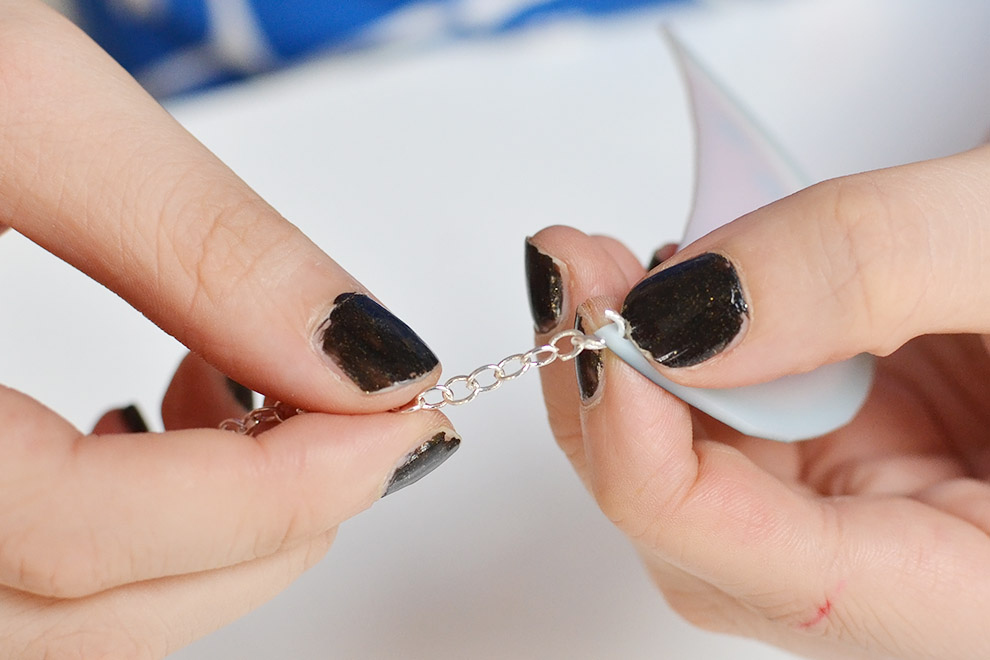
11. Secure with the pliers.
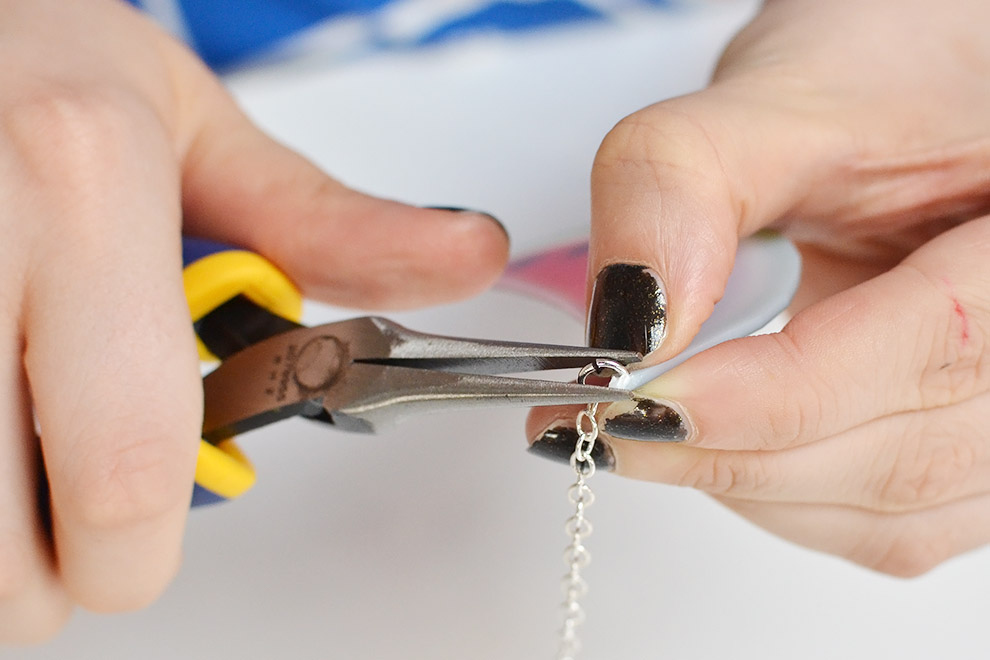
12. Repeat on the other side.
13. Use another jump ring to attach the clasp to the chain.
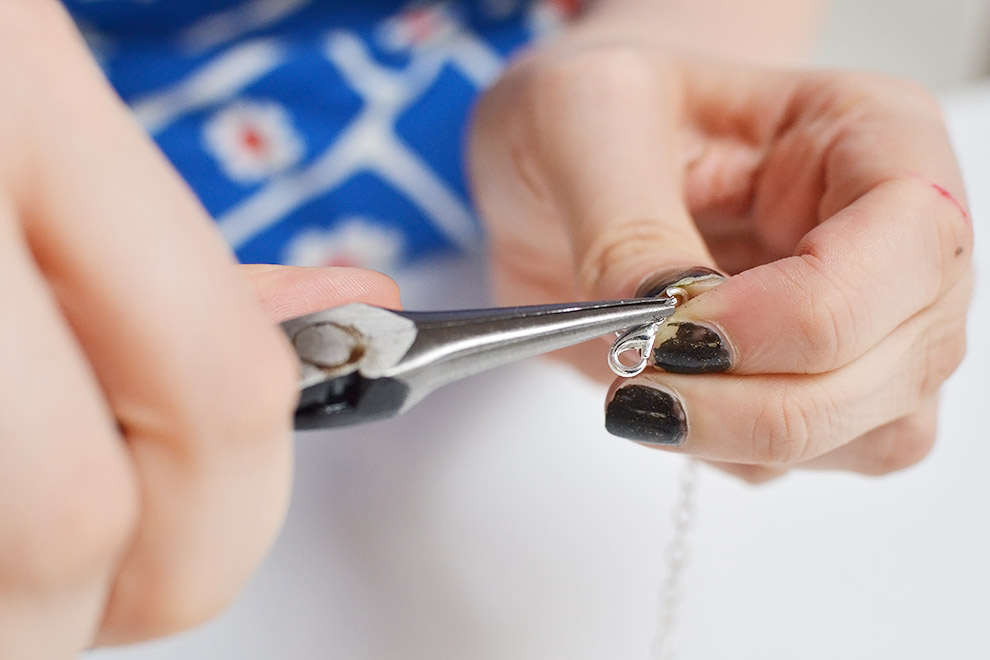
14. Attach another jump ring to the unfinished end of chain.
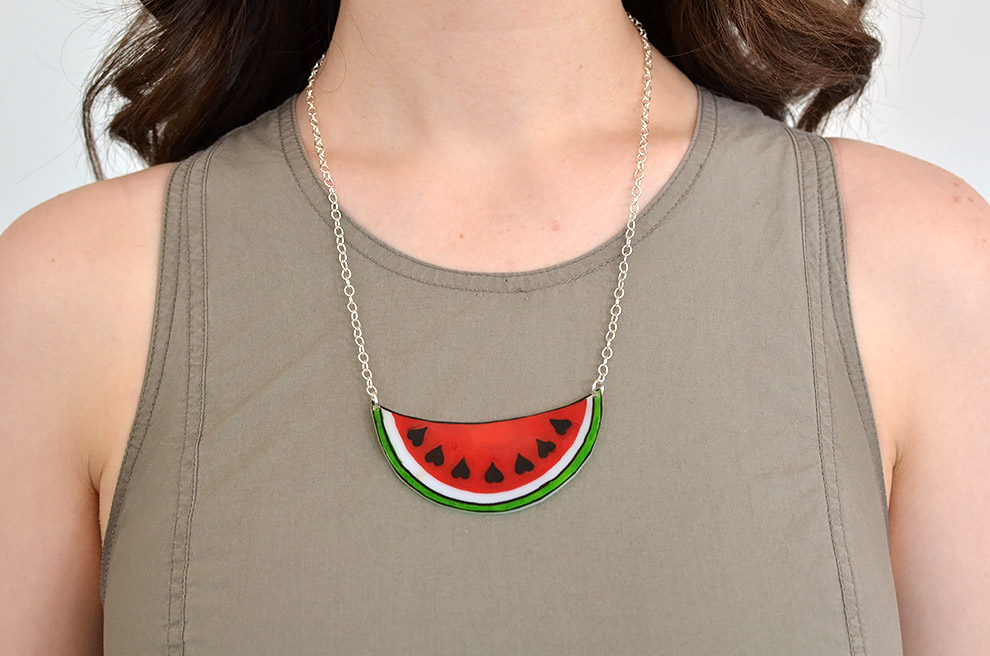
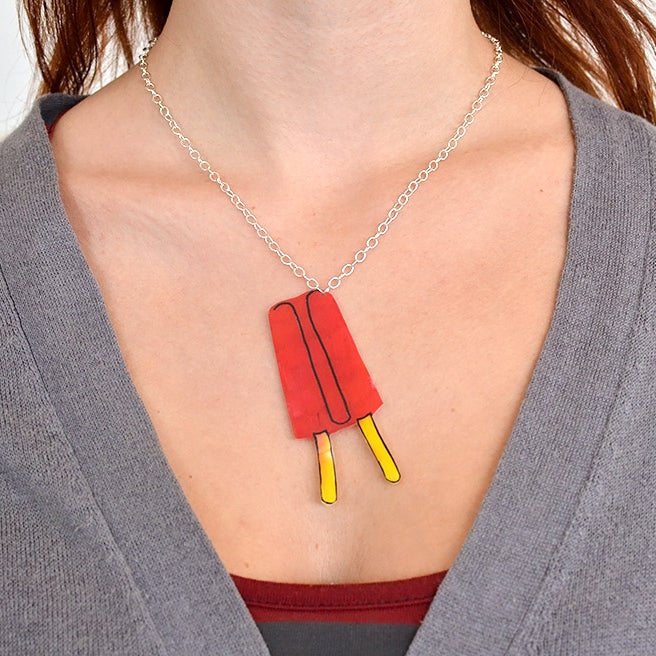
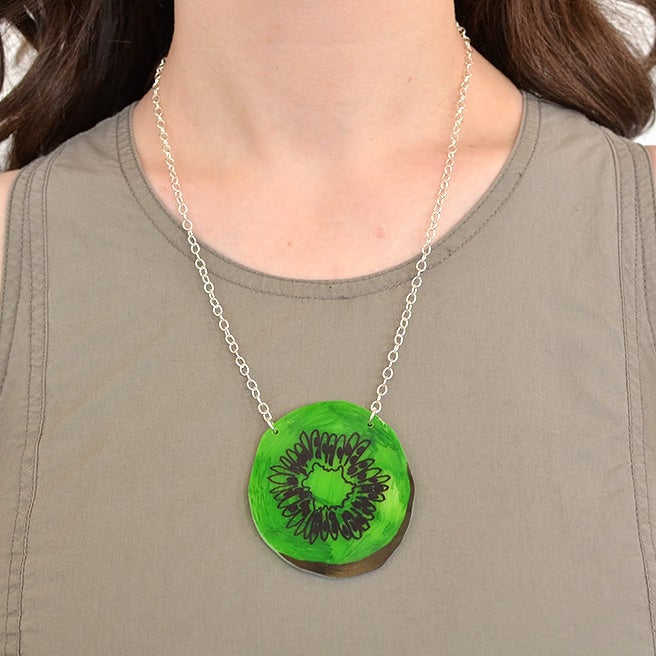
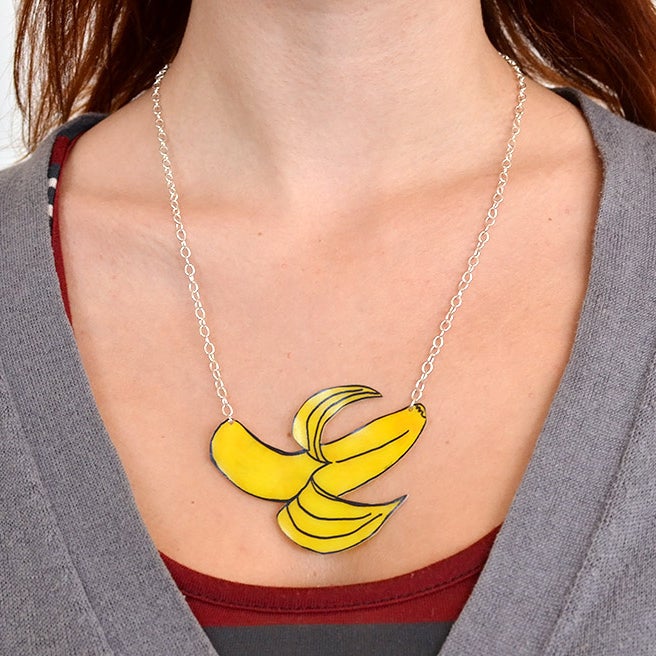
It's ready to wear!