
Important note before we begin: I did this experience at the end of January 2020, before the COVID-19 outbreak, which is why the following client photos in the salon are taken without masks/protection.
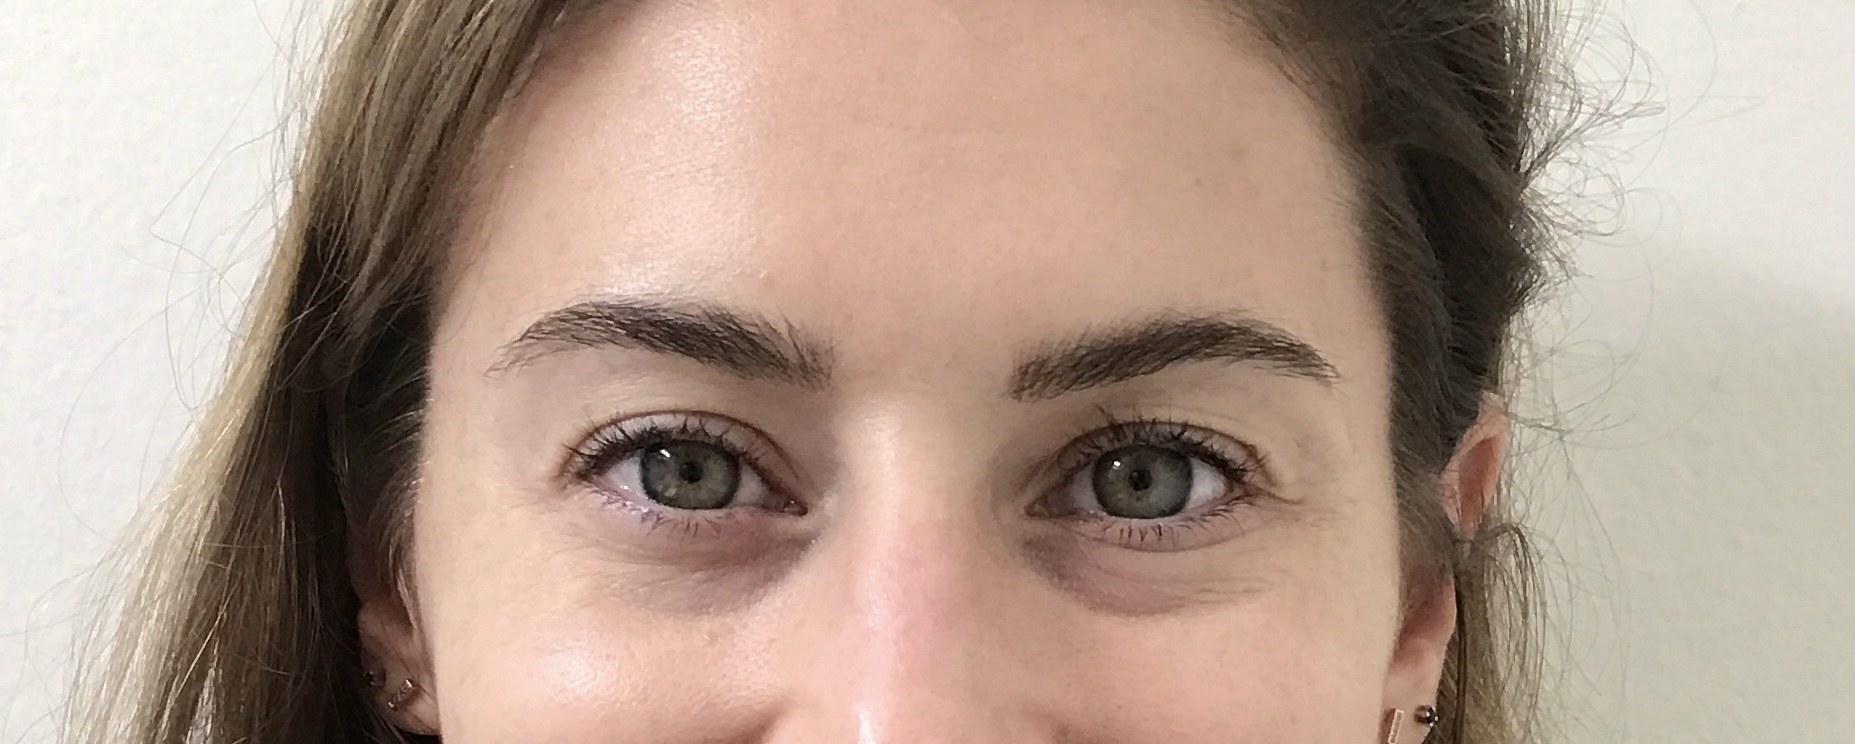
Hi all, I'm Farrah. At the beginning of the year, I became interested in microblading, but I couldn't find anyone who documented their full journey from day one to day 30. As someone who was curious and wanted a more ~even~ brow look, I decided to try it.
I live in Los Angeles and via the internet, I heard about Audrey Glass Cosmetic Tattoo. At the time, she was right down the street (since COVID, the only location that remains running is her Orange County salon.) After seeing her incredible brow transformations, I booked my appointment.

Before we got started, I interviewed Audrey to learn everything I could possibly want to know about the microblading experience. So if you're thinking about trying it, here's some good information to have beforehand:
- It's best to come into your microblading appointment with your brows as natural as possible. This means no plucking, waxing, or threading for about four weeks. This allows your microblading professional to see where your natural hair patterns are in order to give you the best result.
- The healing processes takes 30 days, so don't do this right before a big event.
- The microblading lines will look thicker during the healing process for the first two weeks, so don't freak out if it's bolder than you expected.
- There shouldn't be any scabbing during the healing process. This is a myth.
- You'll be numb during your appointment. Because of the process that Audrey uses, I barely felt the blade during my treatment.
- The entire process takes between an hour and a half to two hours.
- Aftercare requires cleaning your brows with water and a paper towel, then patting it dry. I also received lotion to put on first thing in the morning.
- You'll want to avoid very hot showers after your treatment. You can still shower, but make sure the water isn't blasting on your face. Don't use a washcloth on your brows.
- Like hairstylists or tattoo artists, every microblading professional is different. Audrey suggests doing your research. Unfortunately, there have been cases where microbladers steal other people's photos and claim them as their own, so make sure that the place you go to is legitimate.
I think a lot of people view this type of cosmetic service as vain, which is why I loved Audrey's response when I asked her how she got started in this line of work:
"I used to do makeup and absolutely loved eyebrows so it seemed like a natural progression. Microblading was also not mainstream back then, so there was something exciting about it not being known/popular yet," Audrey told Buzzfeed. "I have many clients that have alopecia, who battle trichotillomania, or are cancer survivors — and in all of those cases, it truly is life changing for the client. For some, eyebrows seem like a small detail in someone’s face, but once you lose them, you often don’t recognize yourself. And to bring someone’s confidence back by making them feel like themselves again is the most rewarding feeling in this industry."
Now, allow me to walk you through what my first appointment looked like:
Audrey was very informative about the entire process and told me what she was doing since I couldn't exactly see for myself. "The first thing you'll do is draw and map the brow for the client," Audrey explained. "Once that is done and approved by the client, I mark the drawn eyebrow with a surgical marking by making dots along the edge."
"While the dots are drying, I mix two pigments to color match the client’s natural brows — or roots if they have no eyebrows." Here's what Audrey's microblading tools and pigment mixture look like:
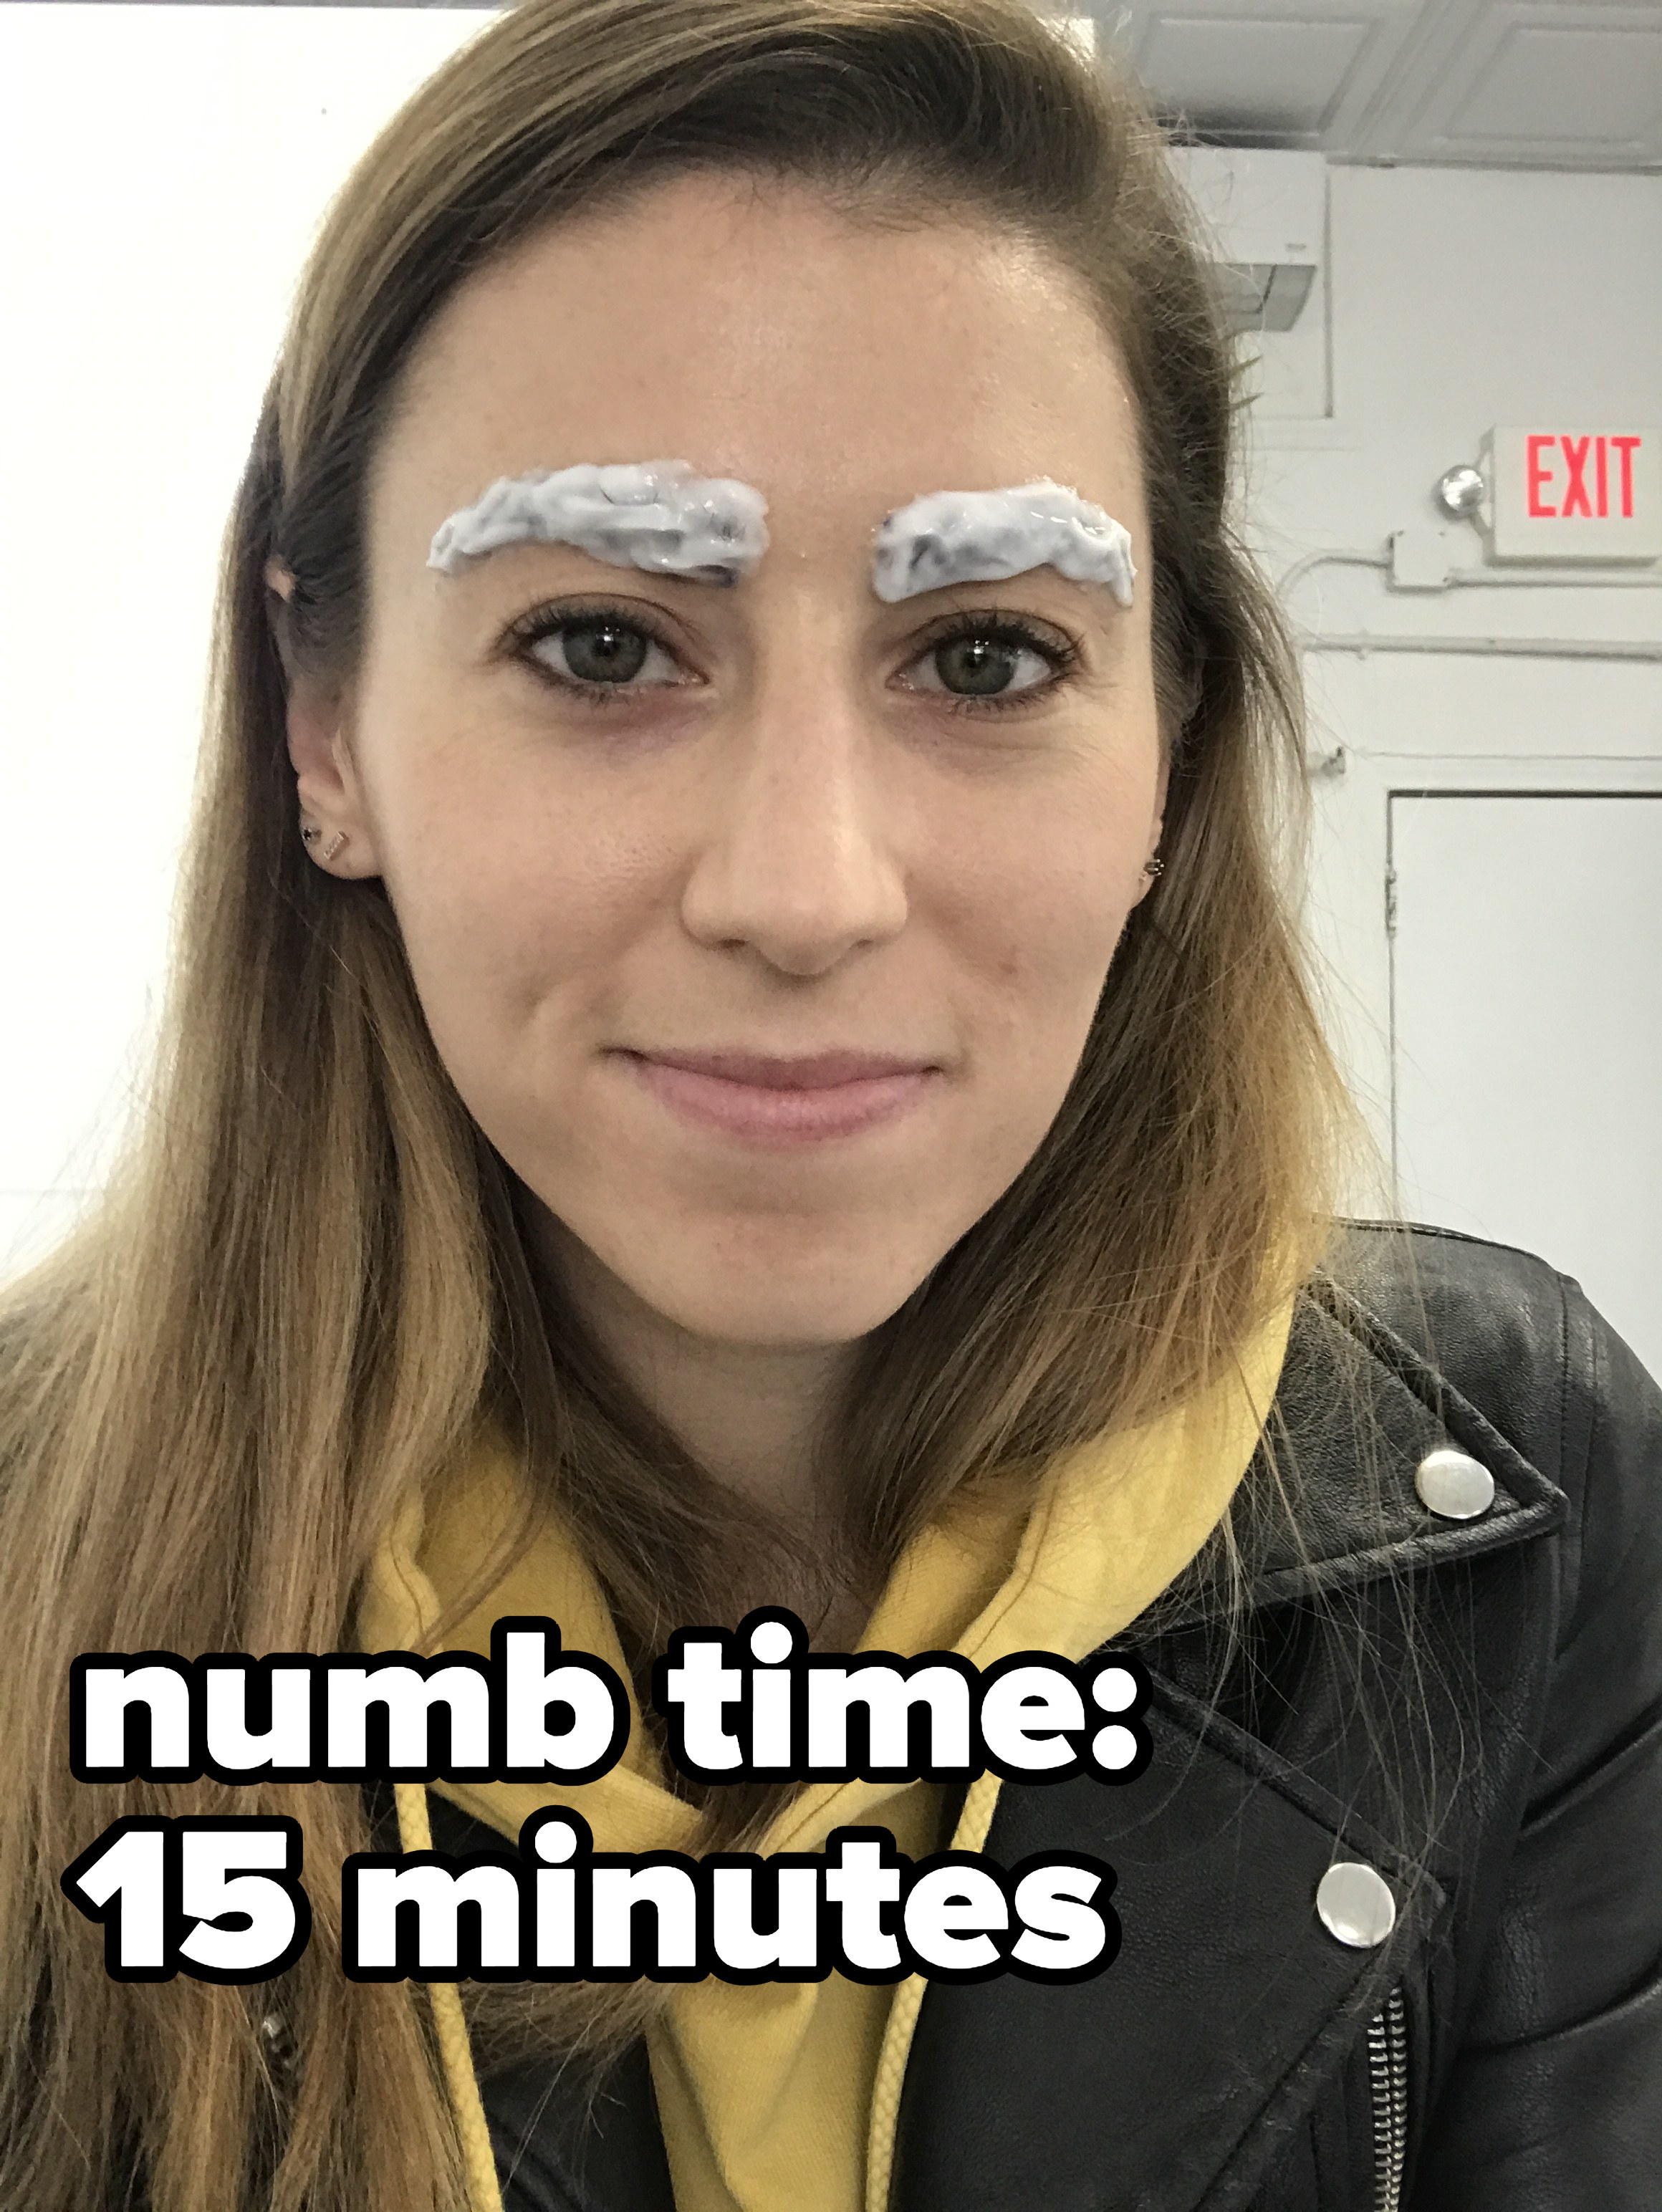
Audrey then applied a thick layer of topical numbing cream, which she leaves on for 10 to15 minutes."
The final microblading part combines applying the tattooed strokes followed by pigment, which Audrey details below.
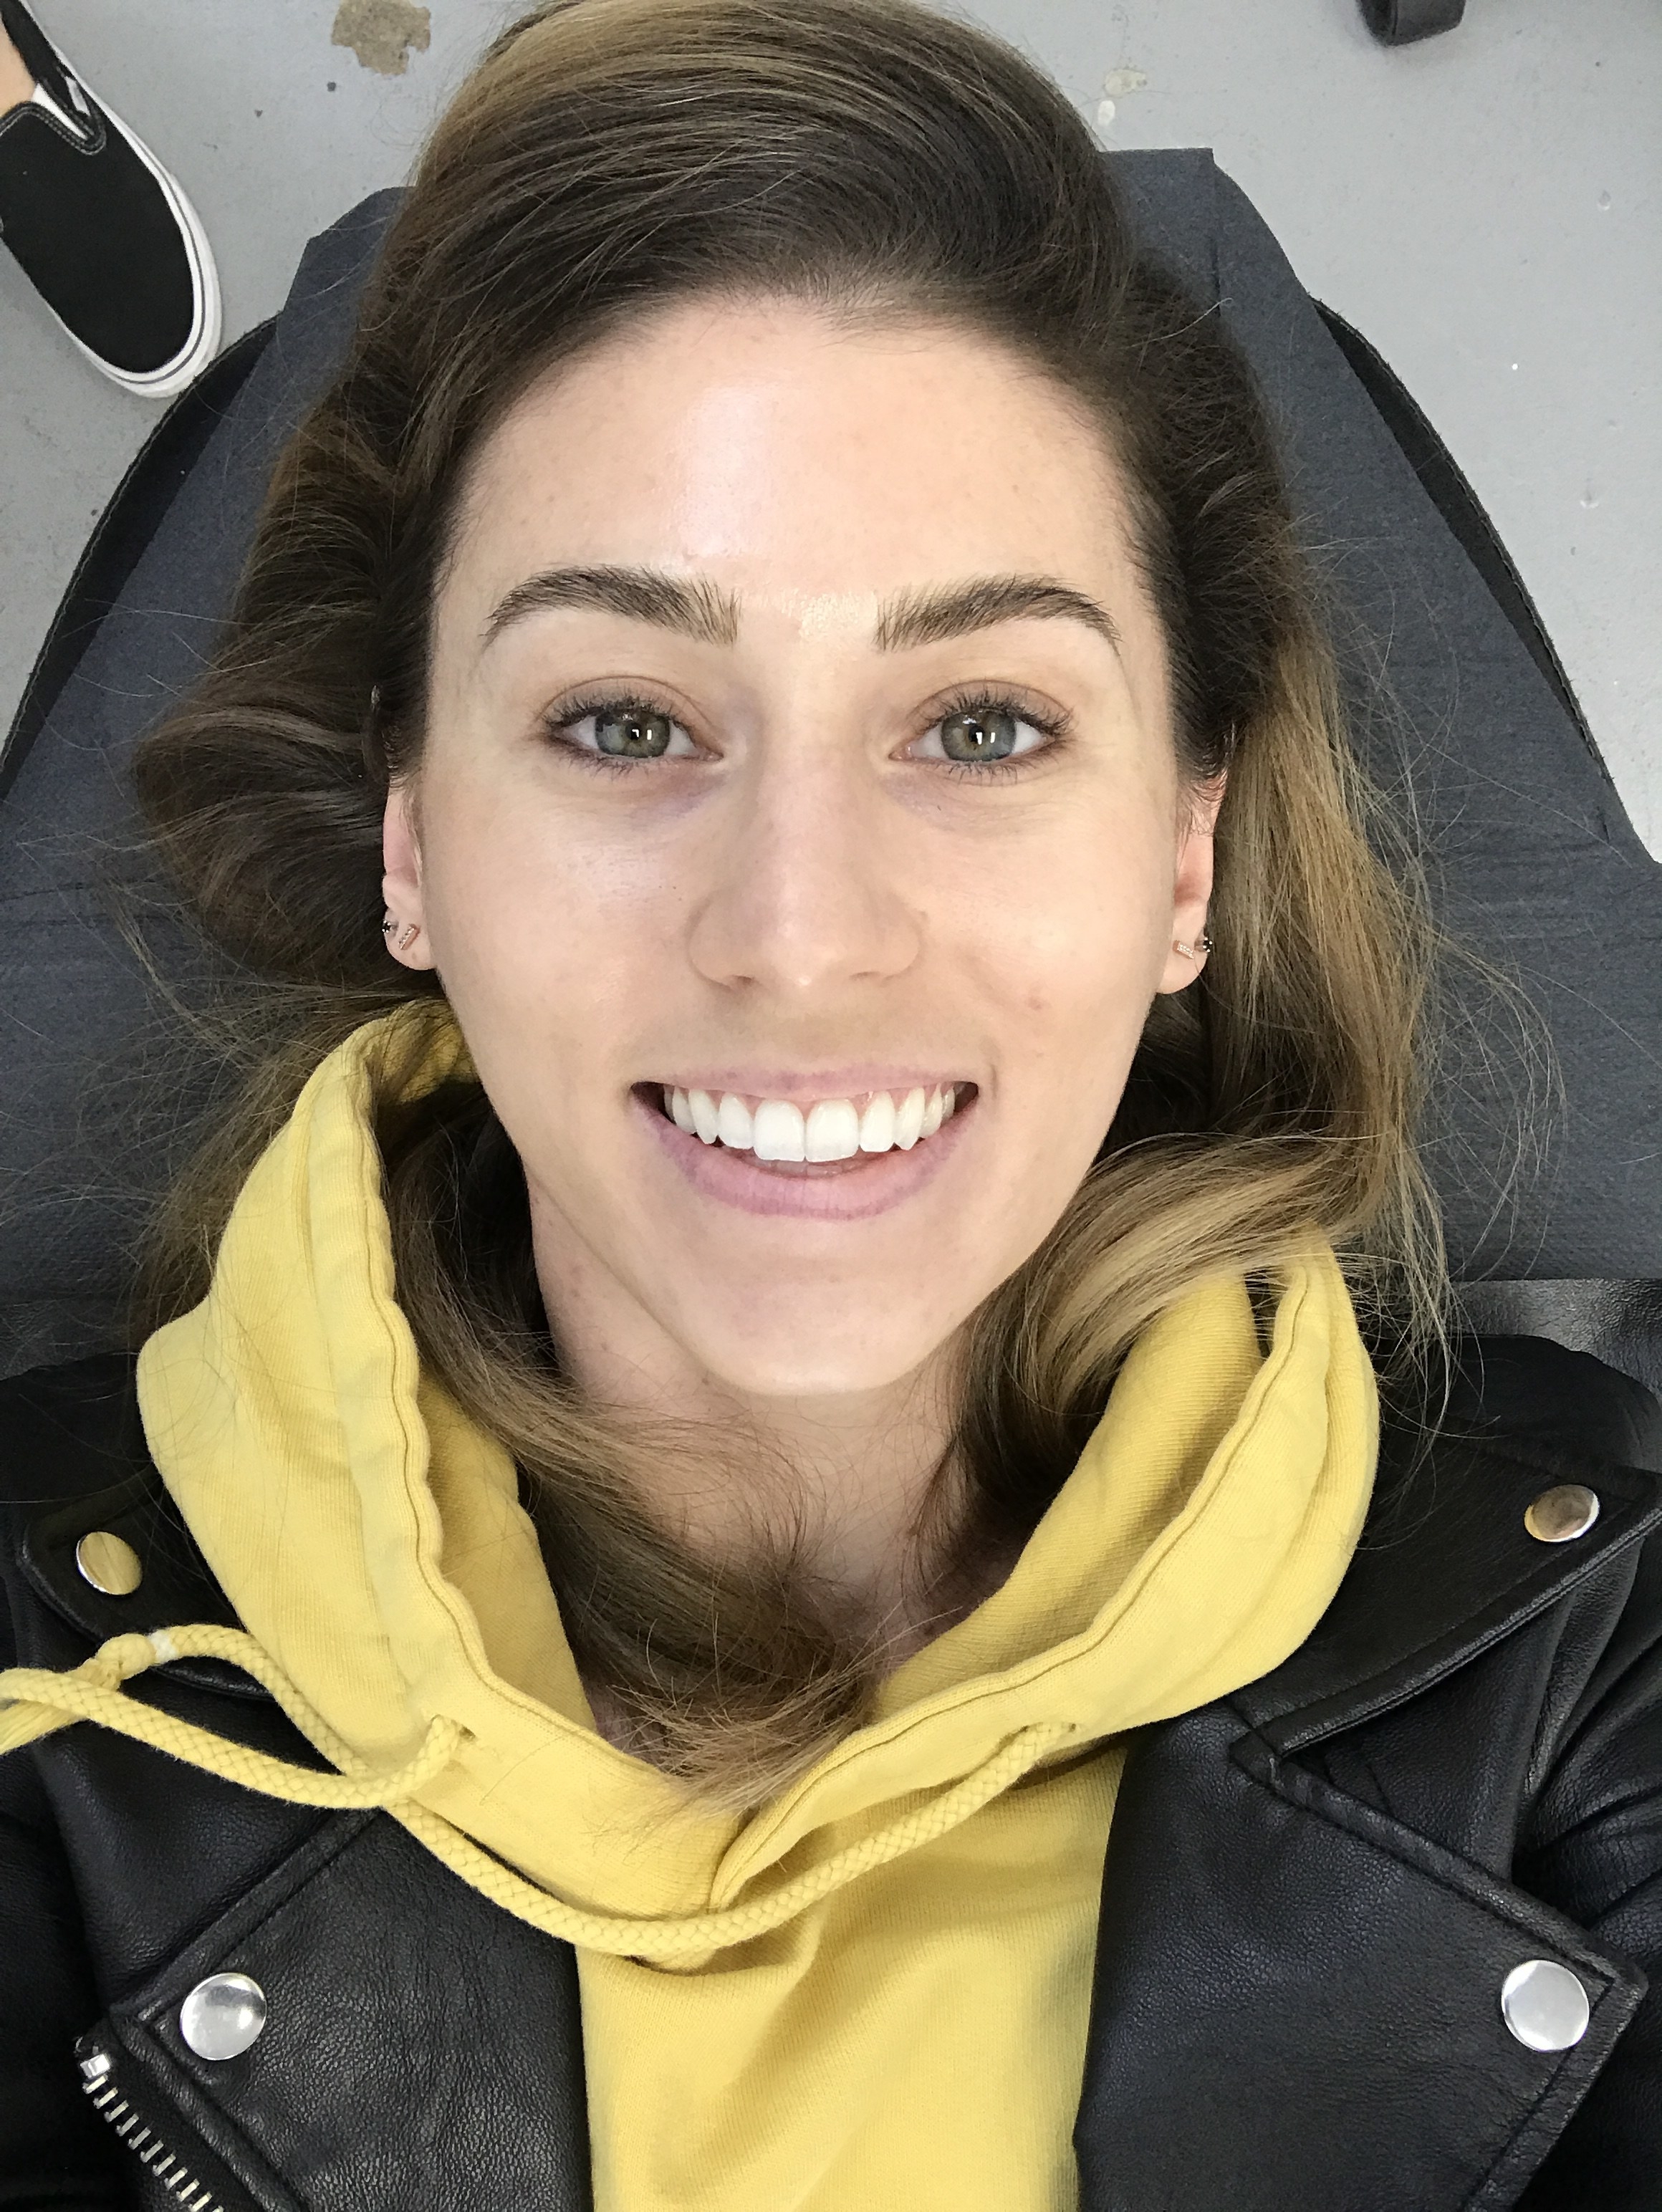
Here's what I looked like right after she was finished! "Once the microblading process is done, I reveal the new brows to my client (add anything if needed) then apply a barrier cream to protect them throughout the day. I send the client home with a little jar of the cream for them to apply in the morning for the first 5-7 days." You can find more detailed aftercare instructions on her website.
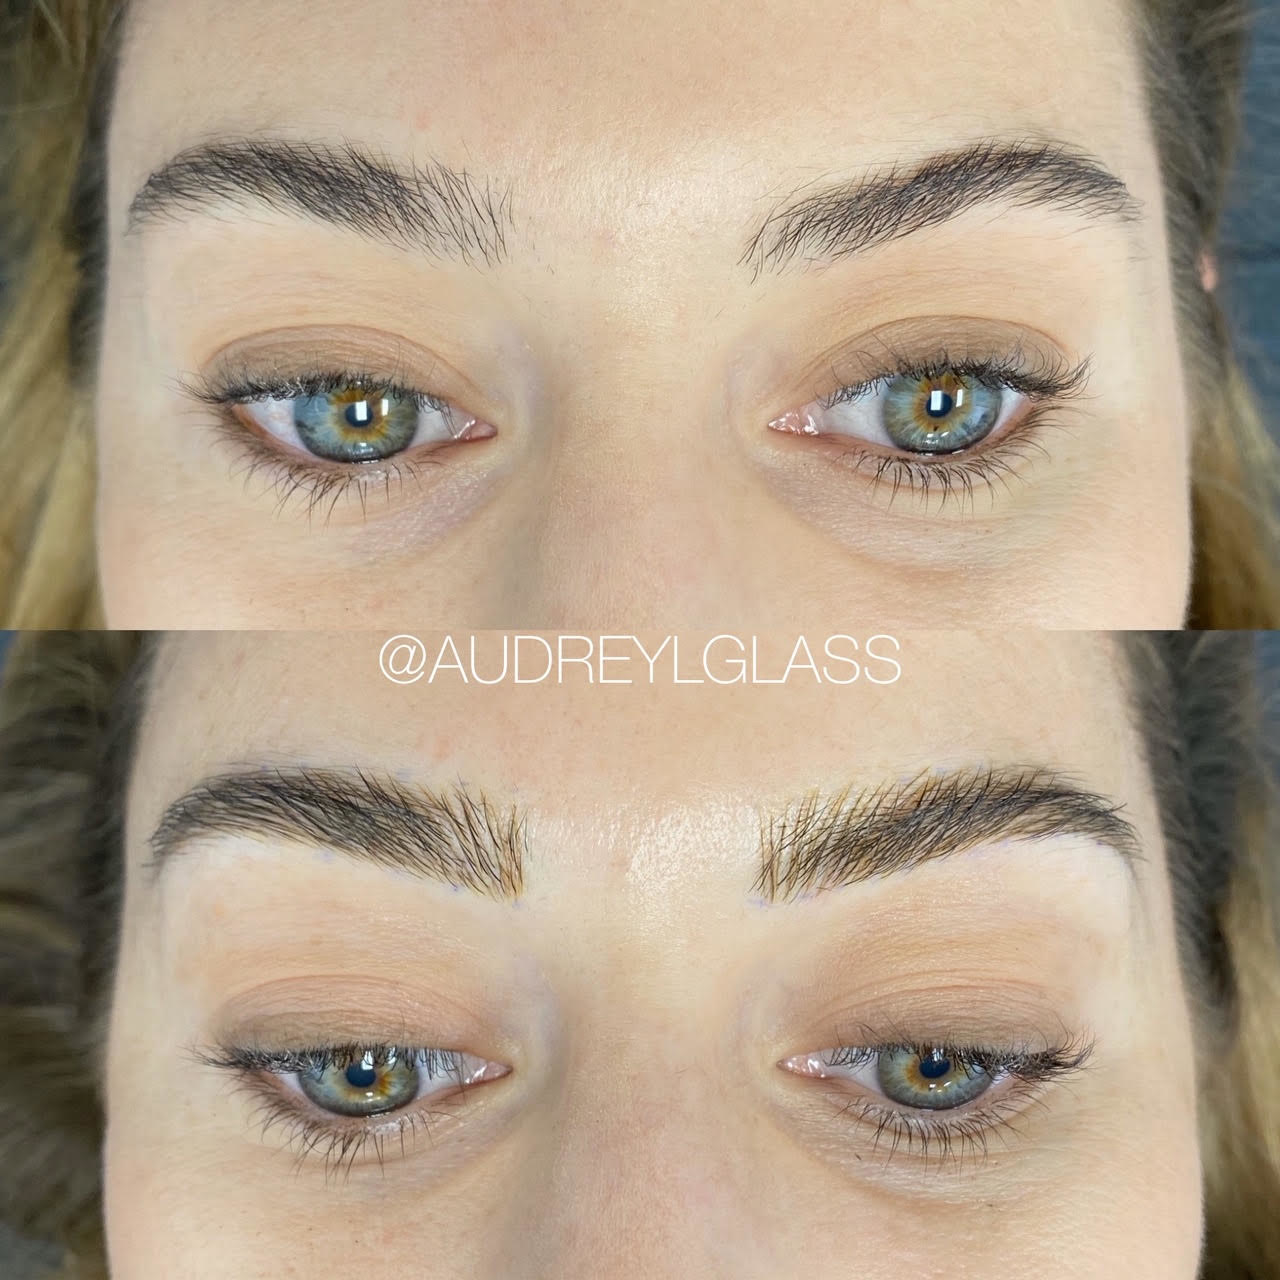
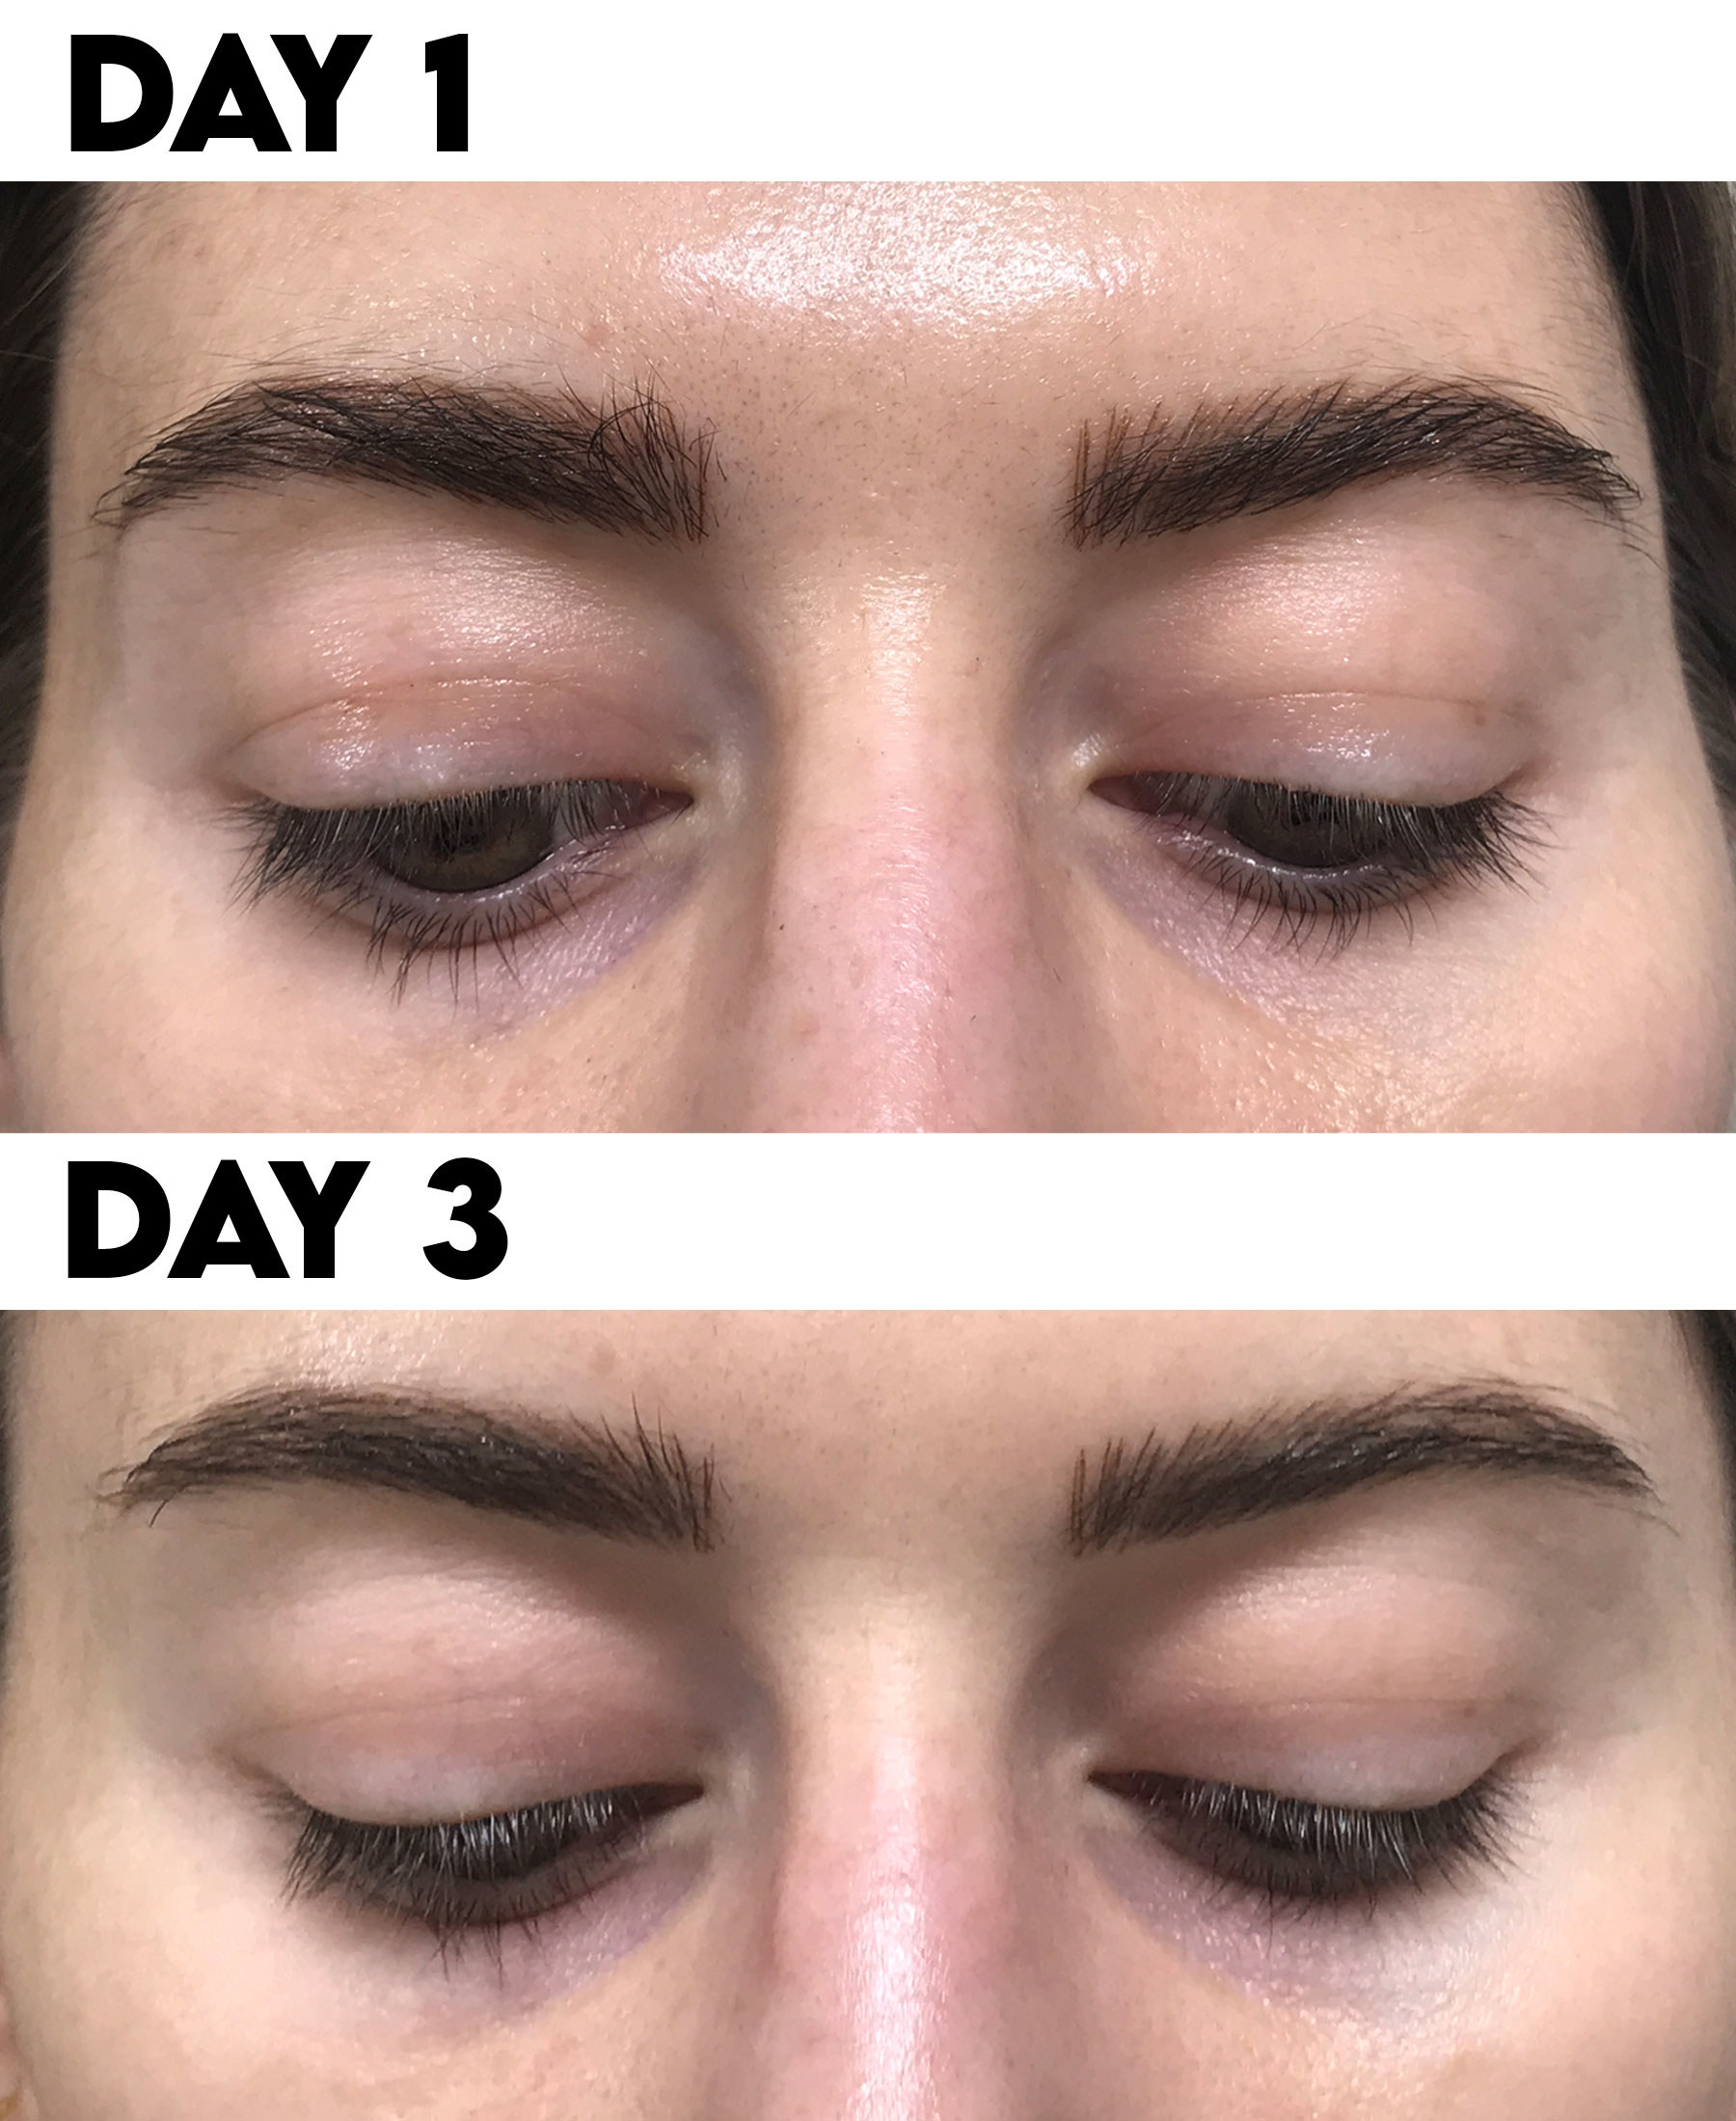
These are the before and immediately after photos that Audrey took, which reveal a dramatic difference, but I'm going to walk you through what 30 days of microblading healing looks like so you get the whole experience.
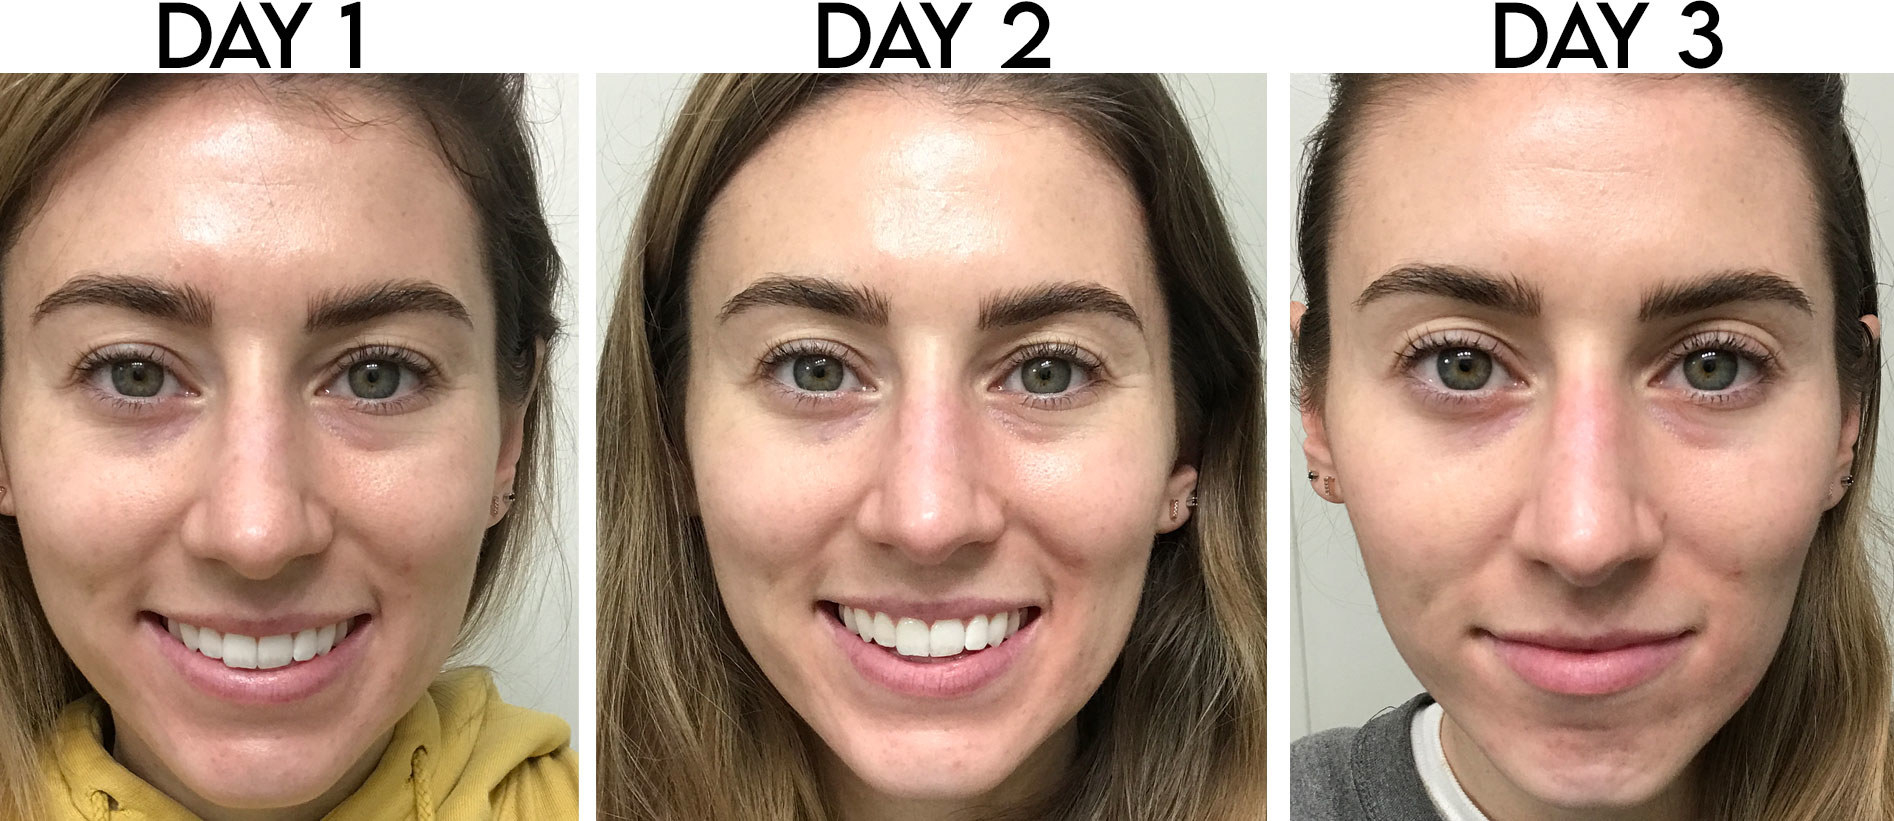
Audrey warned me that the pigment in the brows would become bolder and darker over the next couple of days while it healed, leaving a final result that was more natural. As you can see in the first three days, she was 100% right:
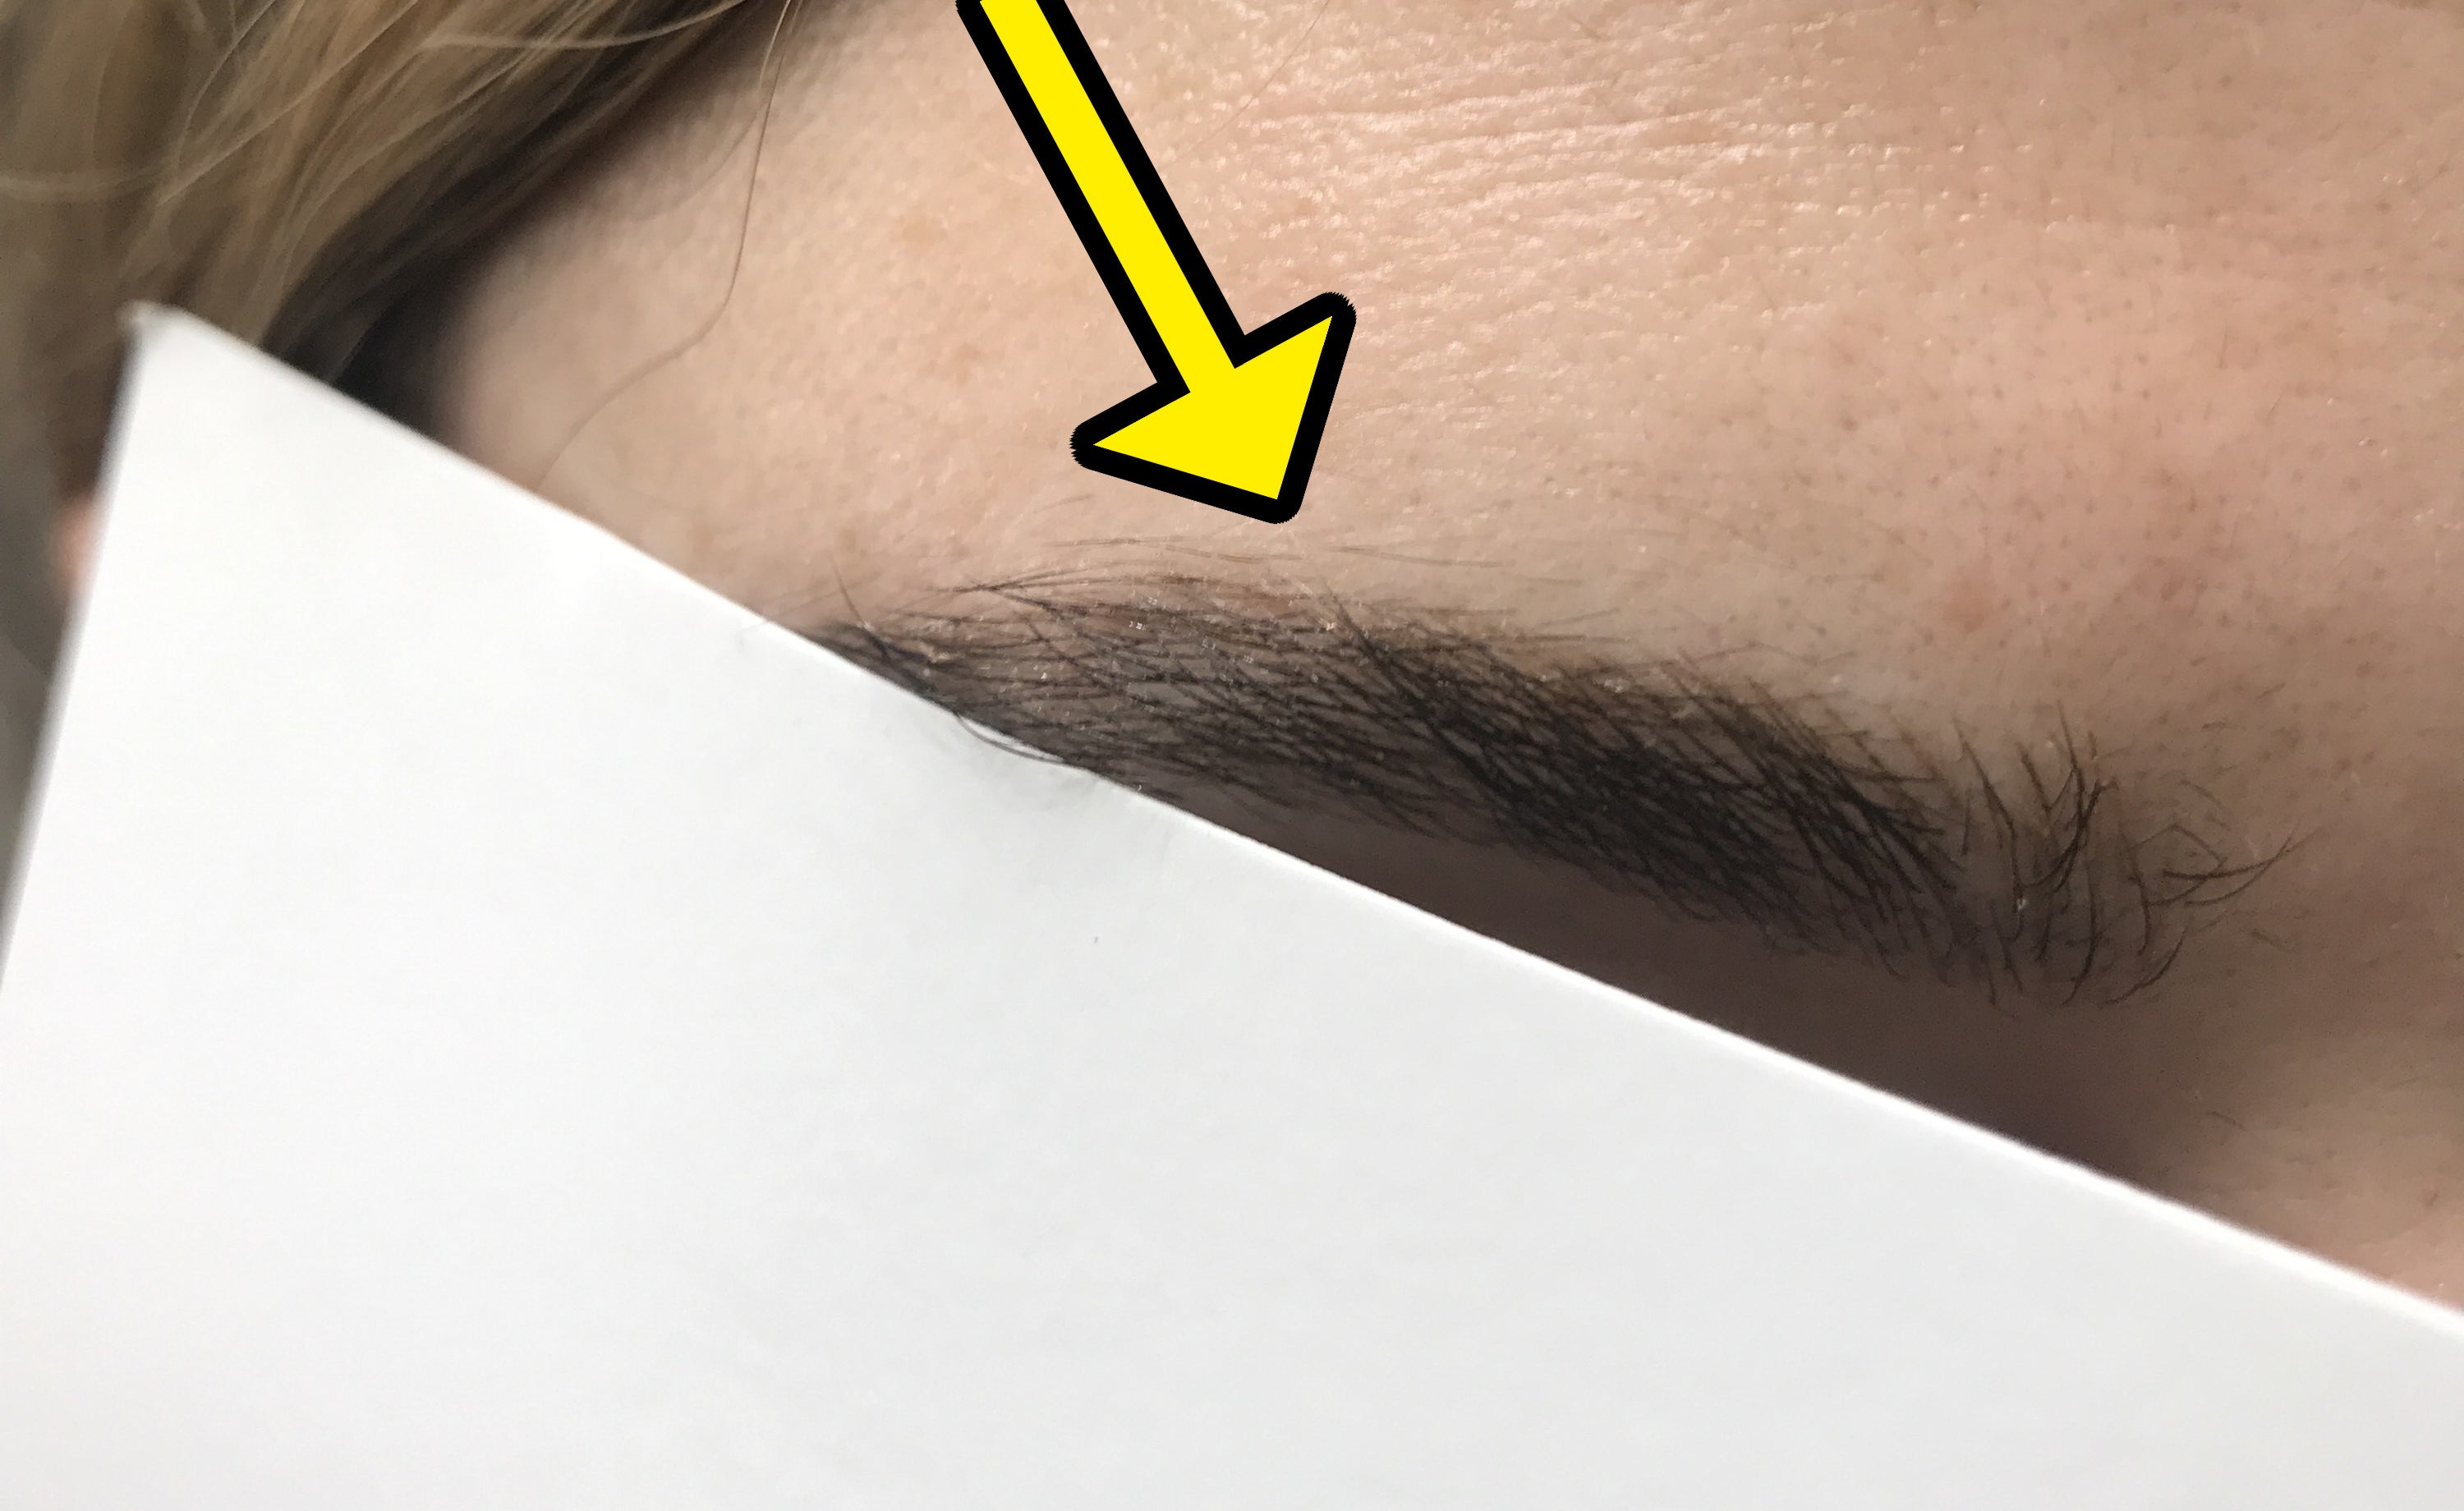
Here's a closer look at days four through six. You can tell the strokes she made became much thinner, matching the natural brow hairs.

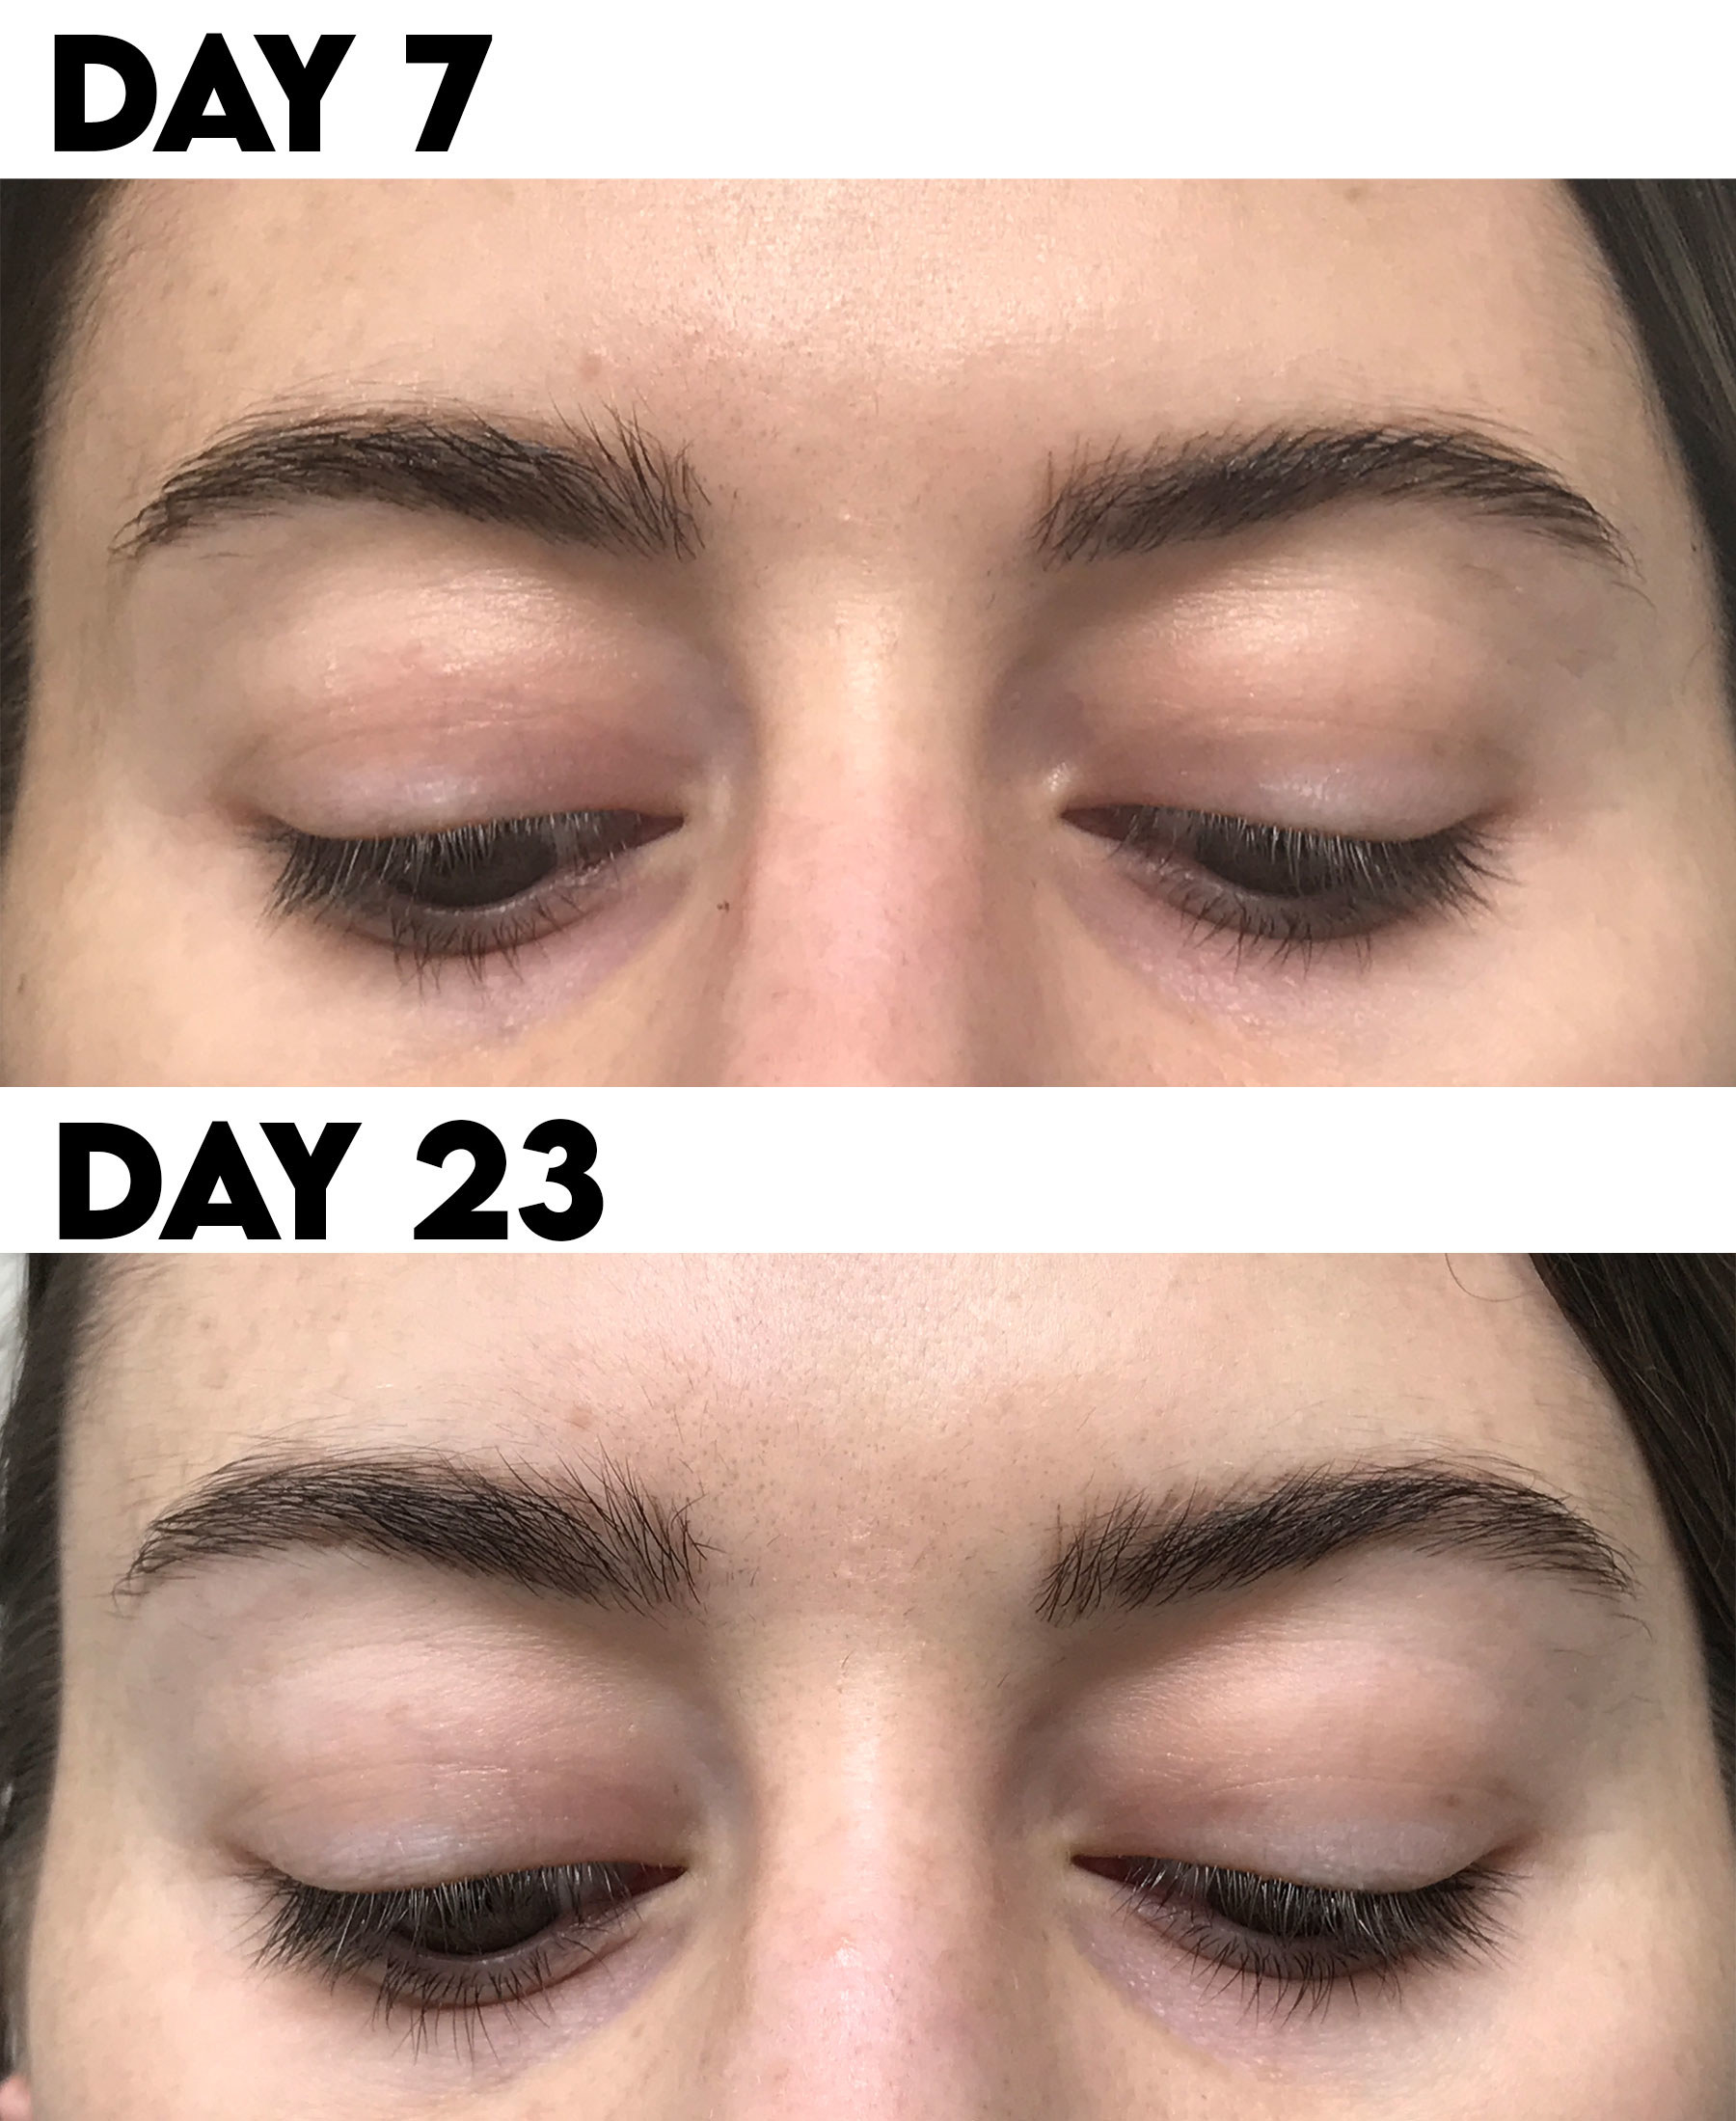
This is what the shedding process began to look like after seven days. It wasn't bad and it didn't itch or hurt, but you can see it's a little flaky. That means it's healing.
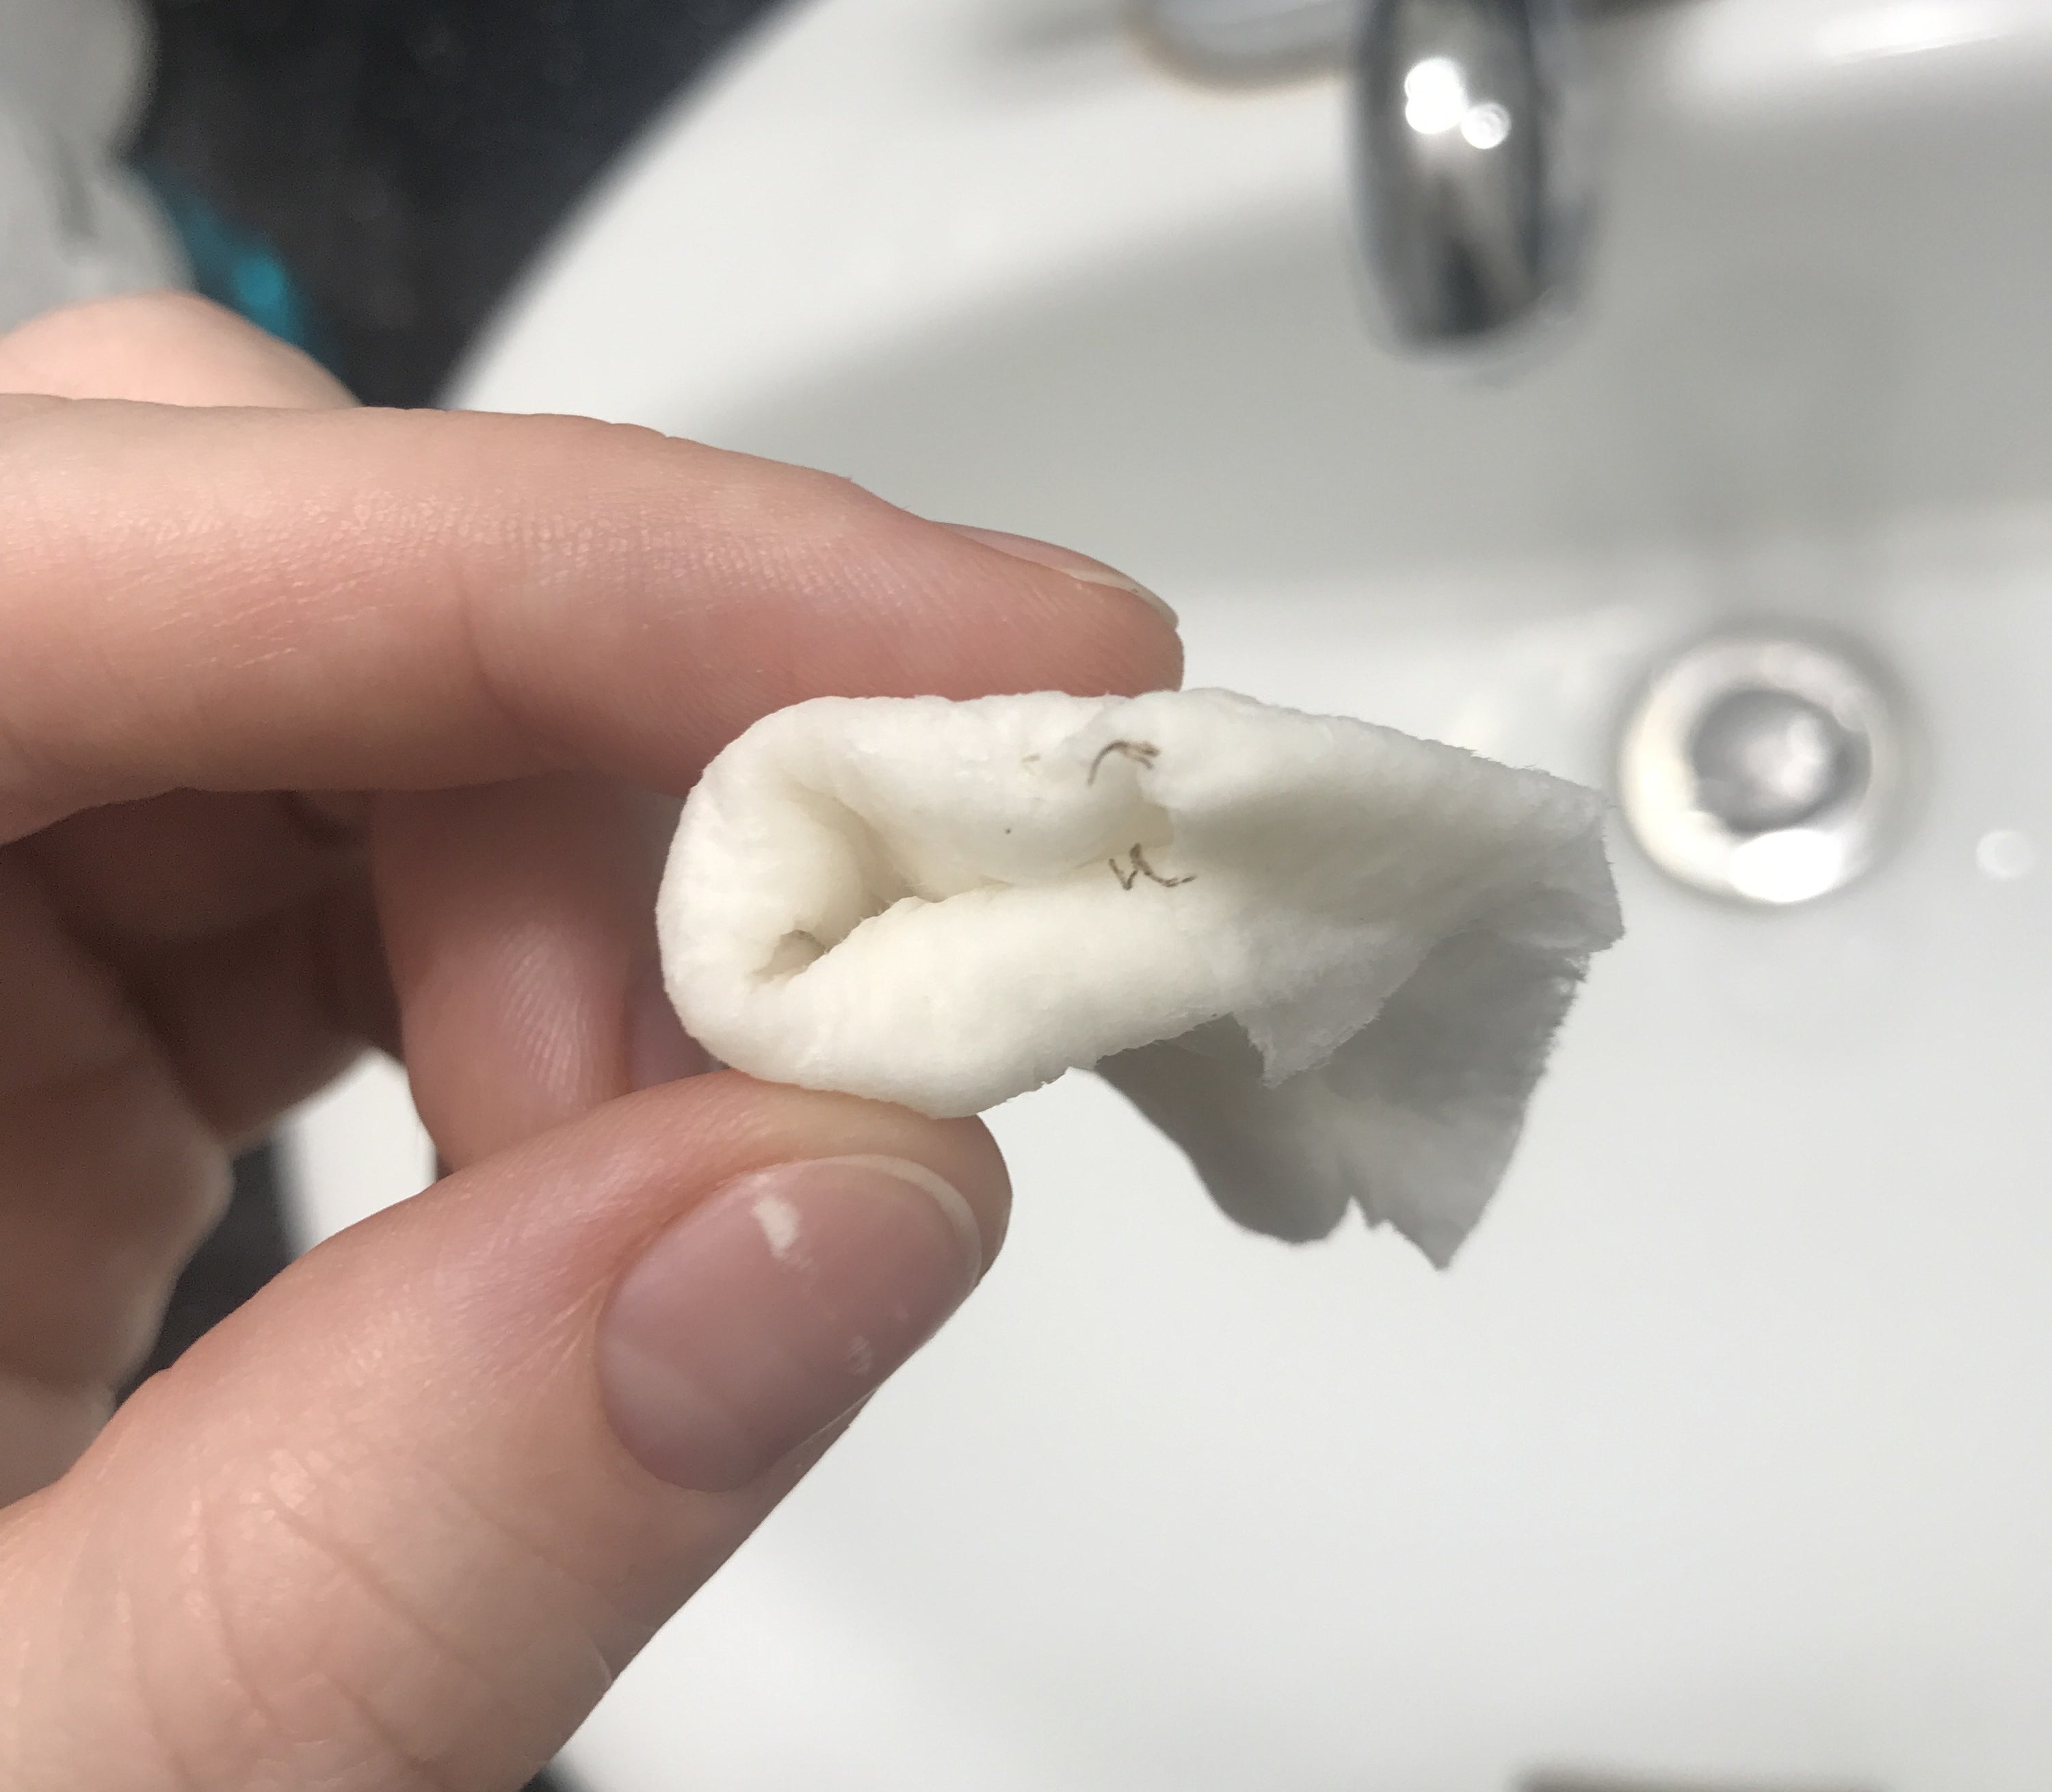
After day seven, I noticed the pigment coming away when I cleaned with a paper towel. Again, this is part of the process of shedding so the brows don't look thick and bulky.
Here's the result after 14 days. The healing process wasn't bad. The only major change I had to make that month was avoiding the direct spray of the shower water on my face. I also could not use any of my usual soaps or face washes on the area for the first week. Finally, it's worth noting that you cannot put any makeup on the brows for a full 30 days.
This is what they looked like after three weeks. By this point, the pigment in the brows wasn't shedding anymore and the healing process seemed 95% complete. The biggest difference I noticed was that they began to look more even than before.
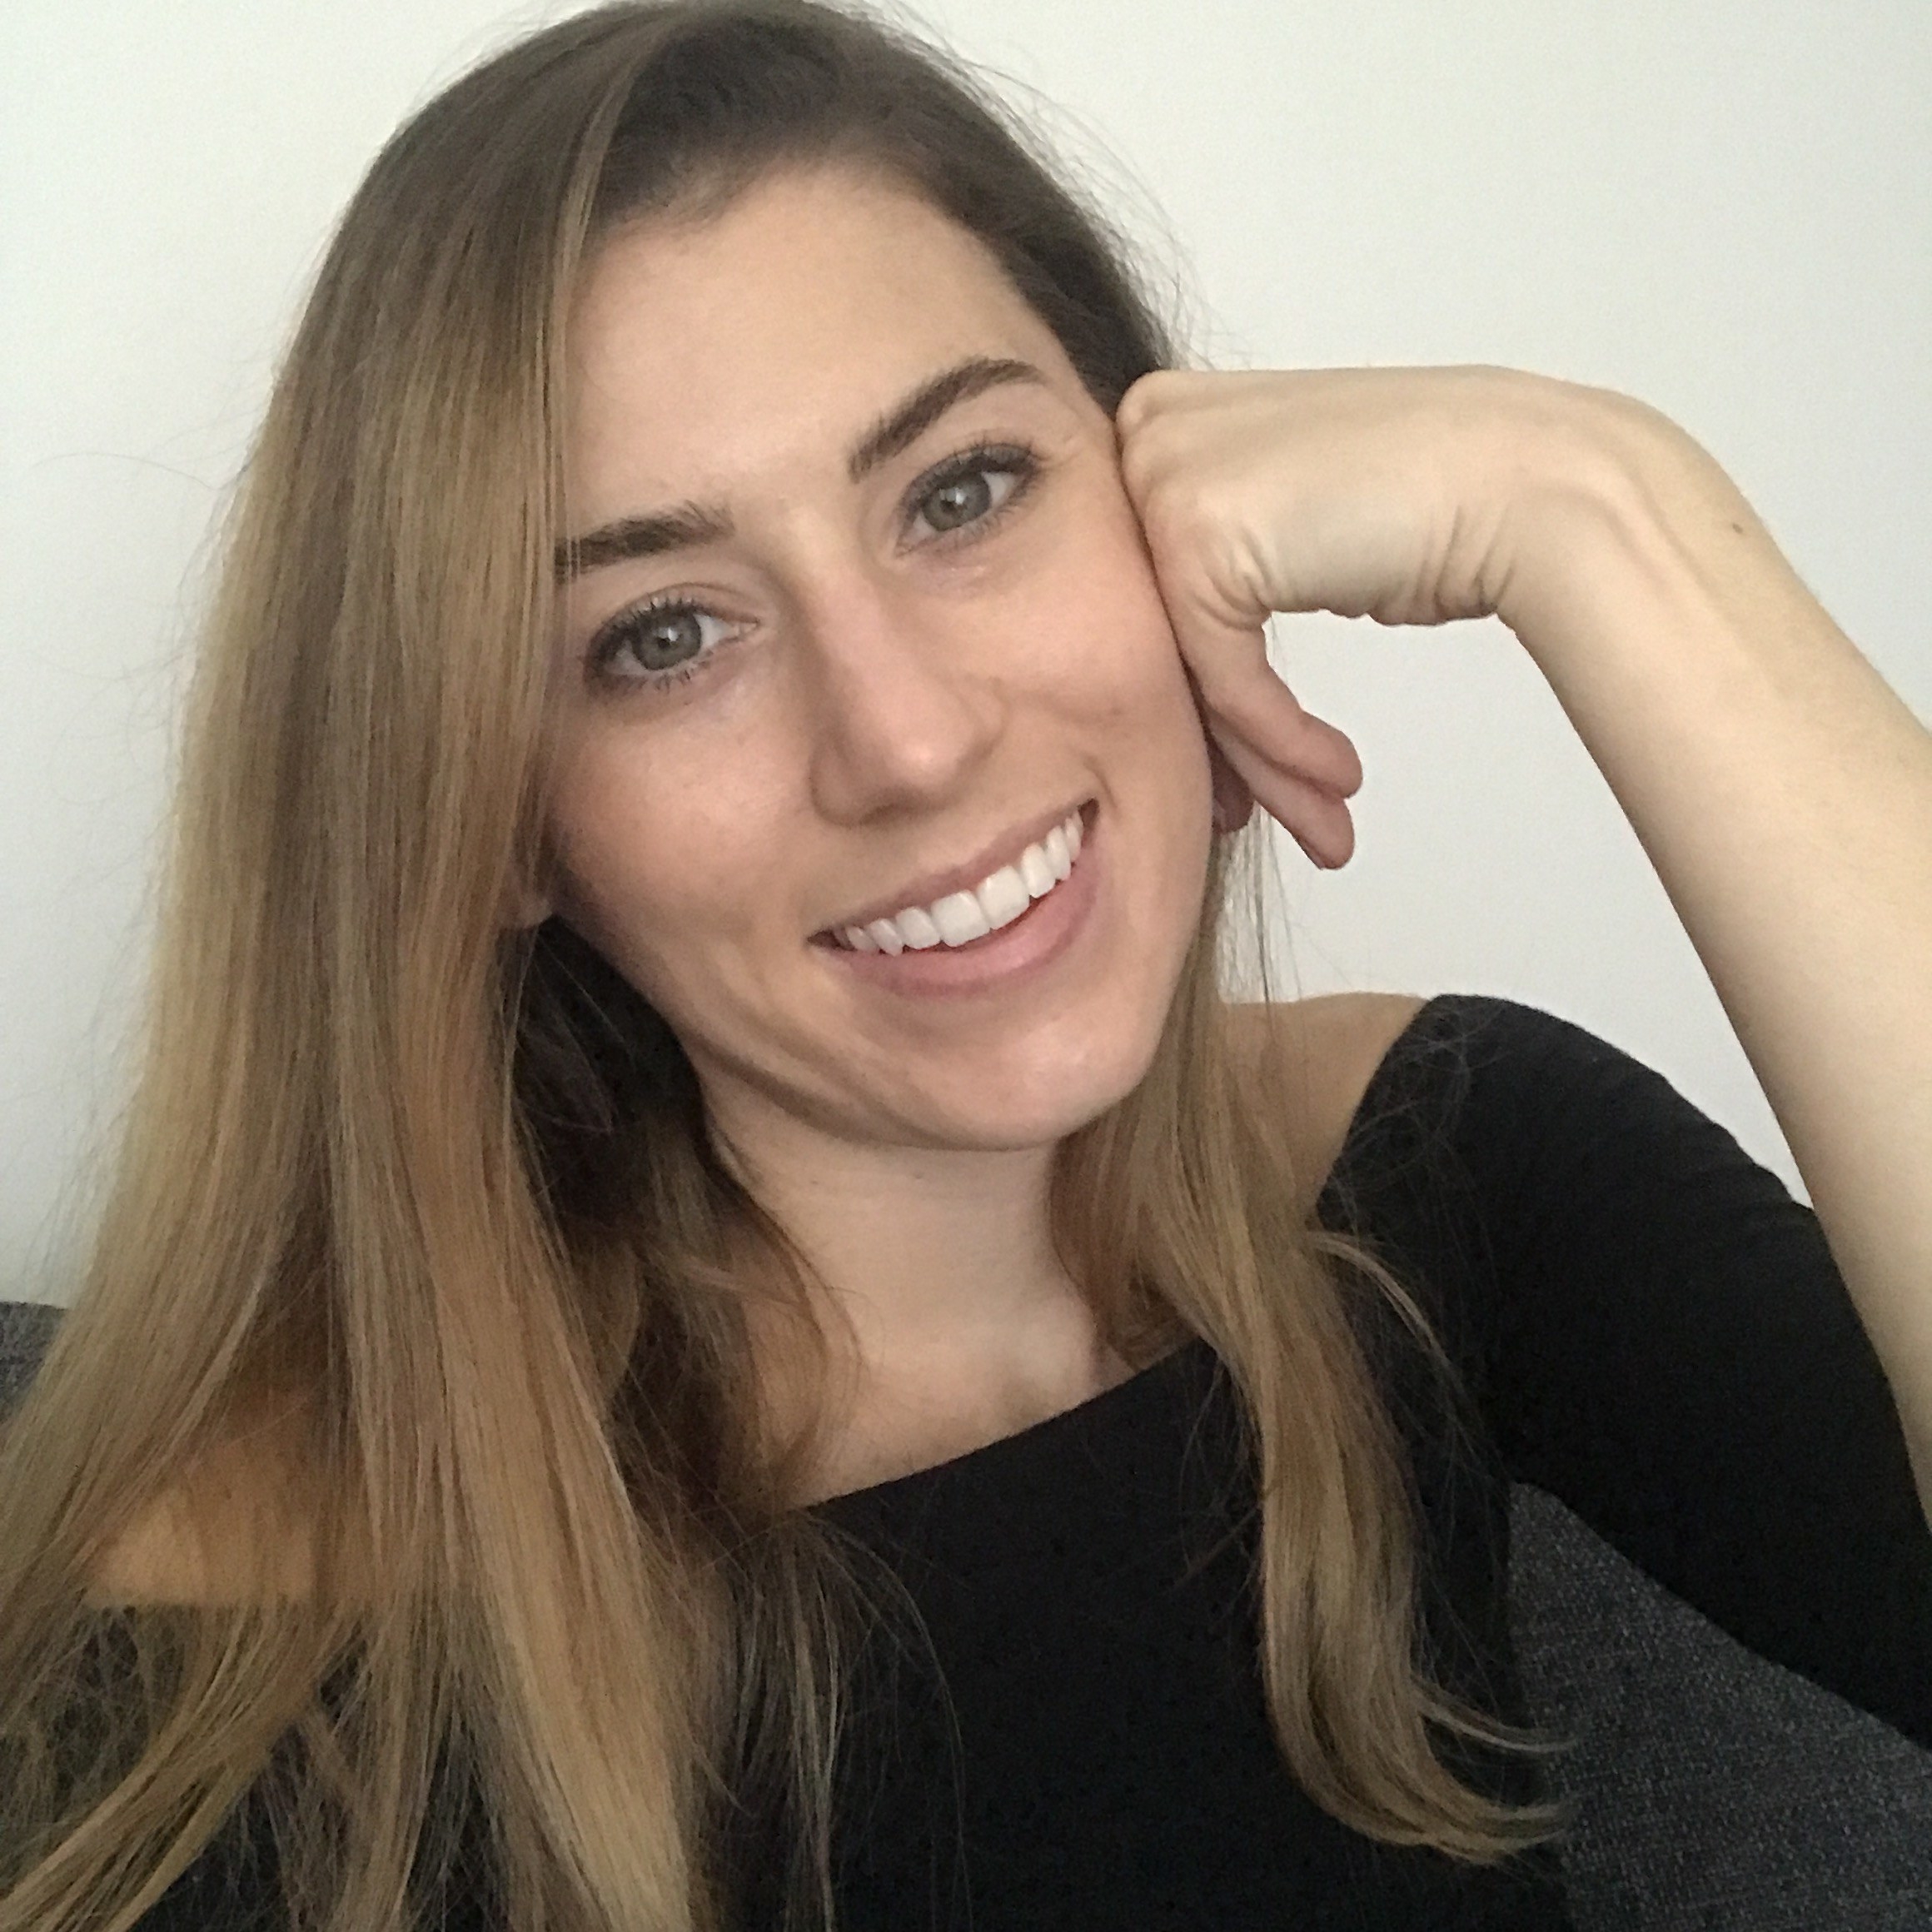
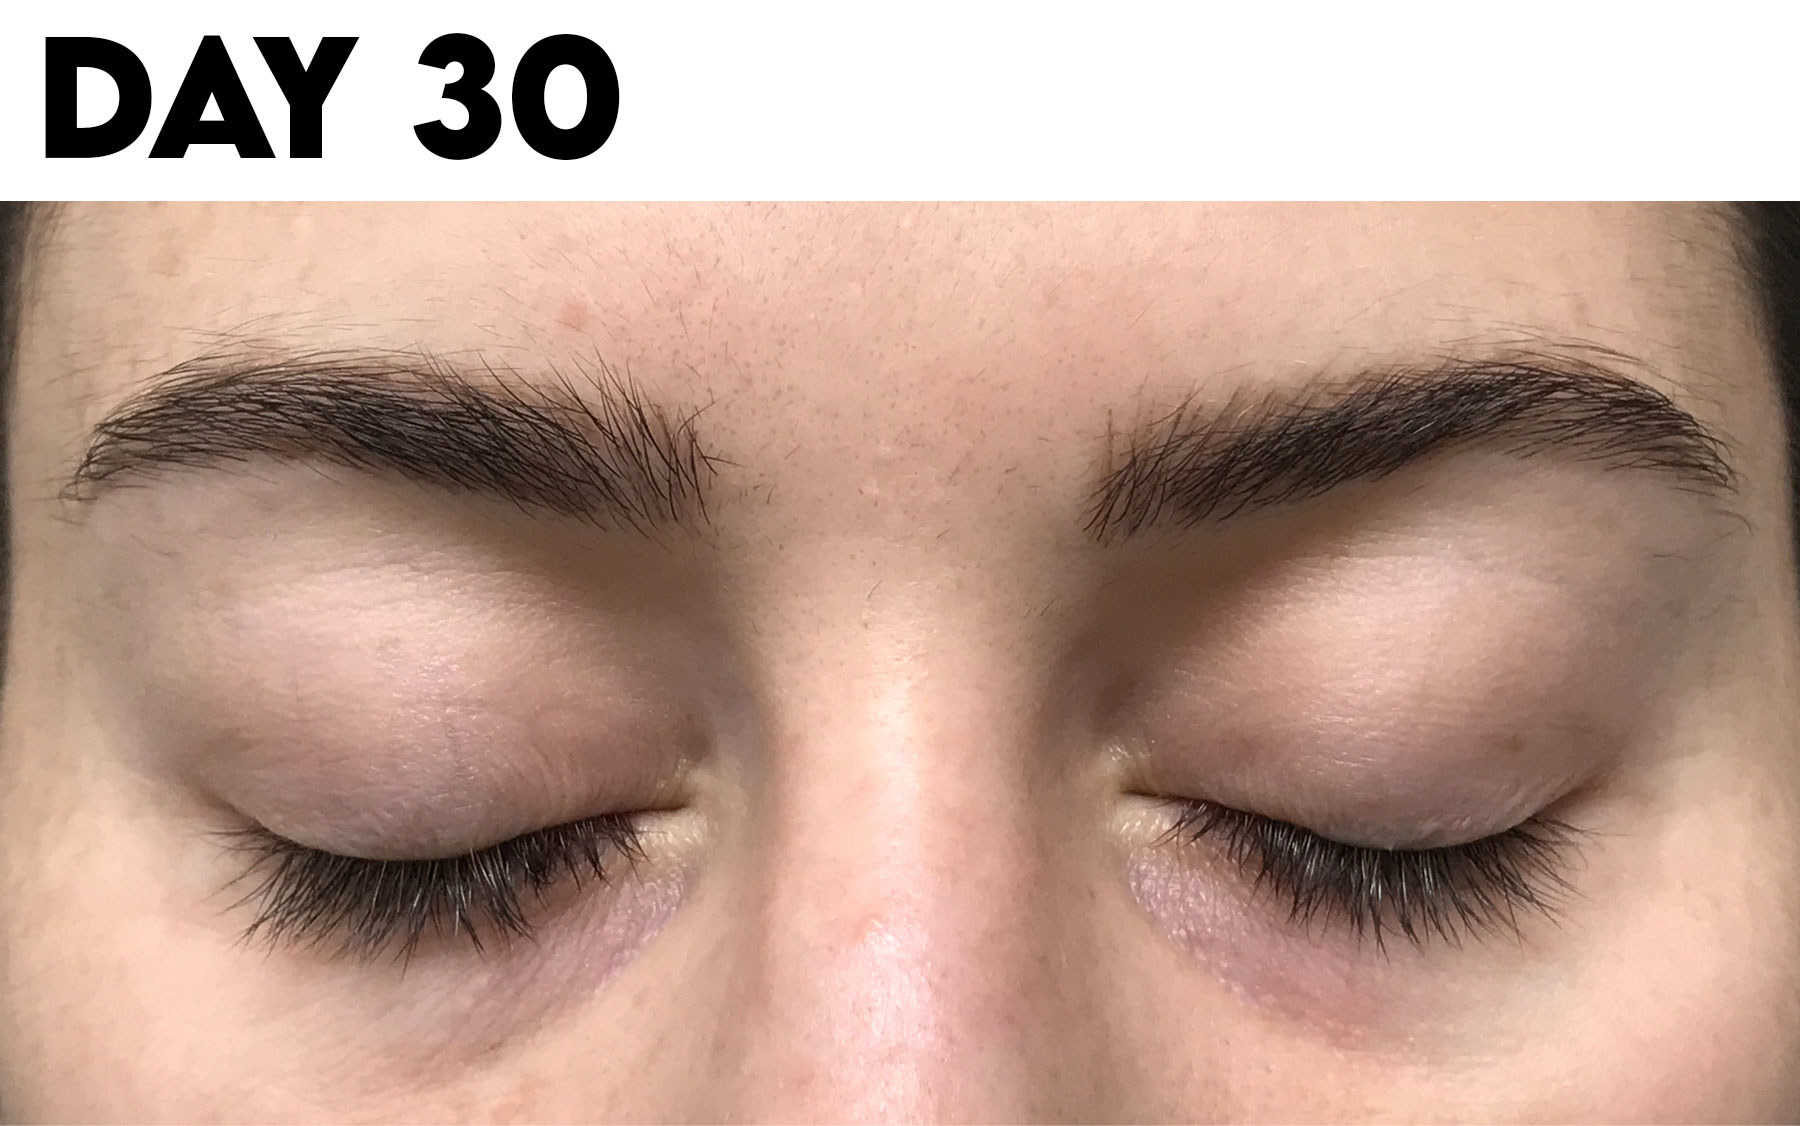
And finally, here's what they looked like after a full 30 days. I was impressed! They looked natural, especially compared to how they looked right after I got them done.
During the follow up appointment (which Audrey schedules for clients between six to eight weeks after the initial microblading appointment) Audrey looks for areas where too much pigment has been lost due to the skin regenerating and corrects it using the same technique. Here's what my healing process looked like in my follow-up:
While the super obvious, bold brows were back during the first 6 days, they began to heal and appear significantly more natural during the last few weeks.
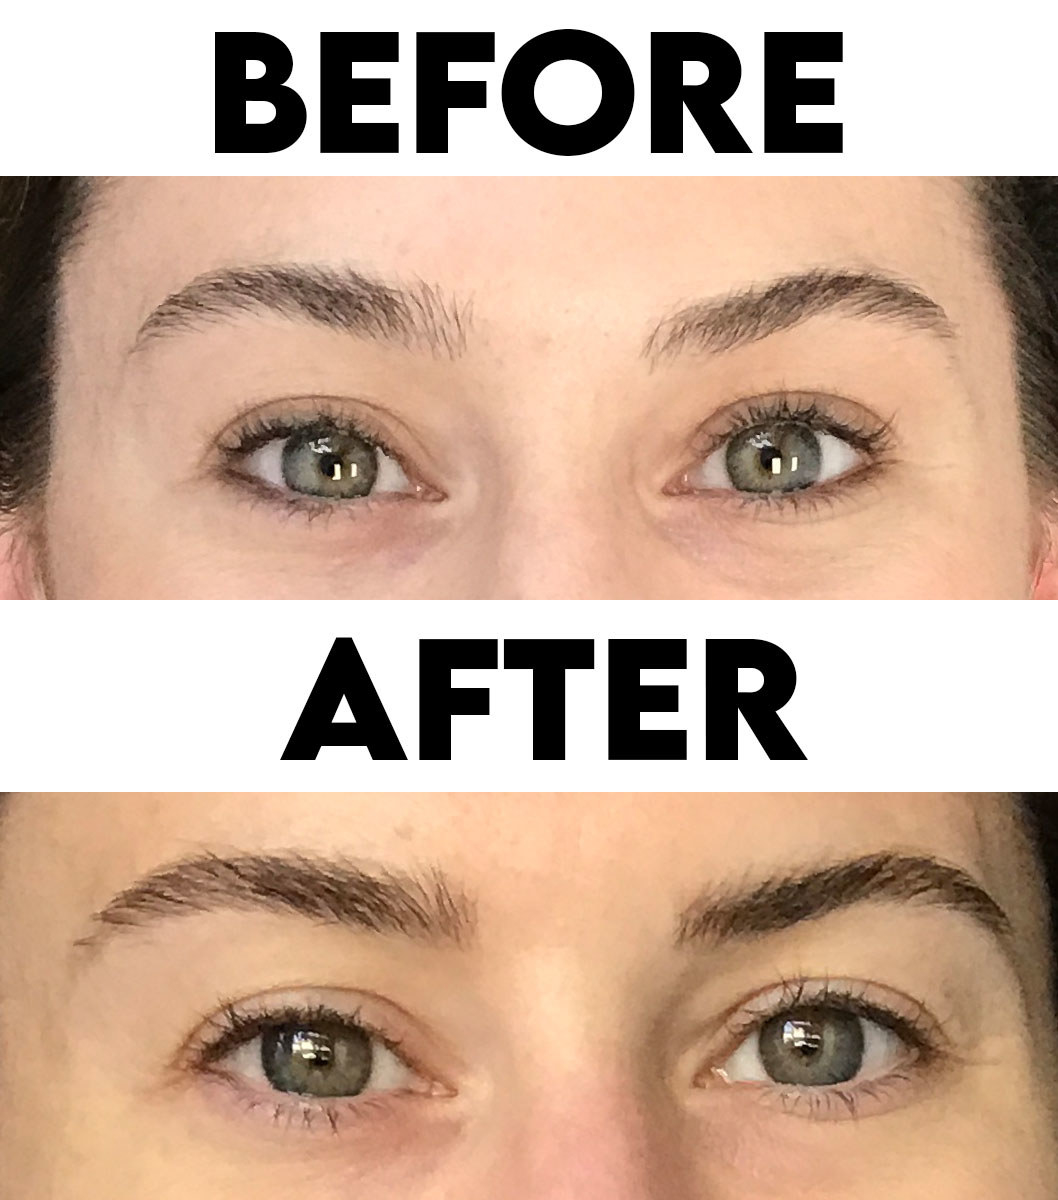
By the end of the month, this was my final, final result:
Here's what my brows looked like after 45 days. I don't regret this experience! The upkeep is minimal. As someone whose makeup routine included brows, it's one thing I don't have to spend time on anymore and use brow gel to keep them in place instead of brow pencil + gel. As far as pigment fading goes, these factors might make it fade faster: sun exposure, sweating, iron deficiency, and chemical peels and exfoliants that come into contact with the brows.

Getting my brows done by Audrey was such a delightful experience. She is such a gracious and professional brow artist who has really perfected her skill over the years.
Audrey's microblading services start at $1,000, but before you gasp remember that you're getting results that can last between one to two years. As the saying goes, you get what you pay for: not only will you want an artist who can give you an overall natural look, but one who follows strict safety guidelines to give you the best care possible.
Note: This service was provided to BuzzFeed free of charge.