
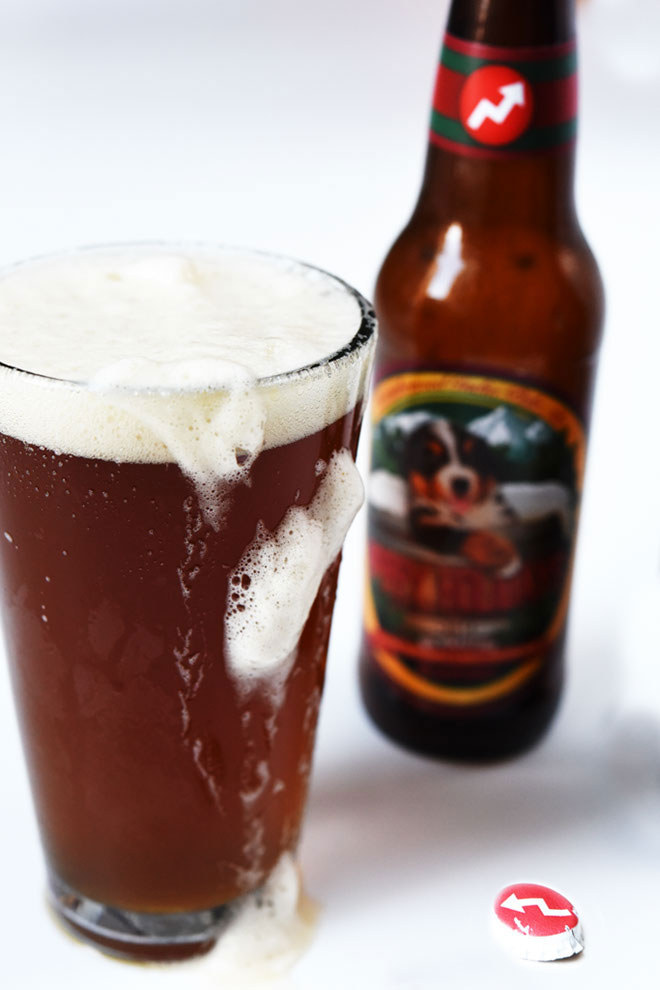
Making your own beer is a) surprisingly feasible, and b) really cool and rewarding.
A few months ago, a home brewing kit arrived at BuzzFeed as part of a promotional campaign by the America's Homebrewer's Association. We have a beer club at BuzzFeed (!!) and when its organizer Regis Courtemanche saw the kit sitting near my desk he got excited. He eventually said something like, "Wow, Emily, you run the food section on BuzzFeed and you've never even made your own beer? Let's fix that." So we used the kit to make some beer with help from another avid home brewer and BuzzFeed beer club member, Justine Bienkowski.
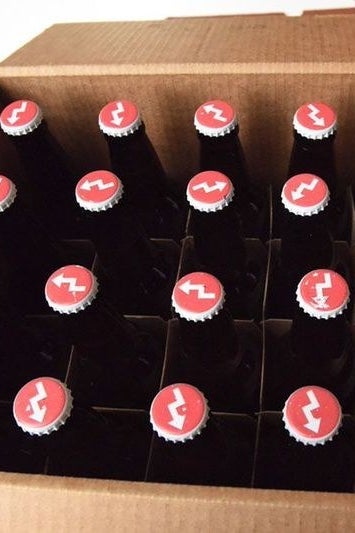
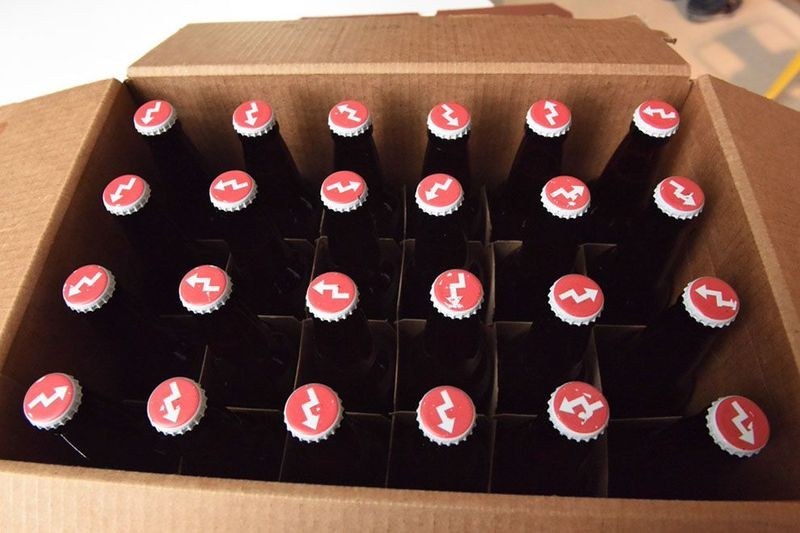
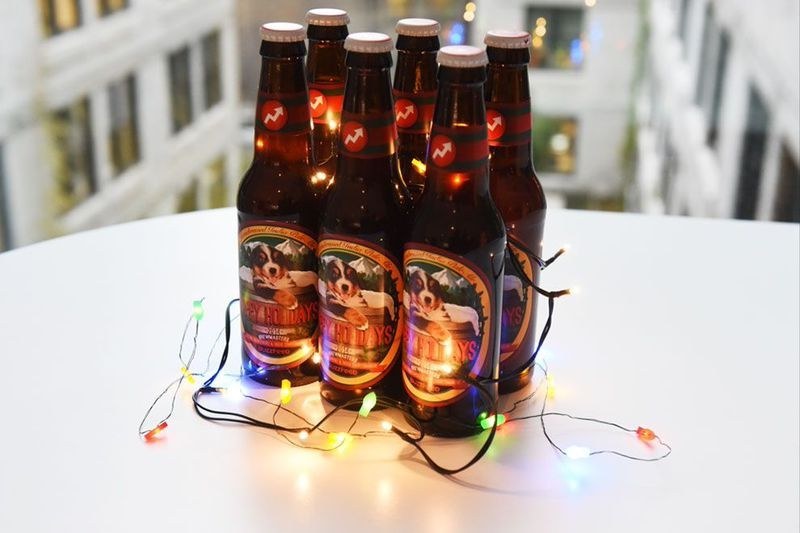
DIY beer also makes a wonderful gift because you can personalize the caps and labels.

And while the major gift season just ended, making beer takes about six weeks, so your beer will be ready as a gift for...Valentine's Day!
The one catch is that you need some equipment.

Actually, the other catch is that home-brewing geeks insist on using another language to talk about their craft. For example, they say "pitch the yeast" instead of "put the yeast in there" or "racking" instead of "transferring beer from one container to another," etc. I will not use those terms in this post.
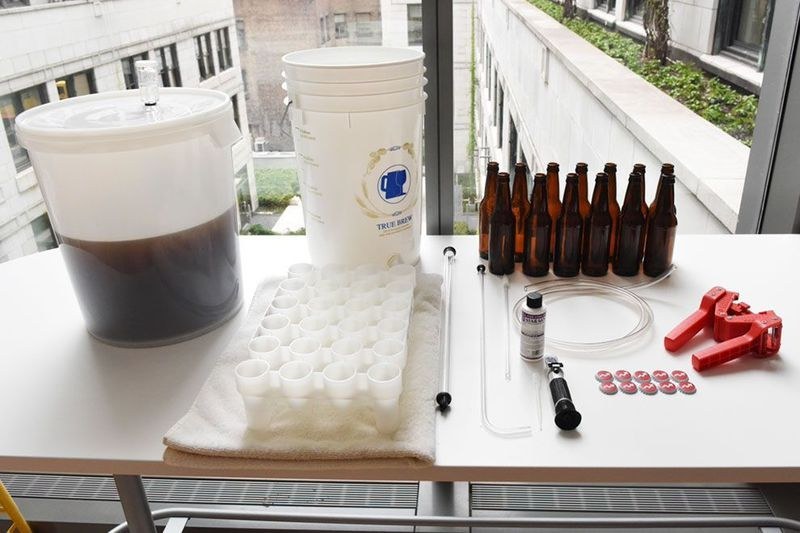
The easiest thing is to get an equipment kit. The one we were sent was a deluxe kit ($160), but you don't need to spend that much. There are cheaper options like this one ($90), which Regis recommends, from Northern Brewer. Or you can find a supply shop near you and pick up the stuff you need with the help of a salesperson. (Also I explained all the equipment we used at the bottom of this post.)
A kit will come with some combination of the following:
FOR BREWING/FERMENTING:
• Cleaner and food-safe no-rinse sanitizer (Star San) — because everything that touches the beer has to get cleaned and sanitized.
• 20-quart stainless steel stock pot — to steep the grain, add more ingredients, then boil.
• Strainer — to hold steeping bags while you pour hot water over them and for straining the cooled wort into the fermenter.
• Long heatproof spoon — for stirring.
• Grain-steeping bag and hop-steeping bags — bags made of a cheesecloth-like material.
• Funnel — goes underneath the strainer when you transfer the cooled wort to the fermenter.
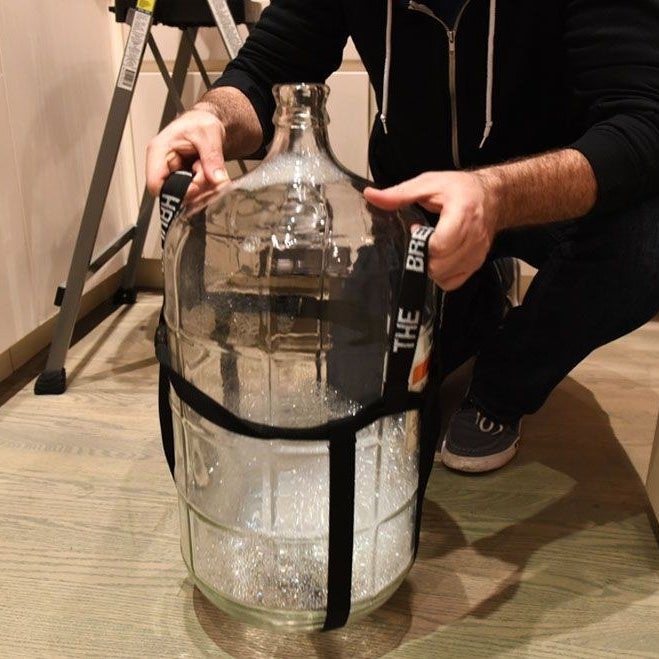
• 6-gallon glass carboy — this is the big glass jug thing you let the beer sit in for two weeks to ferment. You could also use a plastic fermenter.
• Fermometer, thermometer, and hydrometer — to calculate temperature and gravity of the mixture.
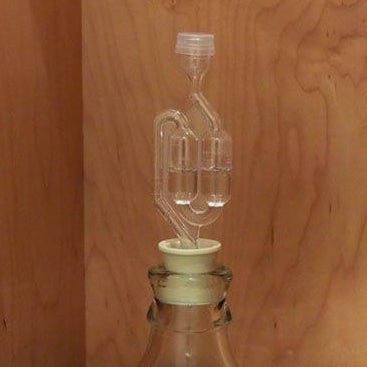
• S-shaped airlock, grommet, and rubber stopper with airlock hole — these go on top of the carboy while the beer ferments to keep it sanitary.
• 8-gallon fermenter with lid — we transferred the beer to this after two weeks for a secondary fermentation that lasted another 1.5 weeks.
FOR BOTTLING:
• No-rinse sanitizer — everything's gotta be sanitized again!
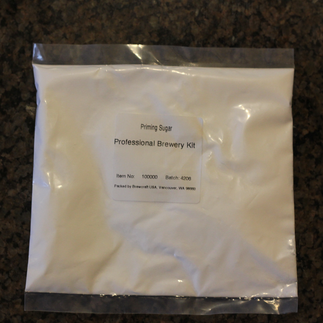
• Priming sugar (corn sugar) — so the yeast has something to eat to carbonate the beer.
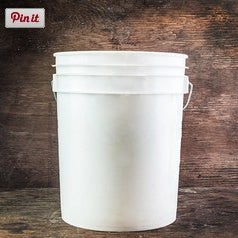
• 6-gallon bottling/transfer pail — using the siphon, you'll transfer the beer from the fermenter to this pail before you bottle
• Racking cane and siphon assembly — this is the tube you use to transfer the beer from the fermenter to the bottling pail.
• Bottle filler — this is the tube you use to transfer the beer from the bottling pail into the bottles.
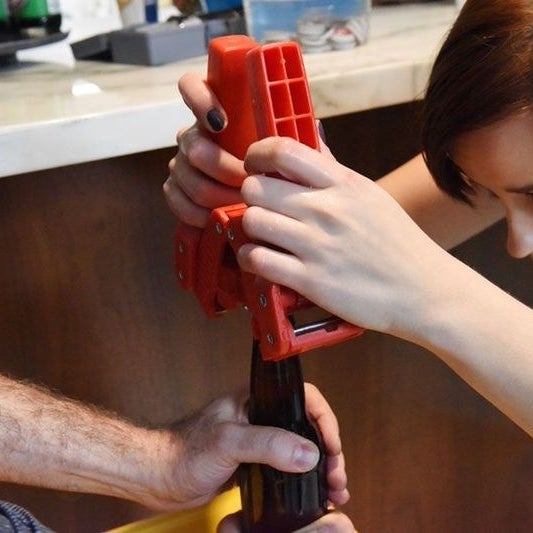
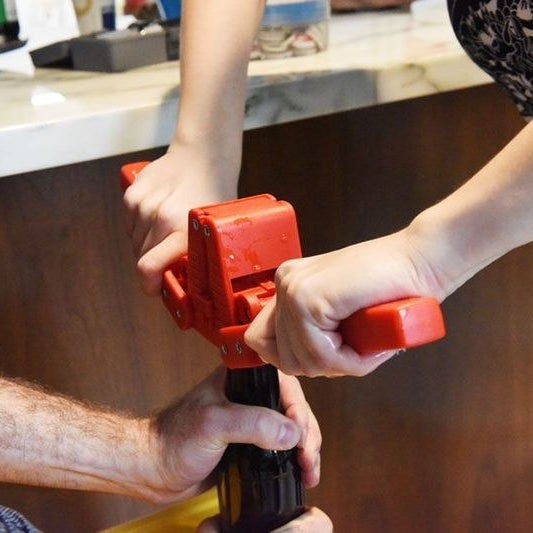
• Hand capper — Gadget that caps the bottles
• Bottles — order them here.
• Caps and labels — you can order them here.
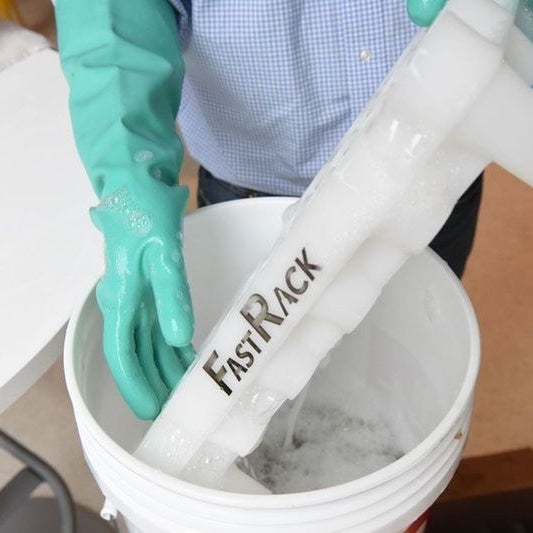
• Regis also had this cool drying rack that held the beer bottles. Not necessary, but nifty.
You also need ingredients. Ours came from a kit, with a recipe to make an IPA.
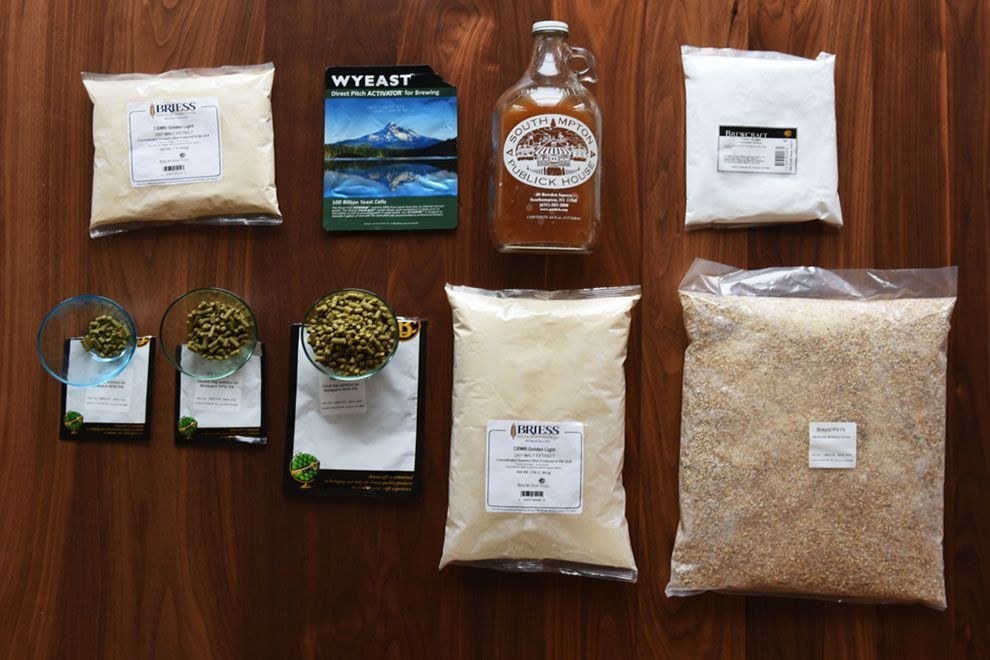
If you get a kit, it will come with a recipe, and you can just follow the instructions. Here, we'll go through the basic steps from the recipe we used.
In total this takes about six weeks: 3.5 weeks fermenting in a bucket, and then two weeks after you bottle the beer to let it carbonate.
1. MAKE A YEAST STARTER THE NIGHT BEFORE YOU BREW.
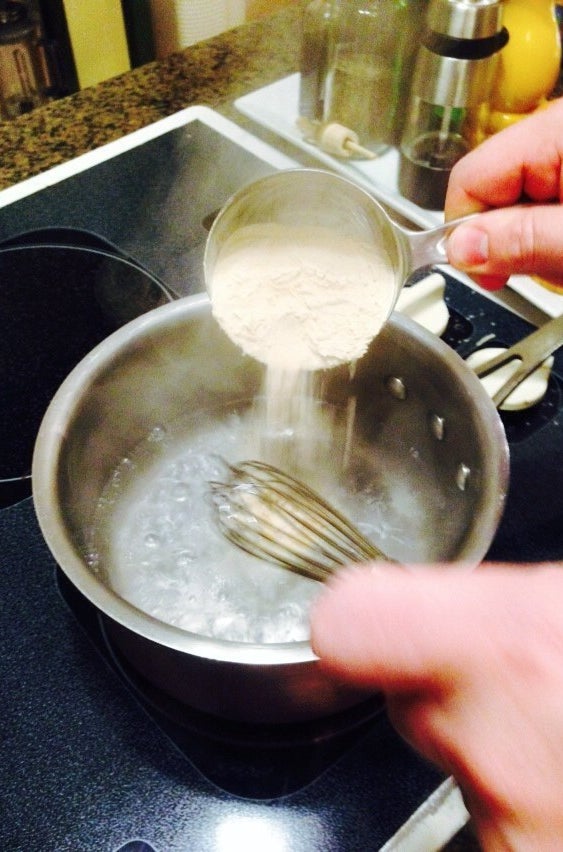
1) Boil 2 cups of water and stir in 1/2 cup dehydrated malt extract. Boil for 10 minutes.
2) Cool in small ice bath to room temperature.
3) Pour into a sanitized container (growlers work well), add yeast (we used WYeast brand, per the recipe), and store in dark place overnight. Shake occasionally to aerate yeast.
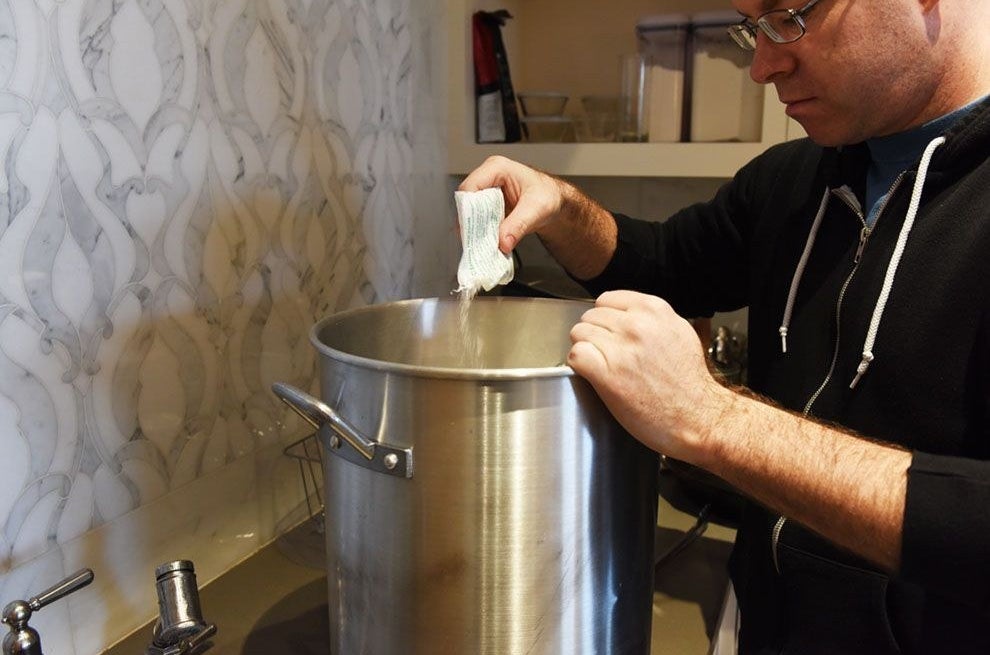
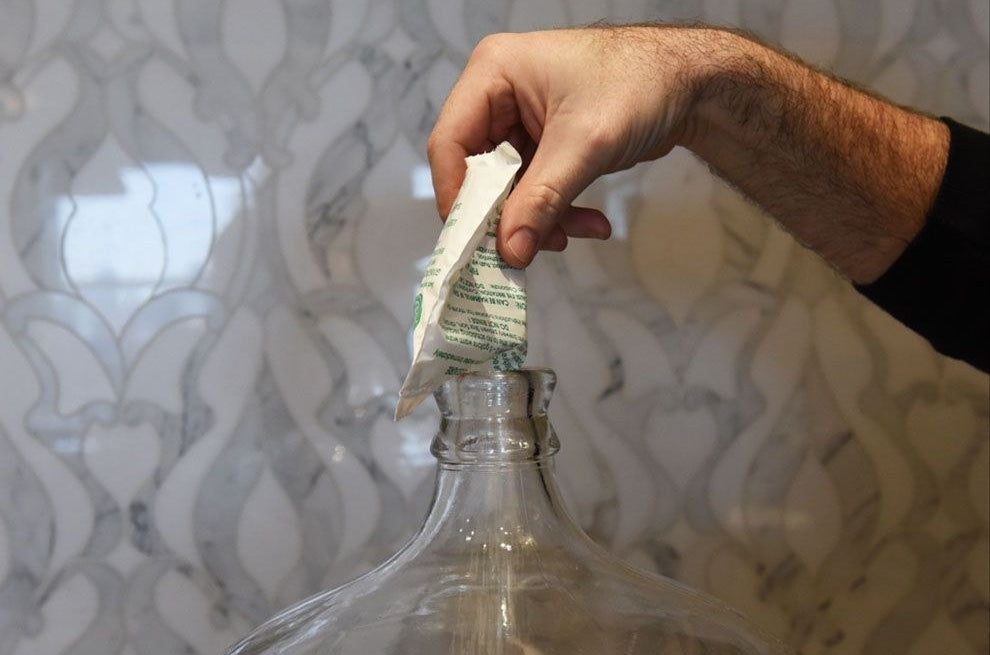
2. RIGHT BEFORE YOU BREW, SANITIZE ALL OF THE EQUIPMENT.
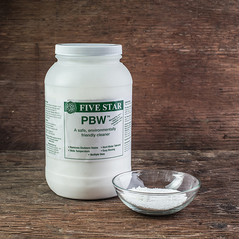
It's extremely important to sanitize everything that comes into the contact with the beer or brewing equipment, to make sure there are no microorganisms that could spoil it during fermentation. Using a no-rinse sanitizer like Star San is the easiest method. Our kit also came with a packet of unscented dish cleaner to use first.
You can use bleach instead (in a solution of 1 ounce per gallon of water), but this is a lot harder because you have to really rinse after bleaching before you start brewing. So, use Star San.

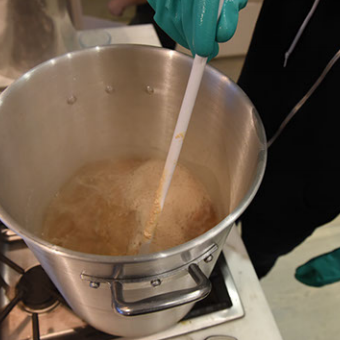
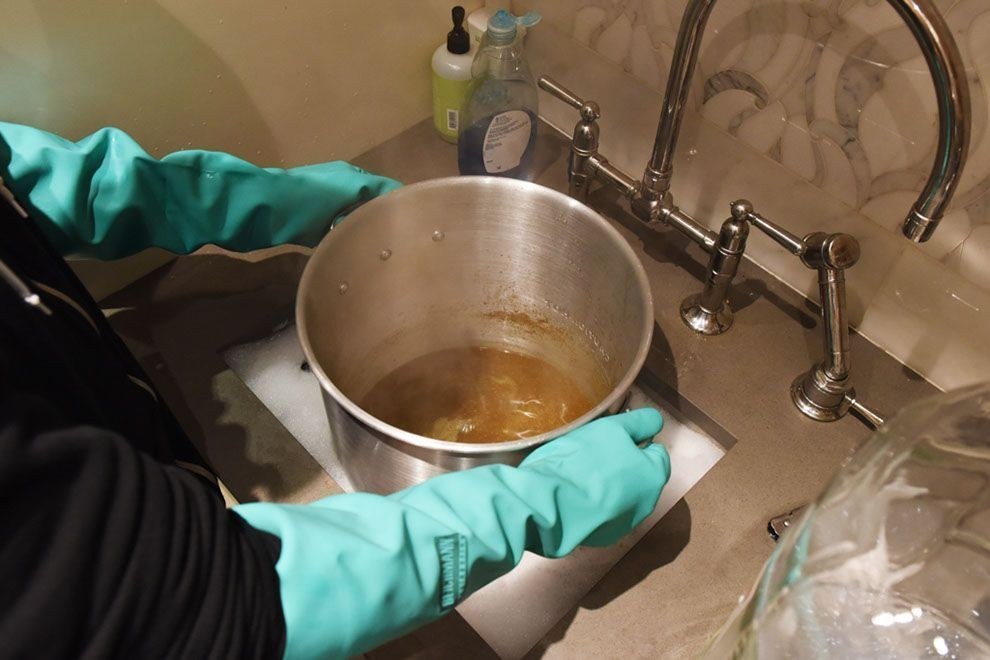
It's a good idea to wear rubber gloves to protect your hands from the sanitizer.
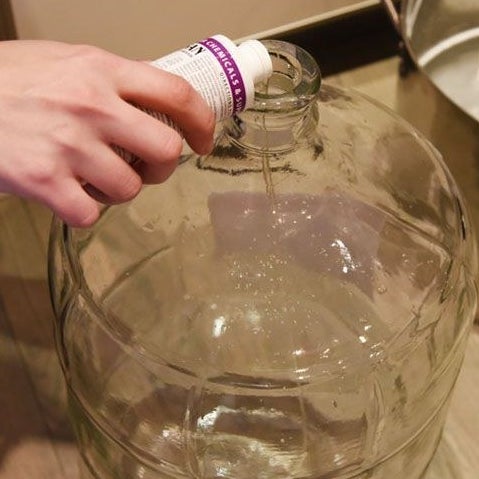
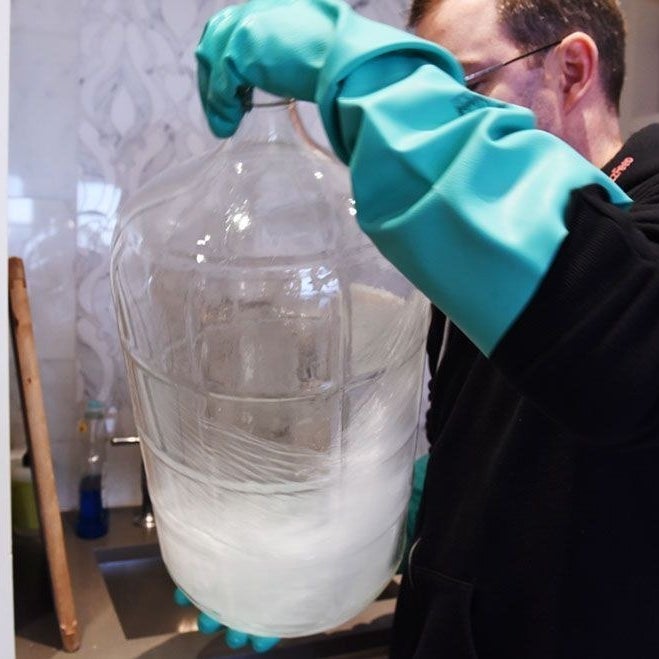
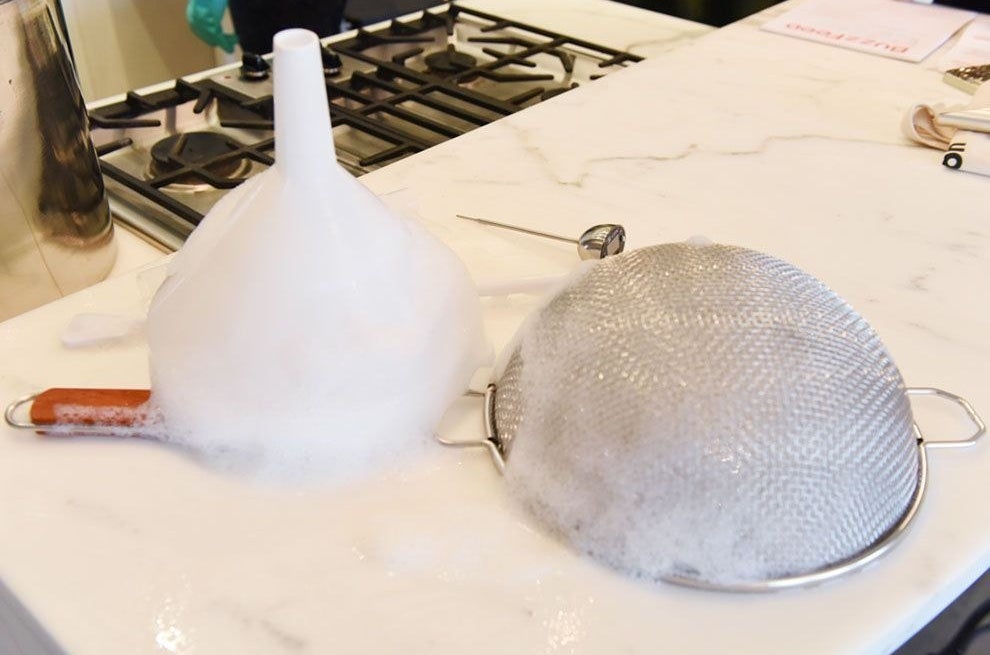
After you've sanitized the big stuff like the stock pot and the carboy, fill a pot with some sanitizer and water and dunk all of the other smaller equipment in there.
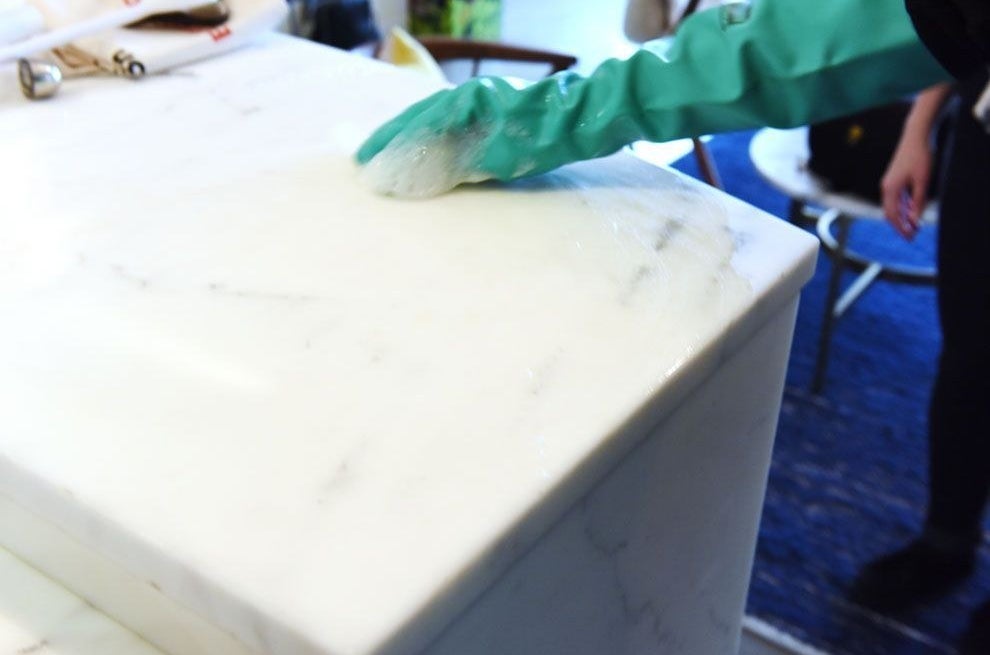
Don't forget to sanitize the counter you place that equipment on! Everything should stay sanitized the whole time.

OK, now that everything is sanitized — time to cook!
3. STEEP GRAIN IN WATER, BOIL, and THROW IN OTHER INGREDIENTS.
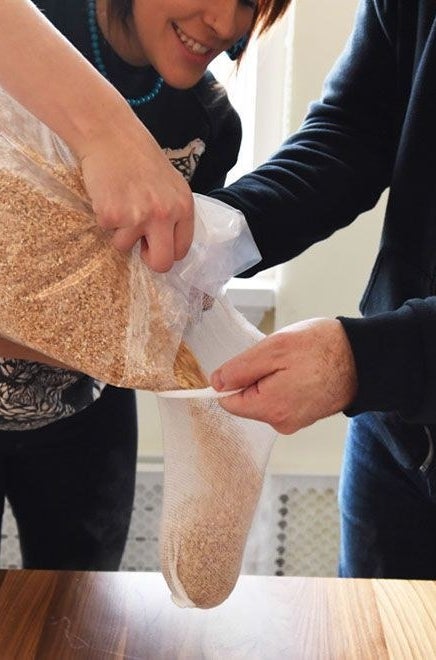
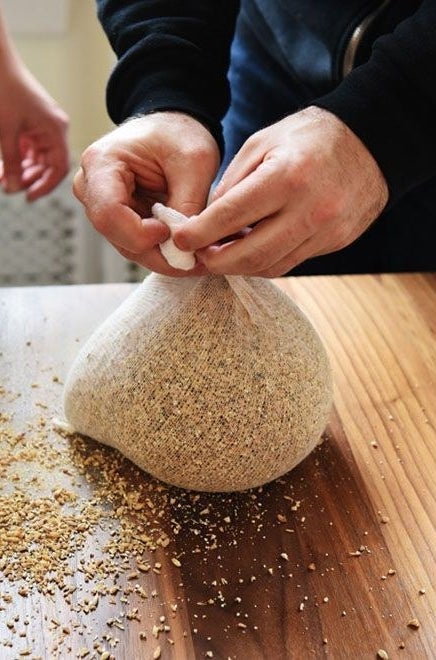

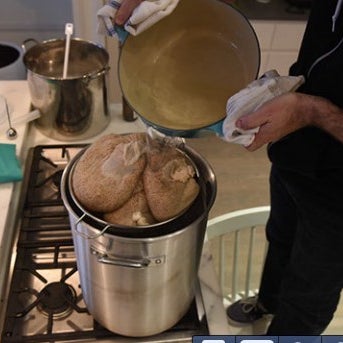
Steep the grain: The first step for our IPA recipe is to steep the grain in the sanitized stockpot. Put the grain in a steeping bag (these came in the kit; they're basically just finely woven cheesecloth), tie a knot to seal the bag, then put it in the large stockpot with 3 gallons of water in it.
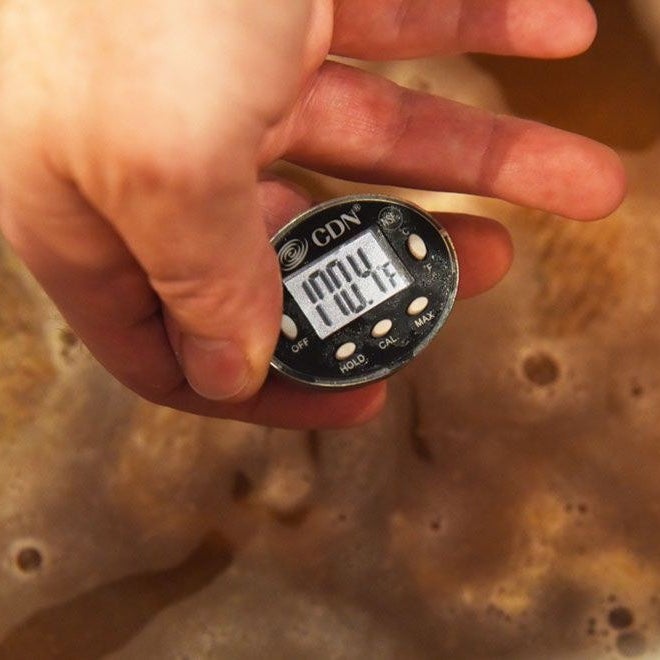
Turn the burner to medium high and slowly bring the water to 151°F. Once it reaches that temperature, put the lid on (sanitize the lid first), turn off the burner, and allow the grain to steep for about 20–30 minutes. Meanwhile, put a gallon of water in a separate pot and bring it to 170°F.

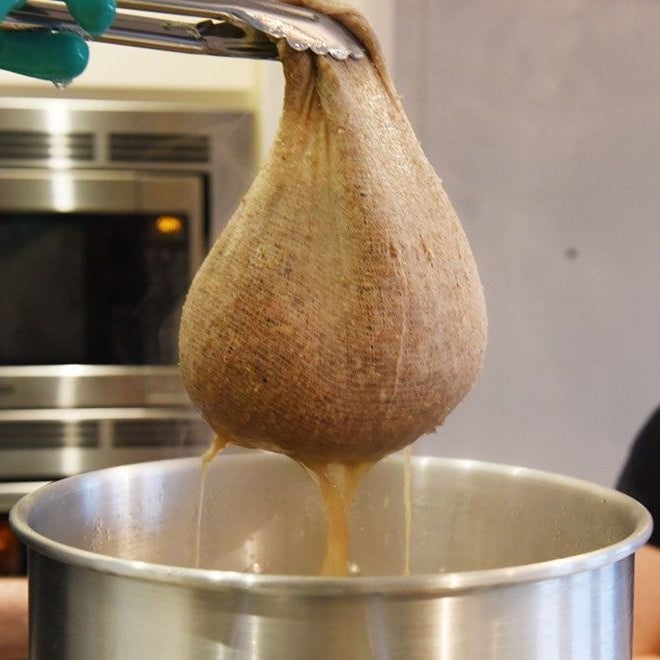
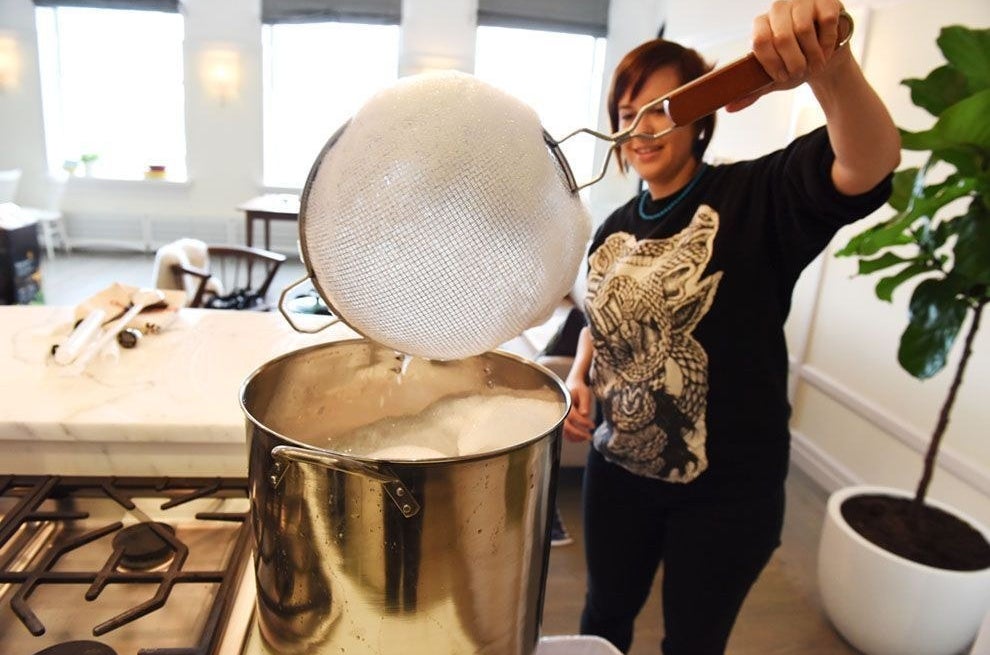
After 20–30 minutes, turn the burner under the stockpot back on to medium-high and slowly increase temperature to 170°F. Once temperature has reached 170°F, lift the grain bags out of the water and place them in a strainer set over the pot (allow the water to drip back into the stock pot, but don't squeeze). Then slowly pour 1 gallon of 170°F water (from the other pot) over the grain. After that, discard the grain and the steeping bags, leaving just liquid in the stockpot.
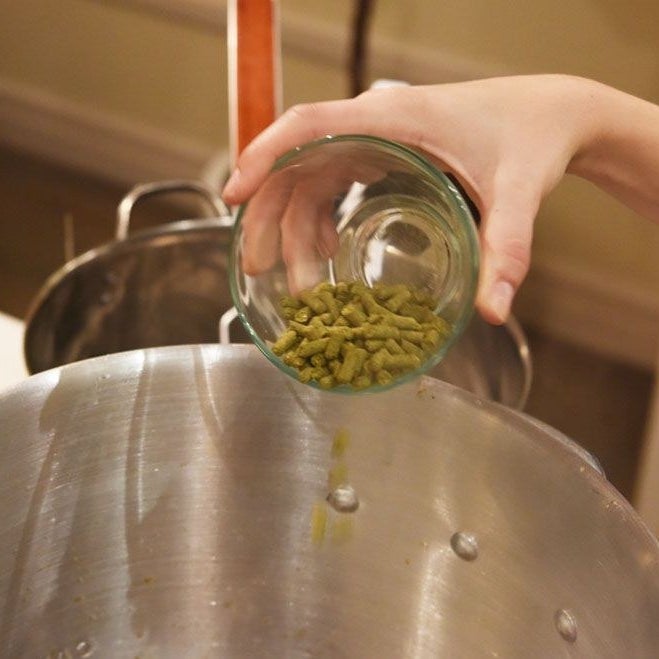
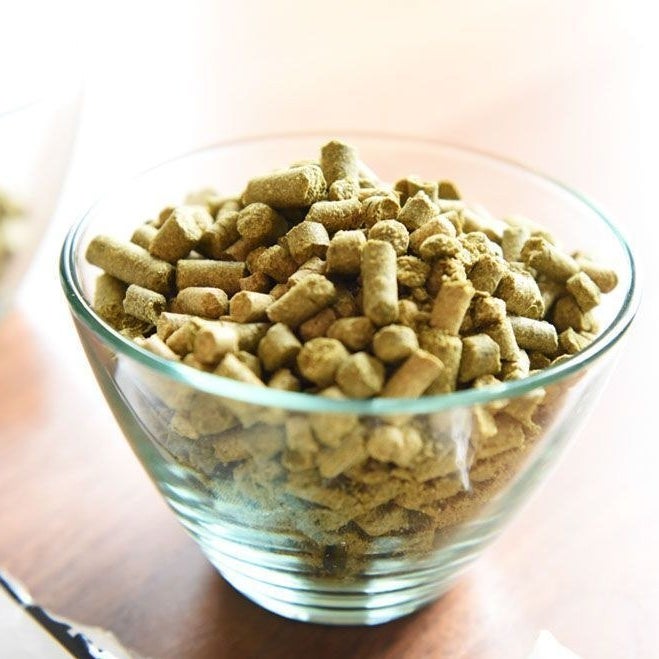
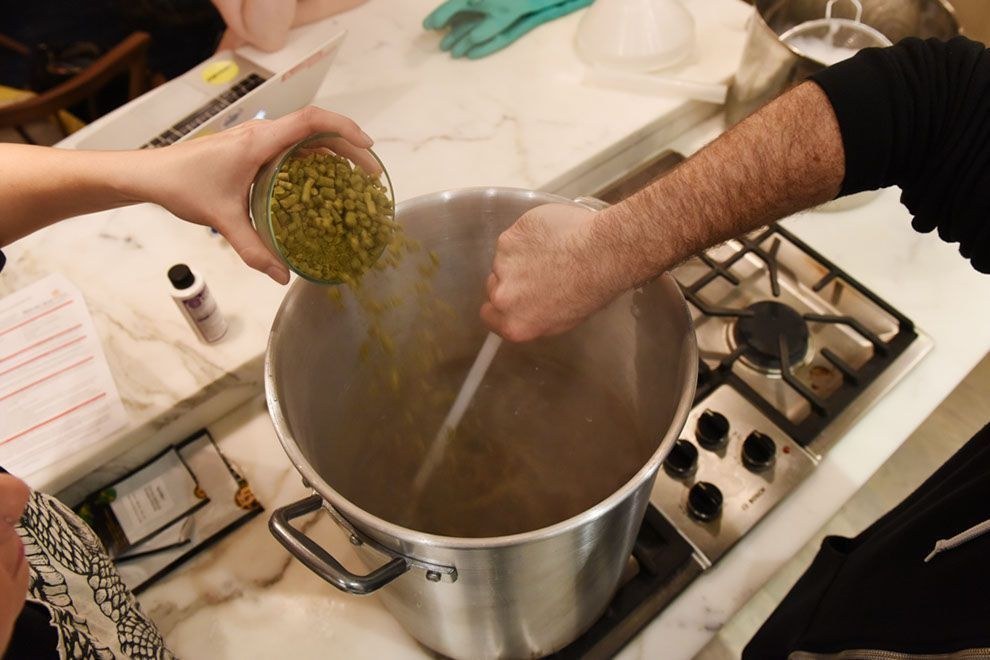
Add hops: Pour the first addition of hops called for in your kit or recipe into the stockpot.
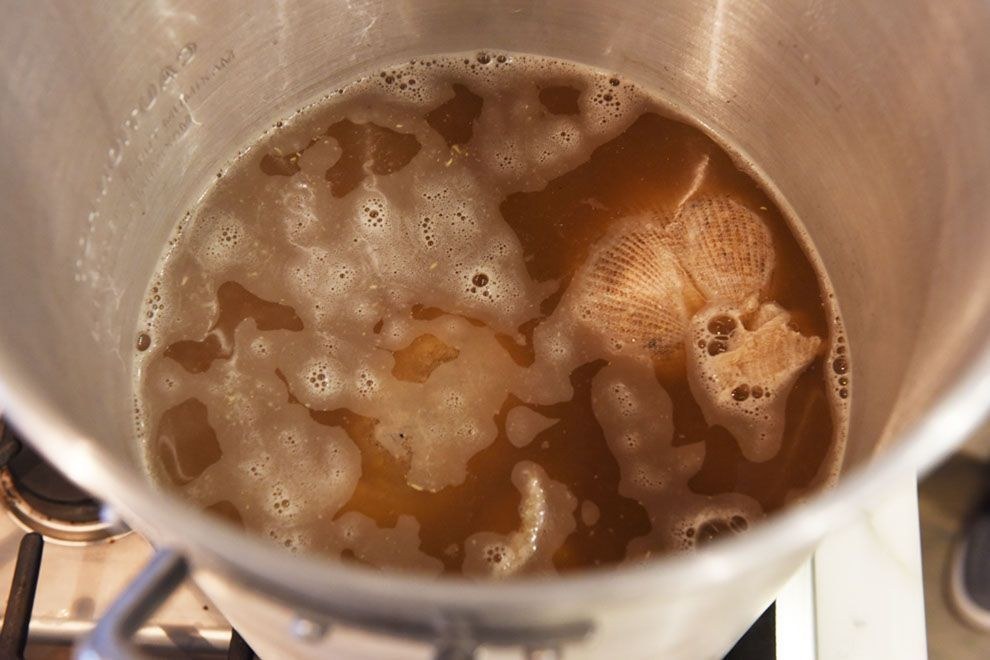
Boil for 60 minutes: What's in your stockpot now is called a wort. You're going to bring it to a boil for 60 minutes total and add different ingredients at different intervals.
Once you bring it to a boil, add the 4 pounds of light dry malt extract and stir until it dissolves. Your wort may foam up and boil over at this point. Be prepared to quickly turn off the heat and possibly add a splash of cold tap water to calm the boil.
Start a 60-minute timer now.

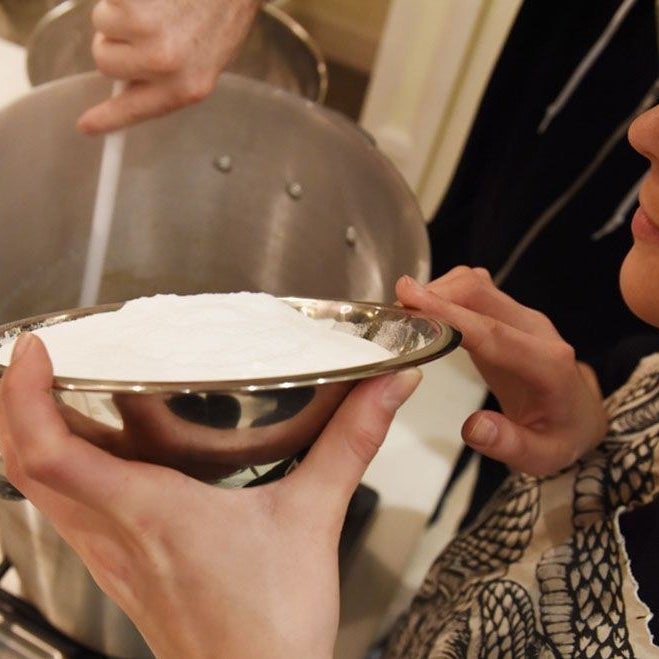
After the mixture with the malt extract has been boiling for 40 minutes, add 13.4 ounces of corn sugar.
Boil for 15 more minutes and then add hop addition two (described in our recipe as the "flavor/aroma hops" — yaaass).
Boil for five more minutes to complete the 60 minutes, and then turn off the burner.
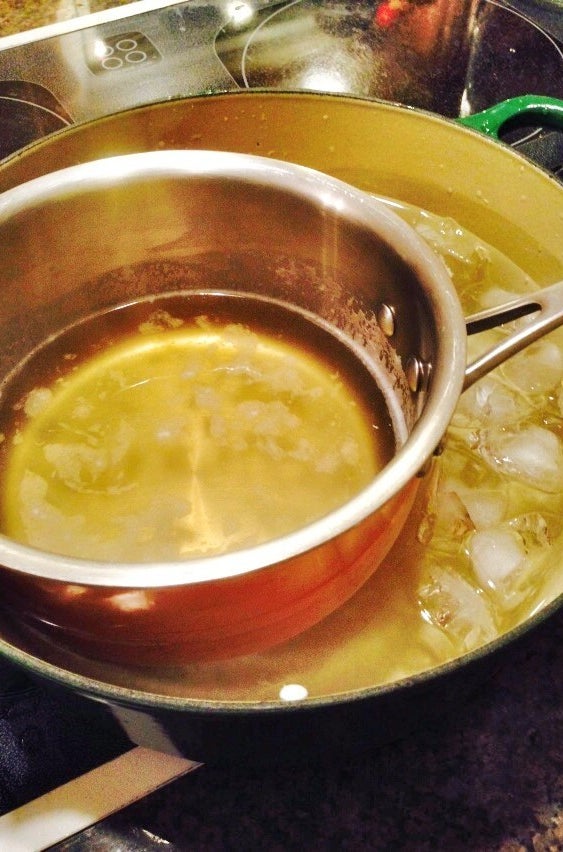
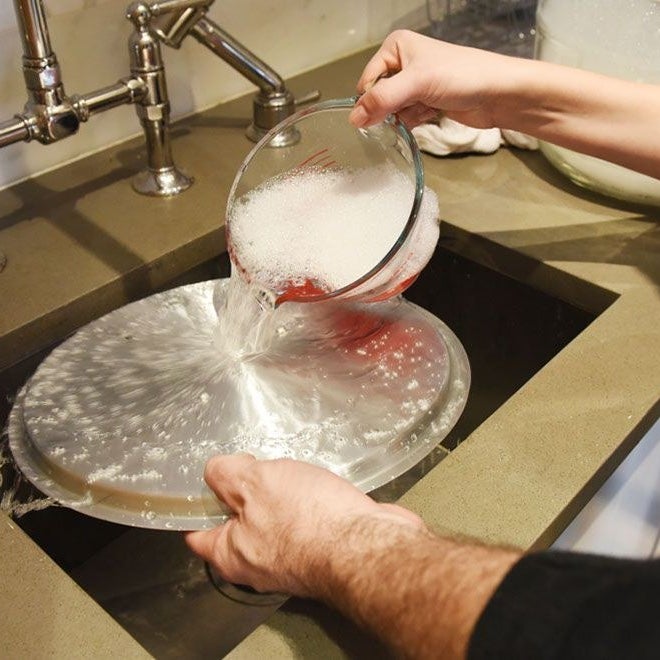
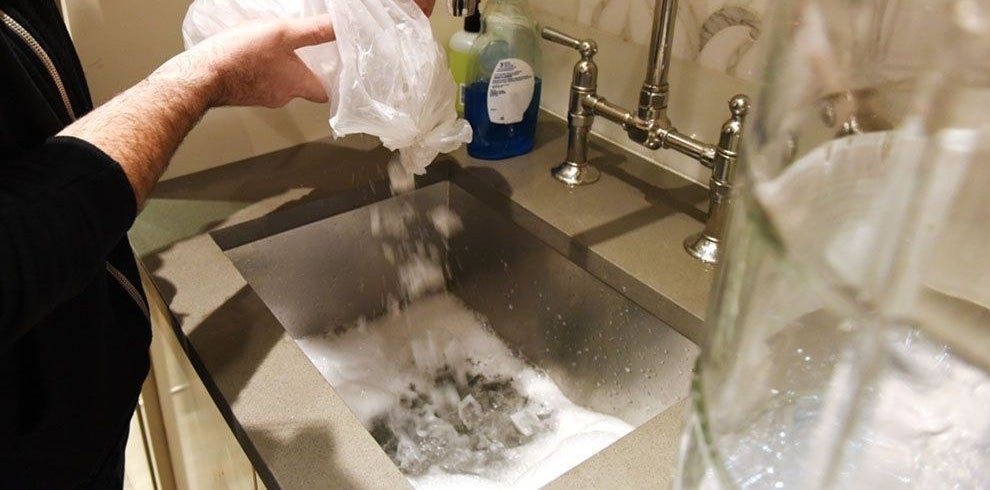
In the meantime, make an ice bath in a sanitized sink.
Note: Your beer is now (very close to) sterile, and you must try to keep it sterile. Anything that your wort/beer comes in contact with must be previously soaked in your no-rinse sanitizer solution. Make sure your hands are clean — wearing rubber gloves is a good look here.
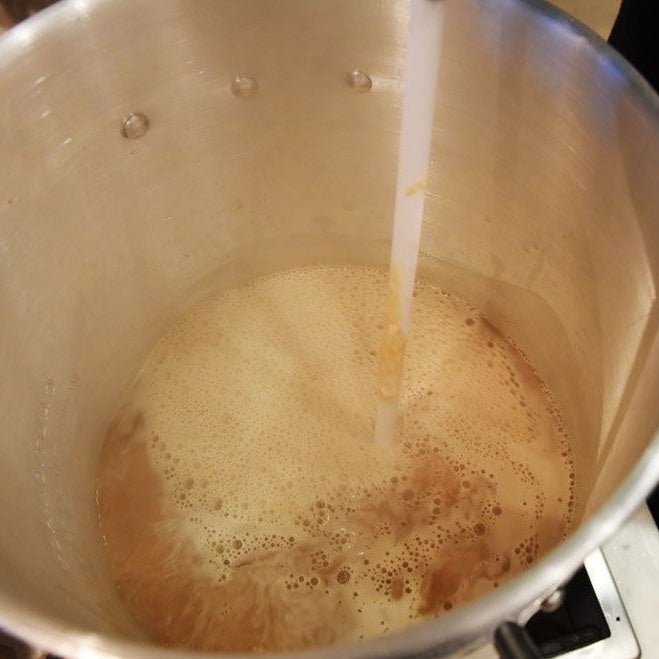
4. COOL AND TRANSFER THE WORT TO THE FERMENTER.
You're going to cool down the liquid in the ice bath, put it in the fermenter, then top it off with enough water to make 5 gallons.
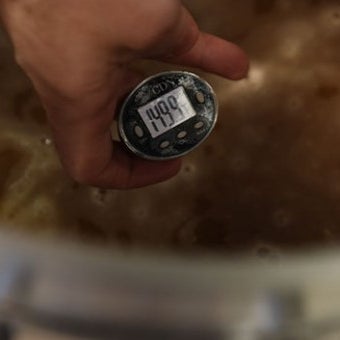
You want that mixture to eventually be 60°F to 70°F so that it's not so hot it kills the yeast you're going to add. The amount you have to cool it down before you put it in the fermenter depends on the temperature of the water you use to top it off. We put our wort in an ice bath in a sanitized sink and cooled it to about 90°F, then added cold water, and that worked — meaning it was between 60°F and 70°F.
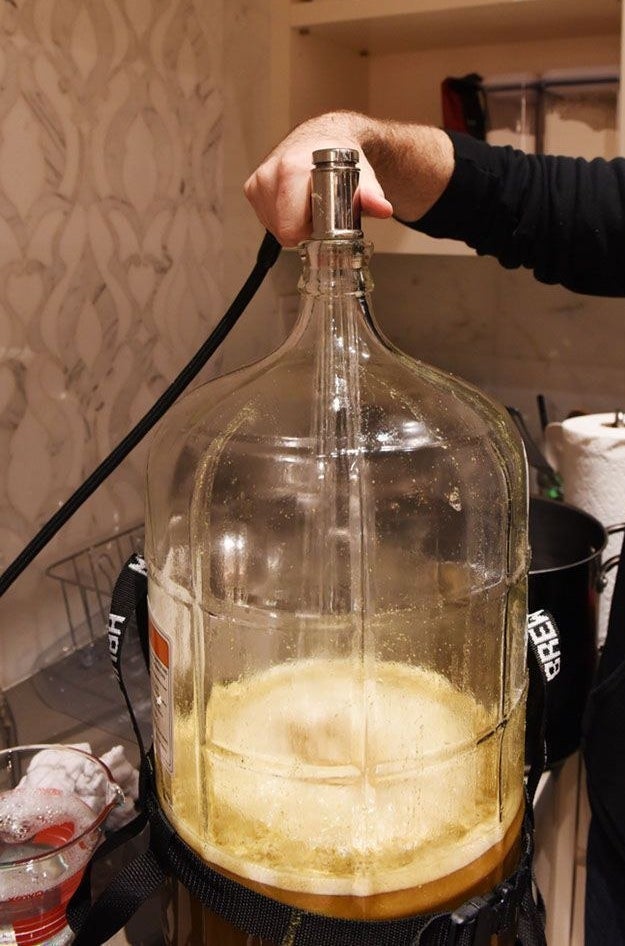
Your fermenter can look like either of these things. The one on the left is called a carboy, and Regis has a cool harness to help him move it around. The one on the right is a plastic tub. They are both fermenters, and you can use either:
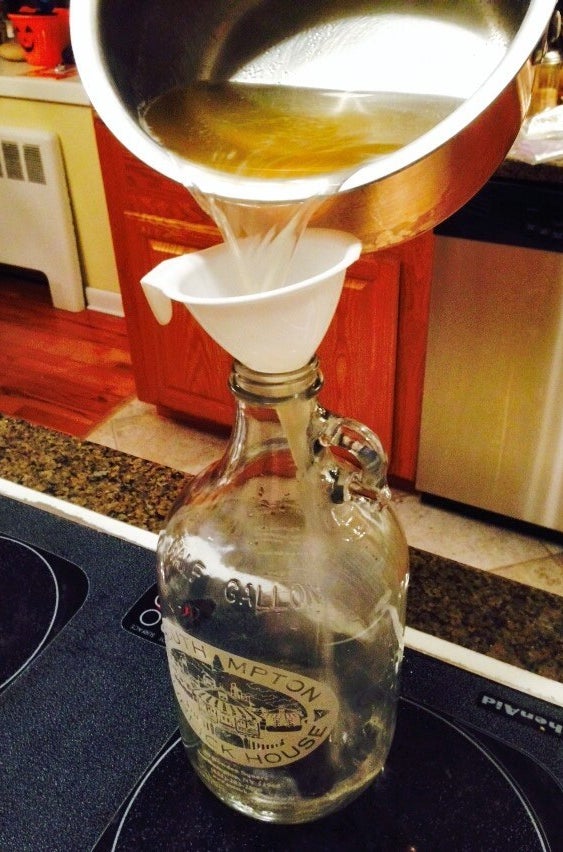
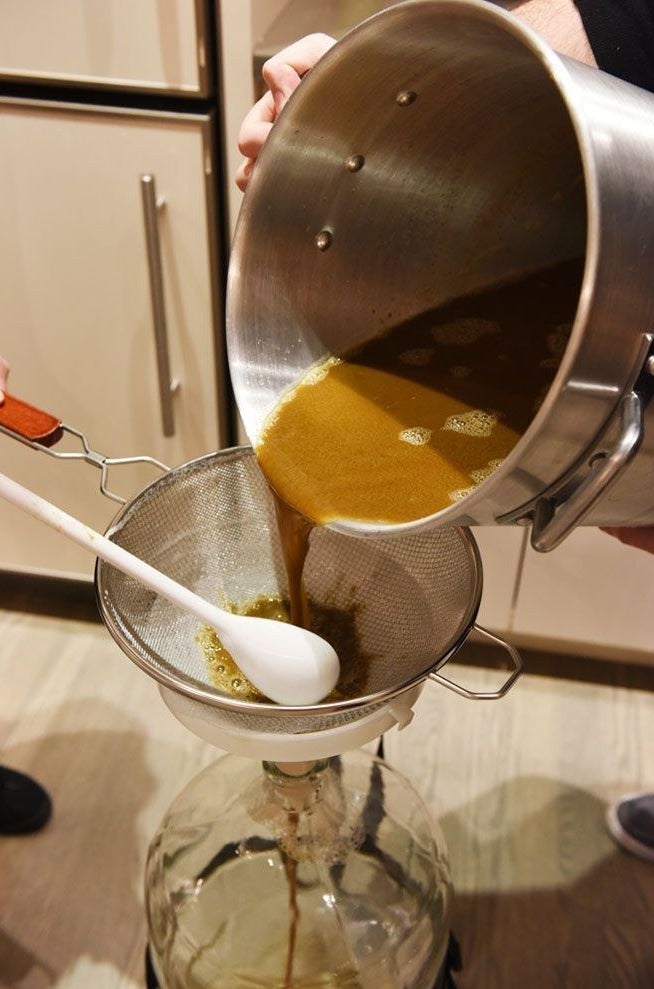
To transfer for the fermenter: We used a strainer on top of a funnel, which was really helpful because of the carboy's small opening, then we just very slowly poured the contents of the stockpot through the strainer into the fermenter.


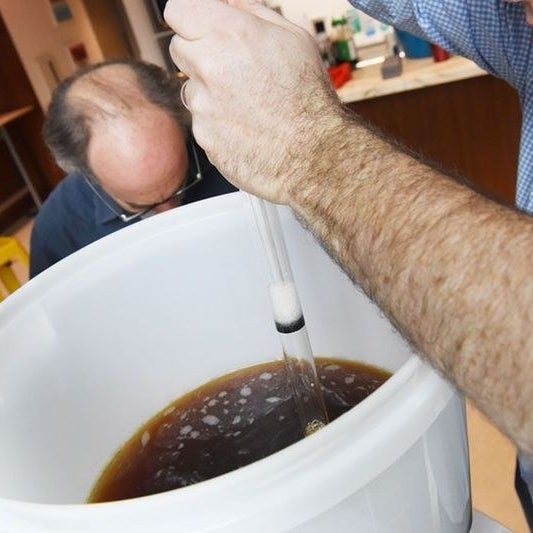
Checking the original gravity: At this point Regis did something that I can mimick, but may not ever fully understand, because I don't know how to math or science. He took a sample out of the wort and used a refractometer to check the specific gravity.
The specific gravity is the mixture's relative density compared to water. When you take this measurement before you start fermenting, you're getting what's called the "original gravity," and you should write this number down (our recipe said ours should be between 1.030 and 1.100; target was 1.062). Discard the sample wort; do not return it to the fermenter.
You'll use this number later to calculate the alcoholic strength of the beer. To learn more about measuring the gravity of your wort and why it matters, click here.

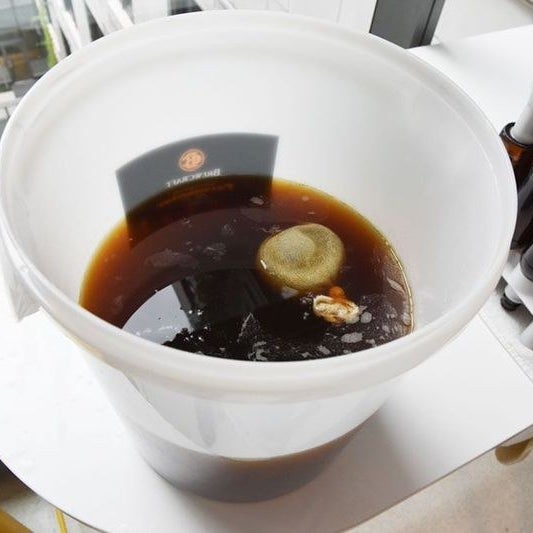
Add yeast: Once the mixture in the fermenter is below 70°F, you can add the yeast mixture you made and put in the growler the night before (step #1).

Next, plug the carboy with the grommet (rubber cork thing, fill the airlock (S-shaped plastic thing) half full with sanitizer solution, and insert the airlock into the grommet. Put the fermenter in a dark, temperature-stable environment like a closet or your basement.
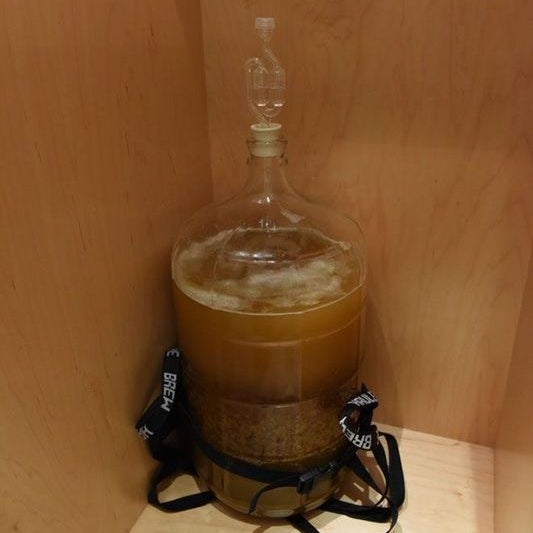
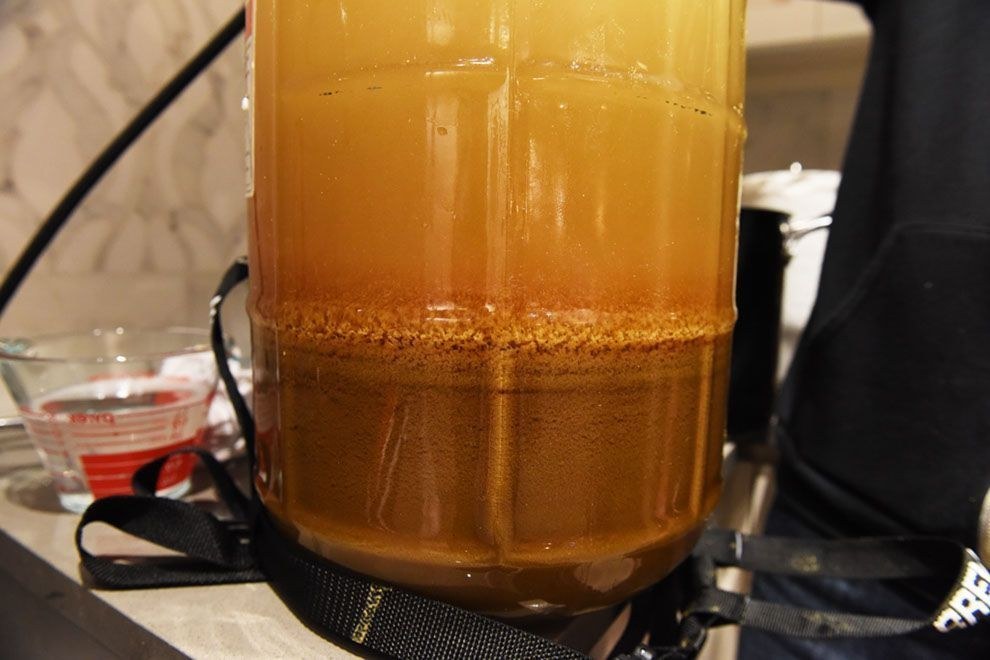
This stage is called primary fermentation, when the yeast will start turning sugars into alcohol and carbon dioxide, plus other flavor and aroma compounds like esters, phenols, and sulfur-based aromatics. After a day or two this will create a foam on the surface of the wort and the airlock will usually start to bubble. You now have beer!
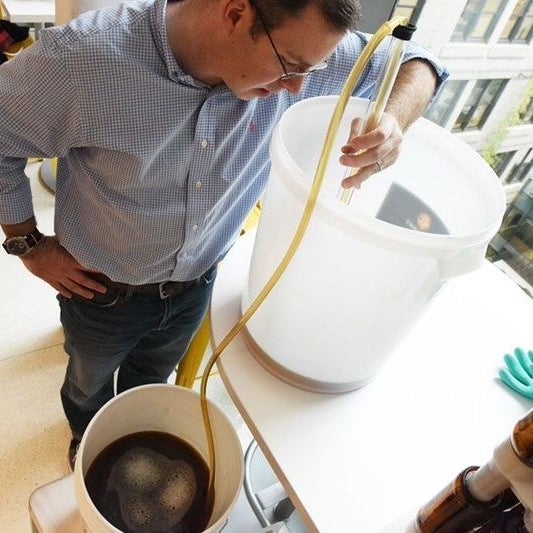
After two weeks, we moved the beer to a secondary fermenter (this is encouraged but not necessary) using the siphon tool (which you'll see below, also used for bottling) and leaving the dead yeast at the bottom of the bucket behind. We added the last/third hops addition to the fermenter and let it sit for another week and a half before bottling.
Checking the final gravity: Before bottling, Regis checked the gravity. Your recipe will tell you the range you'd like the gravity to be when you start fermentation (original gravity) and finish fermentation (final gravity) and the difference between those two numbers helps you calculate the strength of the beer alcohol-wise. Our recipe instructed us to take the original gravity, subtract the final gravity, and divide by 0.0075 to get the approximate percentage of alcohol by volume. Our beer finished at 6.2% alcohol by volume.
5. BOTTLE THE BEER.
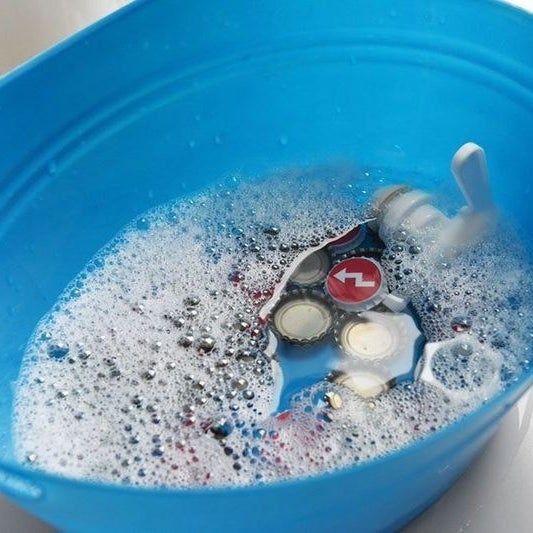
First, sanitize everything: Wash and rinse all the equipment including the bottles and caps. You can mix a big batch of sanitizing solution in your bottling bucket, and then put your racking cane and siphon assembly, bottle filler, and caps into the solution to soak.
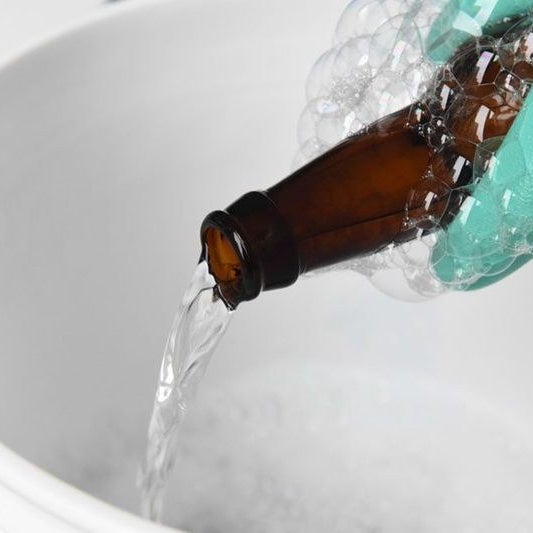
To sanitize your bottles, dip each bottle into the sanitizer solution for at least a minute. Line up the sanitized bottles on your (sanitized!) counter or work table. You should be using no-rinse sanitizer, so it is not necessary to drip-dry or rinse away the solution with water.

Prep the priming sugar: This carbonates the beer in the bottle. Right now, the beer is flat, but when you add this sugar and bottle it, leftover yeast eats the sugar and creates just enough carbon dioxide to carbonate the beer.
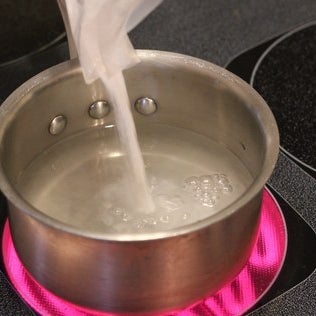
1. Pour 4 ounces of priming sugar (corn sugar) into a saucepan and add 2 cups of water.
2. Bring to a boil and boil for five minutes, stirring initially to dissolve.
2. Allow to cool for a four or five minutes and, while still warm, pour into the fermented beer in the bottling bucket.
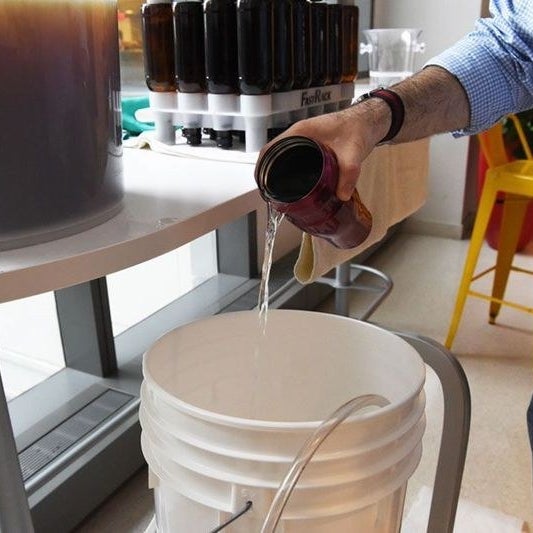
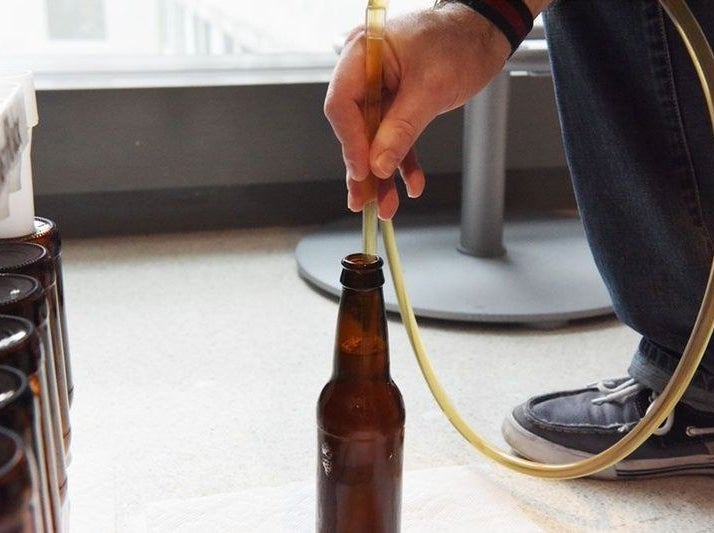
Put your fermenter with beer in it on a kitchen counter and place the sanitized bottling pail on the floor directly beneath it. Use the racking cane/siphon assembly to transfer the beer from the fermenter to the pail without splashing. Here's a video that will explain more clearly how to use the siphon. Don't siphon the yeast slurry/sediment from the bottom of the fermenter.
Lift the bottling pail with the beer onto the counter, where the fermenter was previously. Attach tubing to the spigot on the bottling bucket, then attached the bottle filler to the other end of that tubing.
The bottle filler has a trigger on the bottom so that when you touch it to the bottom of the bottle it releases the beer flow, and when you lift up the flow stops. Begin filling bottles by inserting the bottle filler tube all the way to the bottom of the bottle. As each bottle is filled to the top, lift the bottle filler out and start on the next bottle. Ideally you could have a helper place sanitized caps on the filled bottles and crimp the edges/clamp them down with the capper as you go. Watch this video for more.

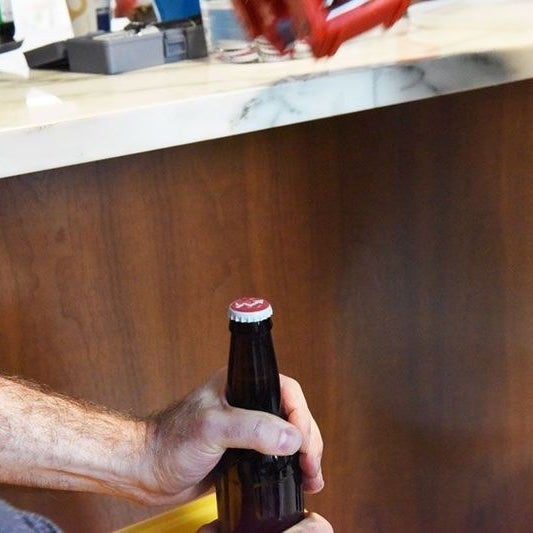
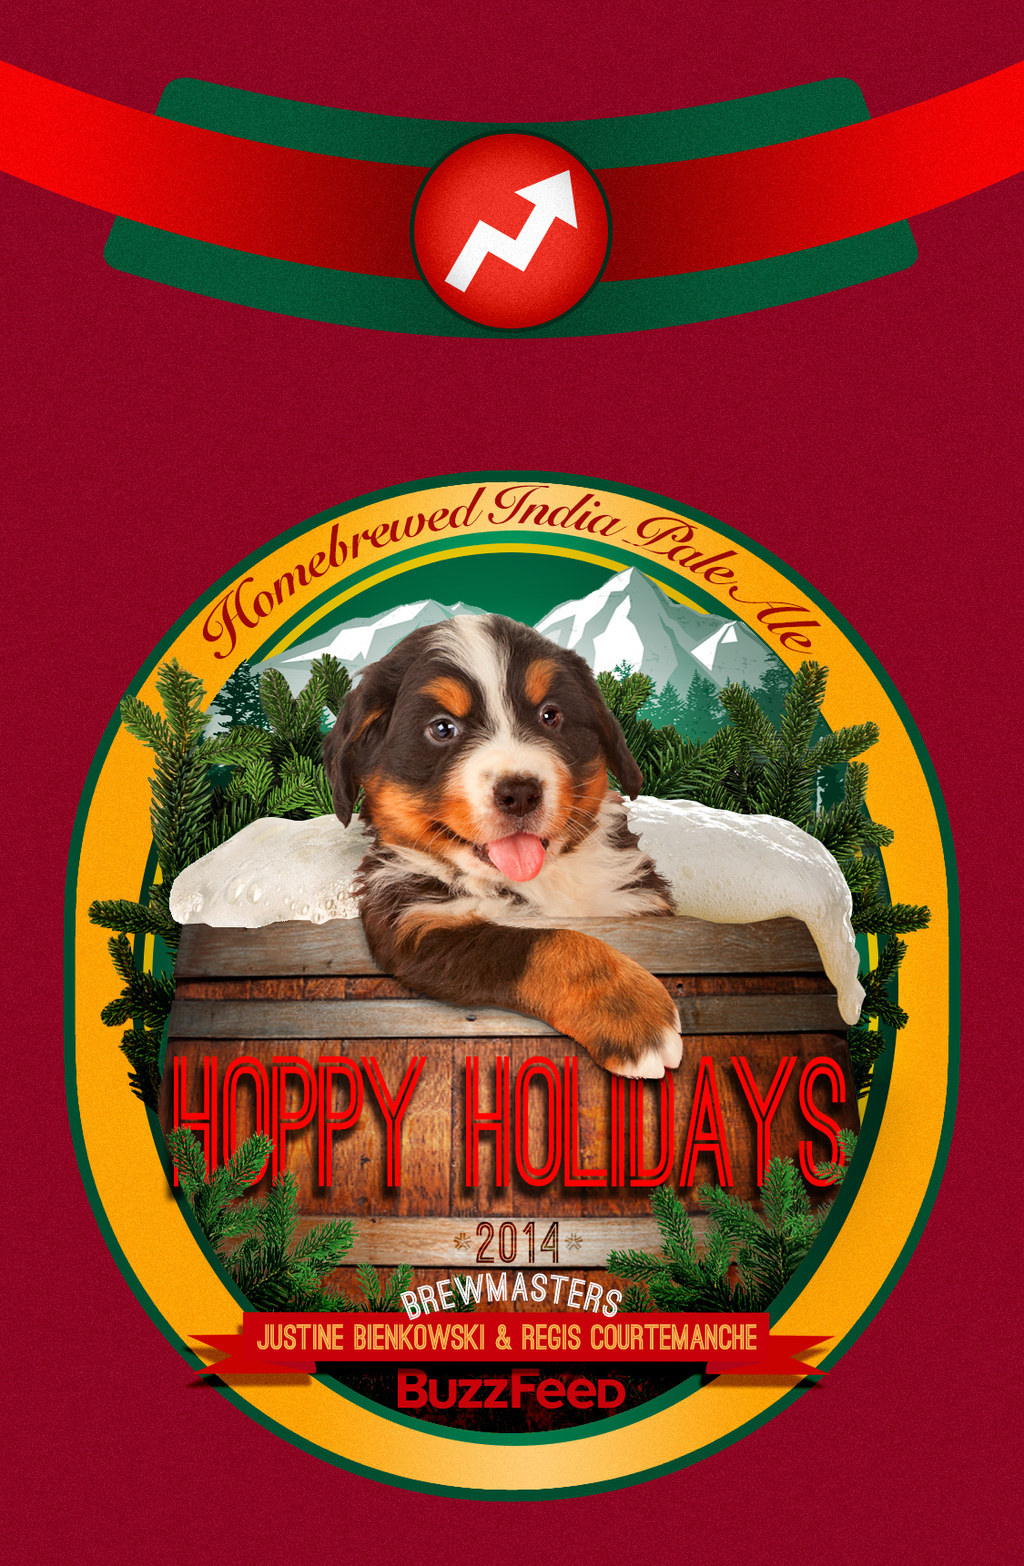
We (and by we, I mean Design Director John Gara) made these labels for our beer using Grog Tag.
Put bottled beer in a warm (68°F–70°F), dark place for about two weeks. This will allow the yeast to metabolize the sugar and create carbon dioxide to carbonate your beer. Keeping the beer away from UV light will preserve the quality and flavor of the beer.
After two weeks, move your beer to a cool or cold storage area for longer-term storage, or chill it and drink!
Depending on your beer, the flavor might improve over time. Your recipe will probably say what to do, but mild and medium strength beers and any hoppy beers are best from three to 12 weeks after bottling. Stronger or very dark beers are sometimes at their best after 12 to 20 weeks. Lagers are at their best if not bottled until four weeks after brewing and should rest another four to six weeks in the bottle.
OK, TIME TO ~~~~DRINK~~~~~
CHEERS!!!!!!!!!!!!!!!!!!!!!!!!!!!!!!!!!!!